Organizing one tiny step at a time!

This time of the year the blogs are filled with organizing tips. They are all great but man, can they be overwhelming! 

They feed into our desire to get our lives and homes in order. So I thought I would share a few TINY things I have done in each room of the house that have, in one way or another, made my life a tad simpler. Nothing major or earth shattering...just little things you can do that don't require a pickup load of storage boxes or a week of total madness in your quest to "get it right."

So I walked around my house with my camera and asked myself...what in THIS room makes my life a little easier.

First...my bedroom. Getting my bedroom the way I love it was a looooong process that I revealed here. But there is one tiny element that makes my life a little simpler....

This tiny little change to the outlet next to my bed was super simple to install (here I share how to install one!) and has made my bedtime ritual so much easier. I can still have my clock and lamp plugged in while charging my phone and Ipad.....zero hassle! 

My office...I have a ton of organizing tips for home office spaces, but my absolute favorite is simple...binders!

These are just a few I keep at my finger tips...on a shelf in my closet I also have binders for home and car insurance documents, tax returns, legal papers, etc. Since I have a business, all my receipts and invoices get tossed in a paper box each month and at the end of the year stored in the attic...just in case the IRS comes knocking! Super simple "filing" system! But the documents I need on a regular basis are kept in binders at my finger tips!

The toilet paper holder. Okay, this may seem silly but if you have ever had a puppy, kitten or toddler, you know the struggle....the daily ritual of cleaning up the toilet paper that has been "unrolled!" I discovered this little trick with my last kitten...

Install an "open ended" toilet paper holder vertically rather than horizontally. Not only does it take away the entertainment value of "unrolling" the paper it makes it super simple to replace the roll!

See, I told you these were simple little changes...

On to the laundry room. I have said time and again, I like pretty but it has to have function. One of my favorite little things to collect are the old Lane cedar boxes. Some believe they are old "sample" boxes used by Lane salesmen for their cedar chest line. Not so! They were actually little cedar boxes Lane gave away to girls when they graduated from high school to entice them to buy a large Lane cedar chest. I find them all the time at auctions and in flea markets. A quick strip with my acetone/lacquer thinner mixture and a few coats of tung oil and they are as good as new...and super pretty!

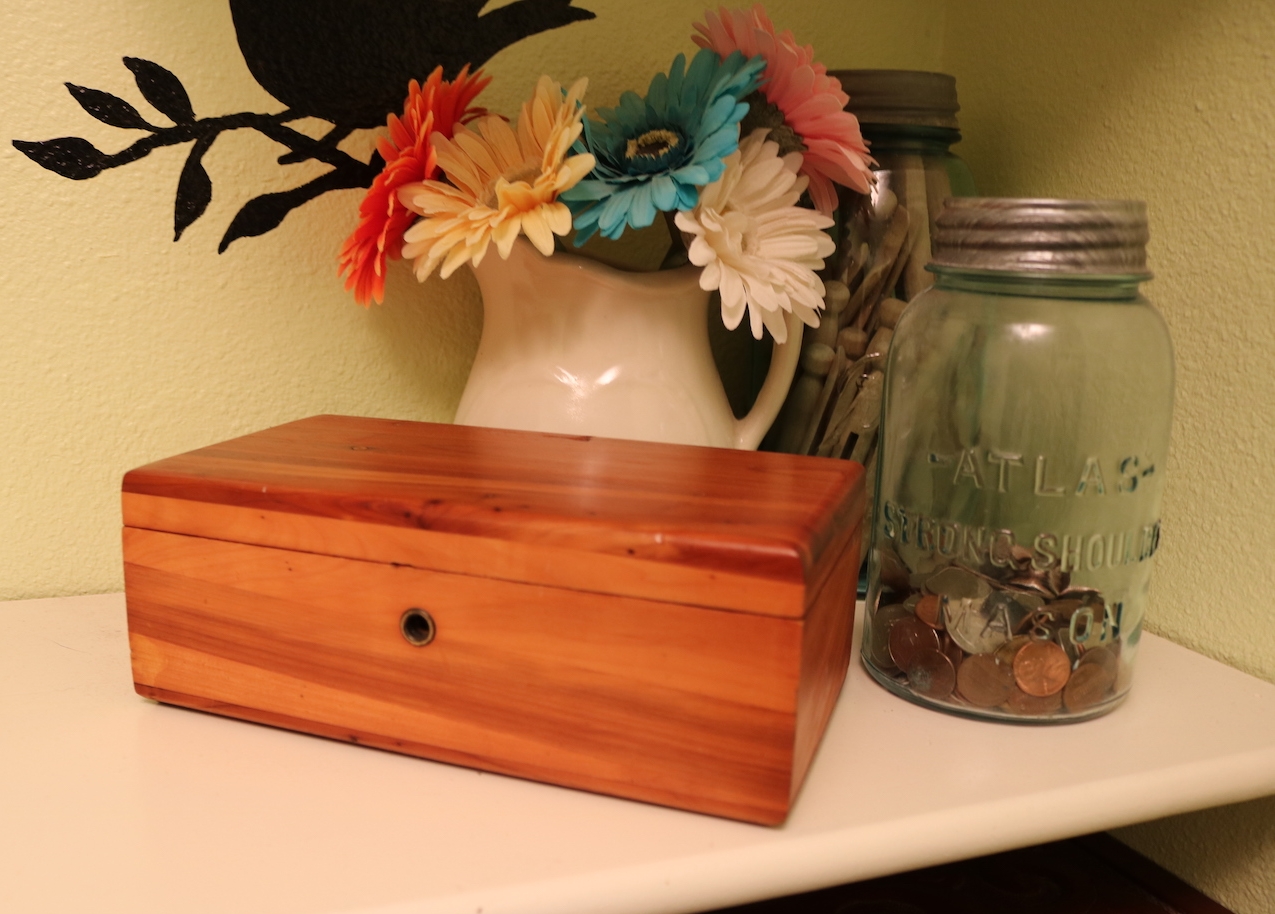
I use one to hold dryer sheets in my laundry room and I also have one on my dresser for reading glasses and such and one in my den to hold the remotes. Pretty with a purpose!

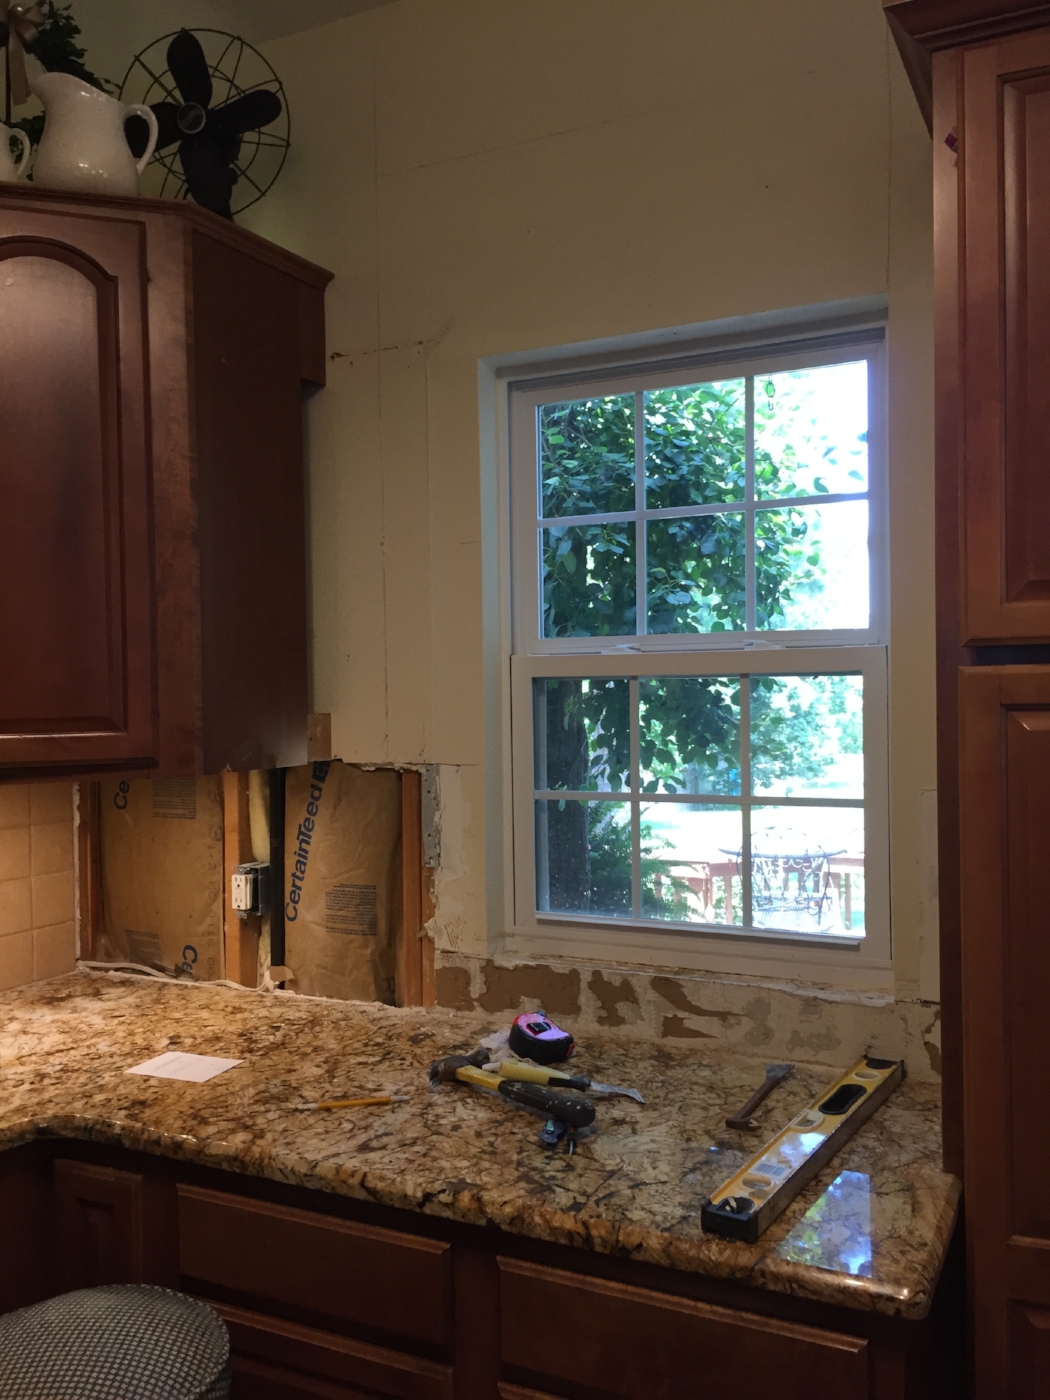
Which brings me to my kitchen. So many neat little ways I have made this space much more functional and organized, but I chose to share one of my few loves that really serve little purpose...my cutting boards....

Here and here I share how super simple it is to revive old cutting boards! Except for the one I use as a recipe holder, they really serve no purpose because I don't use wood cutting boards. But I love the warmth and whimsy they add to kitchen!

In the den a few more of my favorites "with a purpose!" When I started seeing all the "old work benches" being repurposed in the blogosphere I remembered I had my dad's old tool bench stuck back in a storage shed. I pulled it out and gave it a little makeover! It is one of the few "primitive" pieces I feature in my home. Because it was actually built and used by my dad, I LOVE it!!!

It is relatively small and doesn't take up a lot of space and serves as a perfect little side table next to the lounge chair in the den! 

Coffins...again, morbid sounding, I know. But they aren't REALLY coffins, that is just what they are called! I have several and I use them for storing fire wood, photo albums and books!

Another super simple "makeover" project that yields "pretty with a purpose!"

I did manage one major "purge" this year...partially out of necessity. When I redid my entry this year I created a dust bowl that forced me to remove a 30 year collection of hardback books for cleaning and I decided it was time to finally let go! Over 150 books found a new home and my bookcases finally found room to breath! 

I kept the collections of two of my favorite authors but the rest were boxed up and given to a friend.

Truthfully, I haven't missed them and now I think twice before spending money on another hardback. I still read, I just don't "buy to have"...I buy paperbacks I can leave for others or I download them on my Kindle. 

I will say that getting rid of clutter, a real heart wrenching purge and declutter, is ESSENTIAL to making your house a home. Maybe one or all of these tips will make that process a little easier!

How to choose the right paint color....

I have lived in this home for 17 years. The main living area paint color has been the same for 17 years! 

Matt and I repainted about 8 years ago. I painted it the exact same color...SW Creme. 

I love this color. It is bright yet soothing in the day and warm and soothing at night. For me, it is the perfect color for this space.

But "yellow" isn't the "in" color right now...lots of whites and greiges and grays...very few "creams."

I've fallen in line with some home decor "fads"....I have infused teal and cool reds, embraced boxwood wreaths and replaced ceramic tile and marble with travertine. I have painted my interior doors black and replaced much of my flooring with the darker, hand-scraped hardwood and laminate. I can't bring myself to paint my kitchen cabinets but I did install glass front doors, a larger window and open shelving to brighten it up!  

I have used the "greige" colors (specifically Revere Pewter) in several of the bedrooms. Because of 20' ceilings in the living room and the massive task of painting around cabinets in the kitchen and all the window trim in the den, I have dreaded painting the main living area.

Since we leave on vacation next week, I thought it would be a good time for a painter friend to come in and paint my entire living area. The worst thing a woman can do is watch a painter paint her home.

Why? Because it WILL NOT look the way you want it to look until there are two dried coats on the wall and all your "stuff" is back in place. Until then it is either too dark or too light, too blue, too green, too pink, too purple. And inevitably you will begin to second guess your choice and in turn drive your painter insane! Go away...come back when it is all done and dried!

So that was my plan.

My M.O. for choosing a paint color has always been the same. I pick up a few hundred "paint chips" at the store and bring them home to look at in my light. DO NOT fall in love with a paint color at the store...it WILL NOT look the same in your home lighting.

Bring a few hundred paint chips home and start narrowing down your favorites. Trust me, you will be able to narrow it down to 3-4 colors you THINK you like! Then go buy sample pots of the paint you THINK you like.

Find several walls that get several different "lights" throughout the day. Trust me, paint changes color as the light changes outside....so while you may love the color in the morning, that horrid "green tone" you dislike may show up in the afternoon or evening. 

Since I already had a can of leftover paint from Mitchell's room makeover,  I started with the Revere Pewter. I love it in that room but in my living area...ECK! It was horrid...just too dark for my taste! Prime example of how a paint color can be amazing in one room of your home, and terrible in another!

So then I found a few others I THOUGHT I liked! Bought sample pots and painted large sections on two walls.

I have looked at these walls for two days...morning light, afternoon light, night light!

When it came right down to it, I still love the original color...more than anything I THOUGHT I might like.

So for now I am going to stick with the "cream" I picked out 17 years ago. It may not be the "in thing" right now, but it is a color I love.

And in the end that is what home decor is all about...finding what YOU love and doing it. In spite of what Pinterest and other bloggers tell you!

P.S. I was immediately asked "what did you do about the big painted splotches on your walls?" Remember my advise about ALWAYS keeping a can of touch up paint in the house, protected from extreme temperatures, so it will last? Yep, I have that...so painting over the large splotches was no biggy! If you don't have the paint or know exactly what you painted with originally, you may be in trouble! 

Armoir makeover....

Occasionally I find a piece I really love. This armoire is one of those pieces.

I obviously don't have room for it in my home, but it is a very unique piece that could serve a number of purposes in a home...dresser, kitchen pantry, tv cabinet or even bathroom storage! 

In it's original condition it wouldn't have been difficult to over-look. But this is one of those times one has to look beyond the years of neglect and abuse and know that it can be made beautiful and useful again! 

Again, I have to have my "wood fix" so I decided to strip and refinish the top. I stripped it using this process and then topped it with tung oil finish. I love how removing all the old "muddy" finish revealed a very unique and beautiful walnut veneer! Seriously, this took minutes...don't miss out on uncovering a piece of "art" just because you think this will be a difficult task and do not use the wrong process (like sanding!) 

I had originally planned to paint the inside, but after stripping the drawers I decided the mahogany was just too beautiful to slather in paint so I decided to strip and oil it as well.

The veneer doors and sides weren't anything to write home about. A little "chalk paint and distress" treatment brightened the piece and gave it a much needed "update." This "farmhouse" look isn't exactly my style but it really brought this cabinet into the 21st century!

In the end, a simple makeover made all the difference! 

This week has been "project" week for me. Usually I take inventory of what needs to be done and then make a plan for how and when....again, I use an "assembly line" process when I have a lot to work on!  Tuesday was sand, repair, build and prime day. Can't paint when saw dust is flying all over the place. Today I will sand the primed pieces and chalk paint a few. I like to let the chalkpaint cure a few days before I sand...I have found that the paint "distresses" rather than peels when it has cured well!  

Off to work I go!!!!

The calm AFTER the storm....

We have all heard the expression "the calm before the storm." For DIYers, we live for the calm AFTER the storm.

Before the storm we are searching non-stop for "inspiration," driving all over town or burning up our computers looking for materials... measuring, planning, pondering, stressing. 

Then the day comes...the dreaded "demo day!"

Unless you have the luxury of starting from scratch there is always a little bit of "demo."

As you probably know I have spent the better part of three years "sitting on my hands," doing everything in my power to NOT paint my kitchen cabinets. I just know that someday in the future the "white cabinet craze" will come to an end and I will be stuck with painted cabinets.

SOOOO...in that quest, I have "reset" my entire kitchen, built open shelving, installed glass doors...and now? Well, after much measuring, planning, pondering and stressing, I have decided to take two more steps to a "lighter, brighter" kitchen WITHOUT painting the cabinets. 

Hence, the "storm." 

This is my kitchen shortly after the "reset".... "at peace." 

I decided to install a lighter backsplash. It is time. The tile has been there for 17 years. Truthfully, itwas still the right style, just not the right color....everything was so "orange." 

I went online and searched for some inspiration...I was pretty sure I wanted travertine but I wasn't sure what style...subway, tumbled, split-face...just so many options. One of the problems I ran into is that "painted cabinet craze." It seems so many kitchens that feature travertine backsplashes also have painted cabinets...mine are stained. 

But I found a few "inspirations" that allowed me to see what the different types of tile would look like...again, I put the pictures in my "inspiration file" and didn't bother to save a "link." So my sincerest apologies if this is your kitchen or picture and I do not give you proper credit...just know that imitation is indeed the sincerest form of flattery! 

These are just of a few of the MANY photos I put in my "inspiration" file.

So off to the tile stores I went. Honestly, I have been looking for new tile since I installed new granite over four years ago...to no avail. I finally found one I  loved! I brought home a sample...looked good. Played with it in different lights...all good. So I ordered it!

Here is one small problem with even the simplest change around here. If I am going to install a new backsplash, now would be the time to install the larger window I've kinda been wanting. Bigger window, more light... "lighter and brighter." Right?

But do I want one that raises up like the existing window...or maybe one that slides to the side and has a screen that slides so I can hand stuff out to Brian while he grills.

Hum....so off to the window store. Remember, I DO NOT like to shop...so "shopping" for new windows and tile for a kitchen I know I will have to live with for MANY years is not really what I call "fun." 

Finally settled on a larger sliding window and a travertine tile and after everything was ordered I started the dreaded "demo." 

First, I removed the 9" cabinet to the left of the window. Honestly, the only thing in that cabinet were long expired cold medications and eye glasses my 28 year old son wore when he was 14! The cabinet didn't go to waste...I removed the door, painted it to match the laundry room cabinets and installed it between the two cabinets above the washer and dryer!

I can still tile, so I started removing the old tile...which means removing the sheetrock because, well, you ARE going to tear up your sheetrock when you remove ceramic tile. No way around it.

Now this is when I admit that I am no longer super woman. When I changed out this window the last time (no, this is not the first time I have changed out this window!) I did all the work myself, except the siding (I don't do siding). I removed the old window, framed in the opening for the new window and installed it. 

But that was a few years ago and this time I decided the cost to reframe and install the window was equivalent to what I would spend at the chiropractor. So I hired it done!

After tearing up one wall of tile and sheetrock, I decided to do a little research about tiling over tile.

Now I am one who NEVER paints over paper, or papers over paper, or tiles over tile. I'm a firm believer in removing the old before installing the new. But after a lot of research and talking with a few "experts" I determined that there is no reason I could not tile over the existing backspash...it was sturdy, the tiles were all firmly attached to the wall and I didn't have any mold or mildew issues. So rather than remove ALL the tile around the entire kitchen and then have to replace ALL the sheetrock, I broke my cardinal rule and tiled over the existing tile on two walls.

After a day of window installation and several days of tiling, grouting, sheetrock repair, trimming, painting and cleaning, this is what I ended up with!

I also took the opportunity to add two more glass front doors. I had added several when I did the original "reset" a year ago, and I loved them. So I ordered two maple doors for the cabinets on both sides of the refrigerator, stained them to match the existing cabinets and added reeded glass...love!

My next big goal for this kitchen are new appliances...but as I have said before I can't bring myself to buy new when the old still works just fine...so someday! Honestly, it is a good thing I didn't do it a few years ago when I got a bug for stainless...because now I love the "black stainless." See...it's a good thing I didn't follow the fad then!

For now I am enjoying the "lighter and brighter" of the new backsplash and larger window!


"New" barstools and a few dresser makeovers!

Last week I shared the prep work on the "chest of drawers from hell."  

This week I was able to get it painted and the hardware installed! Precious!

I kept the paint treatment fairly neutral with one of my favorite off-whites...."Swiss Coffee." The white and teal combo has been selling VERY quickly, but I decided to stay simple and neutral with this one! Partially because I absolutely adore this hardware and I didn't want to do anything to distract from it!!

As I mentioned last week, I painted the interior of the drawers to seal in the "funk" and make them look a little better! I used some leftover paint I had from another project...takes a few extra minutes but honestly, well worth the time and effort!

As you can see, the extra time I took to repair the damaged veneer on the top and the side really paid off!

I took this little chest to 410 Vintage...it lasted all of about 4 hours! Confirmation that all the hard work was well worth it!

I did paint one old dresser I had with the teal and white combo...

Just one of those old maple dressers...a little paint, a little gel stain on top, some new hardware and this baby sold within two hours of taking it in! (I didn't even bother to take a photo before I delivered it...this is one I snapped with my phone!)

 I also finished up another little project waiting in the wings...these old bar stools!

Certainly not something you would want in your kitchen which might explain why I was able to pick them up for a few bucks each at an auction. Pretty ratty!

But with a little KSTP treatment and a simple reupholstery job on the cushions, beautiful!

After I disassembled them, I cleaned them up, sprayed them with Kilz, sanded smooth, wiped with a tack cloth, and then I sprayed them with a satin white spray paint. I had some leftover grey herringbone material from Sister's tufted chair project (will share that soon!) so I used that to recover the seats.

Recovering barstool seats and dining room chair seats are one of the simplest "reupholstery" jobs a DIY newbie can tackle. And it can completely change the look of a stool or chair. Again, TONS of great tutorials online for this simple project!

Again (and again and again) if you have a "ratty" piece of furniture that just doesn't trip your trigger any more, CHANGE IT! Life is too short to live with ugly furniture!

YOU CAN DO IT!  

Heirloom stool....

I know I probably sound like a broken record, but I don't decorate with just anything...the "stuff" I decorate with has to be things I love or heirloom pieces! 

A few years ago I picked up a couple of stools and dolled them up a bit and featured here.

The one I liked most was the one with the birdies...but every time I wanted to open a kitchen drawer I had to move it. So I sold that one and have been using the yellow stool.

But this past Christmas, when I was hauling decorations out of my packed attic, I spied an old stool that had belonged to my great-grandfather. I believe it was the stool he used at his drafting table. I have had it for years but it was in pretty bad shape, so I had stuck it in my attic and pretty much forgot about it.

I finally hauled it down to the garage and decided to give it a little makeover. The first thing I had to do was strip and oil the oak base using this process.  

I had a little leftover fabric from this chair project so I decided to use it to recover the seat. 

Did I take a "before" picture...um...no. Just imagine...old, dated, well used.

The upside is it fits perfectly under the kitchen drawers. Now I can use this precious family heirloom! 

Oak is not my style...but anything that belonged to family is...another "thing I love."

HAPPY BIRTHDAY KATIE!!!!

I want to take a minute to wish my precious, beautiful, smart, funny, talented youngest daughter a very happy 19th birthday...I can't believe you are entering your last year of teenhood! I have no doubt this next year will be as amazing as the last 19! You make a mama very happy and proud! 


Reviving old cutting boards...

I have featured old cutting boards on several occasions...here and here. They are relatively easy to find and simple to "revive!" And super cute to decorate with!

If you check out my kitchen reveal you will see I use them in several places in the kitchen...as a little chalkboard, as a recipe holder and for a back drop in my "baking corner!"

As I have said before, I don't use wood cutting boards in my kitchen...I prefer the marble and vinyl cutting boards for sanitary sake. But old wood cutting boards can add a real touch of warmth to any kitchen and you can often find them in a variety of woods...maple, mahogany, walnut, and oak!

This first board is a tiny little thing I found in a box of auction goodies. First I stripped the board using this process, then I chalk painted the handle and distressed it a bit and then I added a little something extra!

Adding this little transfer was super simple. I printed out the design, traced it onto the board using sewing trace paper...then I used a black sharpie to draw it on the board.

I used a design I found online, but you can find hundreds of awesome designs and transfer methods on Graphics Fairy!

After applying the transfer, I applied three coats of Watco butcher block oil on the board. Since I don't use (and don't recommend using!) the board for it's intended purpose, you could just spray the board with poly, but I like the natural and rich look of oil!

The next board is another little auction find...and old mahogany board that had been well used!

Stripping this board would not have removed all the cut marks so I took the sander to it...220 grit to get rid of the cut marks, then I finished it with 220. Super simple since mahogany is a relatively "soft" wood! I cleaned the little metal "stem" then I oiled the wood with butcher block oil (3 coats)...beautiful!

These little butcher block makeovers are simple and a great way to add a little "whimsy warmth" to any kitchen. Next time you spy one in a thrift store or at a garage sale, don't pass it up just because it looks a little warn and ratty! Take it home and spend just a few minutes bringing it back to life...you won't be disappointed! 

Traditional china vs. Ironstone....

I currently have 7 sets of china in my attic. The "important" pieces of each set are displayed throughout my home...tea sets, serving dishes, pitchers....as well as one place setting of all.

I did not set out to "collect" china. My first set was a pretty pink and green floral I purchased at an auction almost 30 years ago. The set had mint EVERYTHING...salt and pepper shakers, tea pot, sugar and cream set, serving dishes and 12 place settings.I proudly displayed it all in my china hutch until one fateful move...when I didn't get the little pegs securely in the top shelf of the china hutch...and it all came crashing down. No, it did not break the pieces I had 12 of, like plates and cups. Nope...the teapot, the sugar and cream set, the salt and pepper shakers, serving dishes. THOSE took the hit. By some weird alignment of the stars or fate, an older lady we were buying a house from was having an auction and she had the exact same set....including the serving pieces I had destroyed. Wow...what are the odds. Now most are packed away in the attic.

I bought another set of china years later, again at an auction.I loved the colors...browns, oranges, blues. It has the prettiest scalloped edges on the serving pieces! We used them at Thanksgiving for several years until we (I say we...actually Brian is the dishwasher!) got tired of having to hand wash them...now they are in the attic!

And then just a few years ago another set...a simple "white" with platinum edging, decorated with little platinum branches with birdies (if you remember, I have a thing for birdies!) Simple. I bought them for a New Year's dinner party. Much more "contemporary" than the other two sets. Naturally I used them once and then most were packed away in the attic.  

Now the "family" heirlooms are starting to roll in. The first was from my paternal grandmother. She wasn't a "china kind of person" but she had the prettiest serving pieces of the Universal Ballerina in mist from the 1950s....a beautiful greenish-bluish color with a simple platinum edge. So pretty in fact that I began purchasing the dinner plates and bowls and cups. And then I promptly packed them away in the attic with the other sets. 

Then my maternal grandmother's. Then both my maternal great grandmother's. All from Japan or Germany, where my mother's family lived during my grandfather's military career. I get tickled when people make a huge deal out of "Occupied Japan" pieces at auctions...I have an attic full because my grandparents actually lived in occupied Japan in the late 40s! 

Again, I have the serving pieces, a place setting of each and the tea sets displayed but the rest are all packed and labeled in the attic.

So where does the ironstone come in?

Well, since the discovery of blog sites like Miss Mustard Seed and The Ironstone Nest I have taken a fancy to simplistic style of the white ironstone. So much so that when I discovered ONE ironstone bowl in an apartment, I went on an obsessive hunt for more pieces. For years I have loved white dishes because it was easy to add other white dishes when needed without there being a "glaring" difference!  I ended up spending way more than I want to admit to put together 20 dinner plates, bowls and dessert plates for every day use, buying a few pieces at a time on Etsy and Ebay! 

Ironstone is not as prevalent in our area as it is in other parts of the country. I have run across a few pieces here and there but nothing like the northeast where it seems to be in every antique and thrift store...and has soared in value. I have purchased a few pitchers and tureens and dish sets over the years (usually for VERY little), but nothing like what other bloggers report. It just hasn't made a "splash" here like it has elsewhere. The pieces I have sold have often sat for some time and sell for very little.

So I have begun to "hoard" what few pieces I stumble across.

Just last week I bought two pitchers (each thrown in a flat of odds and ends) at an auction.

I also picked up this pretty sugar and creamer set that came with an entire set of ironstone dinnerware. My daughter will get the dishes for her apartment this summer (that should tell you how little I paid for the entire set)...the sugar and creamer set are mine! 

I found this little chipped creamer in a box of odds and ends several years ago and kept it because it was chipped and it is the perfect size for little knock-out roses.

I think I picked up this little set at another auction some time back. Pretty....

And this little pitcher...I like it with the little Gerber daisies in my laundry room!


Martha Stewart is credited for bringing ironstone to the fore-front of today's collectors. Her website gives the simplest, most comprehensive, history of ironstone. Well worth the read!

I really love the simplistic styling of the white ironstone. As much as I love and cherish all the pretty china I have purchased and inherited over the years, sometimes I feel like all the "traditional china" kind of gives my home that "old lady vibe." But most are heirloom pieces and are just a few of the Things I Love!

Old shop cart transformation....

Sometimes you have to look really hard to see the treasure lurking beneath all the gunk and layers of paint. 

This piece is a prime example....

I bought this old shop cart with metal castors at an auction several weeks ago. It was covered in decades of grease, grime and several layers of paint. My original plan was to clean it up and fix it up a bit to be used in a shop. 

After a good scrubbing, I began stripping the top with my favorite finish stripper.... 1/2 acetone-1/2 lacquer thinner. My original intent was to completely strip the top and then apply a stain and poly.

After stripping off a majority of the top paint layers, I started sanding....and that is when I discovered that this table didn't want to be hidden away in an old shop...it wanted to be a beautiful butcher block island! 

(I apologize for the pictures! I had fully intended to take it in the house and stage it all pretty...again, more doing, less froo-frooing! These were taken with my phone after I took it in to my booth!)

Even after stripping and sanding, the grain of the wood held onto an amazing "patina" that was so warm and beautiful I decided to leave it. I applied 3 coats of butcher block oil to hydrate and preserve the wood. No stain...this is just the natural color of the aged wood that was hiding under the layers of gunk and green paint! 

I applied a chalk paint treatment on the base and distressed it a tad so the green "peaked" through a tiny bit. After painting and distressing, I sprayed it with poly. Again, poly tends to "yellow" a tad which gives the new paint an aged look, as well as seals! The inside of the drawer was pretty nasty, so I scrubbed it with ammonia and gave it a KSTP treatment!

This is not some fancy antique...just an old shop cart made out of pine. But it is absolutely beautiful and I think after years of being hidden away in a shop covered in gunk and grease, it deserved a little love! I honestly would have kept it if I had a place for it! 

Again, don't turn your noise up on a piece that has years of neglect and abuse. Maybe, just maybe, there is a beautiful "soul" just waiting for you to reveal!

A few new storage solutions!

In my quest to make my kitchen a tad more "user friendly" I stumbled upon a nifty little storage gadget at Lowes that will help me manage my casserole dishes and mixing bowls a bit better. 

As I have mentioned, in my "dream kitchen" I have nothing but big deep drawers in my lower cabinets. Unfortunately that is a "dream" so I have to work with what I have and digging around in a lower cabinet for heavy casserole dishes and keeping all my mixing bowls organized has become an issue.  

Again, and I can not stress this enough, the number one key to getting organized is PURGING!

Pull it ALL out and ask yourself...DO I REALLY NEED THIS?! In my kitchen cabinet, I had several casserole dishes that were duplicates of what I have but they didn't have lids. Do not need! I had 5 large 9x13 casserole pans...do not need them all! I had 3 stainless bowls the same size, which made stacking them a impossible...do not need! I have FIVE crock pots...two smaller ones just for dips and such. I DO need those but only once or twice a year so there is no need for them to take up valuable kitchen real estate. So off to the hall pantry they went! 

I contemplated building and installing either 4 drawers or 2 large drawers in this cabinet base. Lots of work! So when I found these nifty little metal storage drawers at Lowe's I knew I had found a relatively easy solution.

The problem with these metal drawers is they are not custom sized so I was going to end up with a lot of "dead space." I decided to only install one for my bowls and casserole dishes since those are things I use almost every time I cook. I left the other side shelf space for crock pots and dishes I only use occasionally.

The drawer component lets me easily get to my bowls and casseroles dishes without wallering around on the floor and pulling everything out to get to the stuff in the back.

A perfect, and simple, solution for organizing a tough space.

When Brian and I went scrounging around the flea market out in Tontitown last weekend, I found this neat little wall decor. A framed chalkboard with two "distressed" wire baskets. I knew it would be perfect for organizing magazines that tend to get piled up in the coffee table, which in turn means they get ignored!

I'm pretty sure it is probably something one could pick up at Hobby Lobby, or something I could easily make with an old frame and paper storage racks from an office supply store. But it was there, and it was done...the only thing I did not like was the original  finish on the frame...kind of a "white-wash" natural wood looking thing. I immediately painted it with some chalk paint and distressed and sealed it. Great for magazines or mail. Remodelaholics featured a bathroom with a similar one.

I like it in the bathroom but I am of the opinion that if you are in the bathroom long enough to read an article, you probably ought to seek treatment. Just saying....

Last fall I bought this awesome antique sewing machine at an auction. The "lid" flips back to reveal the machine

I immediately fell in love with the little wood box that covered the machine. After a little research I discovered they are called coffins....most often in mahogany or walnut. BEAUTIFUL! I immediately jumped on Ebay and found a few of these amazing little boxes.

Naturally they needed to be refinished, but a little magic mixture and a few coats of tung oil and they are amazing!

My original plan was to use them in the "kitchen reset," but there really was no good place for them so I have them scattered around the house for storage. In the den, I use them to store some of my photo albums. They would be darling with little castors for "rolling" storage. l absolutely love them! 

When I reset my kitchen, I dug around in my flea booths looking for "functional decor." In other words, pretty with a purpose! A few things caught my eye.

The first was a little glass pumpkin...perfect for this time of the year! I usually keep my coffee in a crystal decanter, but this little pumpkin is perfect for the fall season.

Now I am going to be on the look out for one I can use for the Christmas season!

I also found this little sterling silver piece. I THINK it might have originally been for sugar since it has a little notch in the lid where a spoon may have rested but most sugar jars are smaller. Regardless, it is the perfect size for my coffee filters. 

And of course the need to store 1/2 of my dishes when I built my floating shelves...seriously, who needs 20 plates! I purchased this little basket from Kaufmann Merchantile with a gift certificate from my son but I also found some on Amazon and have ordered 3 for my holiday wrapping station! (I'll share that little project when I get it set up!)

I have mentioned time and again that I really don't decorate much with  "pretty" without "function" or purpose...unless something has sentimental meaning. 

I am learning that these little touches are what really give a home "character." No need to use boring old plastic containers or cardboard boxes if you can "think outside the box" and find interesting pieces that are "pretty" but can also serve a useful function! 

Anything that can make my life more organized is great...the fact that it is pretty or interesting is a huge plus!