Piece by piece...

I had a friend on Facebook ask where she could find much of my decor because we share a style.

Funny…as I walk around this house I see so many pieces I have cobbled together over the years. Pieces I bought at auctions and refinished. Some at flea markets. Some I bought new and tired of over time so I gave them a little facelift. Pieces I inherited. ( I am actually kind of shocked at how many pieces there are and how little I paid for them originally!)

Every room in this house has pieces I have refinished, refurbished or rehabbed.

My bedroom….

Twenty years ago I bought an entire bedroom set…bed, dresser, highboy and two night stands. Paid a small fortune for the matchy-matchy set so I couldn’t bring myself to get rid of it. Over the years I finally gave up the bed and dresser and the highboy and nightstands have had little facelifts. The furniture and our master bedroom got a full makeover HERE.

Before….

After….

My office…

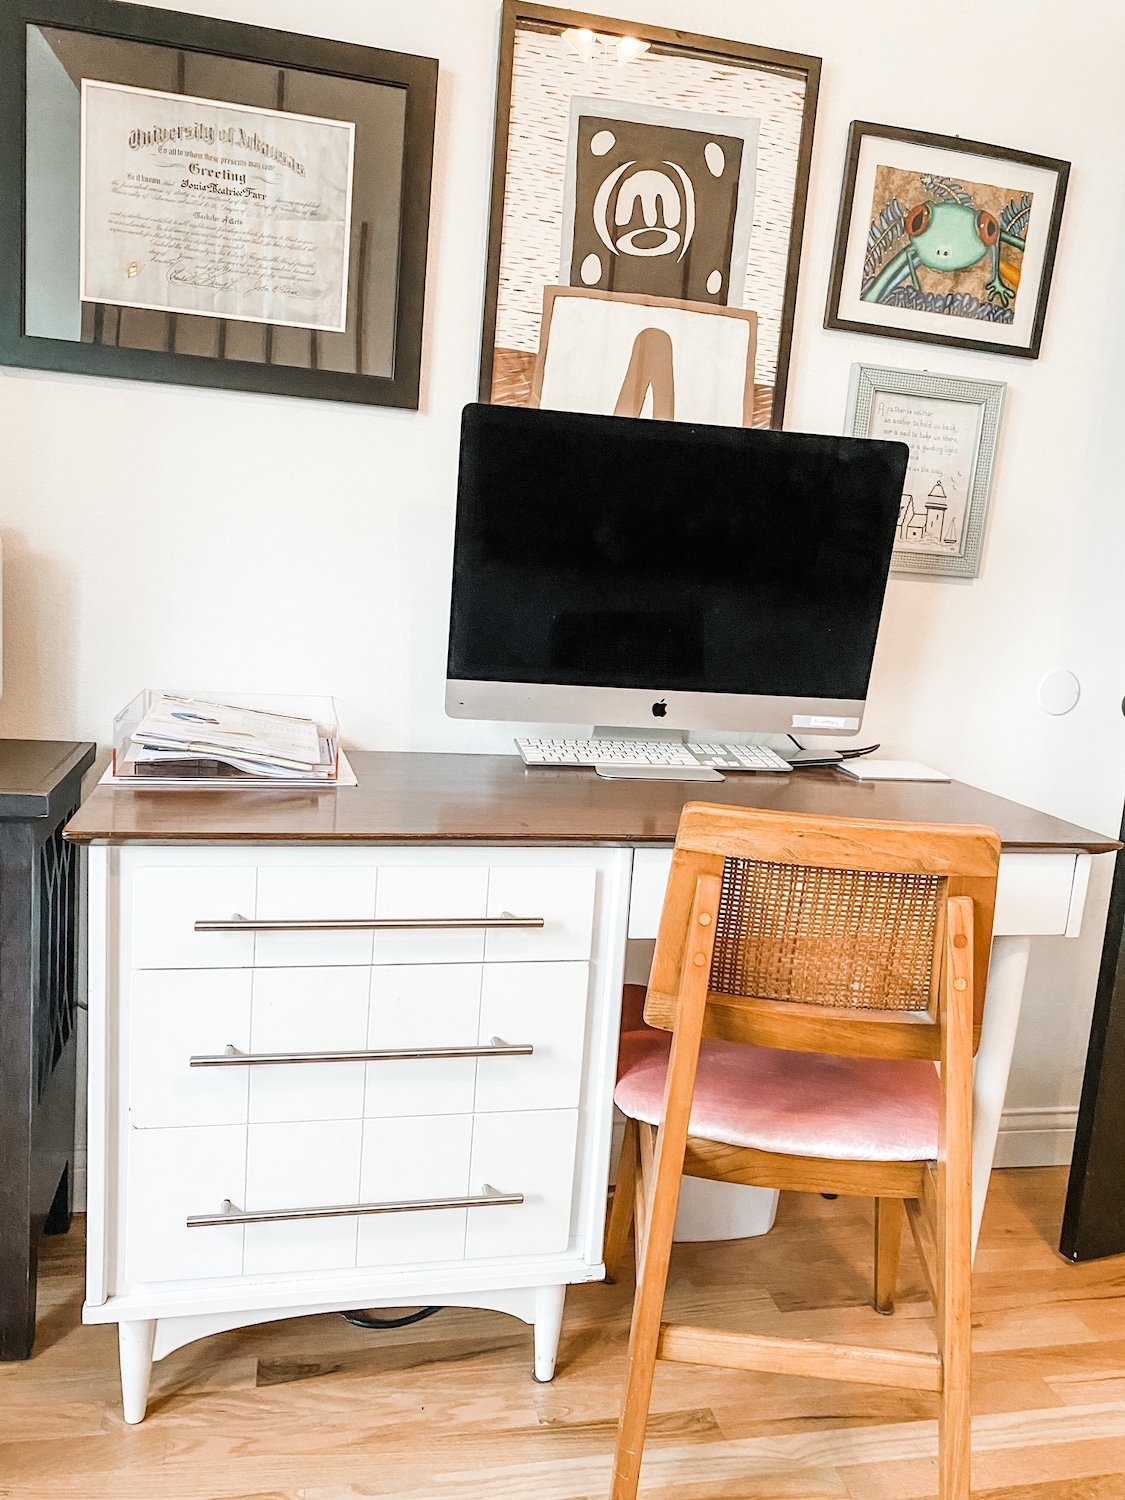
I bought this desk at a junk shop YEARS ago…I think I paid $25 for it.

Still love it although it could use a little refresh!

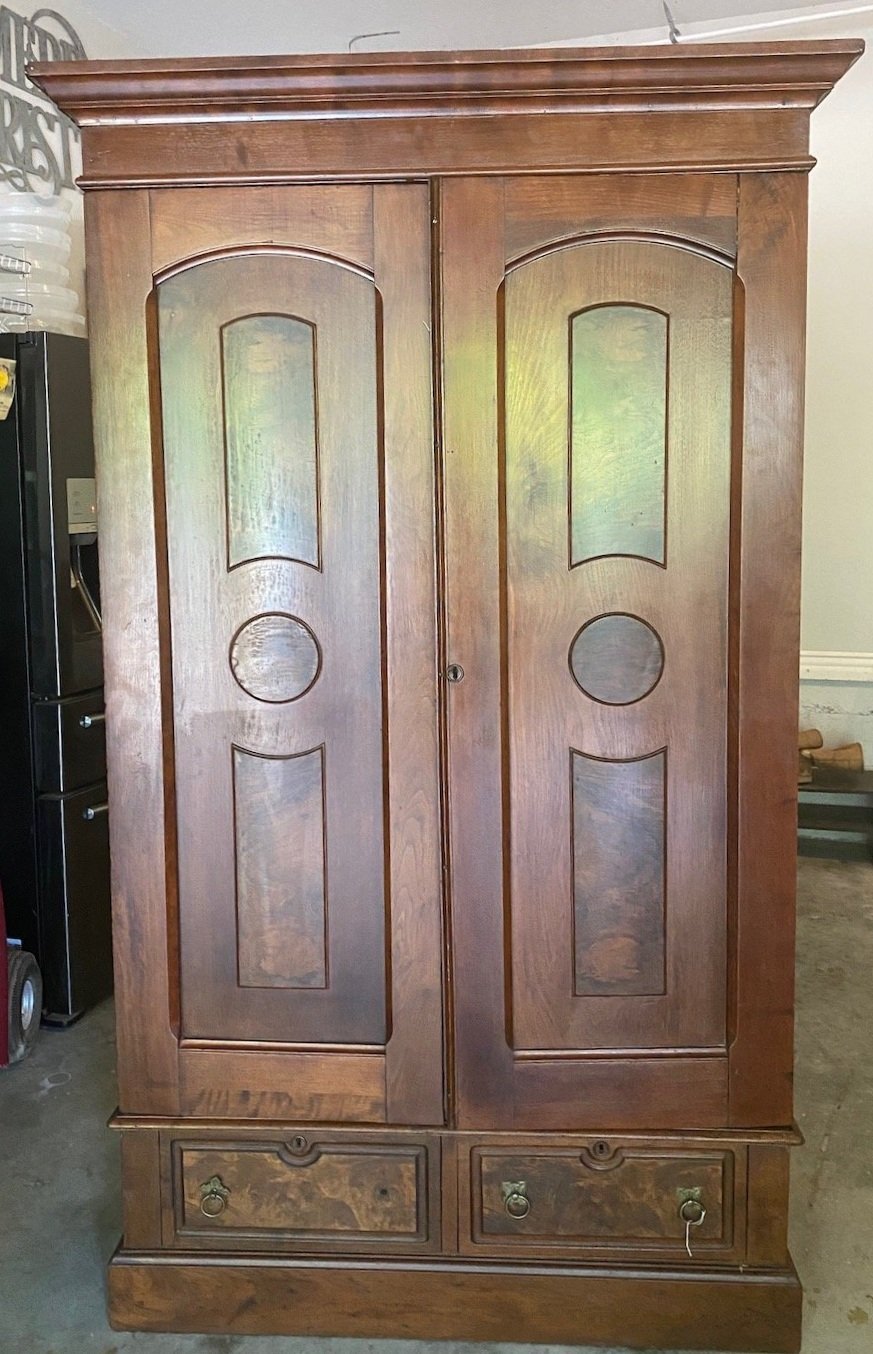
The china display cabinet in the dining room. This is a prime example of a piece that is not my professed style but I absolutely love it all the same…LOVE!

I had a vision in my mind’s eye of what I wanted and I knew this piece could be exactly what I wanted with a little time and effort….

It took a bit more time and effort than I anticipated but it really is one of my favorite pieces.

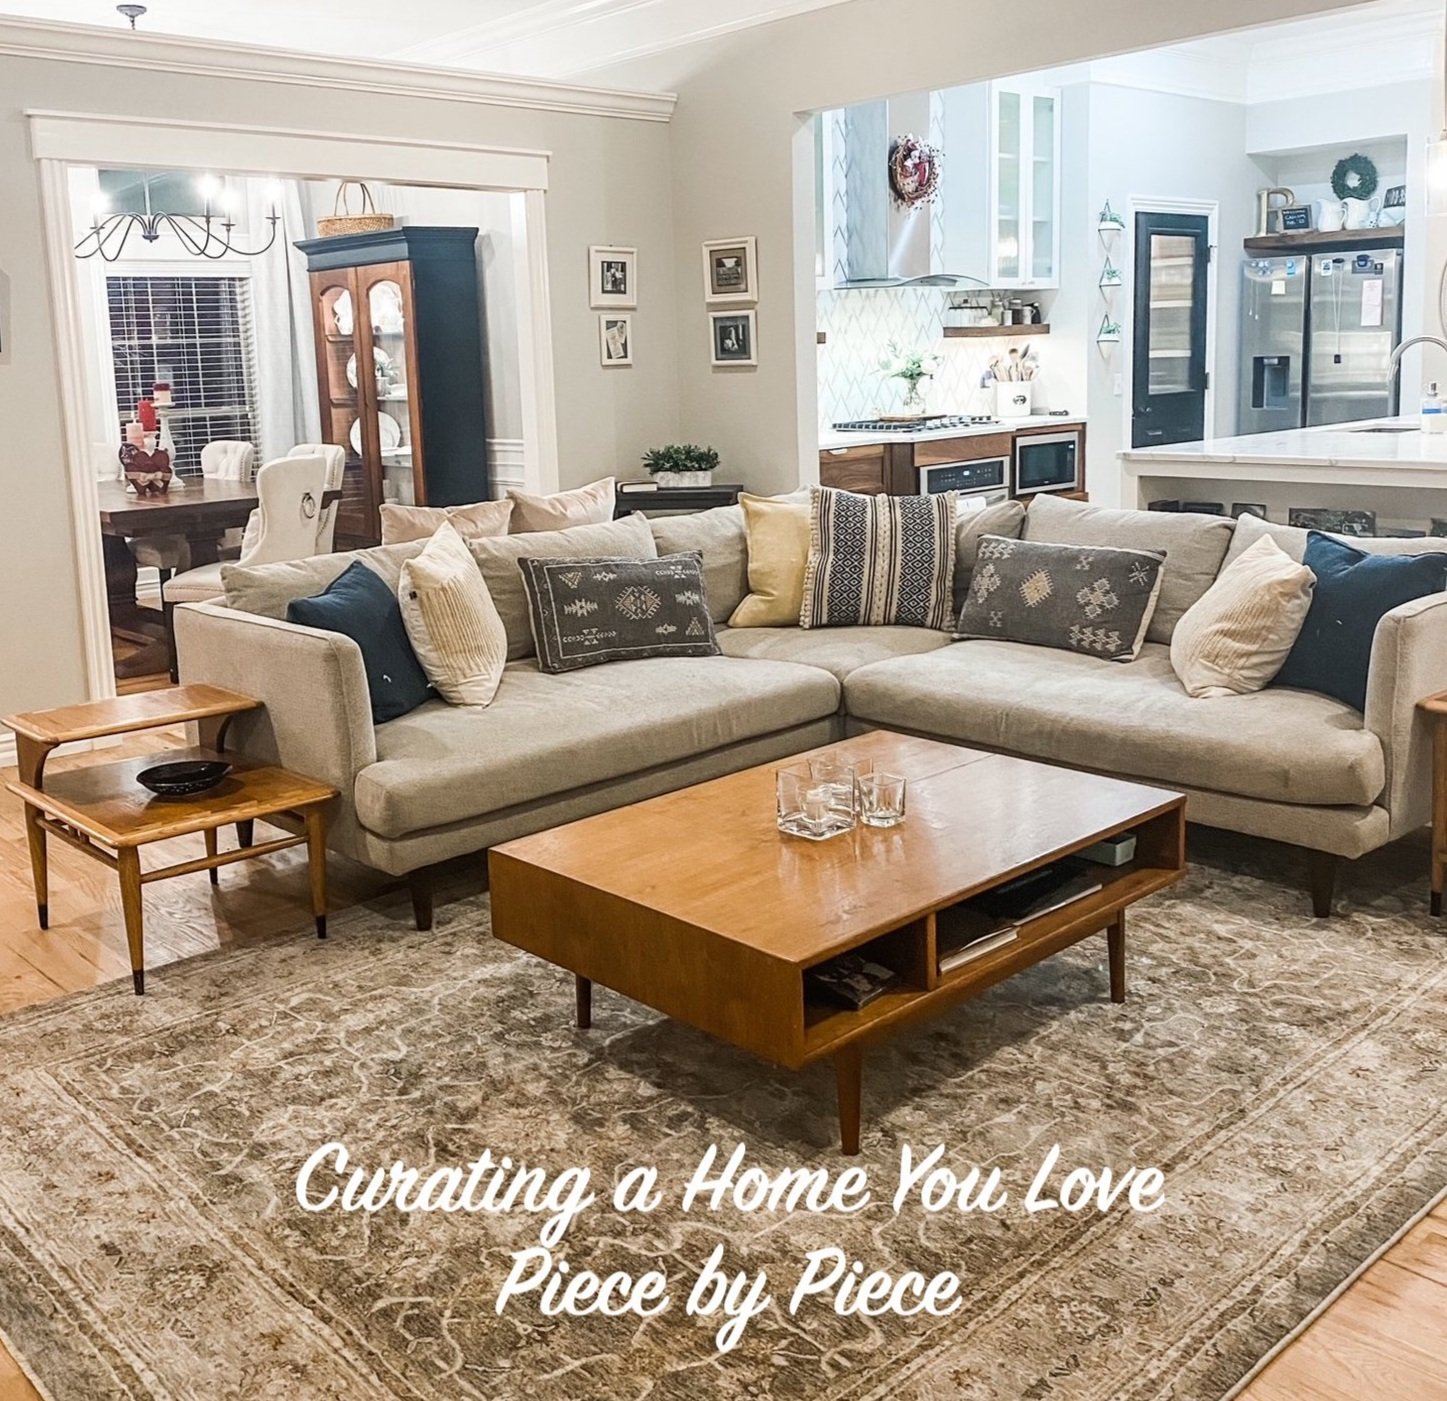
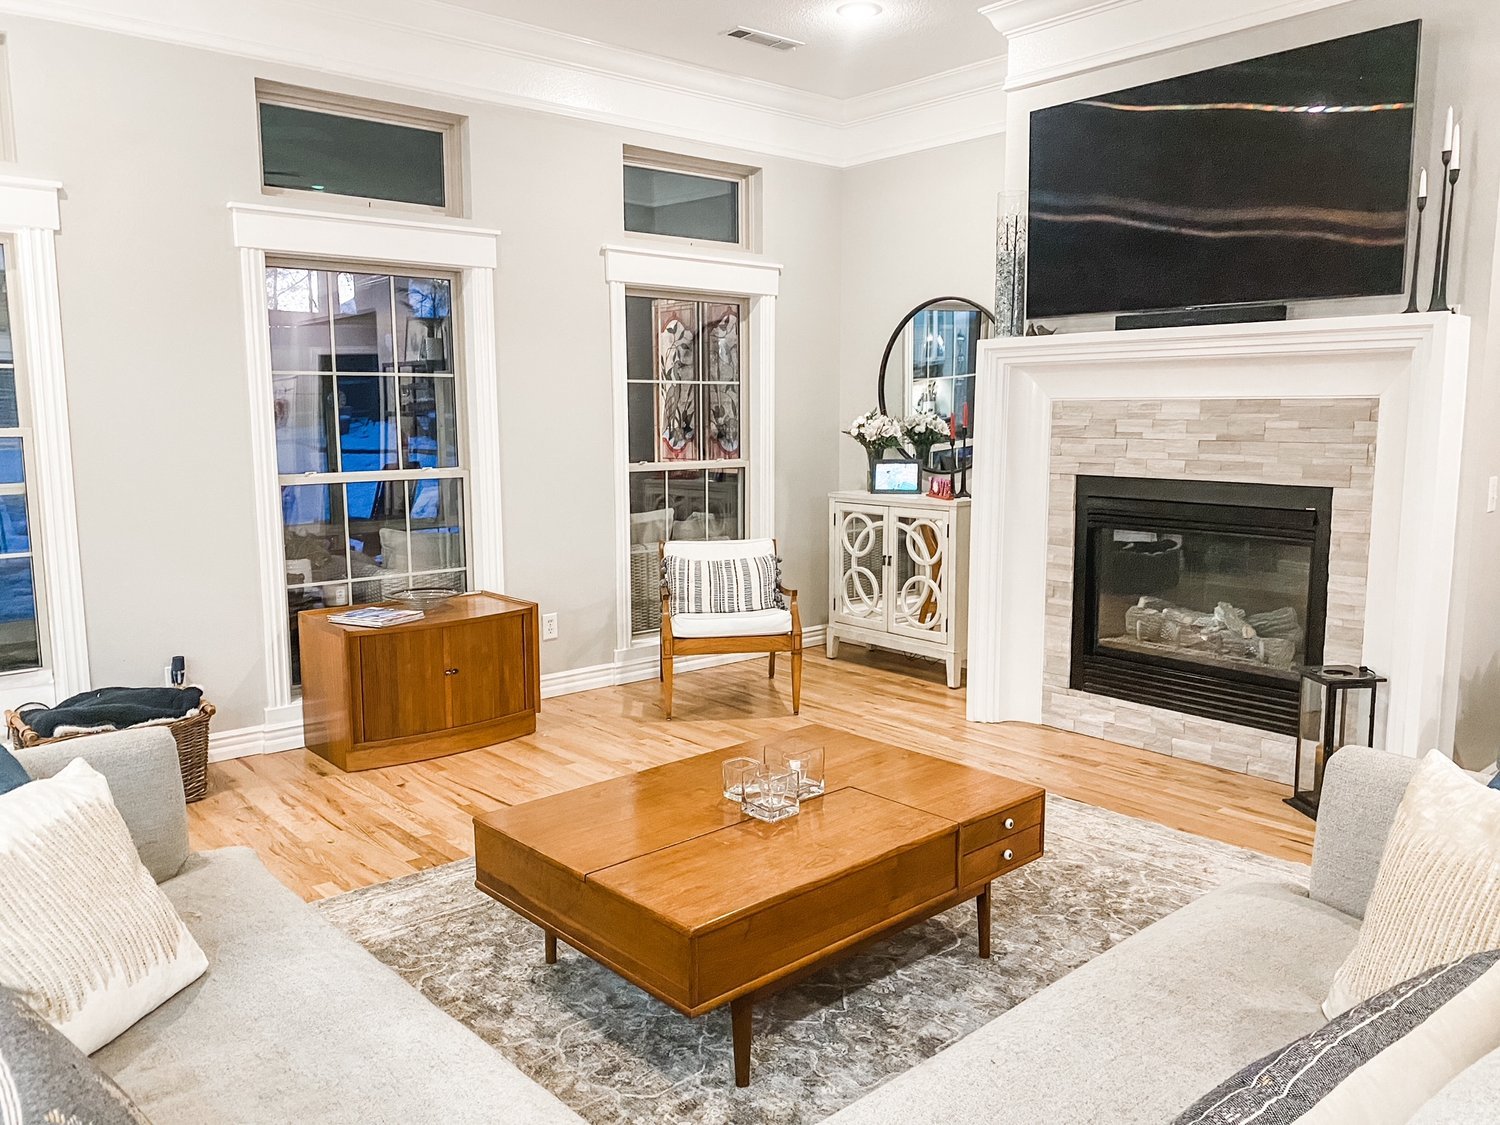
I have several pieces in the living room I have rehabbed over the years.

This AMAZING coffee table I picked up at an auction for $22!

I sometimes wish I had a round coffee table but I love this piece so much I just can’t bring myself to part with it!

Several Lane Acclaim tables I have picked up here and there and refinished.

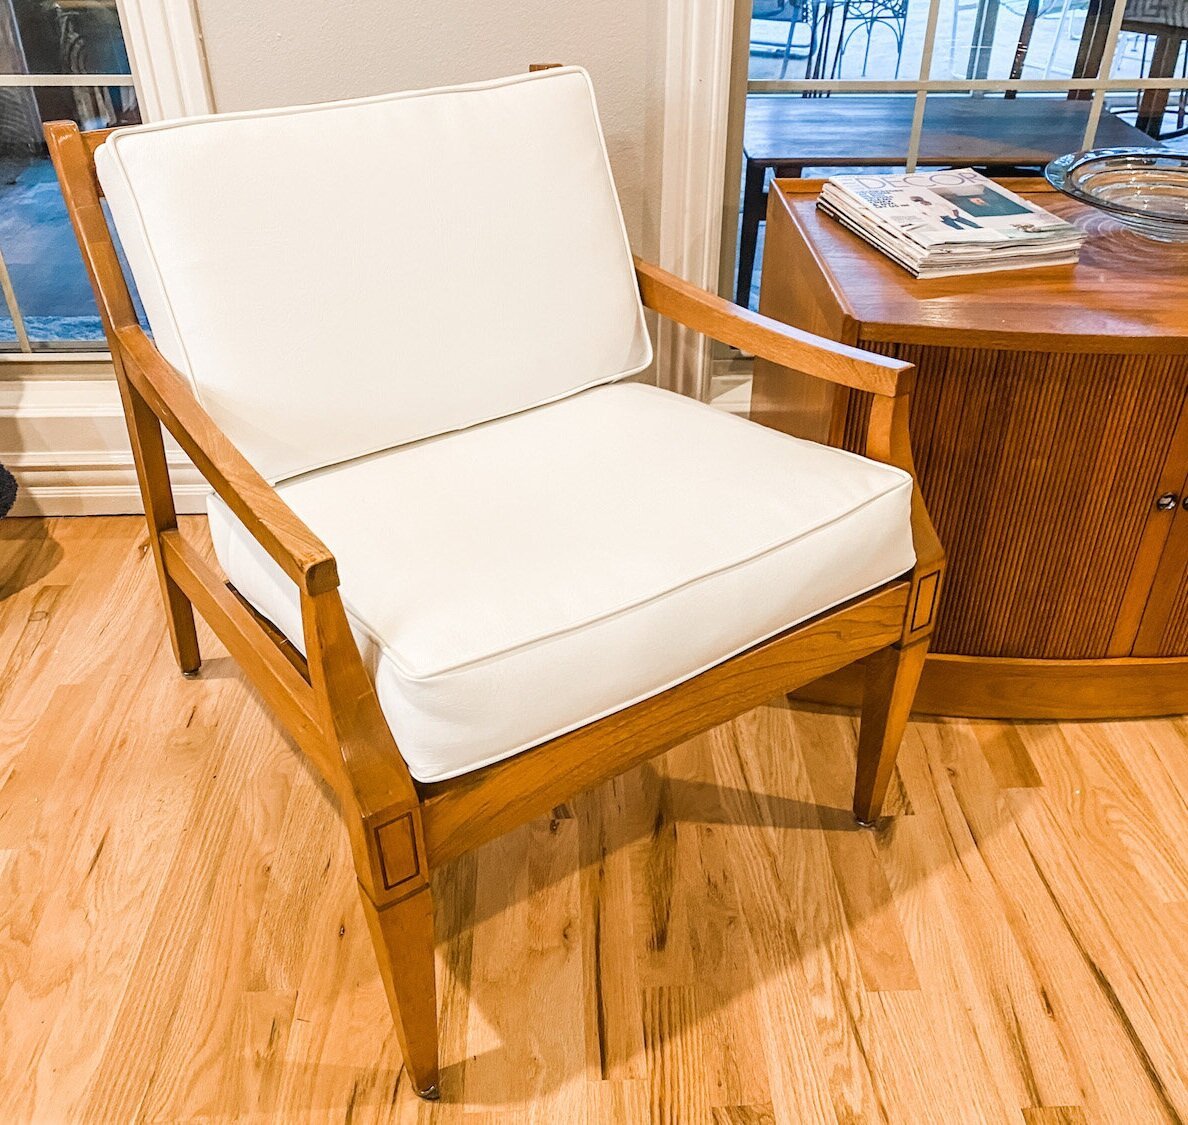
My grandmother’s little mid century chair has had two little makeovers. The teal chair is one I bought off Marketplace years ago and reupholstered….

My breakfast nook has several pieces as well.

The table….

The little china cabinet was a fun and relatively easy project….

They seem to work well together after their little facelifts….

There are so many more pieces I have curated and rehabbed over the years. Side tables, benches, chairs, dressers…every room has pieces I have refinished, painted or reupholstered.

It took years for me to collect all these pieces, bring them back to life and create a home I love with pieces that have purpose and meaning.

Most of the links are to the original rehabs where I share what I did…unfortunately I am NOT a good teacher so often I direct you to search the internet for good tutorials on how to repair, refinish and paint pieces. Find a tutorial that makes sense to you and begin curating your home one piece at a time.

It doesn’t happen over night! And it seems to be never ending…

Home office makeover reveal...

Last week I shared the need to give my home office a little “character and design appeal.” (You can go to the link to see the “before.”)

This week I will share a few changes I made…not huge changes but enough to give it a little be more appeal.

It wasn’t until I was working on my “Bogey Home Tour” page that I realized I had done absolutely nothing to this room. Not a huge deal but, as I mentioned, you can see this room from the main living area and it is right off the entry…so it really needed a little something.

The first step was to purge and organize. The closet is great for storing my small seasonal decor (Valentine’s, Easter, the 4th, etc.) and office supplies but it could stand a little purge and organization.

It had a mismash of boxes and baskets and binders so this is one of the few things I splurged on…matching boxes for receipts and such and new binders. Then it was just a matter of organizing everything else…mostly the small seasonal stuff. I even organized all the decorative candles I switch out for every season on my dining table….

After purging I painted the walls and trim. Three of the walls and all the trim were painted white…just plain ole’ white. The wall I decided to do an accent feature on was painted pink. Yep, pink.

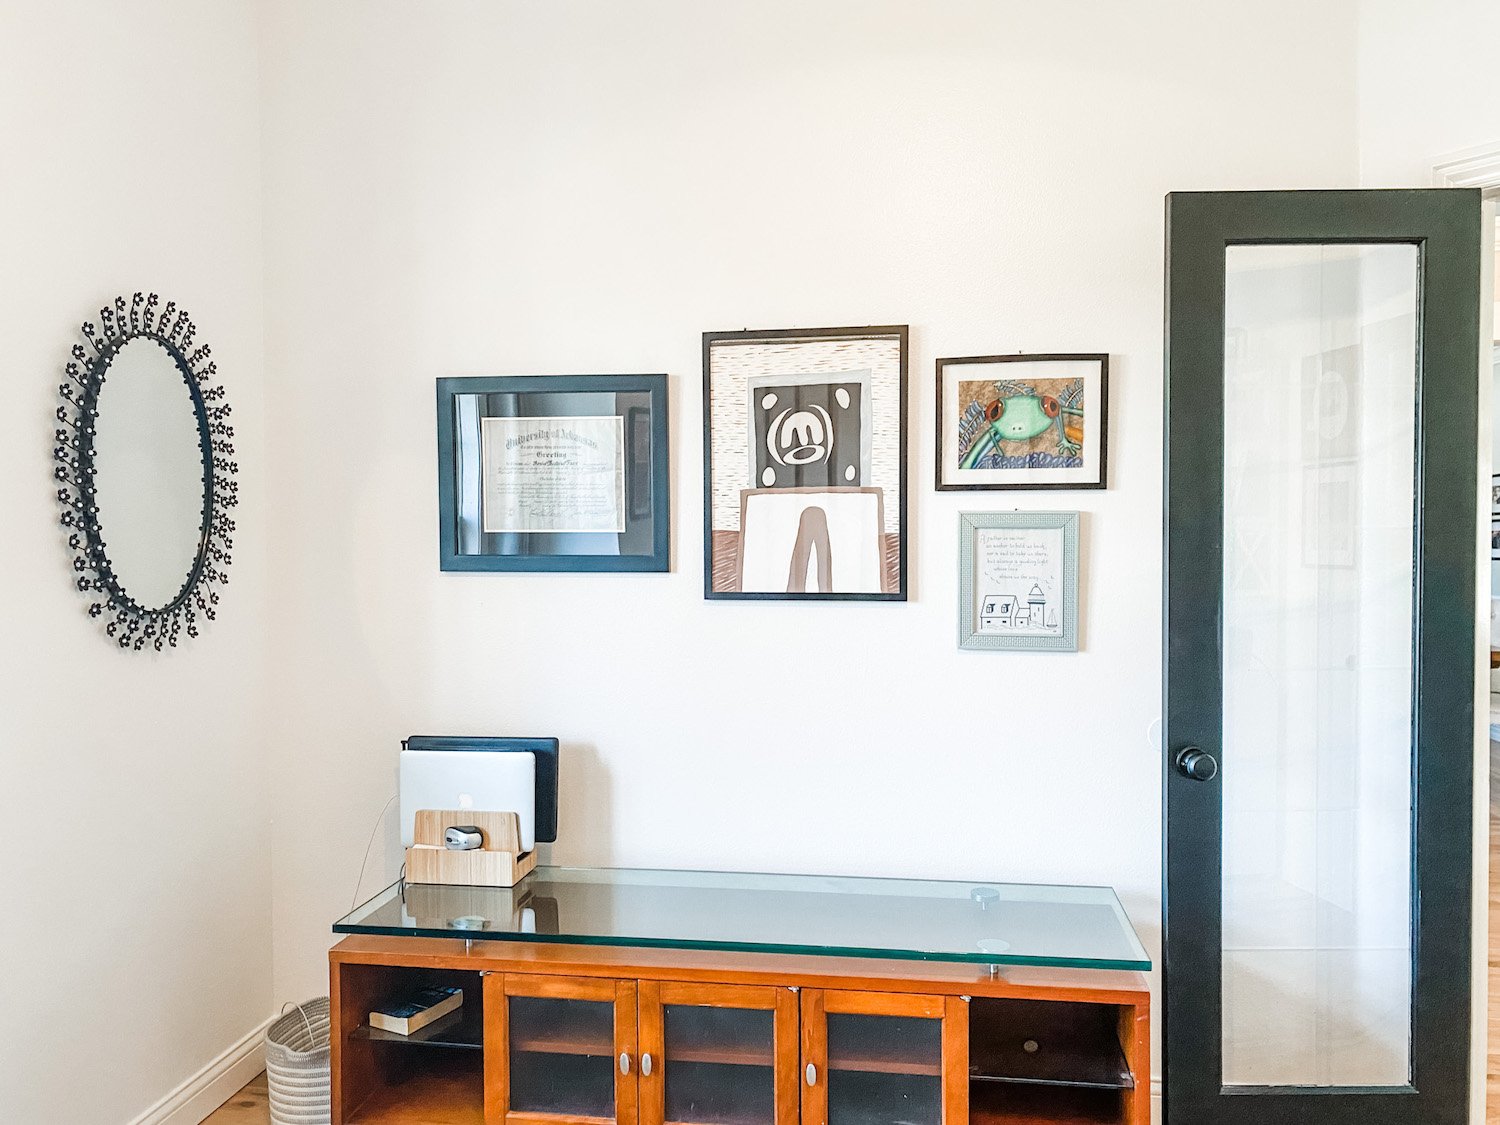
This mess of a wall and credenza had become a dumping ground. I removed all the “unnecessaries,” changed up the pictures on the wall and organized the laptops in THIS little gem.

Eventually I will get another piece to put here but for now, this works.

I also have some leftover walnut and may make some floating shelves or a picture ledge for this wall…maybe…we’ll see.

I still like this shelving/cabinet….

…it just desperately needed to be purged and organized. I debated putting the printer inside the cabinet, but we really do use it a lot. All the paper, business checks and cartridges are stored in the bottom. I may eventually add a little more greenery (aka fake plants) but for now this will suffice.

I really wanted to put a glass top desk in front of the window, but as you can see, this is Cleo’s lookout chair…she spends most of her day in this chair guarding the house. Okay, she spends most of the day SLEEPING…but still…

The only real change in this little window space (besides paint) was the removal of the blinds. The window had blinds when we moved in that have never been closed…so I just took them down. I rehung the curtains…they never get closed but they “dress” the window.

I may eventually change out the big ugly brown leather chair for something a little more sleek and modern, but for now Cleo seems perfectly comfortable and content.

I will also eventually change out the rug but for now it matches the chair. This is one of those times when I would love to do a whole room makeover…new chair, new rug, new credenza…but I am doing what needs to be done with as little expense as possible…baby steps!

As I have said time and again, sometimes our design “wants” are dictated by pets and kids…and of course finances. You may WANT a white couch but that’s probably not a good idea if you have a toddler running around with a sippy cup of juice or a large black dog that likes to run around in the mud. (BTW, if you think you will finally be able to get that beautiful white couch after the toddler becomes a kid or the kid becomes an adult, forget it. )

Now, the desk and accent wall….

The top of the desk needed a good purge. There really was nothing on there that couldn’t be put in a drawer or filed away…out of sight. I did buy one acrylic organizer for the top just to put bills and such in. The rest got cleared off and stored away. (Remember, I open my mail by the trash can…trash goes in the trash, mail for the kids goes in the mail holder by the front door and anything that needs my attention goes on my desk. No piles of mail laying around screaming for my attention…I take a few minutes EVERY day to deal with the mail as it comes in. )

I recovered the seat of the office chair with some pink velvet I had on hand.

Now, the pièce de résistance. The accent wall. HERE I talked about “finding my inspiration” for this room. After weeks of cruising the internet, I finally decided that this was the look I love.

And I do love it!

Next week I will share a full tutorial on this wall. Tutorials are usually not my forte’ but hopefully I can make sense out of how I created this “visual interest.”

As with all DIY projects, I firmly believe it all comes down to confidence. No, I had never created a wall like this…but I had no doubt I could give it the old college try. Succeed or fail, I would learn something. I think I succeeded although I will admit there are a few things I might do differently if I did it again (which I probably won’t!) But that is the great thing about sharing what I do…you can learn from my challenges (never say mistakes!)

Until then….

Screened porch reveal...

IMG_1545.JPG

SO. MUCH. RAIN! But that is spring in the Ozarks. We are again fortunate that we haven’t had severe weather…just some flooding here and there.

So much rain my poor plants are screaming ENOUGH ALREADY! They are really struggling. But soon the summer heat and dry will set in and I will be watering every day. This amazing house had an irrigation system but it had been severely neglected for years. It took a bit of time and money but I have 2/3 of the system up and running so HOPEFULLY when it is time to water I can do most of it with a flip of a switch. I still have a few porch plants that will need to be watered but its waaaay better than dragging a hose and sprinkler around the yard.

Totally off subject other than to say I have been forced to work on a few indoor projects. Those usually entail my LEAST favorite DIY chore, sewing, but if you want pretty (without a serious financial payout), it is an evil necessity!

The screened porch was no exception…there were a few sewing projects. Pooh.

So my inspiration (okay, kick in the rear) came from another blogger…Tasha. LOVE her screened porch she revealed HERE. Awesome space and if I had a large screened porch and a large family, it would be perfect. But I have a small space and it’s just us and the critters. We often joke….we have this huge house but usually all three cats and the dog manage to crowd in…we can literally take up 10 square feet.

Regardless of the space, you want it comfortable and inviting….this space was neither. It was basically where we “threw” a bunch of overflow outdoor stuff when we moved in and have neglected it since. Other than eating out here at the little table on nice evenings, it had been pretty neglected.

The little table and chairs were an auction score and over the years they sat outside and the black paint chipped. Pretty sad looking. It may be kind of “old fashion” looking, but we really do enjoying sitting at this little table for dinner and in the mornings drinking coffee.

IMG_1438.jpg

The wicker chairs were on our porch at the old house…I think they were originally rockers but over the years the wood rotted and I removed the rocker part.

The round rug was originally my son’s and he didn’t want it so we put it out here.

My intent has been to turn the iron frame between the chairs into an outdoor side table. I think it is an old aquarium stand I salvaged from an apartment years ago.

You may notice the fan and light were pretty pathetic…so that replacement is a MUST

IMG_1440.jpg

The “kitty corner.” They LOVE the old wicker chair that use to be my smoking chair on my back porch. I haven’t smoked in almost 10 years if that gives you an idea of how long that thing has been around. It was pretty nasty and honestly needed to go!

IMG_1442.jpg

Even in a small space, it is important to “make a plan.” Tasha gives some excellent tips for designing a space like this, or any space for that matter.

1) If you have a large space, create zones. I didn’t really have a large space, but I do want it to serve several purposes. Eating, reading, and cat lounging (they are indoor kitties so they LOVE this outdoor space)

2) Make your space USEABLE! That was the motivation for this makeover…useable and comfortable.

3) Add as much ambient light as possible. New fan and light and I do want to eventually add a lamp on the little side table but honestly we rarely sit out there after dark so I’m in no hurry to find a suitable lamp.

4) Add plants! Unfortunately I don’t do well with indoor plants. I did have a HUGE peace lily in the all season room I divided so I put that in here…I tried adding a fuchsia but it took all of about three days for all the pretty pink blooms to drop so it went outside and I ended up adding a little potted planter of outdoor flowers. Maybe they will fair better since I am a master of most outdoor plants!

5) Bring in pops of color! Now that I can do…although if you look around you may notice I don’t do that on a large scale in my decor. But in my plan for this space I knew exactly what I wanted to do,

Pink flamingos.

Okay, so here is how that all started. Years ago Brian bought two vintage pink flamingo knick-knacks at an auction.

IMG_1552.jpg

For some reason that has become a “thing” in our house…possibly because it is so rare for him to buy something other than guns, pocket knives and coins…lol! One Christmas Mom bought him a pink flamingo ornament. Somehow we ended up with pink flamingo metal ornaments in our yard. I bought him some flamingo socks…it just went on and on.

And honestly, I like pink and green.

So my plan for this space…

1) New cushions and pillows for the chairs. Perfect way to bring in the flamingos and A LOT of color.

2) FINALLY paint the ratty iron aquarium frame and make a top for it.

3) Paint the little table and chairs.

4) Years ago I acquired the iron frame to an old train bench from my mom. It had sat on their front porch for YEARS. Eventually the wood rotted and my intent was to rebuild it with new wood. This little porch is the perfect place for it…and it is time!

5) Add some plants here and there.

The reading area…

IMG_1541.JPG

I made new cushions and pillows for the chairs.

A new “funky bow” for the Home Sweet Home sign that hangs on the wood frame that use to hang in our old guest bath.

IMG_1546.JPG

I painted the little iron base and made a wood top out of some scraps I had on hand.

A few little knick knacks. The driftwood is a piece we picked up off a frozen pond in Georgetown, CO almost twenty years ago! A picture of my precious kiddos.

IMG_1547.JPG

A new paddle fan and light…a must!

IMG_1545 2.JPG

I painted the little chair and table. I had to sand it a bit to remove a bunch of chipping paint, primed it all with metal primer, then sprayed it with spray paint.

IMG_1540.JPG

I had this old pewter compote for years and really didn’t have a clue what to do with it.

IMG_1538.JPG

I saw a picture on Pinterest where someone had turned one into a little flower thingy….

IMG_1539.JPG

...gives it a purpose.

I bought little vintage flamingo salt and pepper shakers off Ebay.

I bought a little rug off Etsy…

…and a little flamingo flag….(note the pathetic fuchsia)

IMG_1526.jpg

Hopefully the impatiens will fair better…..

My favorite project was the railroad bench. Primarily because it was a family heirloom and partly because the darn thing has been sitting around for years! It was time…

New wood and good for another few decades.

Somewhere there is a picture of four of my parent’s grandsons sitting on this bench when it was on their front porch. My boys were preschoolers then. Crazy.

IMG_1545 2.JPG

All in all I am pretty pleased with how it turned out.

It certainly isn’t anything as elaborate as Tasha’s but it serves our purposes!

I really didn’t spend a ton of money but the investment was worth every penny. It has been the perfect place to sit and read during the rainy, dreary days.

And of course the cats LOVE it!!!

Another rainy day project…swapping out the front porch decor for Memorial day and 4th of July.

IMG_1549.JPG

Just a few patriotic pillows and the wreath I shared HERE.

We are officially ready for summer. If it ever stops raining……

static1.squarespace.png

Mid century chair makeover and the dogwoods...

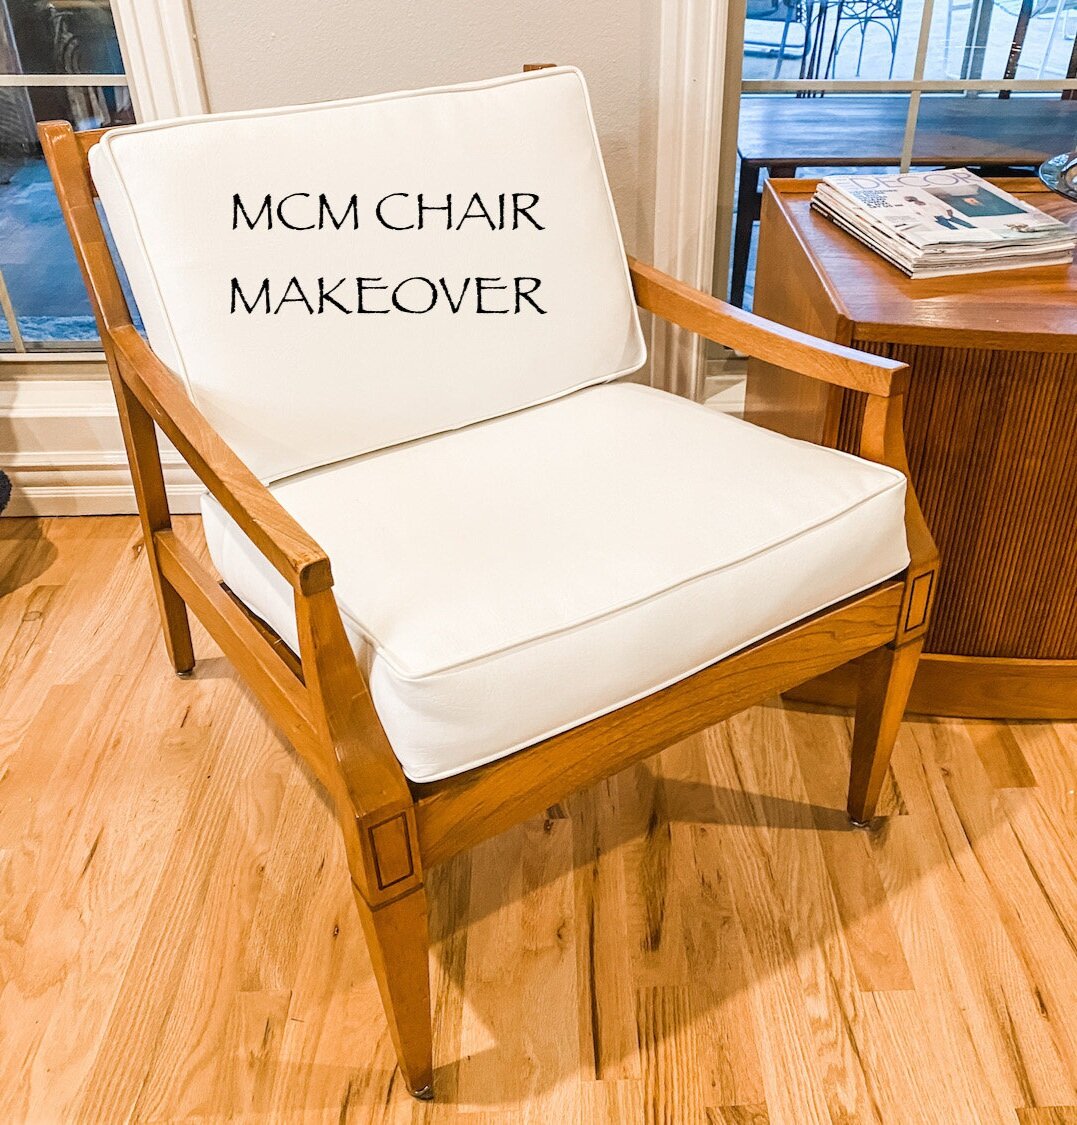
I originally shared the a makeover of this heirloom chair HERE.

After this little makeover it might not look much different…

IMG_1397+copy+3.jpg

…but it definitely is!

It was my grandmother’s and a “few years ago,” while gathering furniture for her college condo, Katie and I recovered the cushions and stripped and oiled the frame.

When she moved into an apartment her junior year, we found two matching mid century chairs she liked a bit better so this one came back home.

A few months ago I mentioned to Kate that I needed to recover the cushions because the dog had done a number on the white vinyl in the last few years. It was pretty ratty looking…

“Mom…you have had that chair in your house for almost 4 years now…it’s been more than a “few” years.”

Wow, time flies!

So yes, it was time to recover the cushions.

Two minor issues…one, the cushions seriously sucked. I am certain they weren’t the “original” cushions…my grandmother probably replaced the original when she recovered them with the darling blue cotton fabric that was on it when I received it. When Katie and I gave it a little makeover 5 years ago, we just added a little batting to the cushions before we recovered them.

They really weren’t sized properly and they were super uncomfortable.

Second, AS ALWAYS, I really struggled with what fabric to use. It is definitely a “mid century” style chair and so many of this style chair are indeed white and black vinyl. As much as I would have liked to “change it up” a tad, white vinyl really was the best option.

The frame is still in pretty good condition. I could have freshened it up a bit with another coat of tung oil finish, but nah…

New cushions…new fabric. That is all it really needed.

I bought 4” foam, cut it to fit properly and wrapped it in batting.

IMG_1382.jpg

TIP: The BEST way to cut foam is with an electric knife!

IMG_1181.jpg

The vinyl I used didn’t give me near the issues I had the last time we recovered the cushions. This time it went through my sewing machine just fine and I was able to easily create piping. Piping is a tedious accent to make and truthfully you could easily make cushion covers without it if you want to forgo the detail.

If you are having trouble getting vinyl to go through your machine THIS is a pretty nifty trick….

I have said it before and will say it again…and again…and again. If you do not know how to sew a straight stitch, LEARN. Take lessons from your local craft store, online or county extension. It is a skill that will open up your entire DIY world! On one hand I kind of curse my mom for making me take sewing lessons when I was a teen (because I really dislike sewing), but on the other I am so grateful I can make pillows, cushion covers, and curtains! And don’t think you need a high dollar sewing machine. Mine is a basic model and is AT LEAST 35 years old. The more basic, the easier it is to use!!!

AGAIN, I suck at tutorials so find an instructional video online that makes sense to you!!! Making cushion covers is not hard but there are tips and tricks that will make the process easier!

All in all it was time well spent. The chair now has a fresh new look!

IMG_1397+copy+2.jpg

Thank goodness the dog has now moved on to the big leather chair in the office by the front window. Fits her better and the dirt doesn’t show on the brown leather NEAR as badly!

IMG_1386.jpg

We had awesome snow showers Tuesday (seriously a blizzard Tuesday afternoon and by Tuesday evening it was ALL gone!) and a freeze Tuesday nigh.t I had to cover all the hostas with buckets and sheets. Back in the 70s by this weekend. Typical Arkansas weather. This is why I refuse to plant tender annuals even after our “freeze date.” As it is all the beautiful dogwood and azalea blooms may not survive. Sooooo frustrating.

That is one thing I discovered about this house…every single window has an amazing view of the dogwoods! Beautiful.

From the dining room window.

From the dining room window.

From the front porch.

From the front porch.

From the master bedroom window.

From the laundry room window.

From the laundry room window.

From the screened porch.

From the screened porch.

From the back of the house…this will be the view out of my new master bath windows when they FINALLY get here!

From the back of the house…this will be the view out of my new master bath windows when they FINALLY get here!

This past weekend I took a walk around our neighborhood with Cleo and every single yard has dogwoods and azaleas.

Another reason why I love my home!

static1.squarespace.png

Styling a master bedroom....

It is no secret I have struggled to “restyle” my master bedroom for years. Truth is, it’s not that I struggled to “restyle” it…I struggled to give it any style at all!.

If you follow the links you can see the transformation over the years!

It started with my grotesquely expensive, heavy, dark and somewhat dated bedroom furniture I bought in 2001!

I don’t know why it took me so long to FINALLY paint it, but when I did it made a huge difference!

The next big change was the flooring…we finally installed hand scraped laminate flooring in both the bedroom and adjoining office.

I love this flooring but after living with it for a few years I will make one observation…avoid dark flooring if at all possible. It is beautiful but shows EVERYTHING…not a good thing if you have a big yellow dog who sheds…or kids with dirty feet! But this was the last room with carpet and I can not tell you how happy I am to have NO carpet in this house!

Next up, changing out the chairs.

LOVE them! But they were a bit on the “grey” side and the walls were more on the “cream” side…so….

Paint…finally got around to doing that.

At one point I even changed out the bed frame….

It had a “distressed” treatment and if you know me that is NOT my thing…but I kinda liked the look for a time.

All of the color choices stemmed from the one color inspiration I found on Pinterest….

It originated on designseeds.com. This site is a source of endless inspiration and in my opinion it is one of the first sites you should visit when designing a room. If you have an element you HAVE to decorate around it will help you find colors that will enhance and even mask it....like that ugly brown couch or the wing back chair your mom gave you. 

You can see as I moved forward with each new element, I managed to work in these colors…on the walls, rugs, pillows, chairs, etc.

Eventually we transitioned to a king size mattress…so the queen bed frame no longer worked. I searched high and low for one I would love and finally settled on a simple frame.

I have said time and again…go “neutral” with the big ticket items. Use pillows, throws, rugs, art, and accent furniture to make your “design statement.”

On one of my Pinterest email feeds there was a link to the “Top 10 Fixer Upper Bedrooms.” The bedrooms featured are all “Fixer Upper” bedrooms. I love to look at sites like this because they give me inspiration.

This bed is very similar to mine yet the whole room looks SO much more cozy and inviting.

So why doesn’t my space look as cozy and inviting as this space?

I bet you look at blogs and Pinterest and see all the amazingly styled and perfect spaces…bedrooms, mud rooms, laundry rooms, kitchens…and you just know yours could never be as glam because, well, you live in your house…and so do your kids and animals and spouse…and there is NO WAY you could keep your space looking as dreamy and beautiful.

All the beds on Pinterest and on the blogs are beautifully staged and styled with the pillows, throws and blankets. Like no one every sleeps on it…no baby pees on it…no dog sheds on it…

I GET IT!!!

My room isn’t staged for photos…it is “real life.”

I have a real mental block when it comes to wall decor in my room. Seriously…if you followed the links and looked at the dates you may notice I have been trying to style this room for almost 5 years. To date, I have hung one round mirror…

a canvas…

and two other mirrors….

I absolutely LOVE the 4 prints above the bed in the inspiration photo.

It has only taken me 18 years to find 3 square matted frames I like.

I did not like the artwork in the frames but I love the frames and the “3-D” matting. My original plan was to replace the prints with something “light and airy.” Maybe botanicals or black and whites. But I decided to pick out a few photos from our trips to Colorado…photos that have meaning….places we love!

If you have been around long enough you know I make my bed every day. I firmly believe that making your bed sets a positive tone for the rest of your day (and there is the whole “I might die and people will think I am a bum if my bed is unmade!” thing.) Since I might not be inclined to make my bed every day if it takes more than 60 seconds, I keep my bedding super simple…no froo-froo! Sheet, comforter, top quilt, throw for the animals (who never sleep on it) The dogs and cats sleep on the bed and pillows and yes, they all shed. So I need bleachable and washable bedding. I sleep with 4 pillows so there really is no time or room for fancy designer pillows and shams.

I brought my throw pillows down from the guest room and “staged” the bed…it looks AWESOME…but again, not happening…just too much froo-froo!

I really thought the guest room throw pillows would be the wrong color…but I like them and it has convinced me that I may have too much of the “frosted berry” in the room. I was going for a “pop” of color, but honestly, I think there is too much “pop.”

I really need new lamps…mine are Hobby Lobby lamps from 18 years ago that got a little paint treatment years ago. I couldn’t find lamps I love but I did find lamp shades I like better…unfortunately they aren’t “tall” enough…back they go!

I think big area rugs under the bed make a huge statement…I don’t have that. I went with two scatter rugs on each side of the bed. I did that primarily because this room has two distinct areas…the sitting space and the bed space. I threw down the rug Brian had in his living room and it works pretty well in the “sitting” space. I think maybe if I want to “cozy” up the entire space and make if feel a tad more cohesive I could use two identical rugs in the spaces. But again, serious mental block on what to use so I just live with what I have.

But again, the scatter rugs are the “frosted berry” color and now I’m kinda not liking that…that may be something I change in short order!

The paddle fans were pretty awesome (and expensive) when I hung them 18 years ago. Now they are kind of “meh.” I love the chandelier style lights in the inspiration room but honestly I HAVE to have a paddle fan above my bed…I just can’t be comfortable with out a little air movement. Since I have recess lighting I could probably change these out to a less “in your face” fan.

Window dressings! One of the things I noticed about all the “inspiration rooms” are the beautiful window dressings. Almost all have beautiful, full curtains. Truth is, I really don’t like curtains. Don’t know why. I only have curtains in the front window because sometimes I need to close them to block out the hot sun…but since I live at the end of a cul-de-sac I really don’t need them for privacy. And truth be told, the ones I have are too short…I believe I mentioned that here and yes, I have managed to ignore them for well over a year.

Truthfully I have been waiting on Candice Olsen or Joanna Gaines to come knocking on my door but since they have not, I guess I will have to keep trudging along in this space.

What is my point to this rambling post?

Life…life happens in our homes and while we would love to live in the “inspiration rooms” on blogs and Pinterest, we live in the “real world.” We have to style our spaces to fit our life styles and needs, in the time and budget we have available. We have to accept the fact that sometimes it can take years (or decades) to make a space feel “cozy and inviting”…and that is okay.

Yes, look to the blogs and Pinterest for inspiration…but don’t get frustrated when your space doesn’t look or feel like the inspiration photo after a weekend of hard work or a few trips to the home interior store.

I have been working on this space for 18 years and I still have a lot I want to do!

How do you eat an elephant…one bite at a time…how do you style a bedroom…one element at a time!

A new bar top and Wayfair light fixture...

As I mentioned here, change is tough for me...which is why these things haven't changed much in 19 years.

I painted the dining room light years ago (antique bronze to black)...as much as I really didn't love the actual fixture, I loved what I could do with it during the holidays....

One year I removed the little shades and I liked that a bit better, but I still wasn't digging the light fixture itself.

Just too ornate and "heavy."

But I could never find one that would allow me to decorate it for the seasons...until I did!

(As you can see, I still have the Drexel buffet...love the piece...just not the color...waiting on "inspiration.")

The install was super simple...here I share how to install a new light fixture!

Not a huge fan of the Edison bulbs, but I think those can easily be changed out...eventually. For now I can live with them knowing that come fall (right around the corner...yea!) and Christmas, I can still decorate the fixture!

I think it is more of a "farmhouse" look but the nickel accents tie in with the more "modern style" brushed nickel bar lights. So it works for me....

Which brings me to the bar top....

...it wasn't totally offensive, but in my quest to go "light and bright" in my kitchen without painting all my kitchen cabinets, I impulsively ordered a white quartz top.

Truth is, I wasn't really loving it after it was installed. Just too "stark" and soooo white! 

I painted the little support corbels the same color as the trim...more "white." (They were originally black but since I didn't damage them when I removed the old top I just primed them and painted them with the trim paint...BM Swiss Coffee.)

This is what we refer to in the design world as "OMGosh what have I done" moments.

I decided what was really bugging me was the dingy old bar stool seats. They had certainly seen their better days. The bar stools are 18 years old and I still love the style dearly...heavy iron and super sturdy...but the "grey tweed" upholstery just didn't cut it any more!

Choosing fabrics is something I really struggle with...but I know I LOVE the fabric I used on this little chair makeover

Light and bright with just a touch of grey! So I ran out and bought enough fabric to recover the bar stool seats. About 1 1/2 yards for four seat cushions. If you don't know how to figure for fabric, take your measurements with you and they will help you figure it...just make sure you add 2" on each side! (Or better yet, just take a seat with you!)

Pay CLOSE attention to the direction of the fabric. This fabric doesn't APPEAR to have a "right or wrong" way, but it does. I put a pin in the top of each piece so I would know which way to lay the fabric on the seats!

Reupholstering chair seats is a super easy DIY project...probably one of the simplest DIY projects one can tackle! And this easy little project is an excellent way to make a pretty dramatic change in any room without breaking the bank or dragging out the sewing machine! There are thousands of great tutorials online...so again, do your research and find one that makes sense to you and use it!

In this case I had no desire to paint the stools...I like the black iron...but if you want to paint a dining chair or stool, do it after you have removed the seats but BEFORE reattach them. Again, super simple project! Use the KSTP method (kilz, sand, tack, paint...here is a pretty good paint tutorial.)

I removed the seat cushions! In this case, 4 little screws! I also scrubbed down the stools...pretty nasty after 18 years of use!

Then it was just a matter of wrapping the seats with the new fabric...I didn't even remove the old fabric or bother with applying a new underside....and reattaching them.

I guess that might be an issue if you are laying on the floor looking up at the underside.

Here I do share a few helpful tips on upholstering...pretty much applies to the simplest project!

While I had the camera out I played around with a few different "centerpieces" for the bar with knick-knacks I had on hand...

But honestly, with mischievous cats who insist on knocking everything off the bar, we are better off leaving it clutter free! Same with the dining table...too many broken vases and scattered flowers!

A few relatively minor decor changes that made a subtle but significant difference! 

Funky little chair makeover and a few upholstery tips....

Another auction buy that languished in the garage for months until I pulled it out and thought..."Hum, I kinda think that is cool!"

It may not LOOK cool, but it is a funky little chair...and I like "different." Not really my style (Hollywood Regency maybe?) but since my style is "eclectic," I can find a place for it! 

I'm not sure exactly what wood it is...my guess is walnut. But the finish was the typical dark stain with black flecks I see on a lot on furniture from the 70's...not really attractive...


After I stripped all the old fabric, I used my 1/2 and 1/2 mixture and stripping process to strip the old finish and stain...then I applied 4 coats of tung oil finish (no stain)! I like the warmth of natural wood.

As always, if one comes in, one must go out. So this little chair in my office was moved upstairs into the guest room until I have room in my space at 410 Vintage! I bought it 25 years ago at an estate auction and it was my first real reupholstery project.

Fabric is always a tough one for me...maybe because I know how hard it is to reupholster a piece and I don't want to do something I will tire of and have to redo. I found several fabrics I thought I might like, brought samples home and did what I always do...stare at it for a few days. In the end I went with this fun but somewhat conservative "geo" pattern...I like that it is relatively neutral and could be spiced up with a pillow or throw...

And spice it I did. When I was looking at fabrics I found an awesome pink velvet. I was briefly tempted to cover the chair in the fabric but I knew it would be a "fad color" I would later regret. But I couldn't stop obsessing over the pink so I decided to find a pink accent pillow.

Naturally, I couldn't find a pillow I like so I ended up buying a little bit of the pink velvet and made a little pillow. Instead of cording, I decided to go with tassels on the corners but couldn't find any I liked...so I made little "tufts" out of feather cording...just too stinking cute!

A simple but fun little detail that brings in the pink I was drooling over without the huge commitment of covering an entire chair in it! I would advise taking this approach on all "big ticket items." Couches, chairs, bedding...keep them neutral and add the "fad" details and colors with pillows, throws, curtains and rugs...accents that are relatively inexpensive to change out when the color falls out of favor in a few short years!

By the way, you may have noticed I changed the curtain...I went with white just to lighten the corner a bit!

I could never post a good tutorial on how to upholstery YOUR piece of furniture...there are so many great video tutorials online for just about any style of chair/couch/ottoman/etc and I strongly suggest you do a lot of research before you start your project. Find a tutorial that best suits YOUR needs.

I will share a few tips that will make your job a tad easier. It doesn't matter if you are recovering a chair or couch or ottoman...these rules apply!

First, learn to sew. Every DIYer should know how to use a sewing machine if for no other reason than to sew pillows or curtains or do basic upholstery or even hem a pair of pants. If you don't know how to sew a straight stitch, learn! I was fortunate that my mother made me take sewing lessons when I was young but I know a lot of local county extensions and hobby stores offer cheap (if not FREE) lessons! Take them...learn! And don't think you need an expensive sewing machine...I have a basic cheap machine that is at least 30 years old! 

Start simple. Before you tackle an heirloom wingback chair with expensive fabric, try something simple like this ottoman....

The drop cloth material I used was relatively inexpensive and super easy to sew. And I used a premade bias tape for the cording.

Take your time! I always think a project will take a lot less time than it actually does...so know that reupholstering anything isn't a "rainy day project!" Maybe a rainy WEEK...but deconstructing alone will take time and a lot of patience and you want to do it right!

Take LOTS of pictures while you deconstruct! Just snap random pictures as you strip the piece. If you are like me you THINK you will remember, but you won't...and you will find yourself sitting there wishing you knew how in the world it was originally put together. So take pictures!

It is always good to have a visual reference!

TRY to keep the pieces of the old upholstery intact so you can use them as a pattern for the new. If the old is really stinky and ewwwy, make a "pattern" with them out of butcher block paper or old newspaper. Make sure you label each pattern piece or old fabric so you know where it goes! And keep in mind that the fabric you remove has been trimmed...so add a few inches on each side of the piece...you can always trim after it is attached!

If you are going to strip and stain or paint, do it after you strip the old upholstery but before the new! 

Take time to make repairs! Make any repairs that need to be made BEFORE you start painting/stripping/staining and reupholstering! Do not spend the time and money reupholstering a chair if it wobbles or needs new strapping. If you don't know how to repair something property, Google it! Or email me! And remember, glue and clamps are your friend...not silicone, not sheetrock screws, not nails. Do it right or you are wasting your time!!!

Remove ALL the old upholstery nails and staples...all of them. And honestly, I have bought every tool on the market to make the job easier and I always revert back to a plain ole' flat screw driver, a hammer and a pair of good needle nose pliers!

Which reminds me...wear shoes! I don't care how careful you are, those nails and staples fly all over the place and you WILL find them with your bare feet!

Speaking of tools, I think I have tried every electric and manual stapler on the market. I have found that MOST will not set a staple flush or securely. So now I use a pneumatic stapler, similar to this one.  Best. Stapler. Ever!!!!  But word of warning...don't make a mistake and don't plan on recovering the piece any time soon because those staples aren't coming out!

Alway cover old batting with new. Even if the old batting seems to be in good condition, cover it with new batting. Always! If it has old horse hair stuffing replace it...if it has old "strapping," now is the time to replace it!!! On a few chairs, I have actually stripped everything down to the bare wooden bones and added new everything. Trust me, that is better than getting it all back together and discovering that the seat still sags or is lumpy and it smells!

Buy enough material! When you buy material make sure you account for any piping (welt cording) you might have to make. You can buy premade cording, but if you are going to make it out of the upholstery fabric it MUST be cut on the bias...in other words, diagonal across the fabric. To give you an example, on this little chair, I needed less than two yards for the seat and back, but I needed another yard just so I would have enough to make the welting. Again, google welt cording/piping and you will find great tutorials that will show you exactly how to make it. 

Make sure you have enough fabric to complete the project before you start. Lay ALL your "pattern pieces" out on the fabric and account for the welting before you start cutting. Nothing is worse than getting half way through the project only to discover you don't have enough fabric...and you bought the last bit of it! If all else fails you can always use two different fabrics on the project like I did on these little tuffets...but PLAN for it!


Google, google, google. I learned a lot at the elbow of my dad but today we have the world at our finger tips and you can find a good tutorial for just about any project...even upholstering furniture! I always advise watching as many tutorials as you can find and use the one that makes the most sense to you and your project! Watching DIY tutorials is also a great way to decide if you even want to tackle the project...advisable before you buy a wingback chair at a garage sale for $20 with the intent of "learning to upholstery!" 

Until next week when I hope to share Matt's entry makeover...


Another Drexel Accolade addition to the family....

It has actually been in the garage for months...but when I needed a large piece in my space at 410 Vintage Market and dug it out,I couldn't bring myself to turn loose.

A Drexel Accolade dry bar/server. The top actually flips open.

It isn't the first piece I bought for resale that wormed it's way into my heart...no secret that I love mid century pieces.

But this Drexel Accolade bar is more of the "Hollywood Regency" style. Identical to this little Drexel side table I painted with a high gloss lacquer and love in my den....

There is a good chance I will paint it if I decide to keep it...for now I have shined up the brass hardware and will leave it at that.

Over the years I have snagged some amazing bargains at auctions and on Craigslist...a little DIY magic and they are stunning additions to any home!

This Drexel coffee table....

My growing collection of mid century dressers...

This one is Matt's...I just don't have any more room!

My never ending collection of side tables!

I started collecting Lane Acclaim tables years ago...I think between the kids and I we are up to 10! That doesn't include the 2 walnut Lane coffee tables and the end table I just refinished for Katie and Matt!

Chairs...

Odd little bookcases are always fun!

If you walked through my home you might think I lean more towards the "traditional" side of home decor at a glance...but all these pieces have blended in to created a cohesive "eclectic" style. This "style" of home decor allows me to infuse pieces I love without worrying too much about whether I am breaking a "decorating rule" for a specific style!

So...back to the amazing Drexel Accolade console/bar...

In my opinion, there is too much "wood tone" in this space...I absolutely love the wood grain on this piece but there has to be a good balance...it just doesn't feel "balanced."

So there is a good chance that IF it stays, it will get painted. Again, that is a big "if." I think I have had no less than 5 different buffets and hutches in this space at one time or another and I always end up moving them out and moving the table back against the wall...as I mentioned before my toes tend to find anything out of place, and since the dining table has been against the wall for the better part of 19 years, it may not work well in the middle of the dining room where it REALLY belongs!

We'll see...that is one of the beauties of learning to DIY furniture...you can buy it cheap, paint, upholstery or refinish it and promptly move it out if it doesn't suit your needs. Without the guilt of having to live with something you hate because you paid a fortune for!!!!

OR it can find a permanent home where it can shine for another lifetime!

Eastlake chair makeover!

Years ago, the "wood purist" in me would never have painted an antique anything!

But slowly I have evolved and my snobbishness has taken a back seat to reality...some "antique" pieces have little use in today's world of decor trends. The rich color and grain of walnut, the depth and beauty of rosewood, the vibrate color and delicate grain of mahogany...zip, zilch, nada.

The day will come when those who followed the decor trends of today will glare at their painted furniture and shiplap walls and growl...it happens. NOTHING is timeless. Honey oak cabinets were timeless...8x8 tile floors were timeless...white appliances were timeless. 

The fact is decor trends come and go and we realize that which we thought was timeless, really isn't.

(There are still some who cherish antique pieces...and of course, as always, do a lot of research and make sure the piece you want to paint is not a valuable antique "as is!")

I have no doubt that this piece I slathered in chalk paint and covered in buffalo check fabric will catch the eye of someone looking for a great side chair...but it will someday be stripped down and refinished...exposing the amazing walnut grain and delicate incised carvings. Someday...but not today.

That was my original plan. Strip the old finish to expose the beautiful walnut grain and intricate carvings, reconstruct, seal with oil and reupholster in a fabric worthy of an antique walnut Eastlake piece.

Knowing all that hard work would garner little favor with my "target market," this chair sat in my garage for YEARS. Seriously, I'm not sure when I bought it but I can't remember a time when it wasn't lurking in the back of my garage.

(If you are a "purist" or antique lover, turn away NOW!)

Some would look at this and think EEEWWWWW!

Yes, it was pretty "eeewwwy." And yes, this is pretty much the shape it was in when I bought it. I think I remember removing the original rotted fabric and a few thousand upholstery nails and I did start stripping it using this process. But I eventually shoved it into a corner of the garage where it languished until I got over my snobbiness. 

I constructed a new seat out of plywood...not even close to the original but then again furniture no longer sits in the parlor only to be used by tea sipping adults. 

The richness and beauty of oiled walnut has fallen out of favor for the "farmhouse" chalk paint and distressed everything!

New foam padding and batting...the old horse hair of yesteryear just doesn't cut it these days. (Thank God...that stuff is nasty!)

The crushed velvet or needlepoint fabric that would have originally ordained this piece was a no-go. I went with the trendy buffalo check that I suspect will be as popular as chevron was a few short years ago!

A bazillion metal upholstery nails...no way Jose! Hot glued gimp is the way to go!

Don't get me wrong, I think it is as cute as a bug's ear! I have no doubt someone will LOVE it! It would be a precious side chair or even a dining chair paired with a farmhouse table that are all the rage!

And as always, it is Litty and Mr. Jinx approved....

As much as I would like to think of myself as a "purist" I can certainly appreciate the desire to fill our homes with pieces we love or suit our desire for "going with the flow" without breaking the bank! 

C'est la vie.

Little Miss Muffet sat on a....

Tuffet?

At least that is what came to mind when I saw these little chairs at an auction. When I googled "tuffet" I found pictures of little ottoman kinda things...but the definition is "a footstool or low seat." So I am going with tuffet. 

As cute as they are (or probably were in 1978) I knew they would require my least favorite chore...upholstery...and sewing! 

So of course they sat in the garage for months.

But I could see them all dolled up in my mind's eye so this week I decided to tackle the project.

First I had to strip off all the old upholstery and remove all the nails and staples!

I found an upholstery material I really love but there wasn't enough to do the whole chair...so I found a solid that coordinates with the fabric...sometimes you have to improvise! 

Chalk painted and distressed the frame...

Rather than use upholstery nails I used gimp...

The cushion is attached to the seat with buttons so I covered buttons with the teal fabric.

Just too stinking cute!

Not sure if these are "technically" tuffets but they are child size and ready for another lifetime of curds and whey!

On a side note, I "googled" what exactly is "curds and whey"...turns out it is nothing more than "curdled milk." I raised two girls...neither included curds and whey in their tea party menu! 

Little Miss Muffet

Sat on her tuffet

Eating her sausage and egg biscuit

Along came a spider and sat down beside her

And Little Miss Muffet squished it. 

We should be empowering our girls...