Stone steps...
Just returned from a trip of a lifetime.
A few months ago Brian said “You know, when we are 103 we will have xxxx dollars!”
SERIOUSLY! 103. I don’t know a lot of people who live to be 103 and while I love my children, I’m not all too concerned with leaving them a whole lot.
So I sat down at the computer and booked the first Alaska cruise I came across.
Seriously, the first. Thank goodness it turned out to be a good one.
So this past week we flew to Seattle and boarded a cruise ship to Alaska. This was my first cruise and since I am not a big “foody,” drinker or gambler (obviously since I came home with a lot less than I left with), I decide I would much rather fly to my destination, rent a car and see the sights at my leisure.
But I am glad I took the trip. We saw some beautiful sights and had a good time. The weather wasn’t so great and we missed a port because of it, but all in all, good. Unfortunately, I believe cruise ships are basically floating petri dishes. Travel home was a booger but I am able to recoup at home in my own bed! Fun!
So I want to share a project I started a few weeks before we went on vacation.
I have loved landscaping this yard. I shared HERE all the changes we have made outside over the last three years.
The first time we drove up to this house I knew I was going to get rid of the block retaining wall in the front yard….
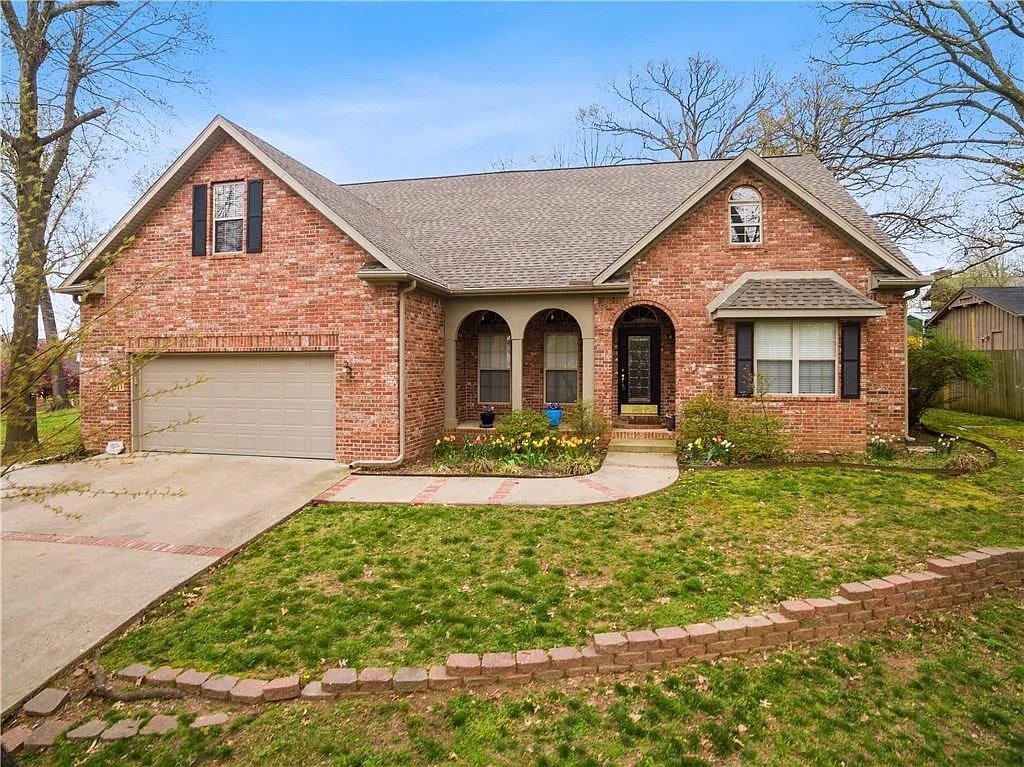
In the past three years I have been slowly chipping away at it…removing as many as I can without creating a serious problem…and of course we added more topsoil and sod and that has helped a great deal.

The retaining wall is necessary along the far right side…behind the shade garden…and it really doesn’t bother me too much since it kind of blends into that flower bed.

But I really disliked the part of the wall that runs in the middle of the yard. As you can see in the “before and after” pics I have been slowly removing it…a few blocks at a time!
My “plan” was to add stone steps to the left of the flower bed then remove the retaining wall to the left of the steps and slope the yard with fill, topsoil and new sod.
Of course my “plan” entails moving HUGE stone steps into place. Not an easy task and one that woke me at 3:30 a.m. several mornings as I played the process of moving 500 pound rocks over and over and over in my head!!!!
As with any DIY project I first started looking for inspiration. Again, got to love Pinterest…a quick search of “stone steps” gave me a whole host of inspiration pictures.
One of the reasons I don’t do a lot of tutorials is because every single project is different…case in point. Lots of inspiration for different yards but very few that were EXACTLY like mine.
But looking at what others have done is helpful when deciding what you may want.
Case in point…I THOUGHT I wanted something like this look….

I could manage building these steps by myself since the rocks are smaller. But truth is, I really don’t like this look. I love flagstone…I love the “organic” look…but it’s just not what I want.
I decided I like something more along these lines….

I didn’t necessarily like the “perfection” of the cut stones, but I like the stack.
Problem. Huge stones. HEAVY stones.
But it is the look I love so I figured out how we could move them with the least amount of back muscle (something lacking around here).
Then I set off to find the perfect stones.
The first thing I did before picking out specific stones is measure for the actual “rise” so I would know how many stones I would need.
The thickness of the stone steps I was eyeballing ranged from 6” to 4”…and they were 18” x 48” (explains why the darn things are so heavy!)
The height of the wall where I wanted to put the steps was 12” from the ground to the top of the wall. So I knew that I would need at least 2 6” thick stones to be level with the top of the wall…then I would need another step that would sit on top of the wall and the bottom two steps.
There are LOTS of instructions online on how to figure the “rise and run” of steps…if you have more than 3-4 steps, I would strongly suggest doing some serious research.
Since my son and Brian were providing a majority of the “muscle” I wanted to make sure I got all the prep work done before they showed up to start moving the stones.
As with most builds, the foundation sets the tone. In other words the first step needed to be level and perfectly placed for everything else to work out.
I decided that building wood frames the size of the stones would make it a lot easier to decided where I wanted everything placed and how I wanted the rocks set. Moving wood frames is A LOT easier than trying to shove 500 pound rocks around.
It is a good thing I did that because I discovered that I needed to do a lot more digging and leveling than I thought. Then I tried several different placements, and got some neighborly input, before I finally decided what and where I liked best.
First I angled them to the right…

Then I angled them to the left….

Then I moved them to the left about 2’ and angled them to the right. I liked that look best….

Once I decided exactly where I wanted them, I made sure the base was solid and perfectly level. I used THIS paver base sand and a tamper…and I watered it down well to make sure it was well settled! Then I marked where the base stone would sit by using spray paint around the base of the form.
The the day of reconning….moving the big stones. I had them placed across 2x4s and in order on the trailer so we could easily slip a dolly under them. One person would slip the dolly under the stone and hold it in place, then two of us would lift the stone upright onto the dolly. We then wheeled it off the trailer onto plywood laid out on the ground and put it in place. The fact that the ground was perfectly leveled made this super easy.
Then we back filled behind the base stone, leveled and then place the second stone using the same method…then the third stone. Presto, bing, stone steps!!!!

As you can see, these steps are much more “organic” than the stones in my inspiration picture but they are still cut relatively uniform…. I love them!
We had a neighbor who wanted all the landscaping blocks so he came over with his trailer and we helped him load them up. I used the leftover fill to start the “slope” of the yard.
Next up….top soil and sod.
So until next time when I share the finished project….

