A rock water feature...
In my last house I had an amazing two tiered water pond with a fountain next to the back patio, outside my bedroom. I loved it. I could open the window at night or sit on the patio and drink coffee and hear the water.
If I believed in the whole Zodiac thing I’d say it is because I am an Aquarius…”water-bearer.” I don’t ….. I think I just like the soothing sound of water.
Truth is the sound of water is very tranquil…zen if you will. Calming. Destressing.
I can’t really have a open pond water feature here…too many leaves!
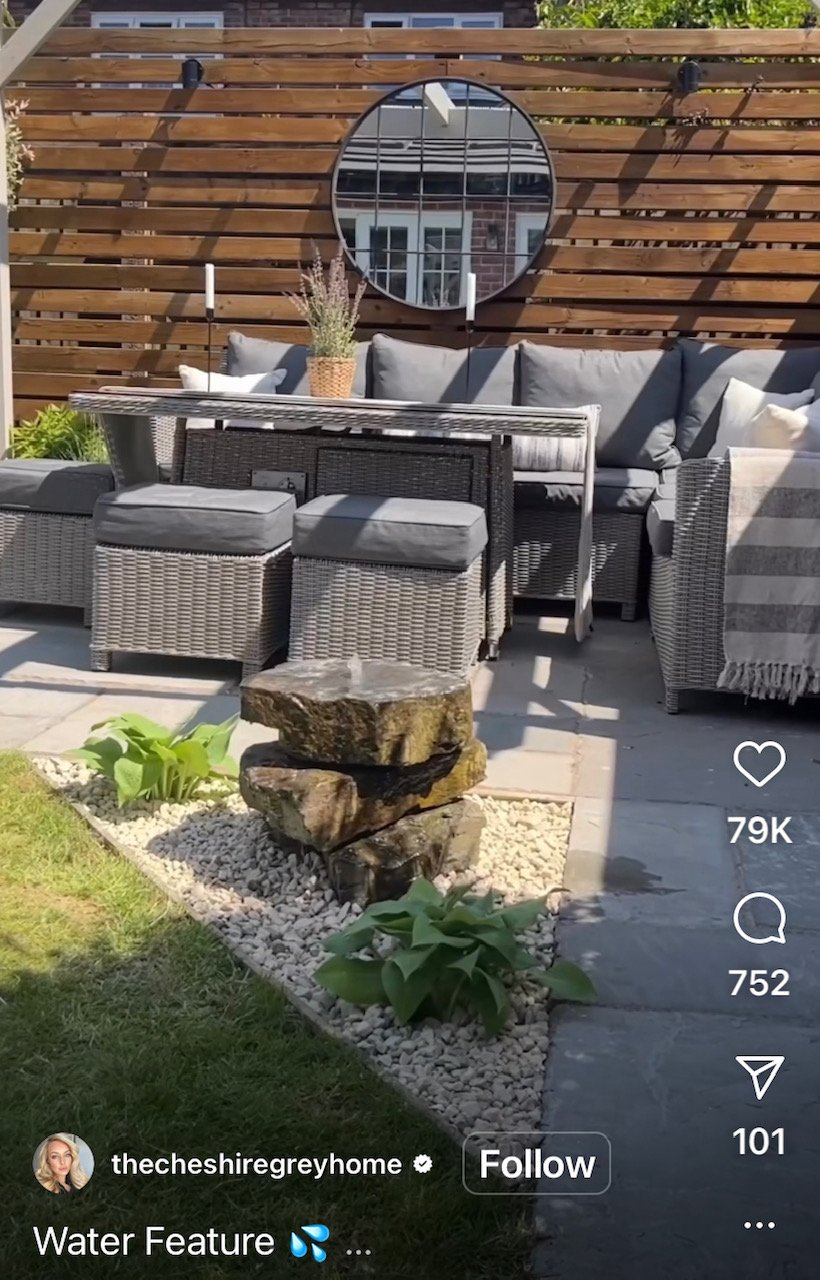
Then I ran across this tutorial on Instagram for a closed water fountain. THIS I can have!
So I set out to build it.
Keep in mind, this is MY tutorial for my specific fountain. There are TONS of tutorials and designs on Pinterest so do a little research and find a tutorial or design that works for YOU!
I decided to place it in the corner of my front flower bed (shared my flower beds HERE). The first thing I had to do was move a few plants around…no biggy!
The tutorial calls for using a large plastic tub as the reservoir. I bought a livestock feed bin at the local livestock supply store…a 40 gallon tub that has an inside diameter of 26 1/2”. (Much cheaper than a tub designed specifically for a water feature that you can buy at the big box hardware stores.) That measurement is important when you go to buy rock because your base rock needs to be a few inches less than that in diameter so the water flows back into the reservoir. If you want a bigger rock, I suggest getting a bigger tub.
So, dig a hole…a BIG hole…large enough for the tub to sit in flush with the surrounding grade. I dug mine a few inches deeper so I could cushion the bottom of the hole with a few inches of sand (plain ole’ play sand). I think that is important for leveling and stability. It also ensures that no rocks will compromise the bottom of the tub.
Set the tub into the hole and make sure it is level…I used a 3’ level. If you don’t have a 3’ level, set a board across the top of the tub then use a shorter level on top of the board.
Once the tub is level and flush with the ground, back fill around the tub with dirt…checking for level as you go.
Water the back fill well so that all the dirt settles around and under the reservoir.
After I was certain all the dirt around the tub was well settled, I dug out the dirt around the tub about 2-3” deep about 5-6” around the tub. I filled that in with small rock I bought at Lowe’s.
I did this so that if the reservoir “flooded” there was less chance of dirt and silt back flowing into the reservoir…kind of a “french drain” thing.
As you can see, I created a little “bed within the bed” by using THIS plastic border material …keeps it nice and neat and separated from the mulch. (TIP..buy extra stakes…this kit does not come with enough!)
The next step is the metal grate across the top. I was going to have my son wield me a grate out of rebar but I found this little gate at Lowe’s and decided it would work fine.
Being the “overkill” kinda person I am and knowing this was going to have to support some super heavy rocks, I did attach three pieces of 3/8” rebar to the underside of it just to add a little strength.
I painted the rebar with Rust-oleum protective paint just so it wouldn’t continue to rust and leach down into the reservoir.
Then I lashed them to the gate using zip ties, making sure they would rest on the edge of the reservoir.
I set a square rock in the bottom of the reservoir to set the pump on…that way it wouldn’t suck in any dirt or sludge that settled in the bottom of the reservoir between cleanings. I put the pump in after the grate but before the mesh. (THIS is the pump I used)
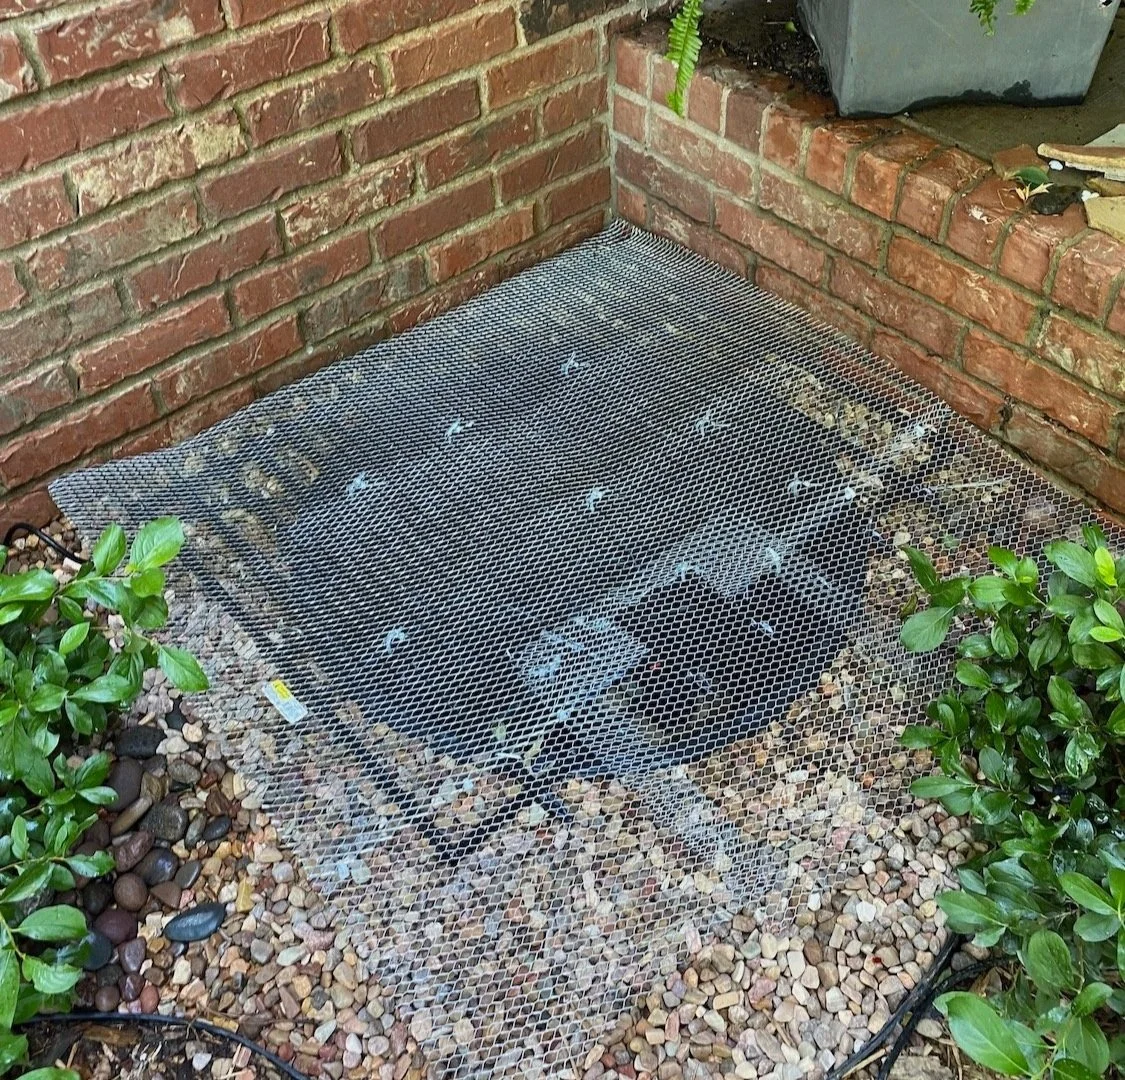
After you lay the grate down, but before waterfall rocks, lay chicken wire or some other smaller metal mesh down on top of the grate. This is because you are going to surround the waterfall rocks with smaller decorative rock and you don’t want them falling through the grate.
I used a stainless wire panel I found at Lowes,. (can’t find it online to link). It is a 2x8 panel next to the rebar.
Cut the wire mesh to fit over the metal grate, and cut a small hole in the front so that you can get your hand down into the reservoir. Remember the mesh has sharp edges so give yourself a little room so that you don’t slice up your hand! (yes I learned that lesson the hard way!)
Then just lay a scrap piece of mesh over the hole before you set the waterfall rocks.
If you need to get to the pump, or when you want to clean out the reservoir, you can easily move aside the decorative rock and remove this panel and access everything.
Now the fun part…picking out your “water fall” rock and decorative rocks.
So off to the rock store I went.
Funny story…my daughter called one day and asked what I was doing. Told her I was headed to the rock store. She laughed…what’s a rock store?
A place where they sell rocks!!!! Big, small, gravel, pavers…the whole nine yards.
I picked out three large rocks I thought stacked nicely and would fit within the 26 1/2” diameter of the reservoir and would flow water. I took a picture of them at the rock store so I would know exactly how they stacked…
I picked out the decorative rock that will go around the large waterfall stones, on top of the wire mesh. It took about 10-5 gallon buckets, but I only fill the buckets about 1/2 full so I can actually carry them!!! You can also buy bags of decorative rock…to each his own.
I also picked up 4-5 rock shims that were scattered about…little slivers of flagstone rock that are about 1/4'“ thick…later you will understand their importance.
These larger rocks are super heavy…so make sure you have some muscle to help you load them and set them in place!
Stack the rocks like you want them next to the reservoir. Pour water over the top of the rocks to make sure the water will flow properly. You can make minor adjustments with shims later. It’s important that the water that comes up through the rocks will flow back into the reservoir. I stacked mine so that all the water flowed to the front and sides…again, personal preference.
Time to drill the hole. WOW! What a chore. I used a 12” 1/2” masonry bit to drill down through the top rock drilling far enough to “mark” the second rock. Move the top rock to the side, then drill the second rock and go far enough to “mark” the bottom rock. I drilled the bottom rock after it was moved into place on the grate…that way you drill through the wire mesh where the hose needs to go.
After the holes are drilled, stack the rocks and line up the holes….it is easier to line up the holes by using the 12” drill bit as a guide. Then snake a 1/2” water line that is attached to the pump through the holes and out the top, cutting it about 1/2”above the rock.
Clean out all the rock dust and muck from the reservoir. Just hose it down well and suck out the dirty water with a shop vac….you may have to do that a couple of times. That way it is all nice and clean and ready for fresh water.
This next step is super important.
Fill the reservoir with fresh water, just enough to cover the pump about 2”-3” and turn it on. (Oh yeah, you do need a power supply close by!)
You want to make sure that ALL the water is flowing from the top rock into the reservoir…if it isn’t, make adjustments to your rocks by using the rock shims. You may have to shim the rocks from side to side or back to front to get the water to flow properly.
Watch it for a bit…make sure it does what you want it to do! (For the record, the pump can be adjusted to flow lighter or stronger…read the instructions…I did not)
I did this before I added the decorate rocks…just made it easier to see. I did notice that once I added the decorative rocks that some “splashing” happened…no too worried about it because the reservoir will have to be filled from time to time anyway, so….
One suggestion…only fill the reservoir about 4”-5"” from the top. If you fill it to the top, there will be no where for rain water to go and you are more likely to have “flooding.” Just my thoughts.
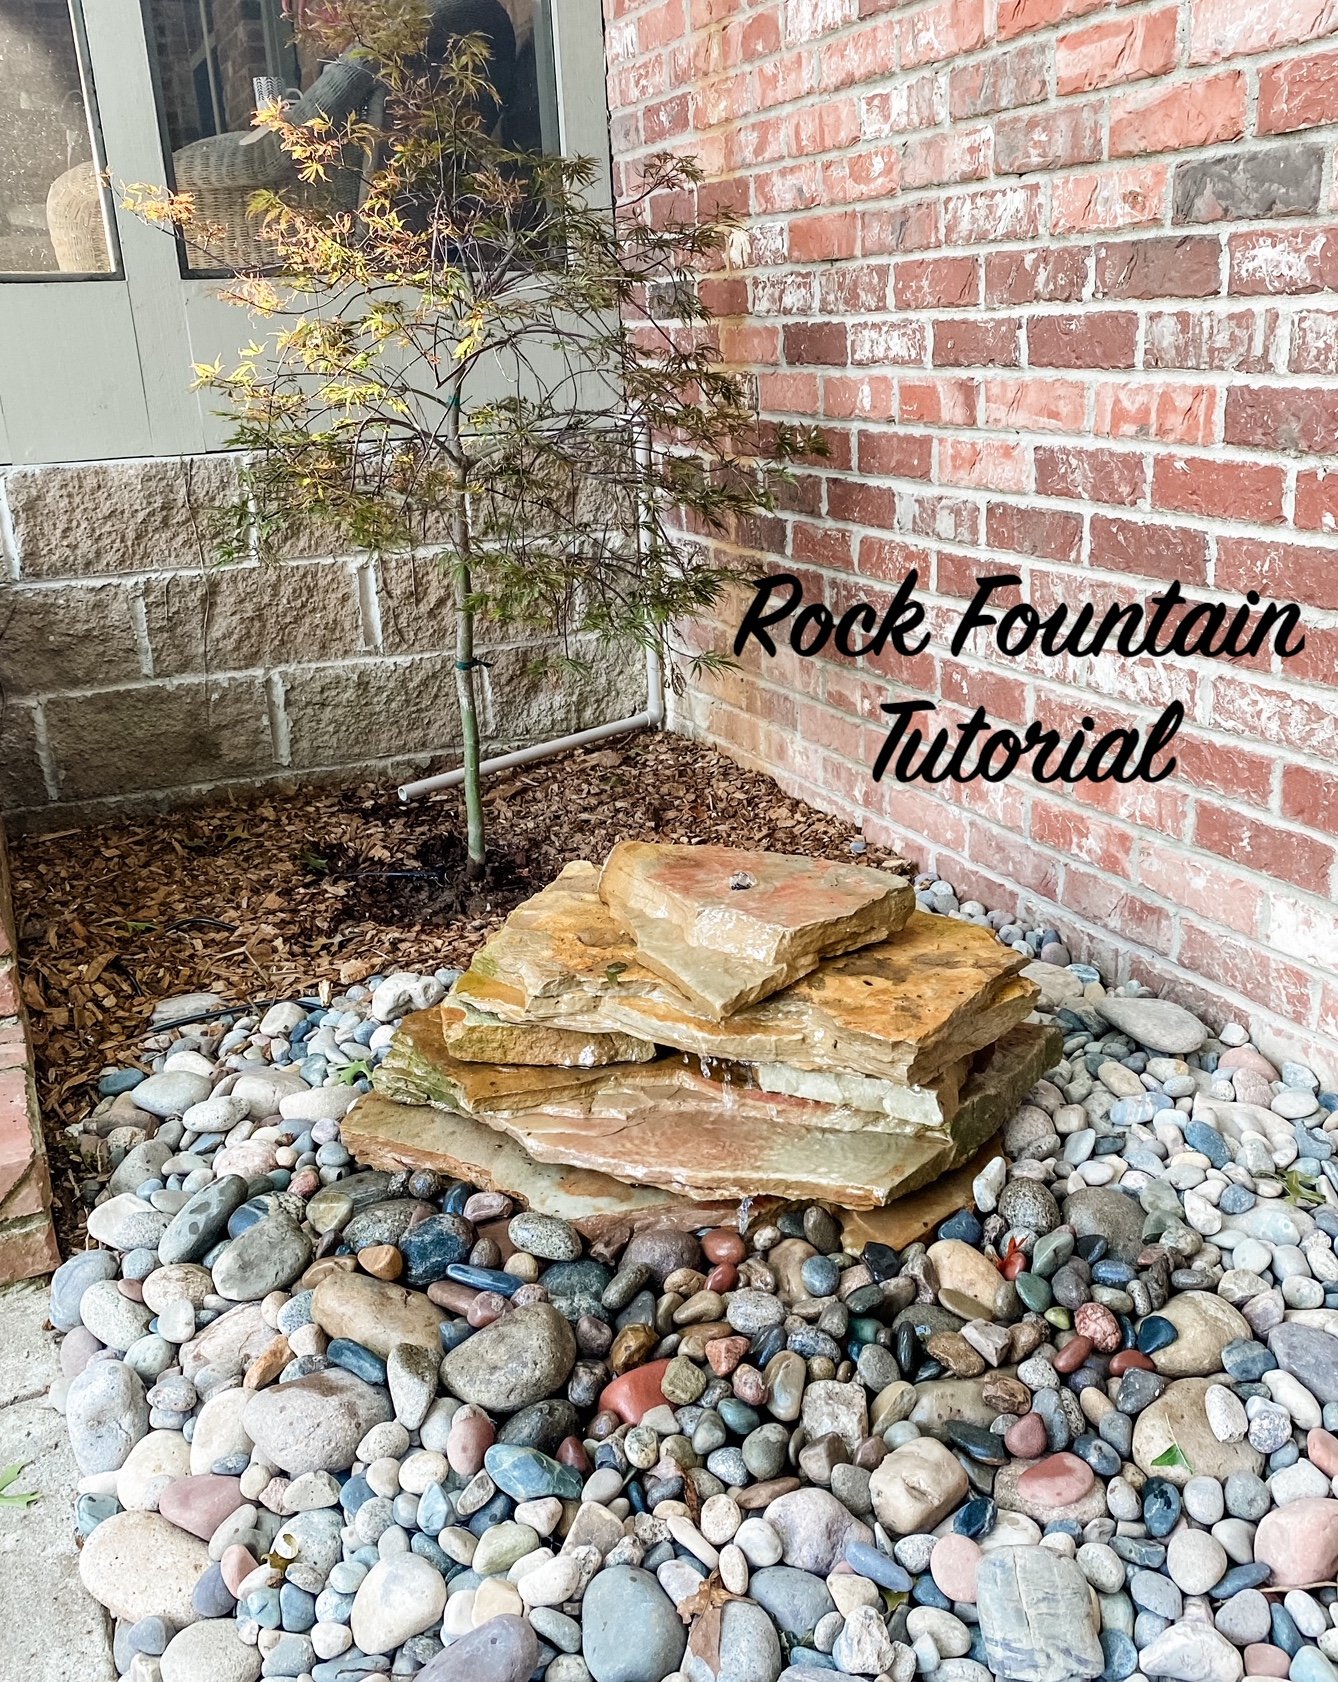
Bingo…a relatively simple water feature!
I added one of my Colorado decorative rocks and a piece of driftwood…
I loved this little things so much that Brian and I installed another one just off the screened porch so I could hear it when I am drinking my coffee in the mornings or having dinner on the porch…added a little Dwarf Japanese Maple….LOVE!!!!!
This is NOT a hard project. Yes, it takes some muscle…but it is relatively easy and probably cost me under $300.
Perfect for small areas or in areas where an open pond water feature isn’t feasible!!!


