We've come a long way baby...
So often I share the inside of this house and all the work we have done. This week I finished up another landscape project and realized I have never shared how far we have come OUTSIDE!
I didn’t even comprehend the amount of work we had done outside until I looked it up on Zillow again. The pictures are from when we bought the house three years ago. Sooooo much has changed…both inside and out!
The landscaping was basically a blank slate. I pulled out a few shrubs here and there, moved some azaleas, cut down an overgrown tree in a flower bed and pulled up some edging. But basically it didn’t have a lot of landscaping. I guess the lady who owned it for over twenty years before us really didn’t do a lot.
Fine by me…just that much less to demo!
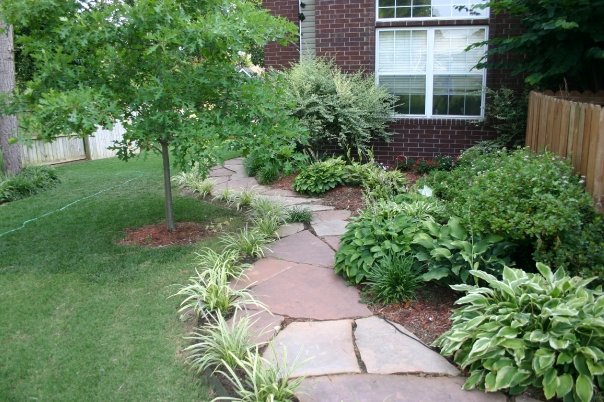
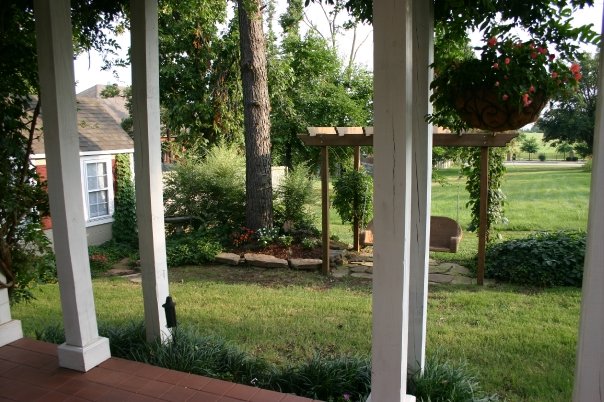
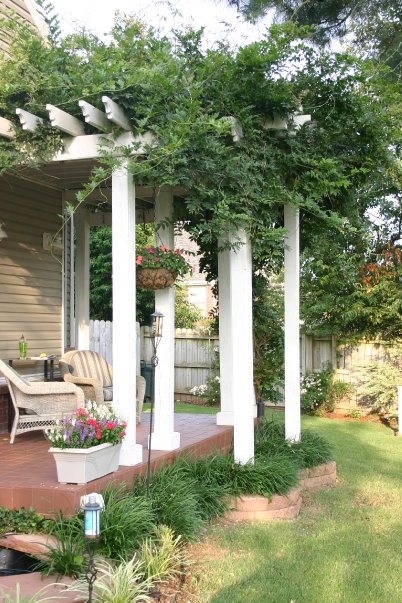
So let’s start with the front…and keep in mind I didn’t do any “editing” on the pictures i took so you can see how things really look around here. Shade and all!
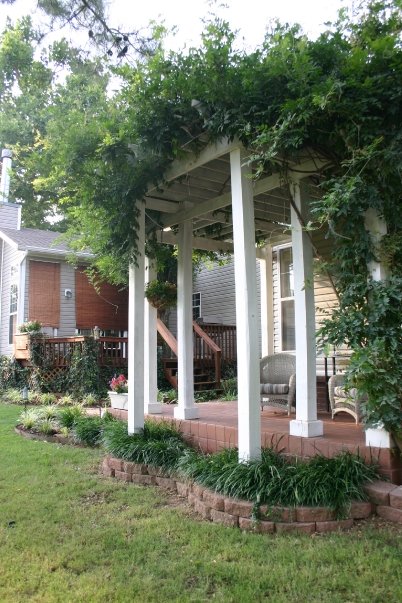
Before….


The first picture is the Zillow listing. The last two are the street views from Google Earth.
You can probably tell from the Zillow picture and the Google street view pictures…clever photography and heavy editing can really make a difference!
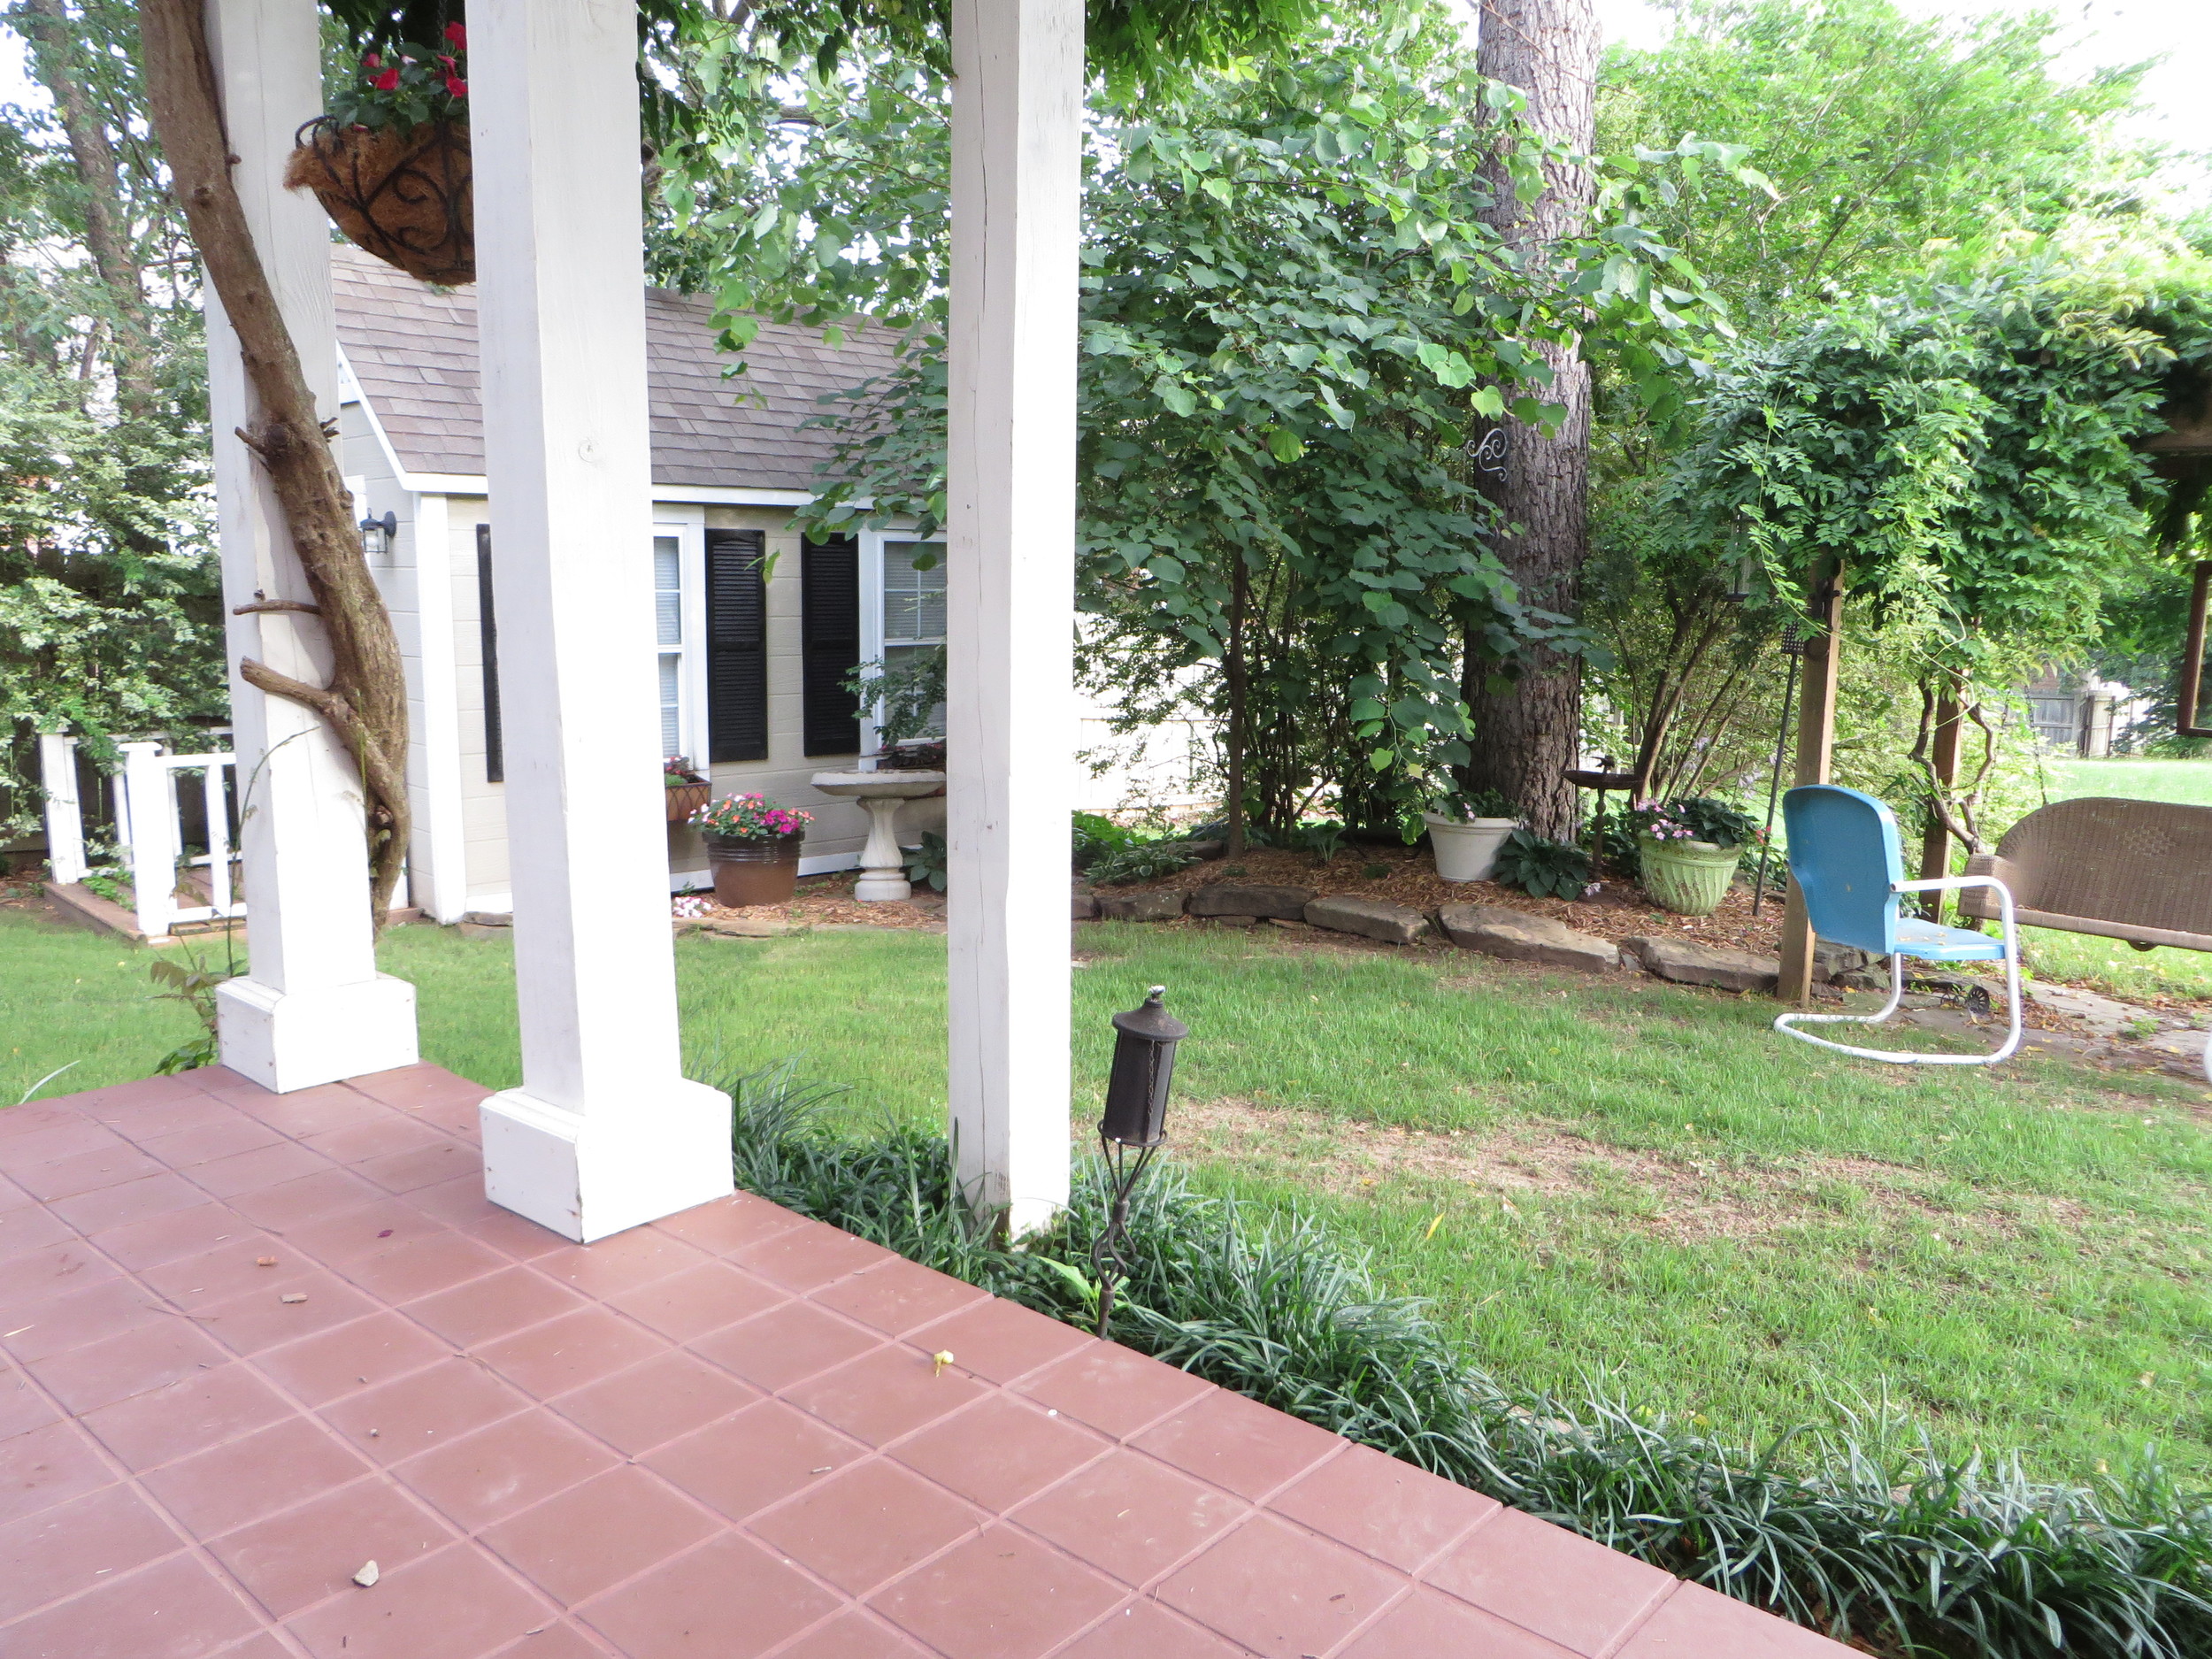
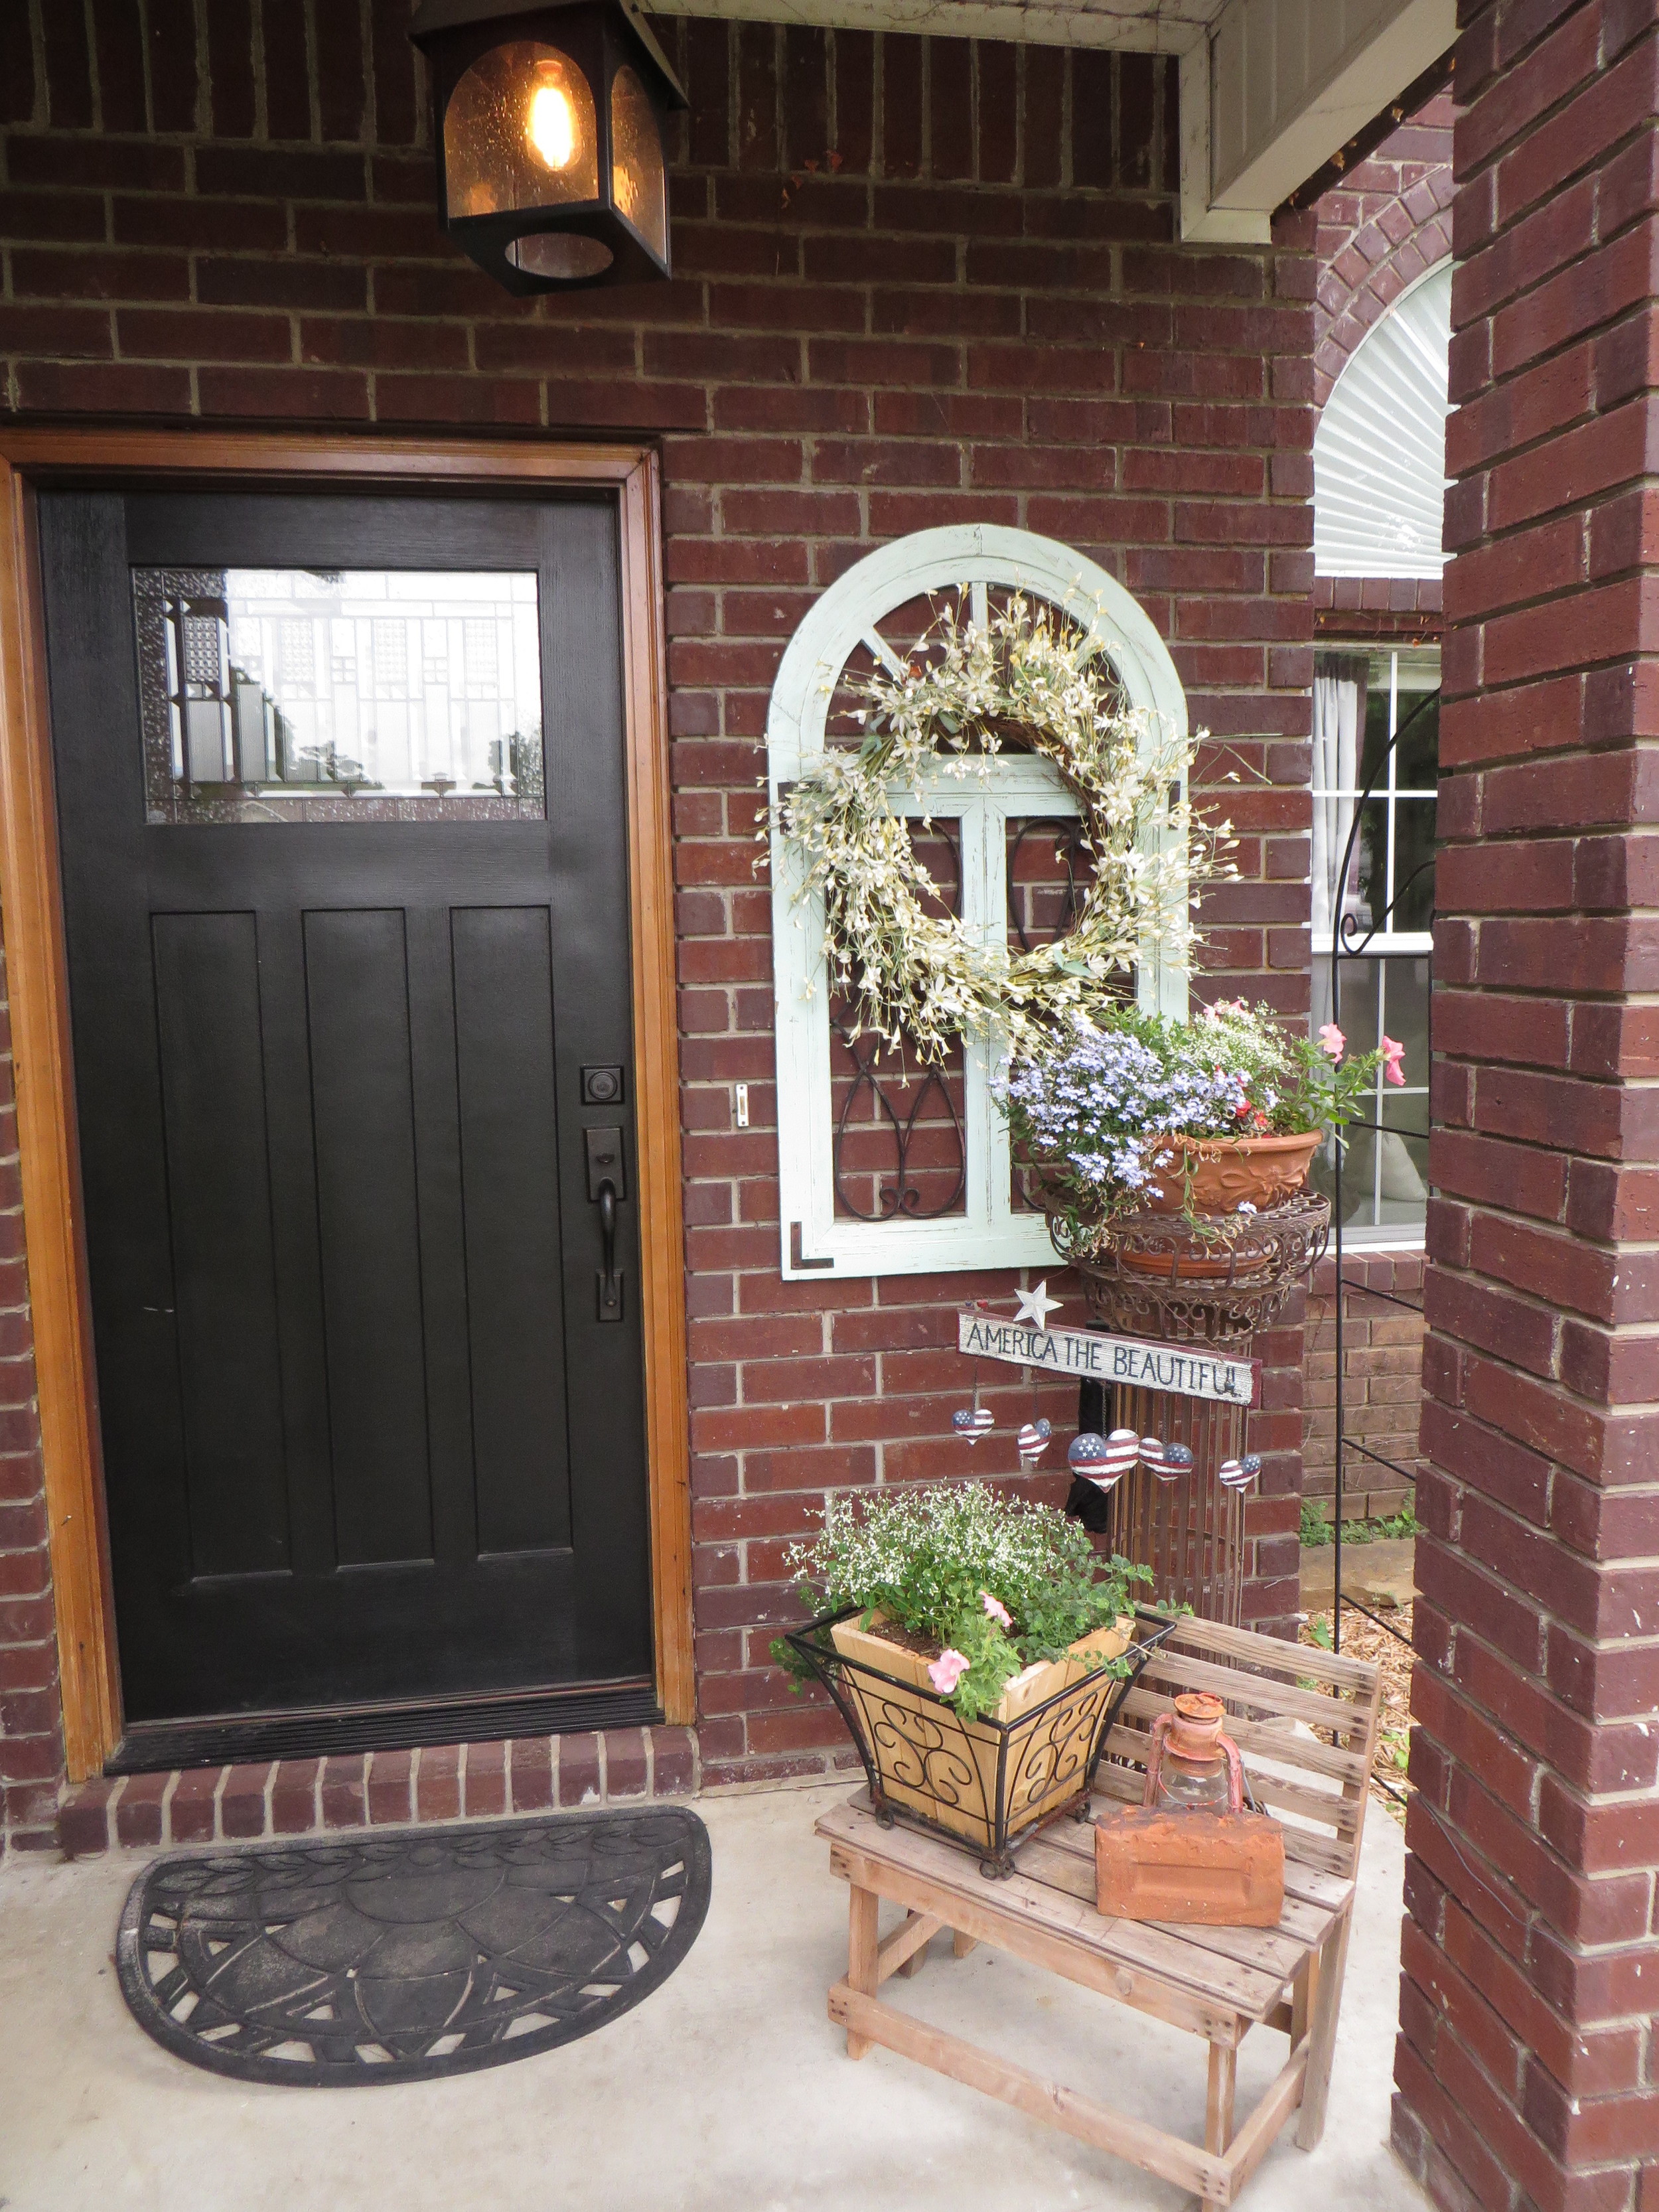
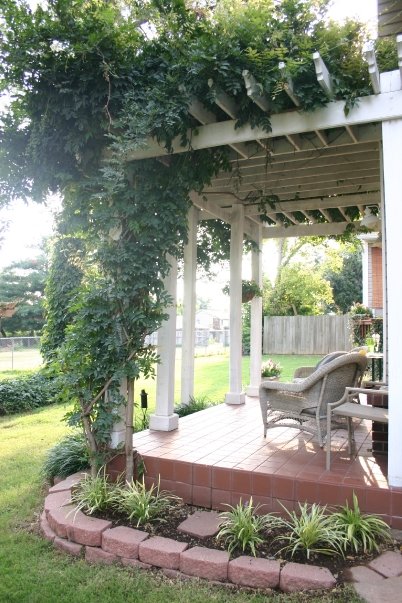
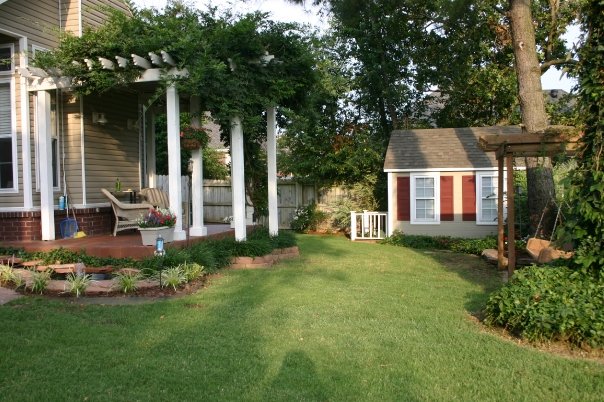
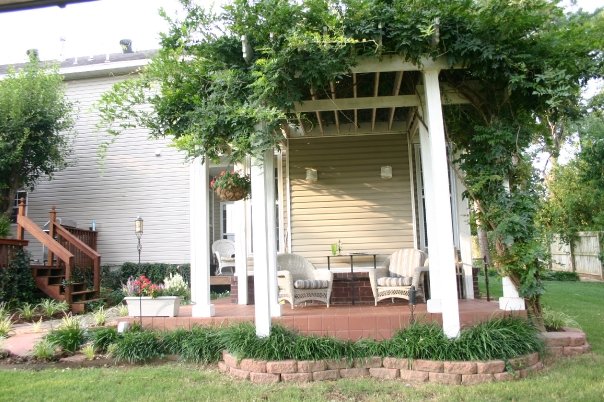
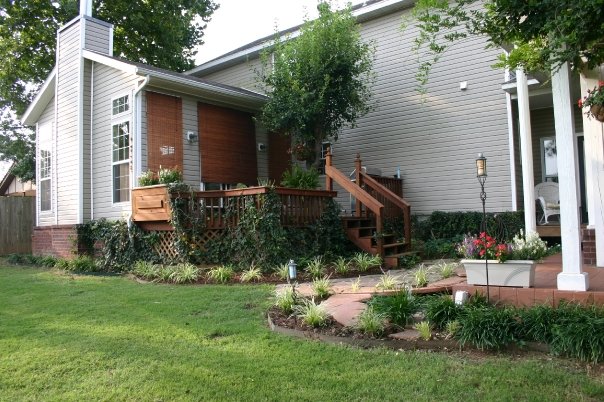
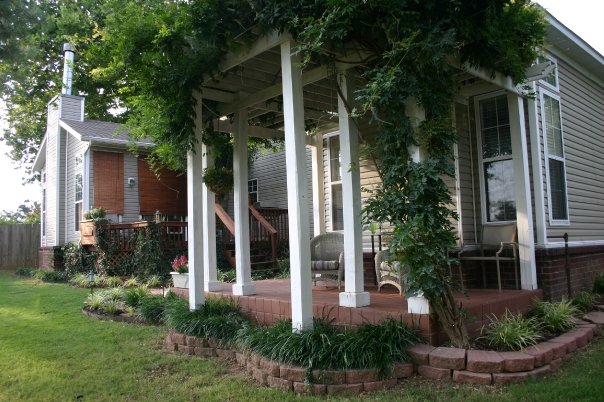
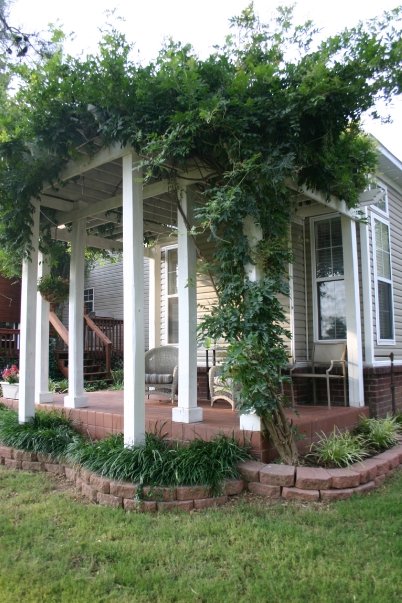
On the house I removed the ugly wood arch things to open up the front porch, changed out the front door, replaced the dated light fixtures, added some minor detailing on the garage door and changed out the arch transom windows.


Trimmed up all the overgrown trees…a must for aesthetics but also for safety…a big dead limb can do a lot of damage.
Removed a few flower beds and then composted and mulched the others.
We brought in new top soil and sodded the entire front yard with fescue. I removed some blocks from the block retaining wall. I really wanted to created a new retaining wall with native stone but that is another project for another time.
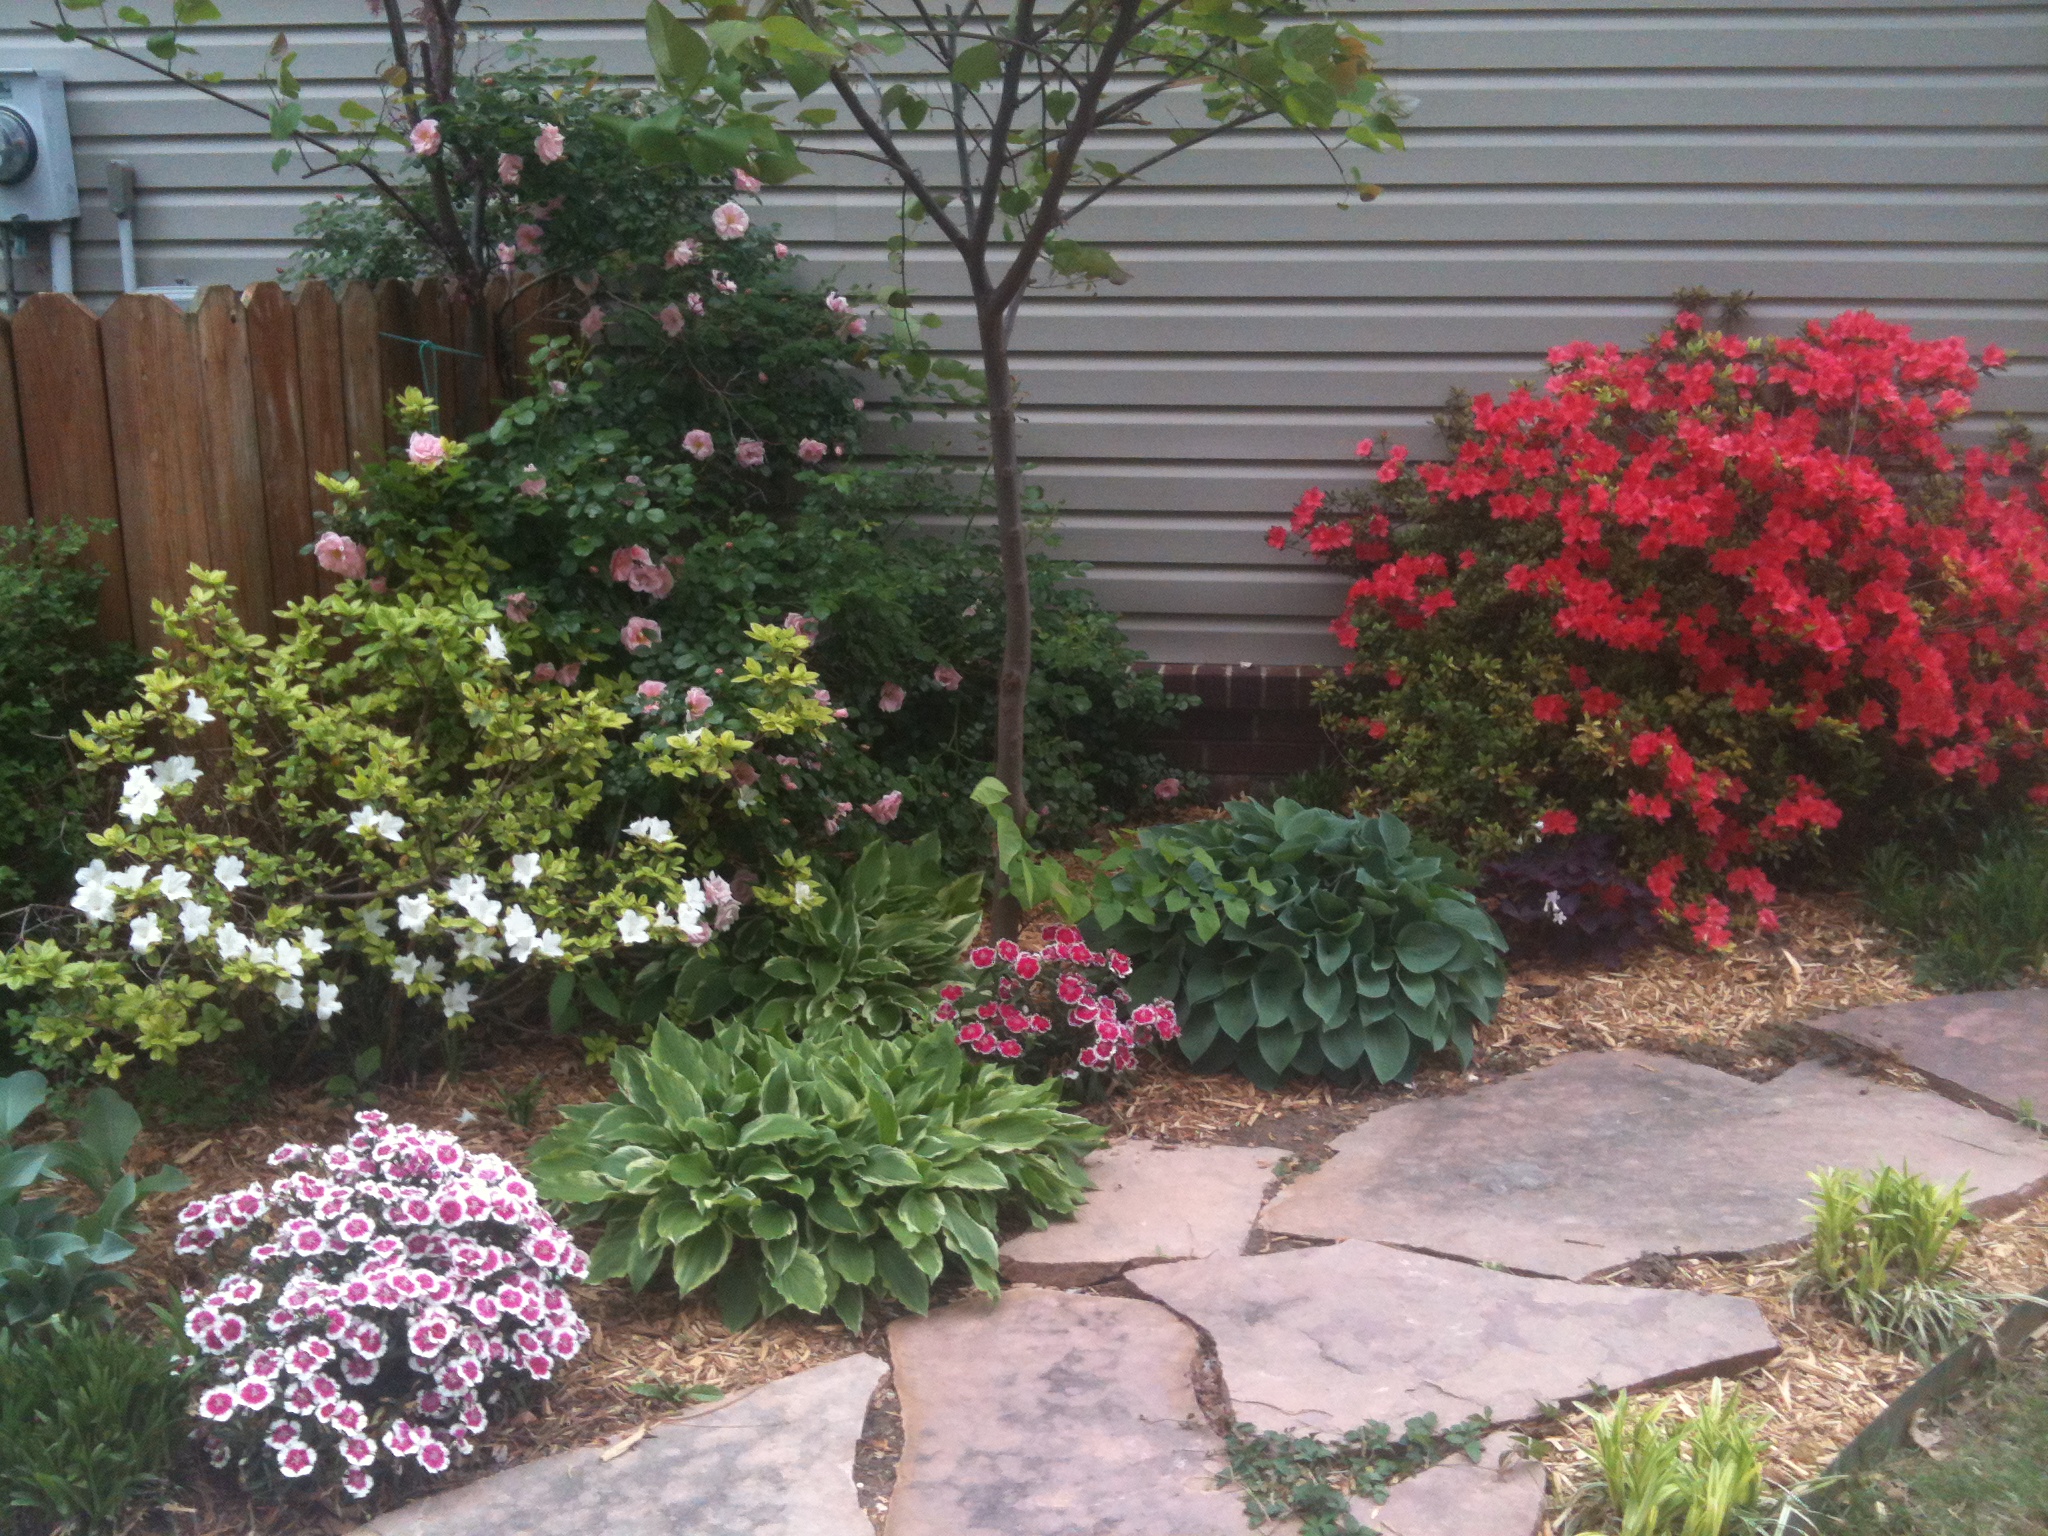
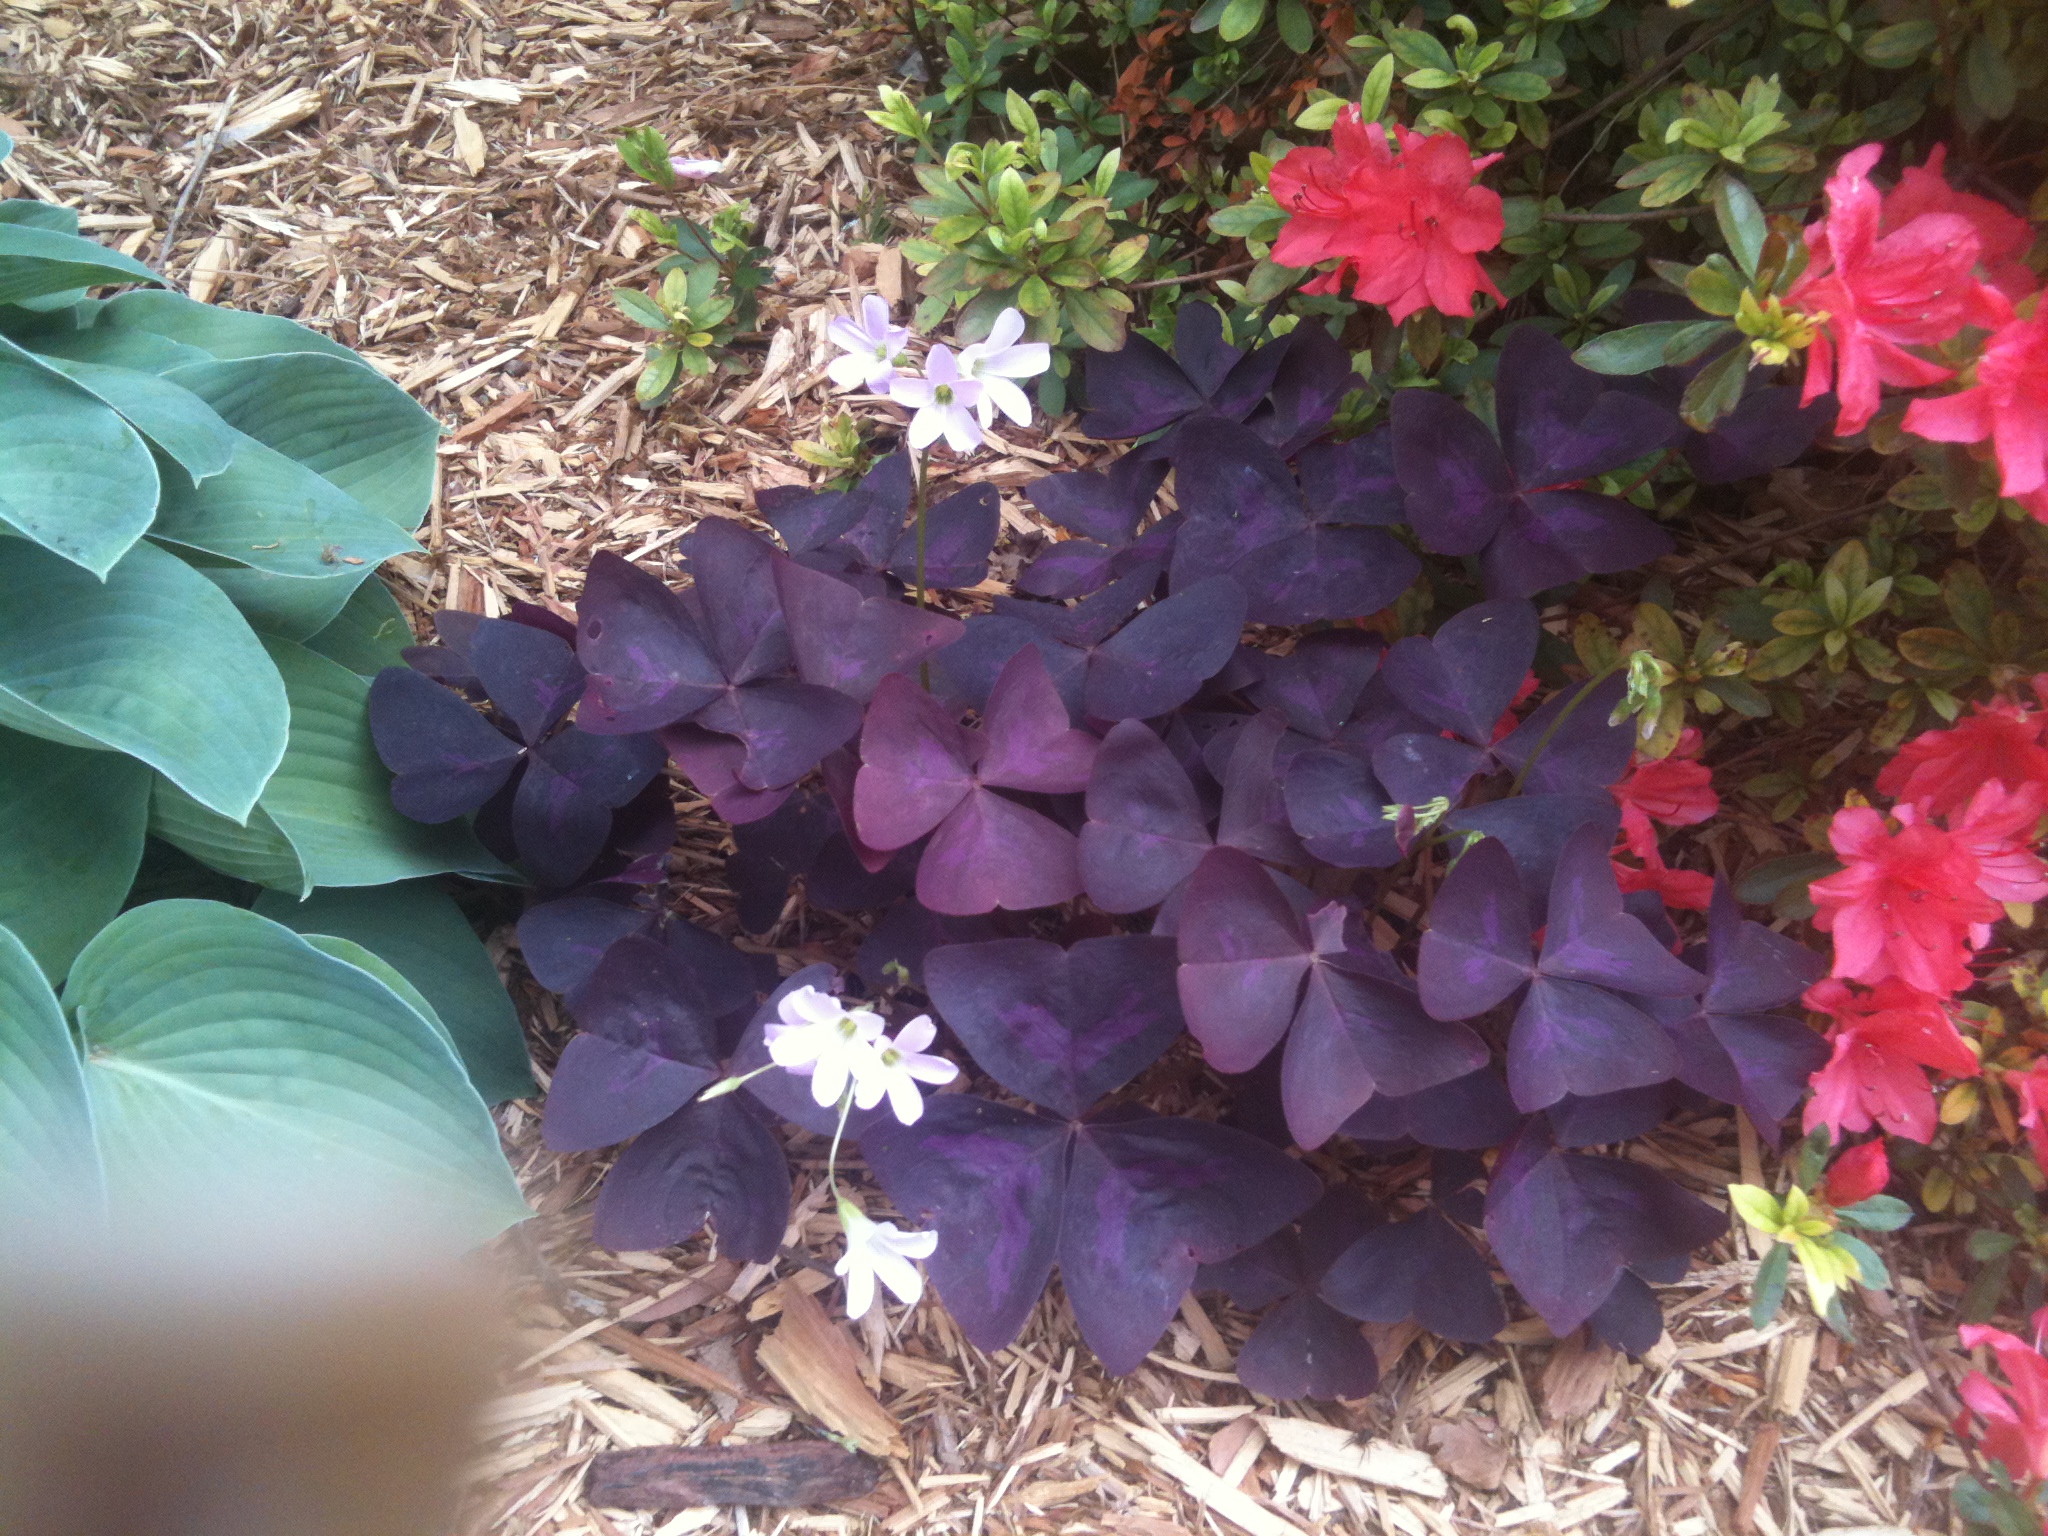
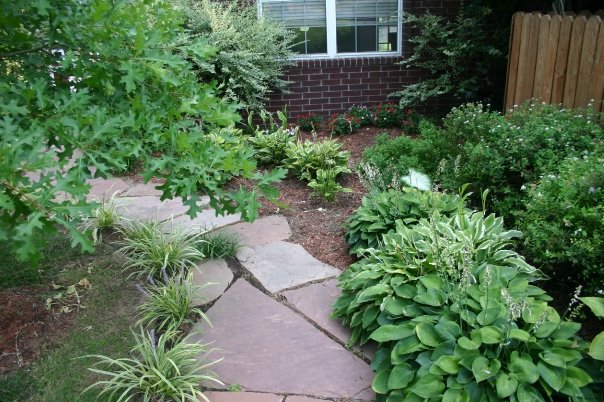
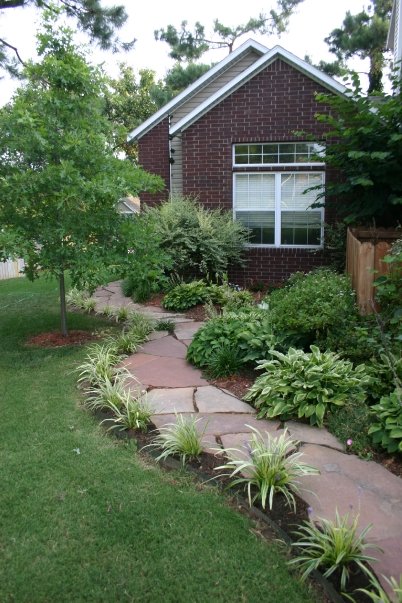
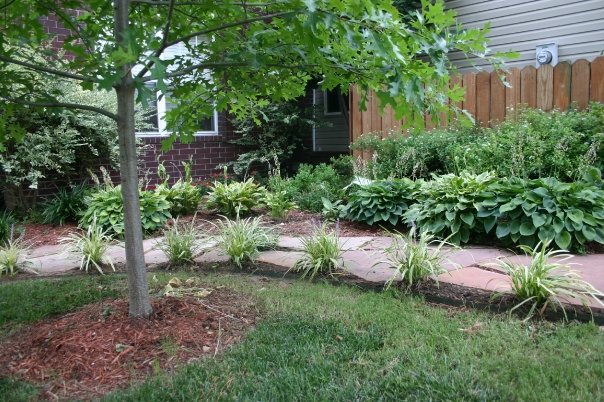
I moved four large azaleas that were planted by the front entrance to the side yard where I created a shade garden.

Nothing was going to grow under these trees and it features a huge dogwood …the space really needed to be highlighted! The azaleas and dogwoods are spectacular in the spring!
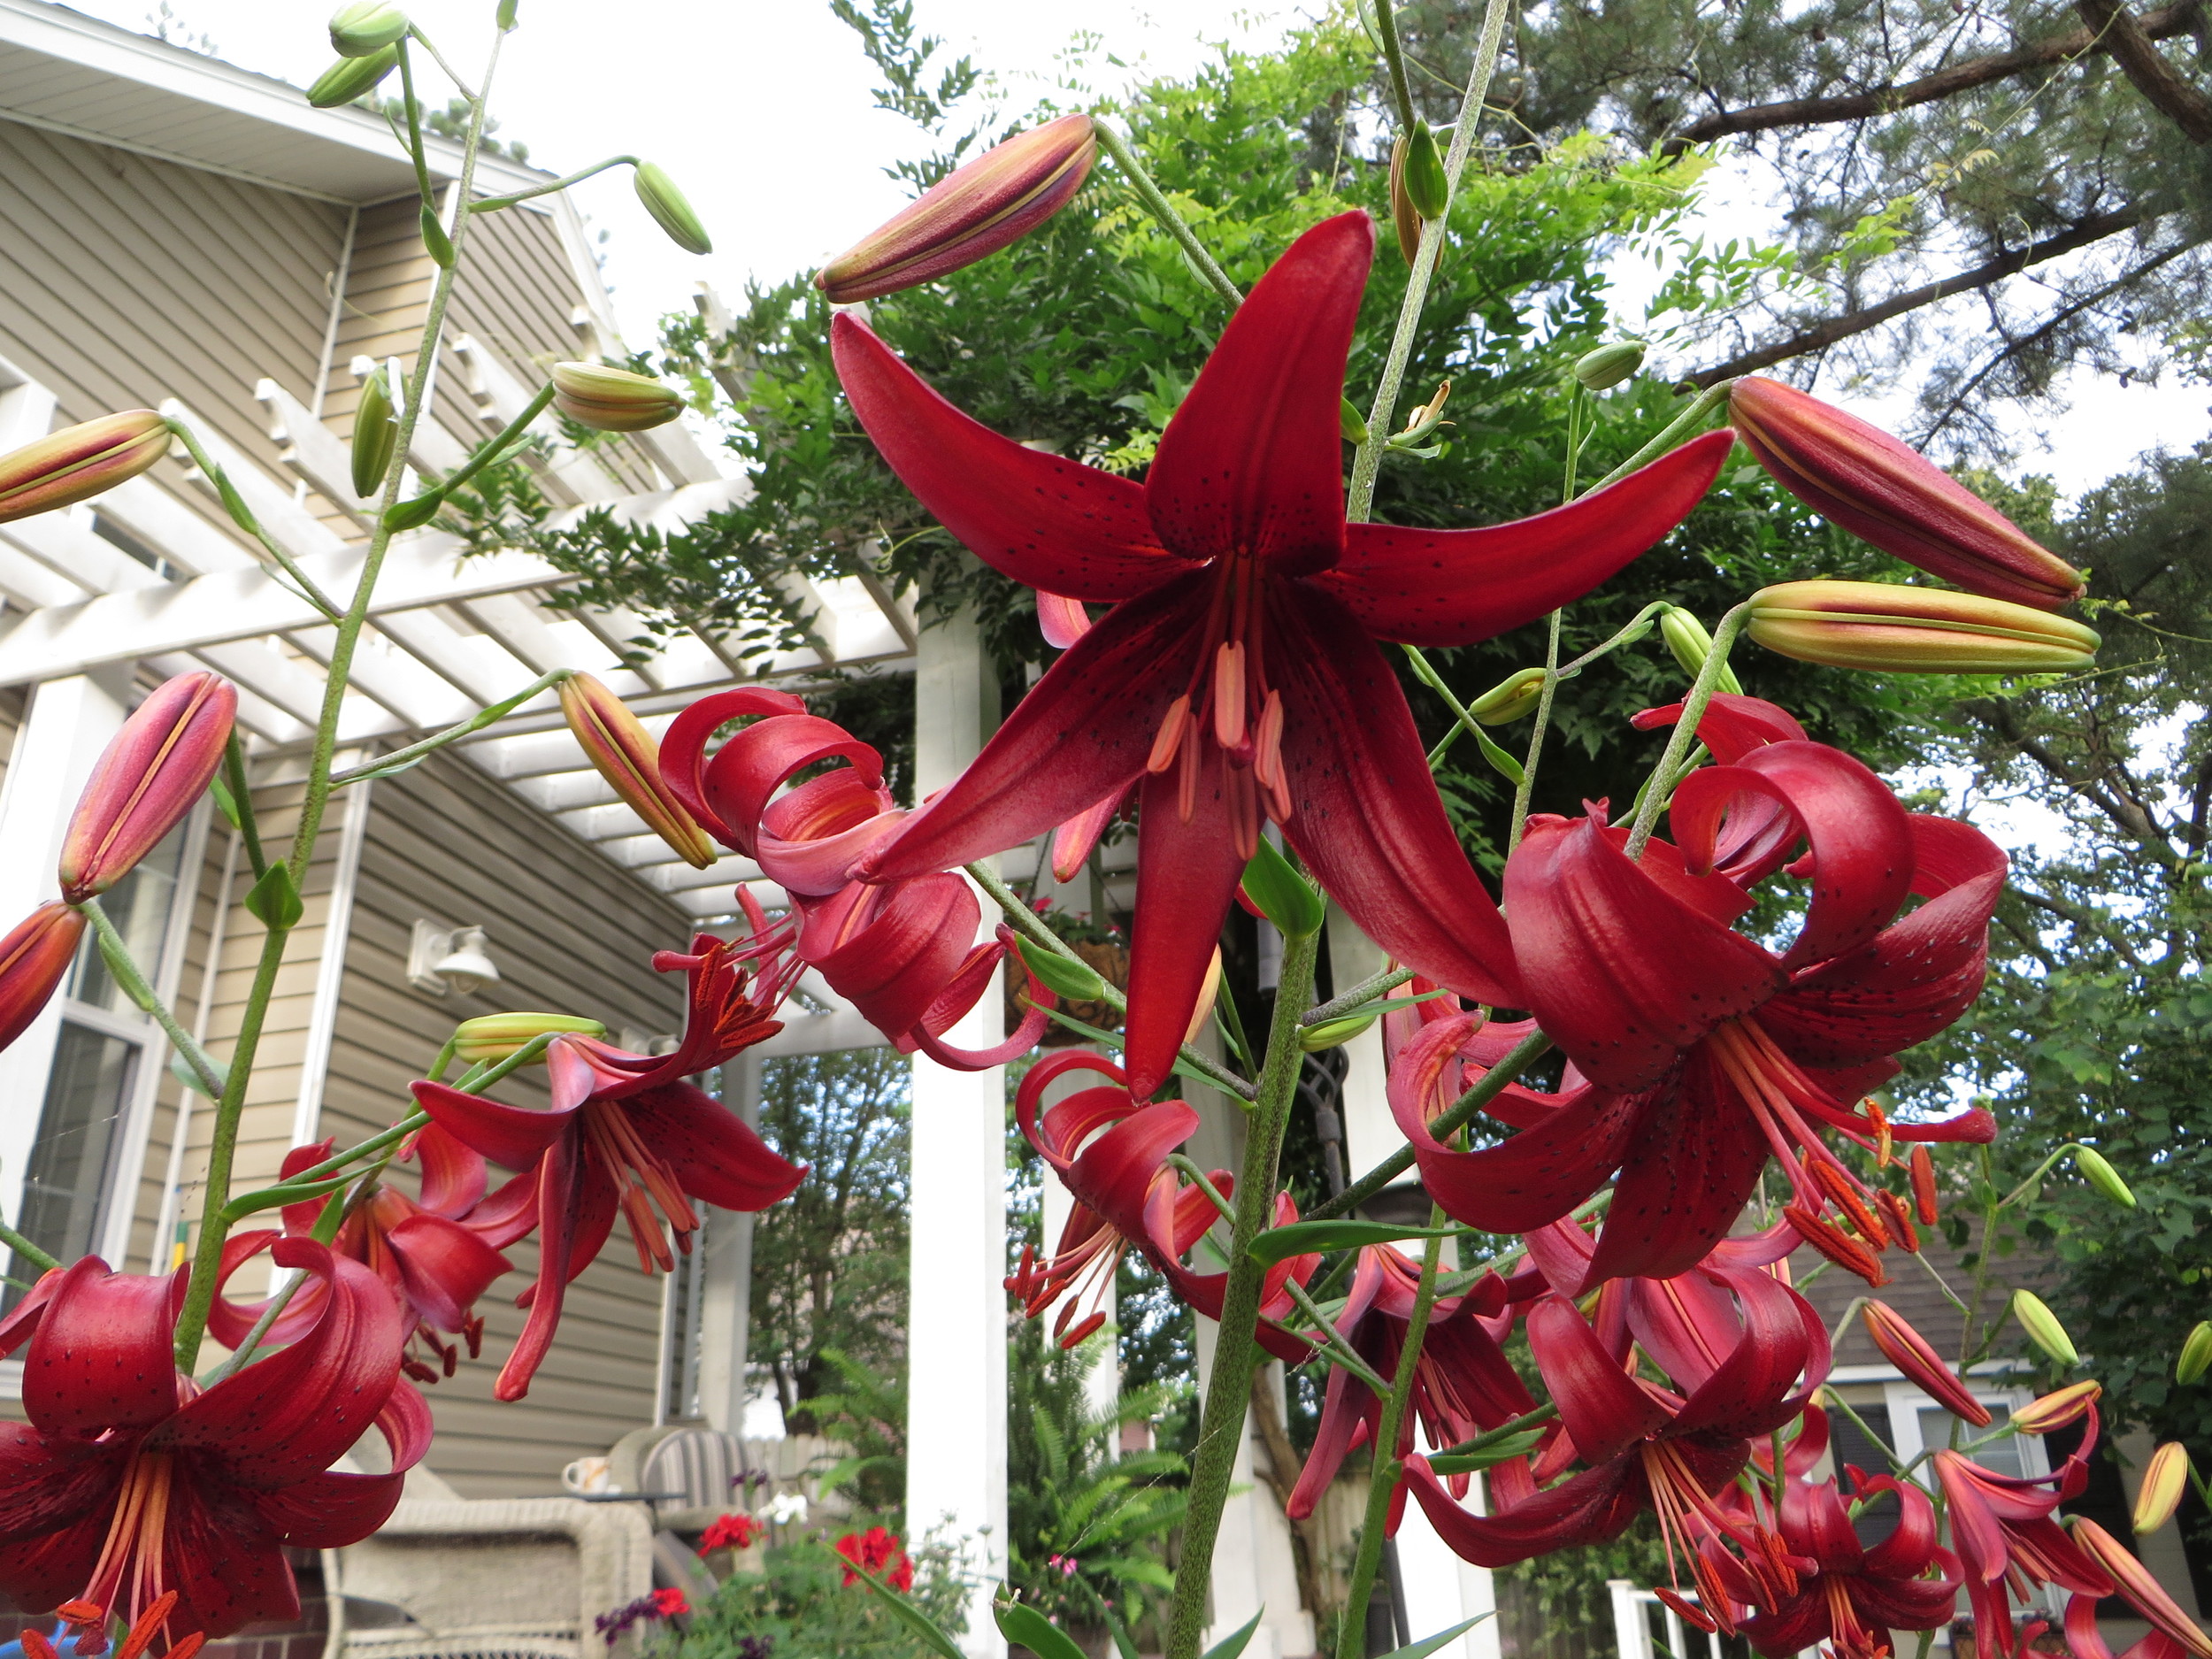
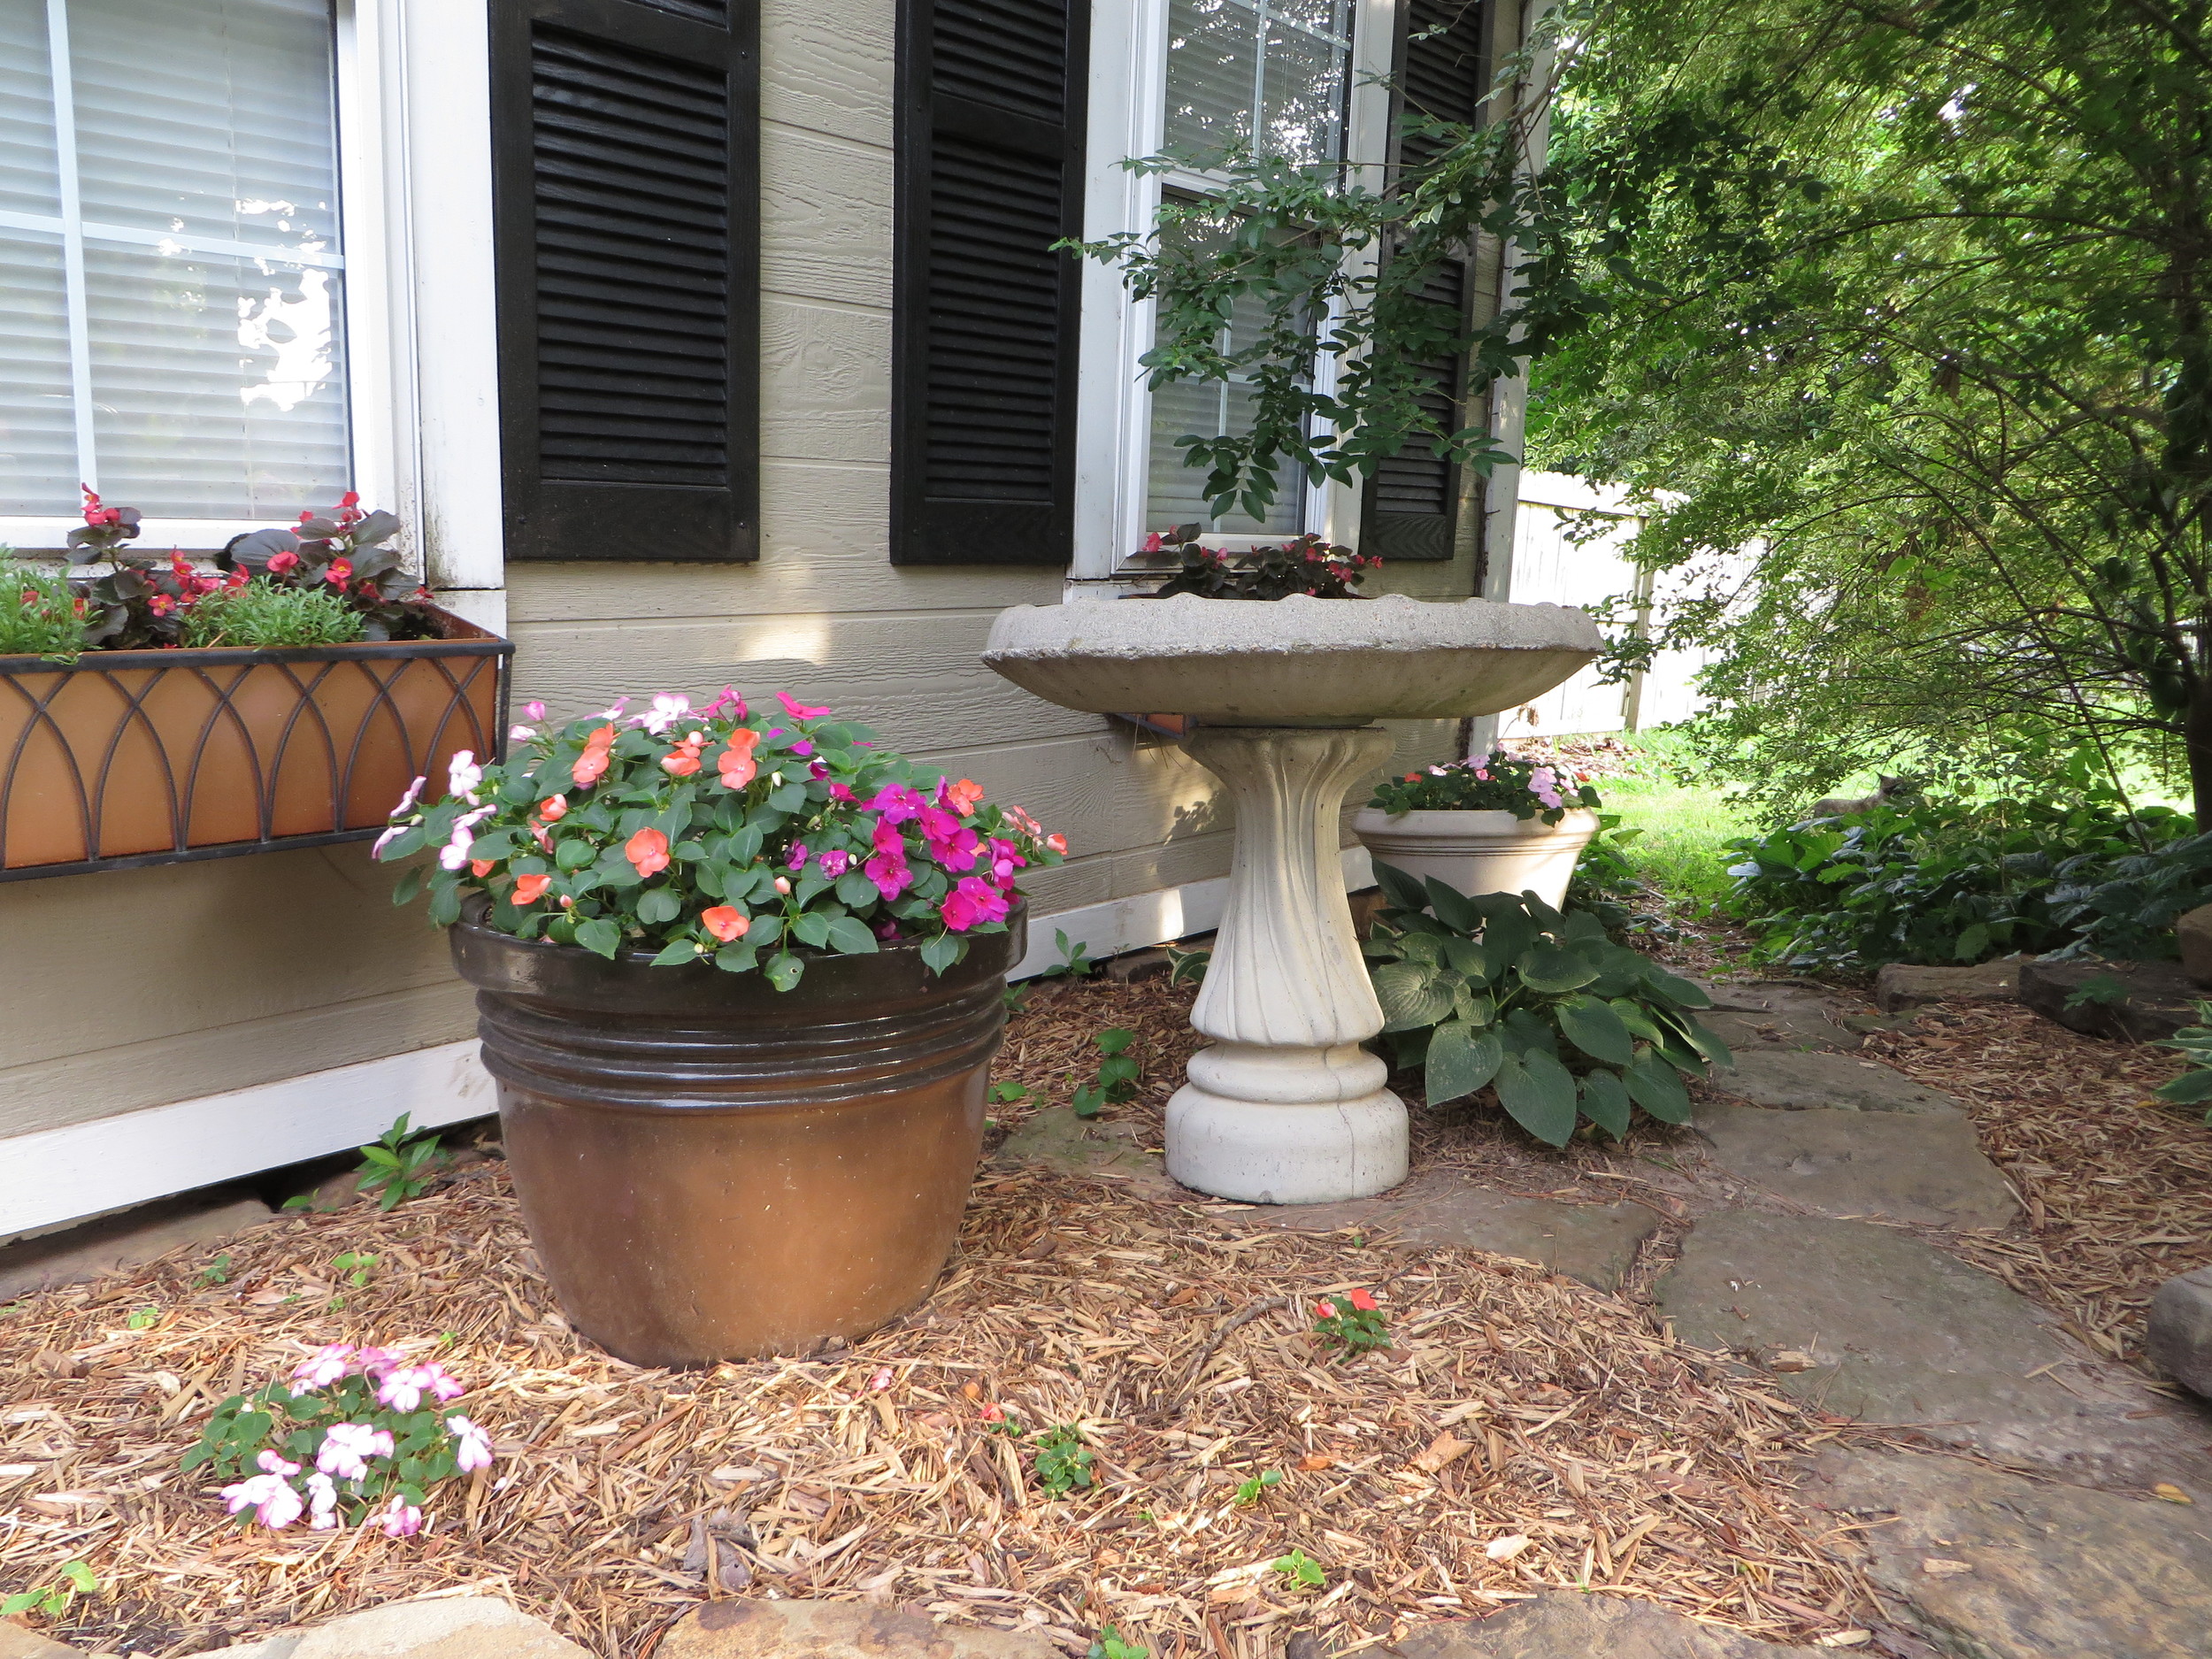
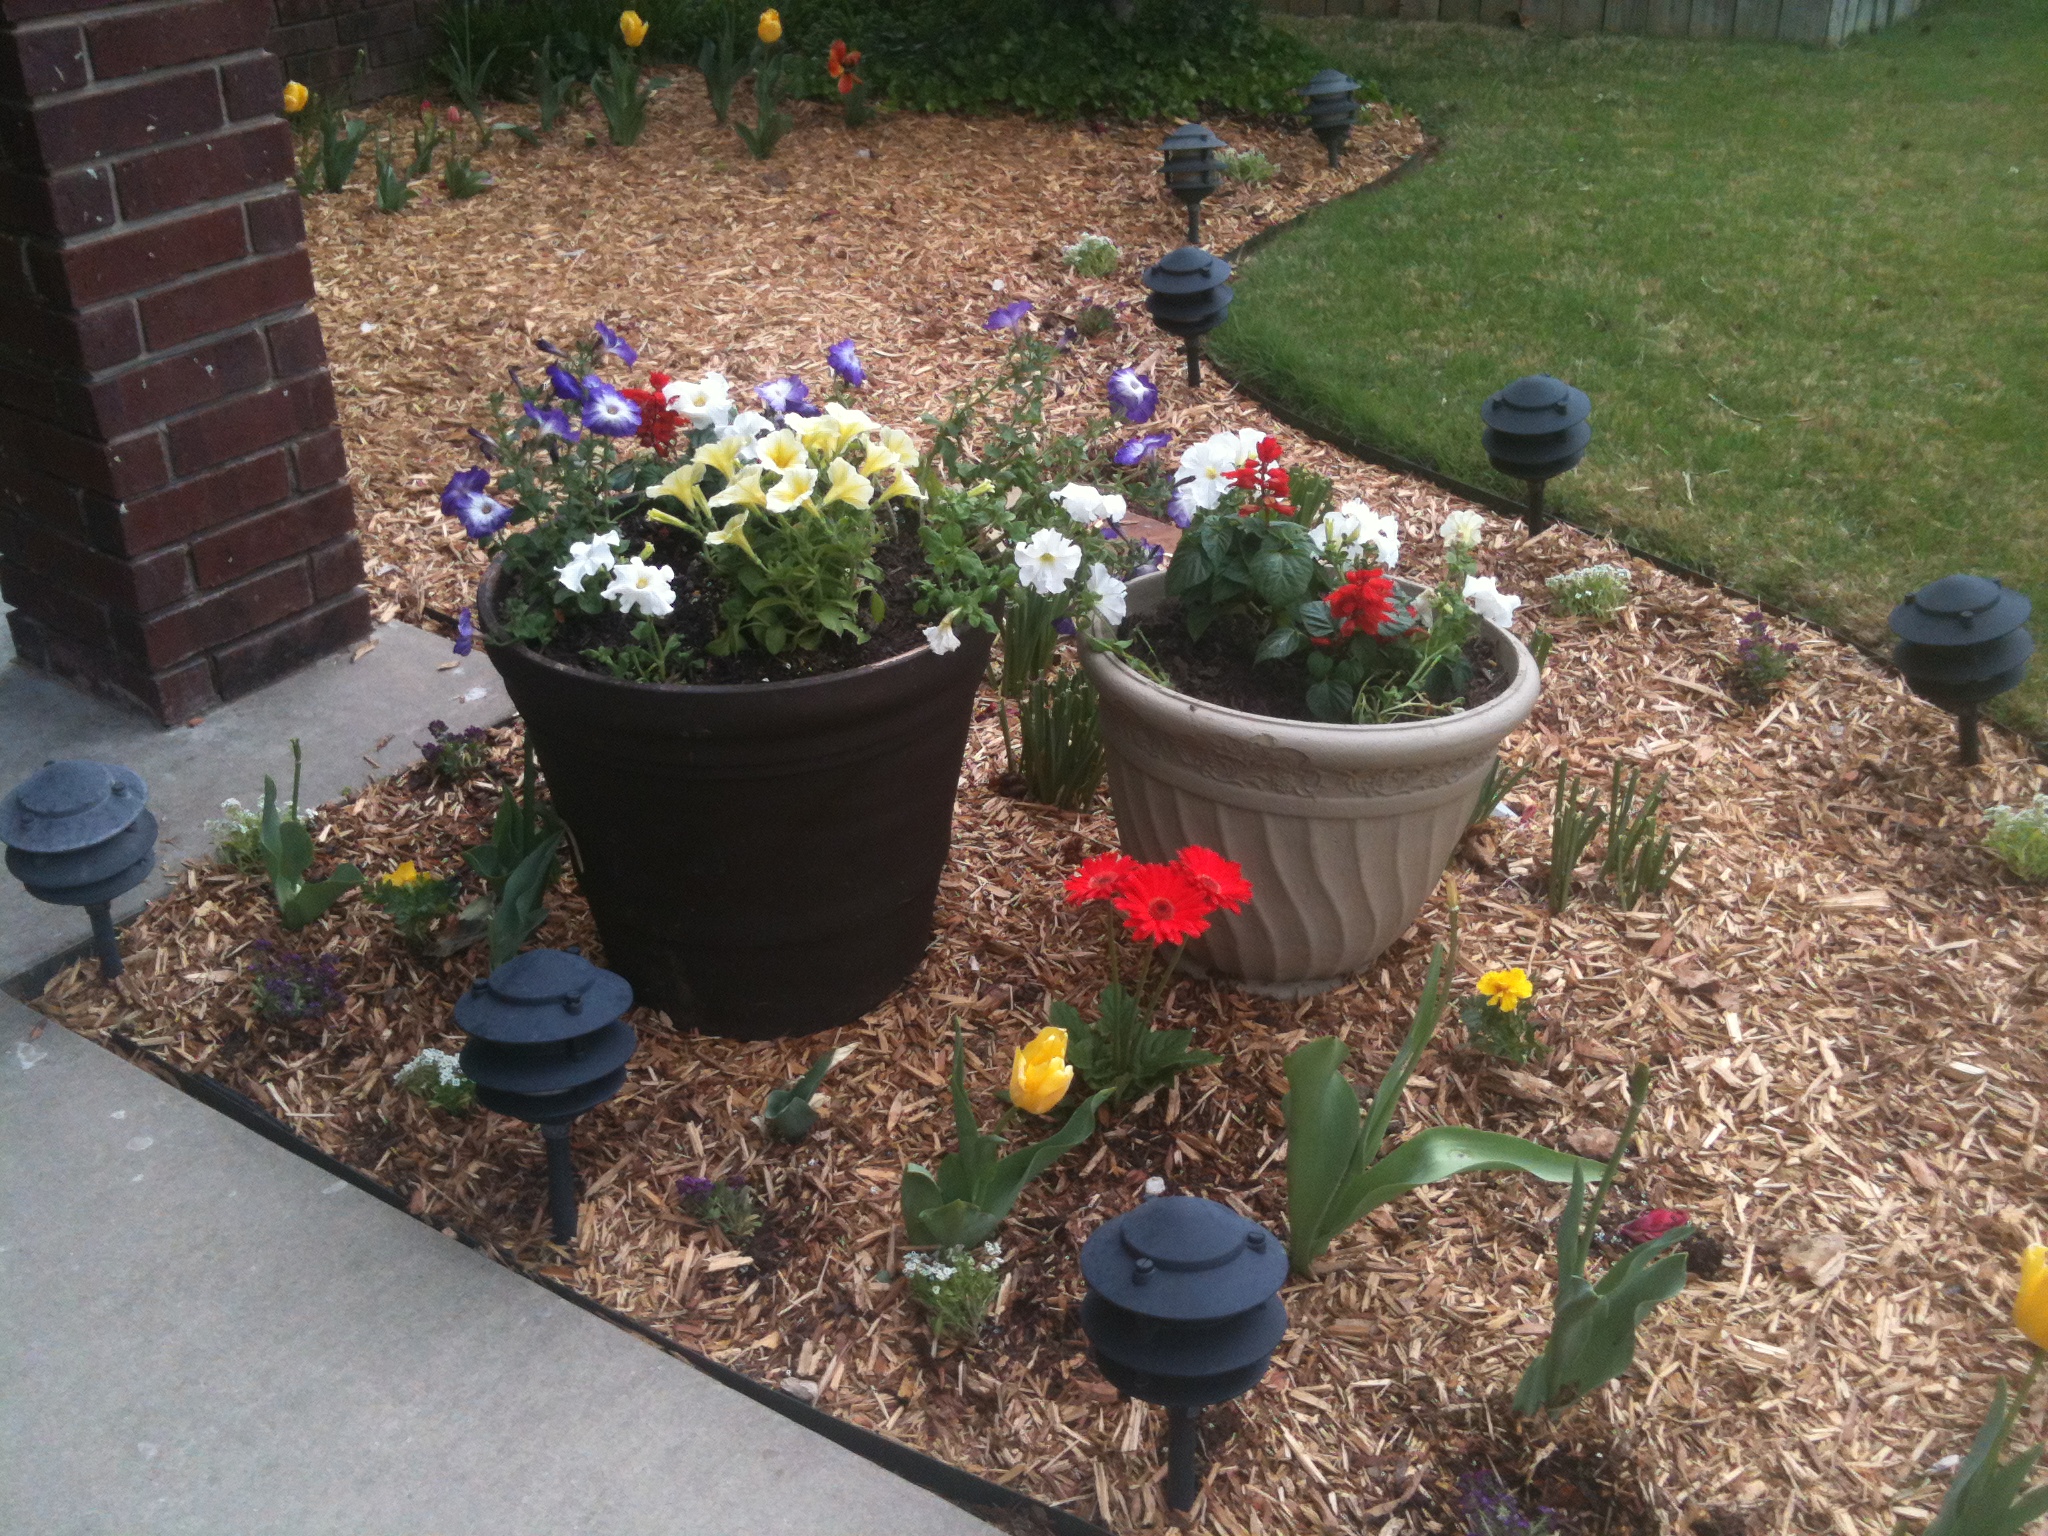
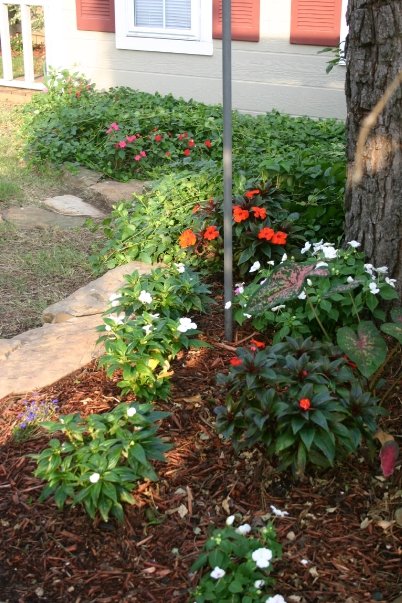
I planted new plants in the flower beds to the left and right of the entry. Again I am transitioning to perennials so I planted small boxwoods, chokeberries, tick seed, lirope and Stella D lilies…and of course a few potted hostas.

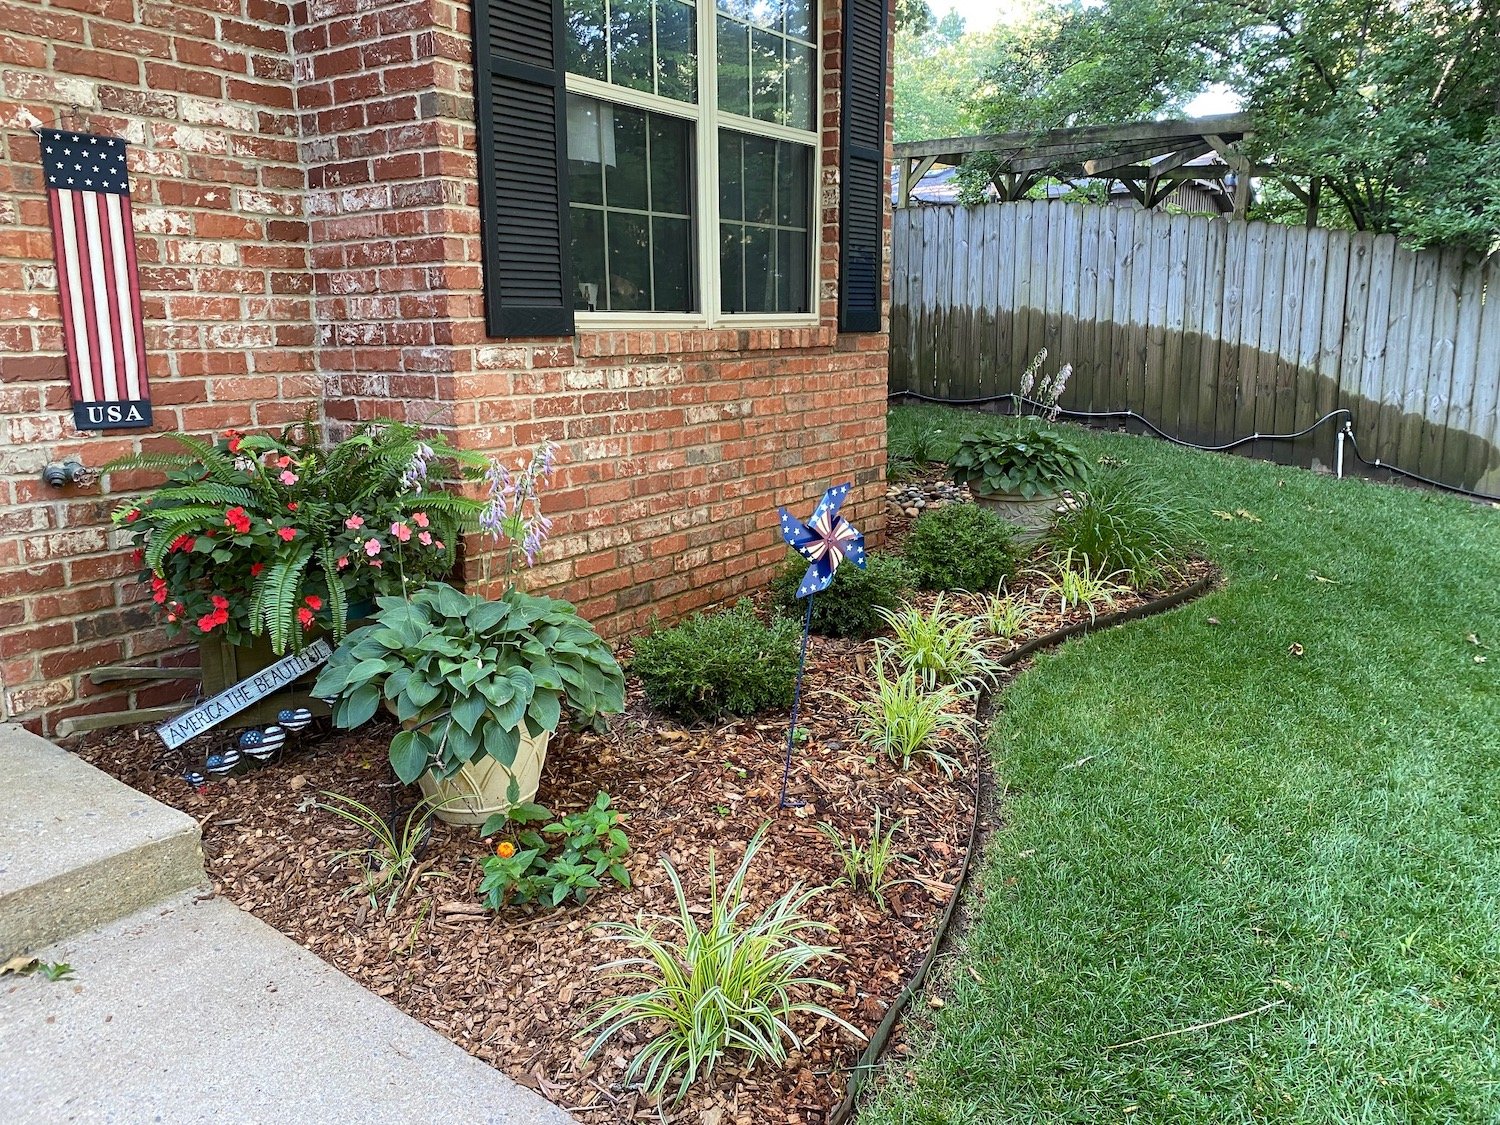
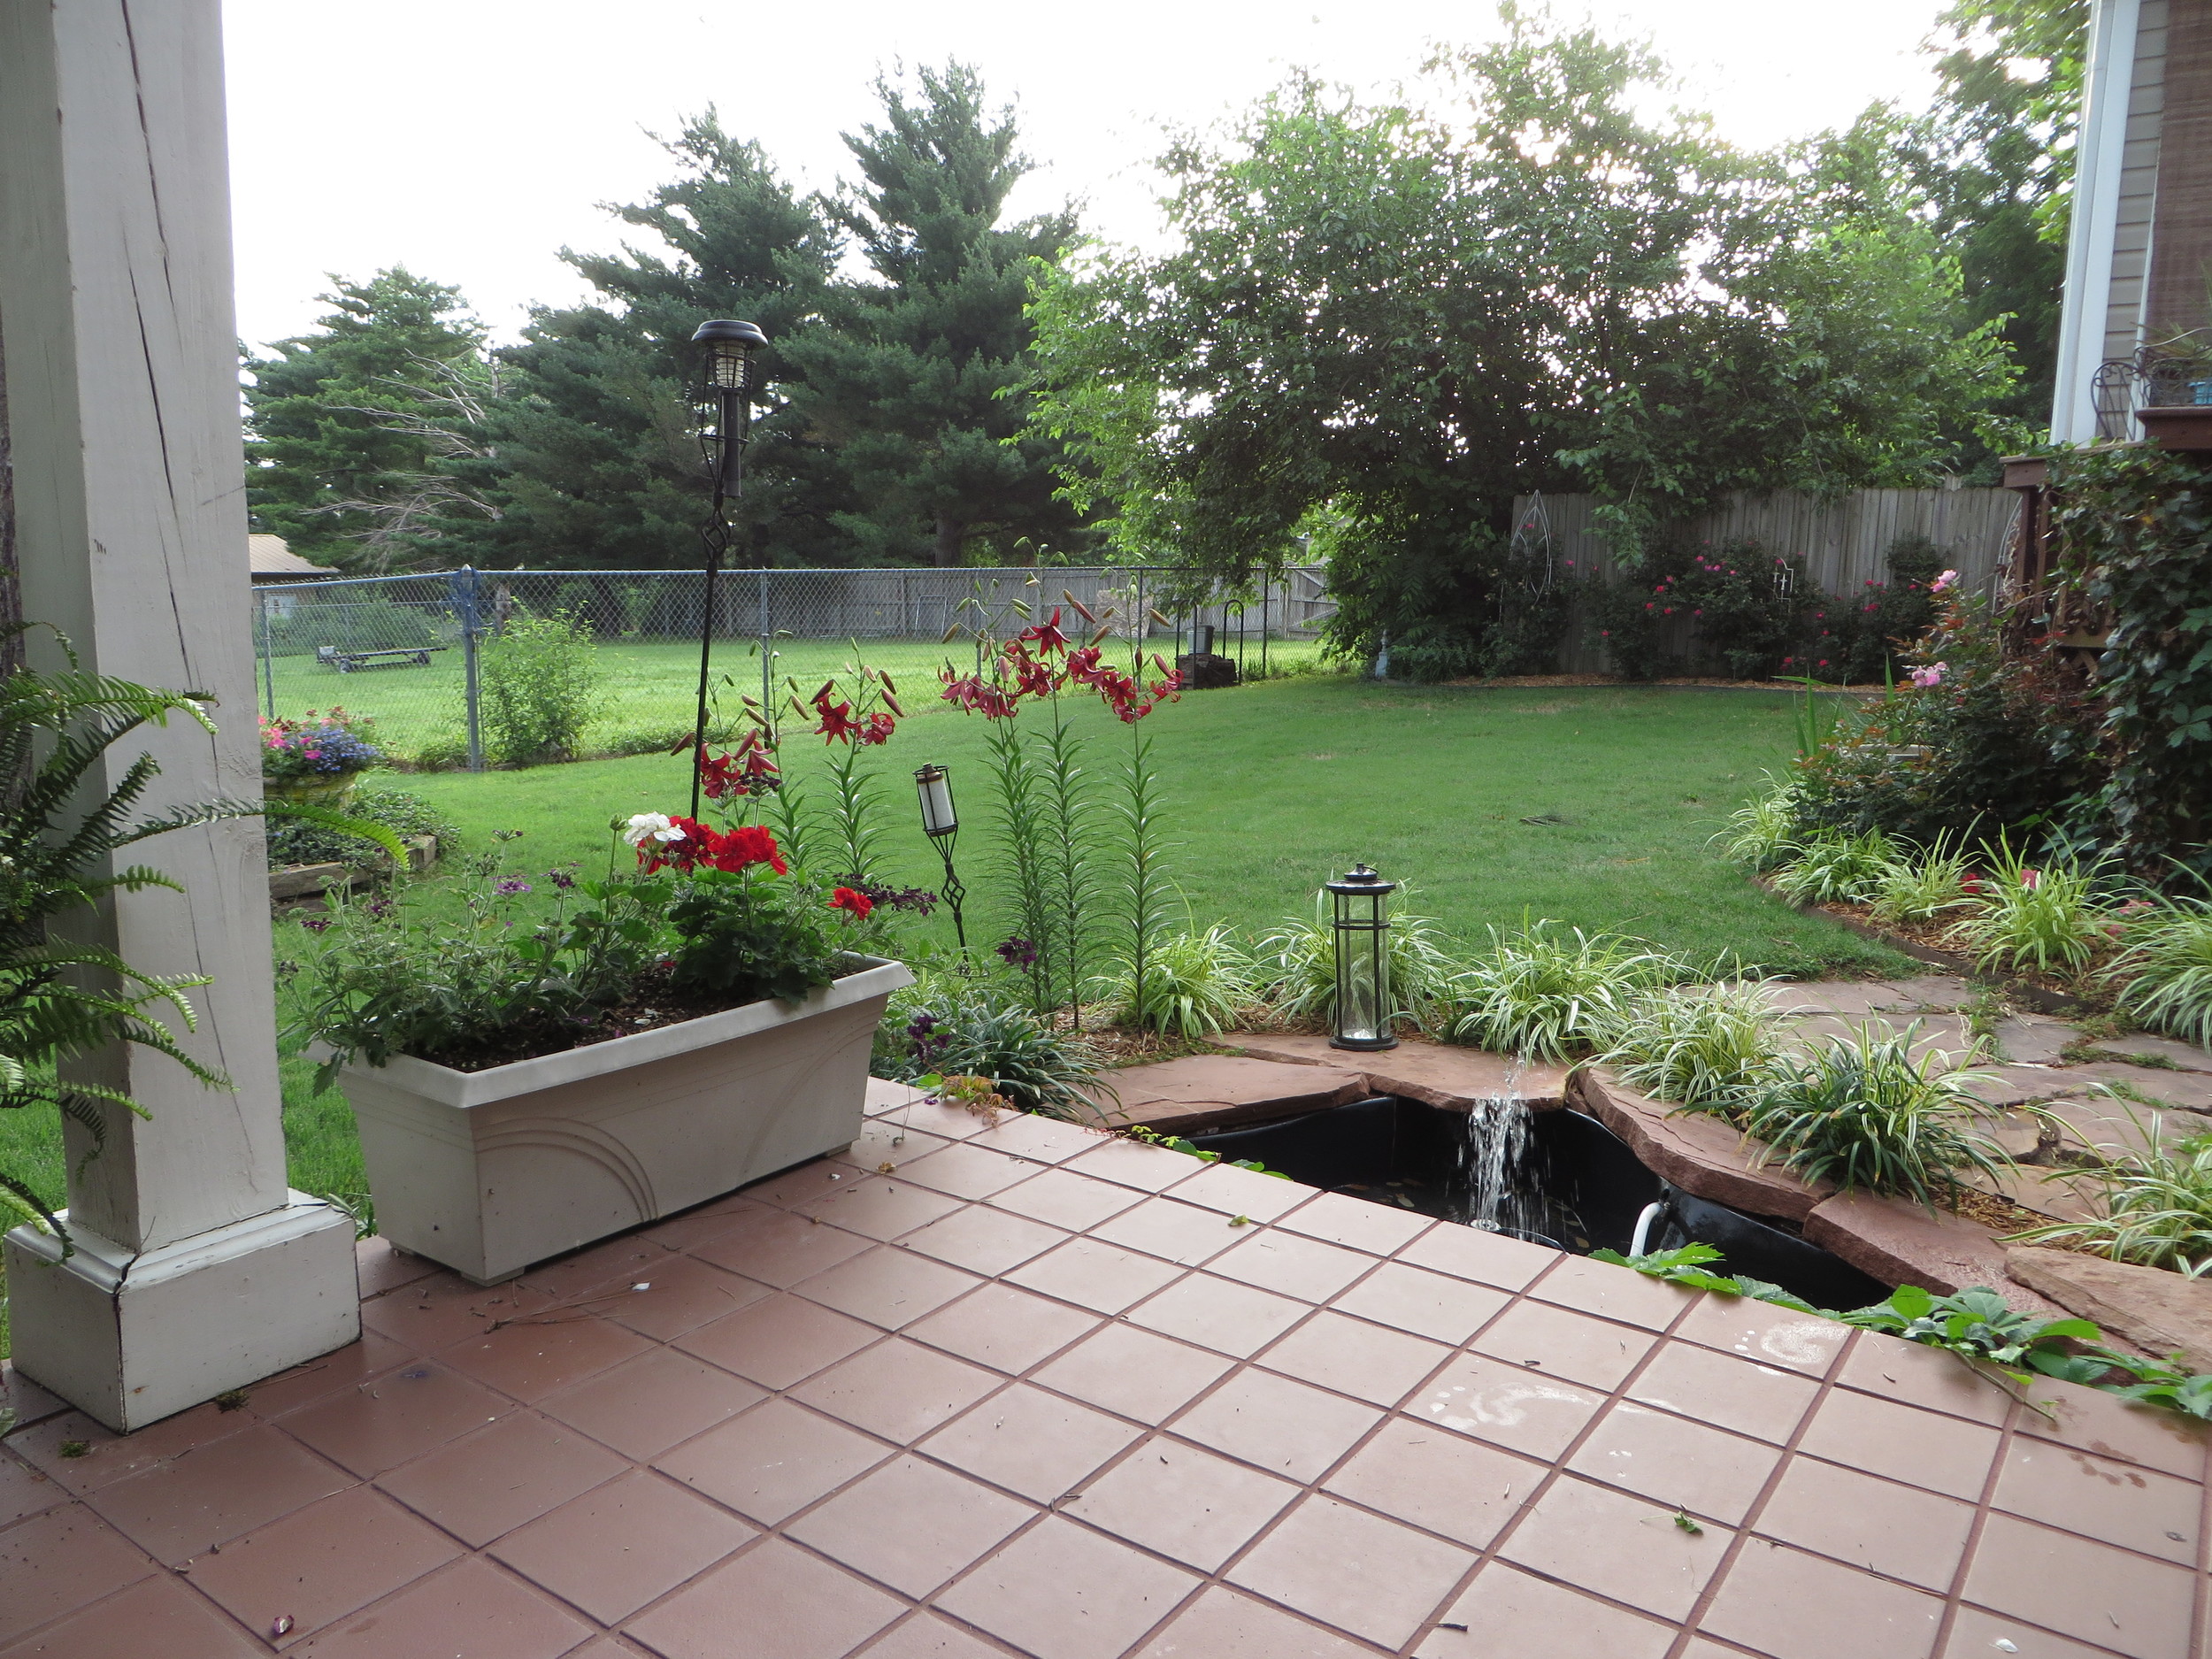
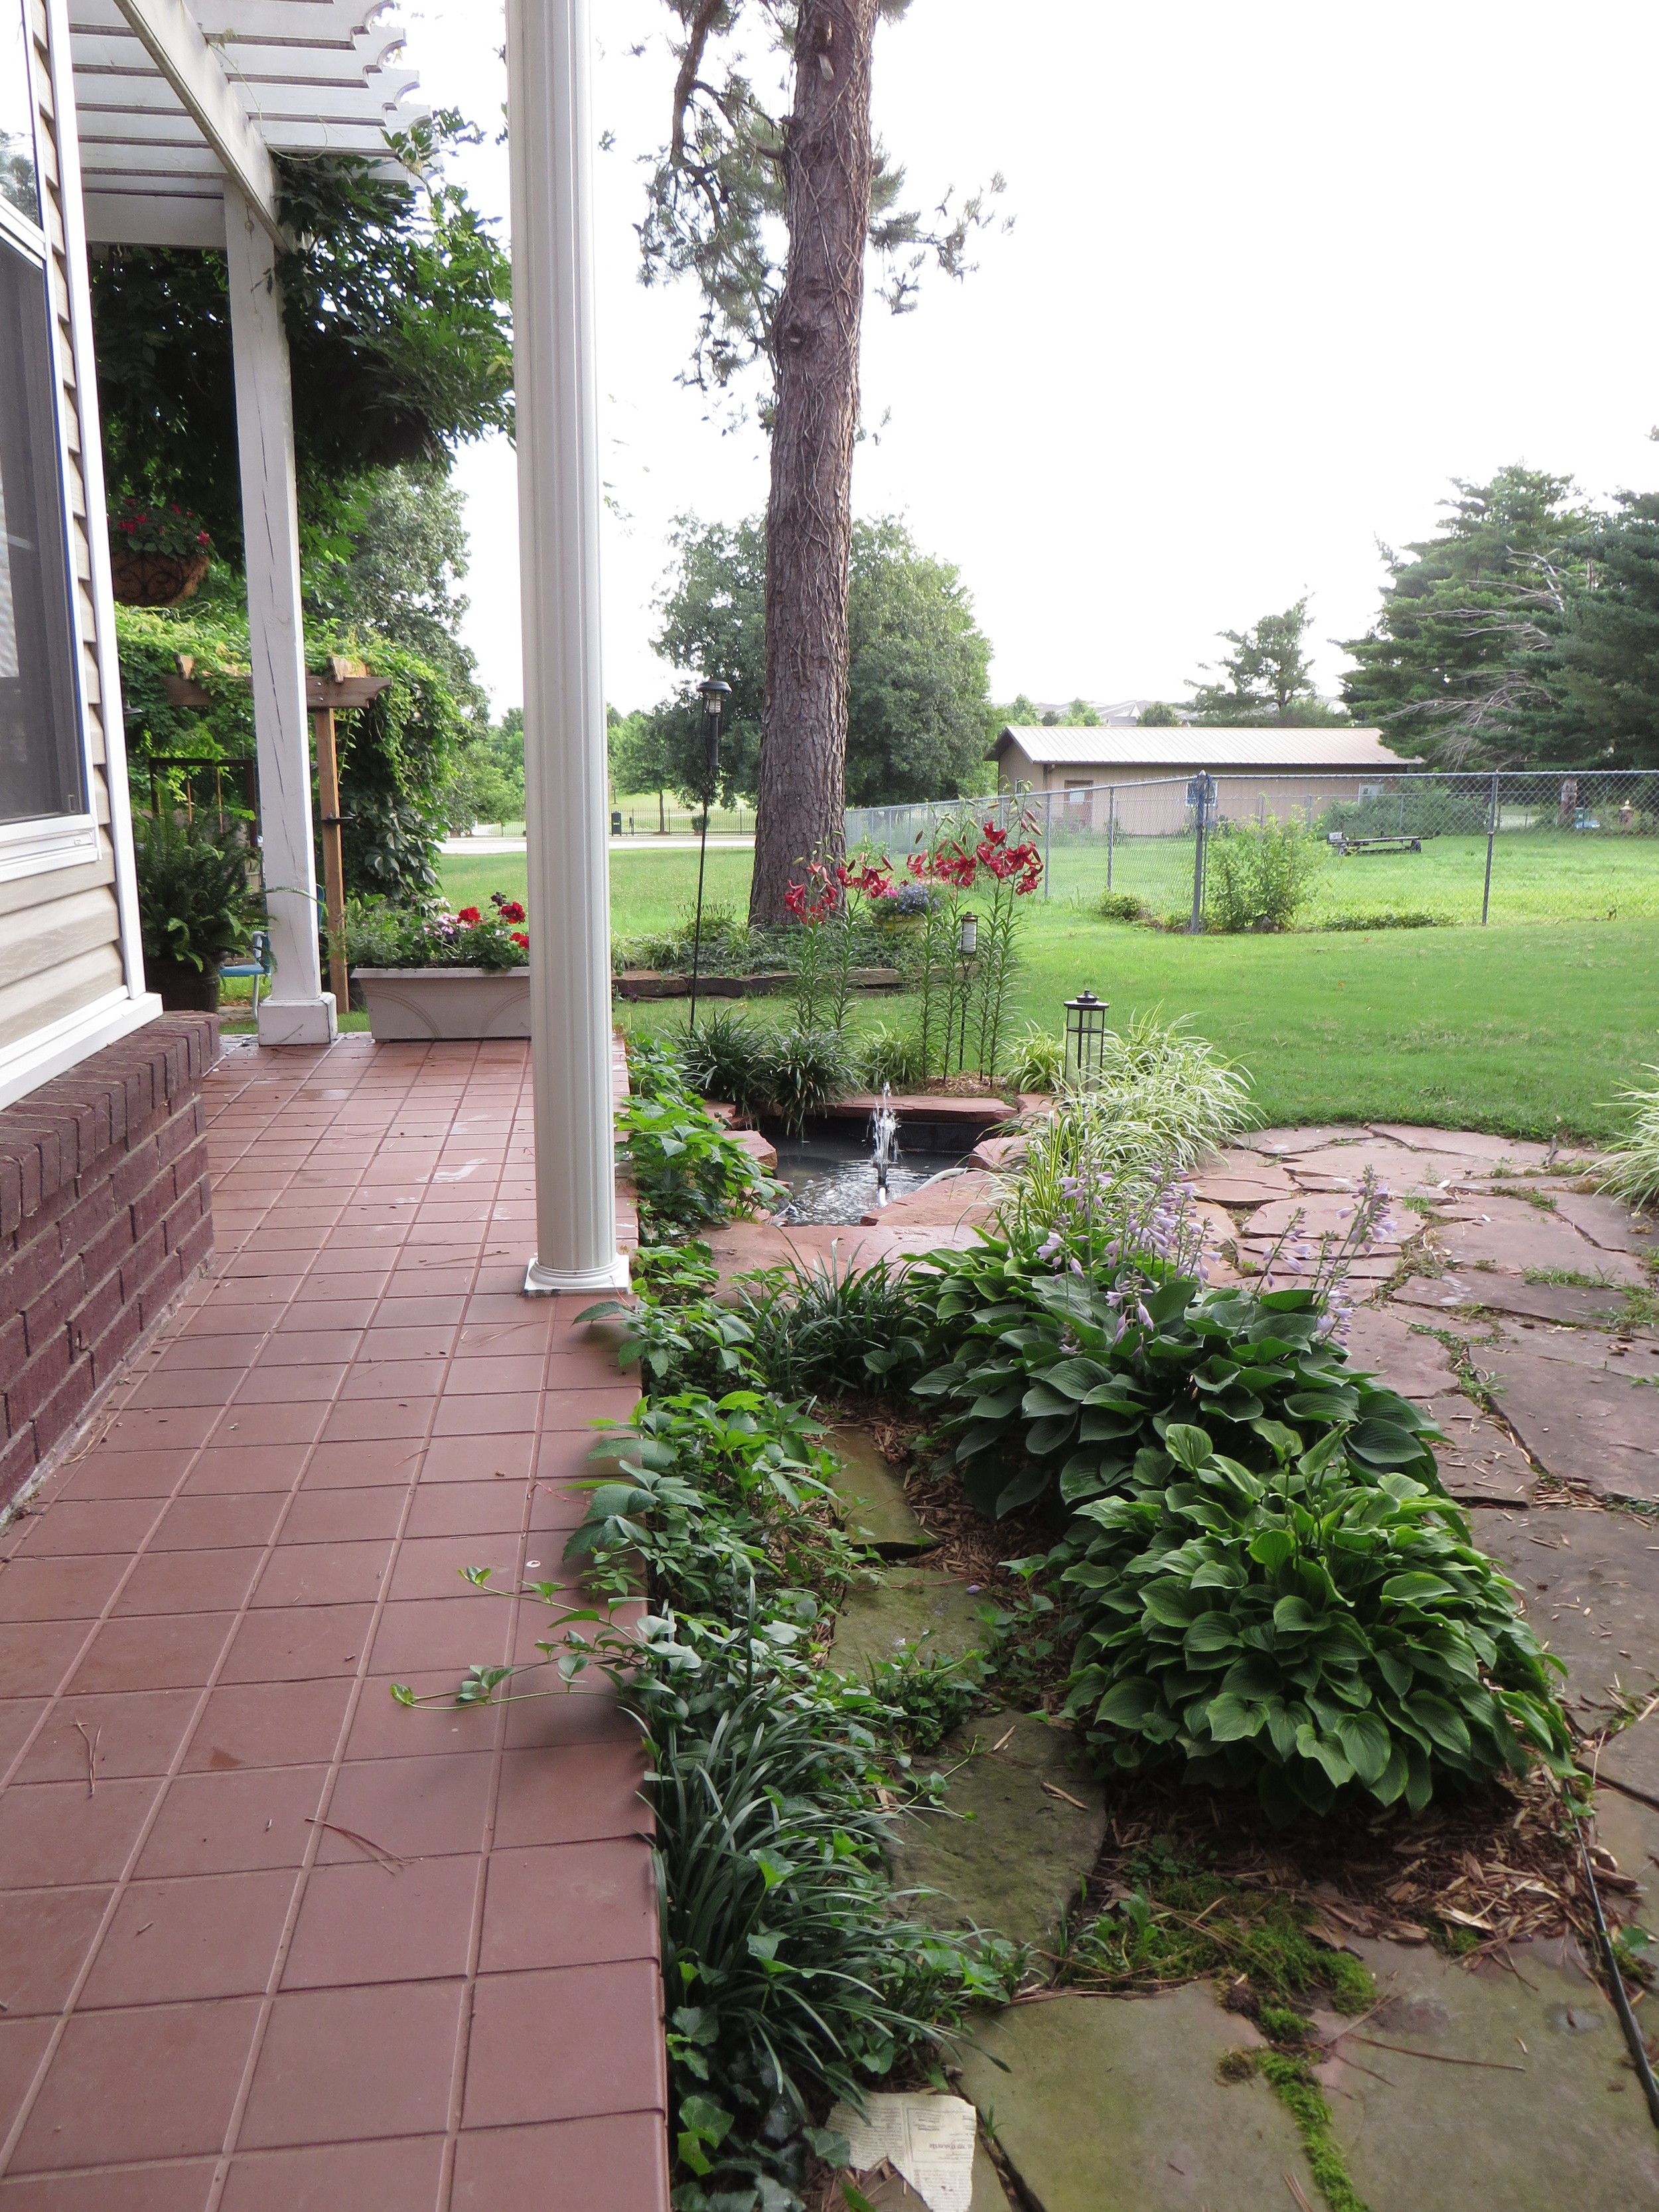
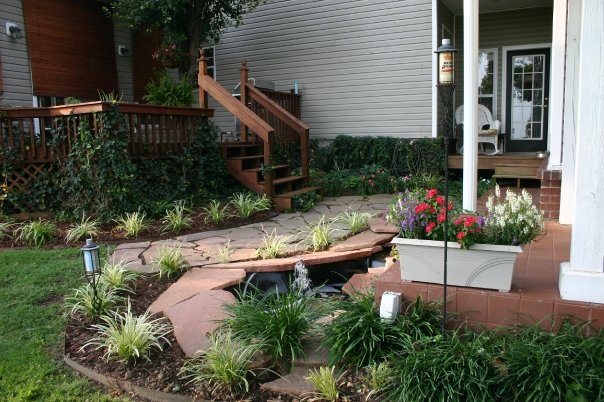
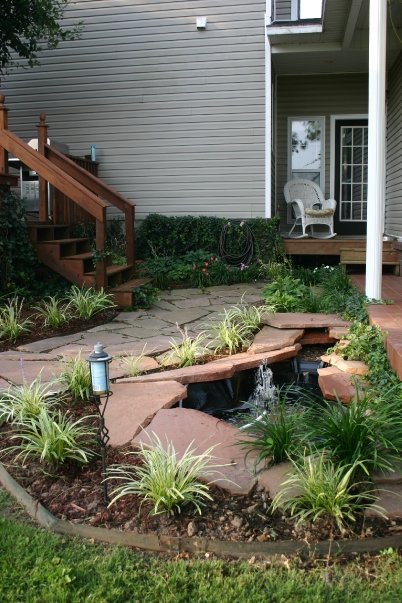
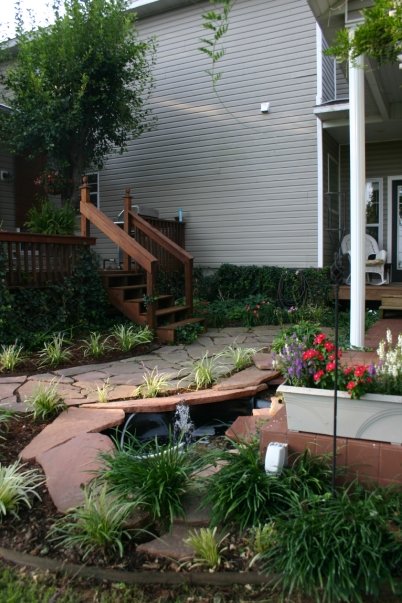
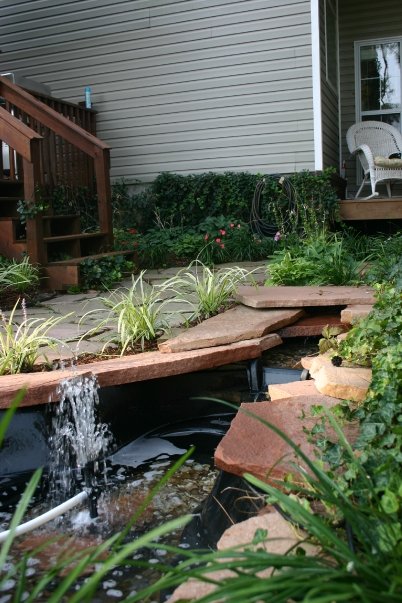
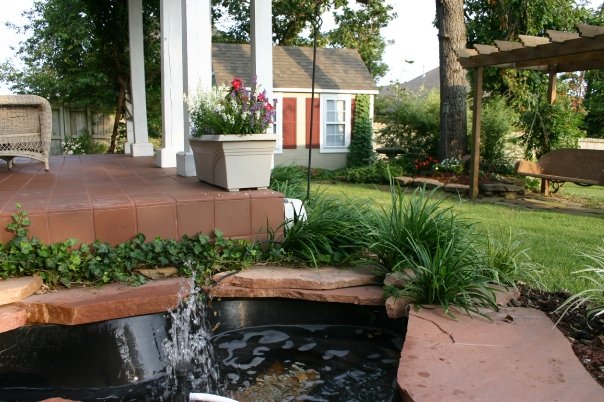
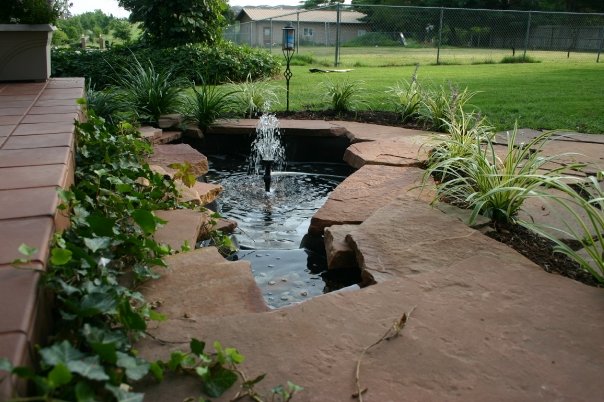
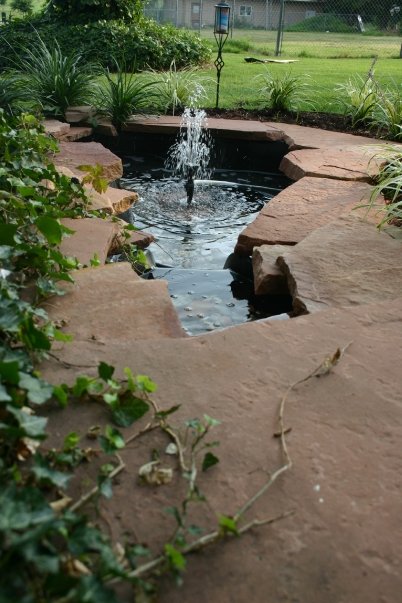
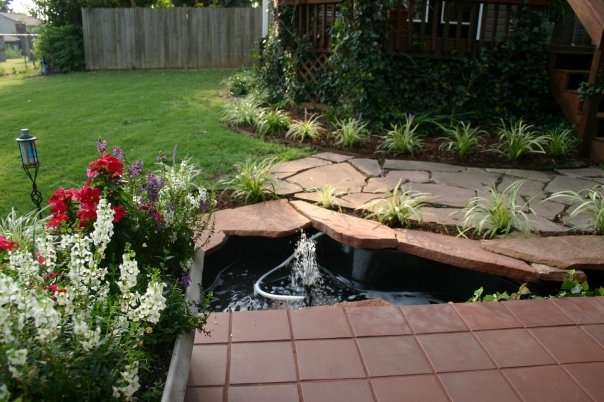
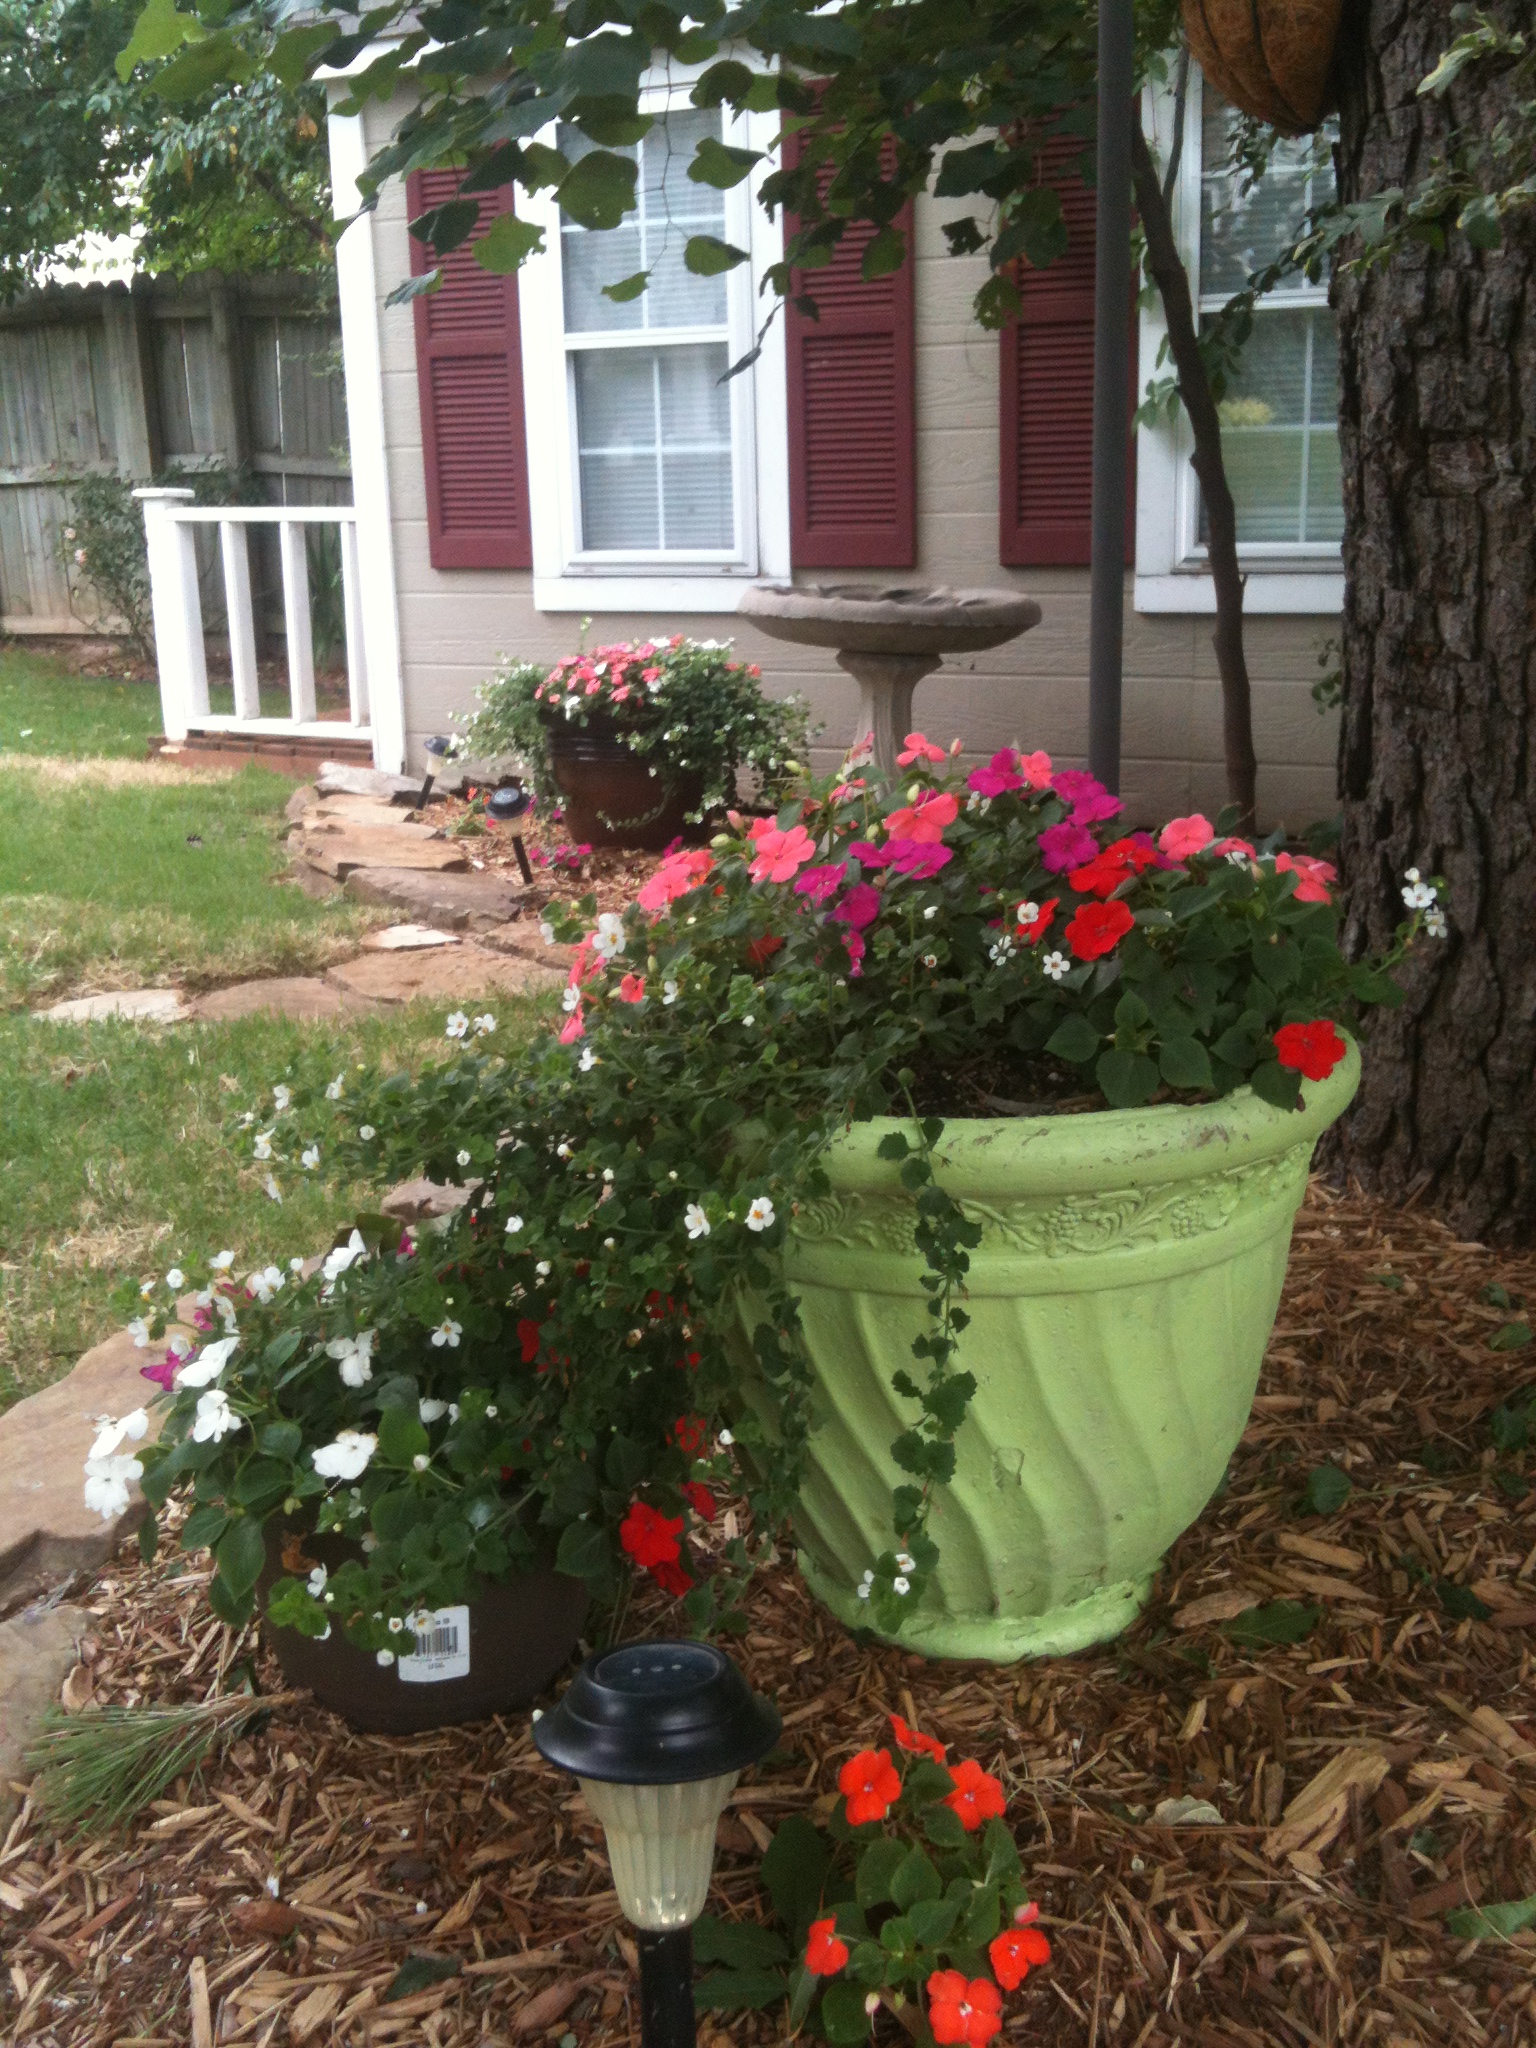
The bed on the left is filled with beautiful daffodils and tulips in the spring…I left those. (This is where I added a simple water feature…stay tuned and I’ll share how easy it is!)
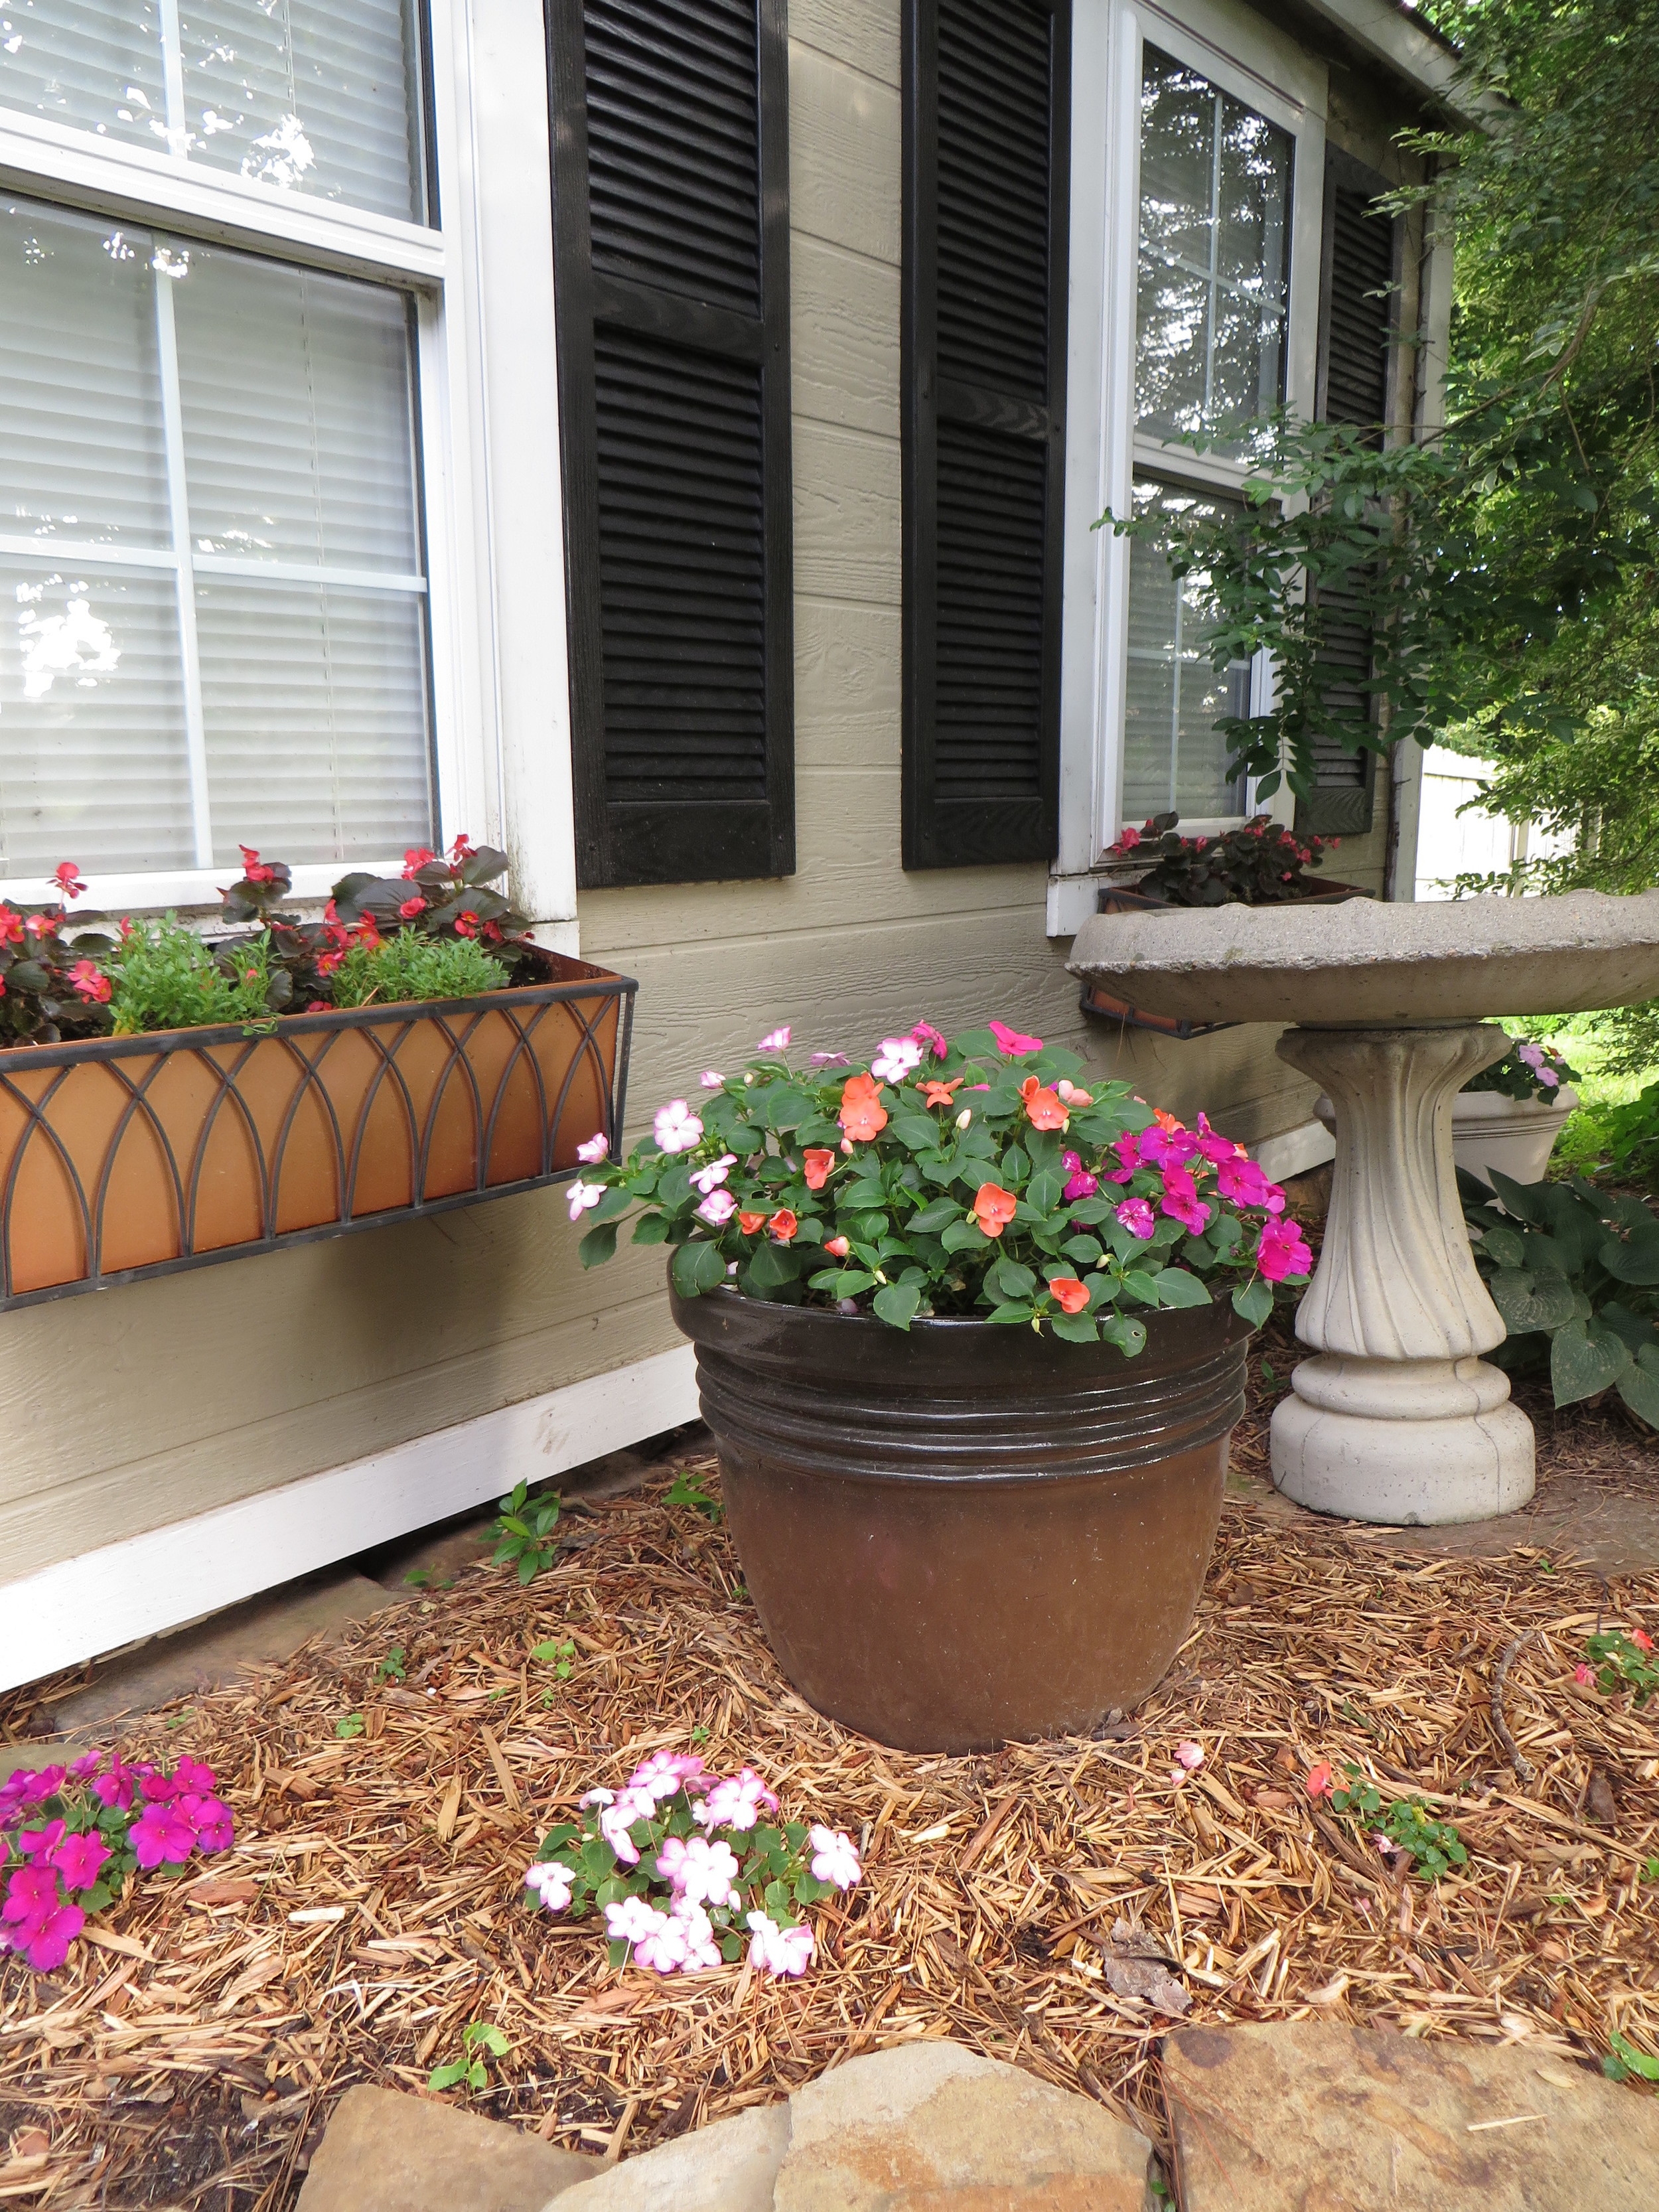
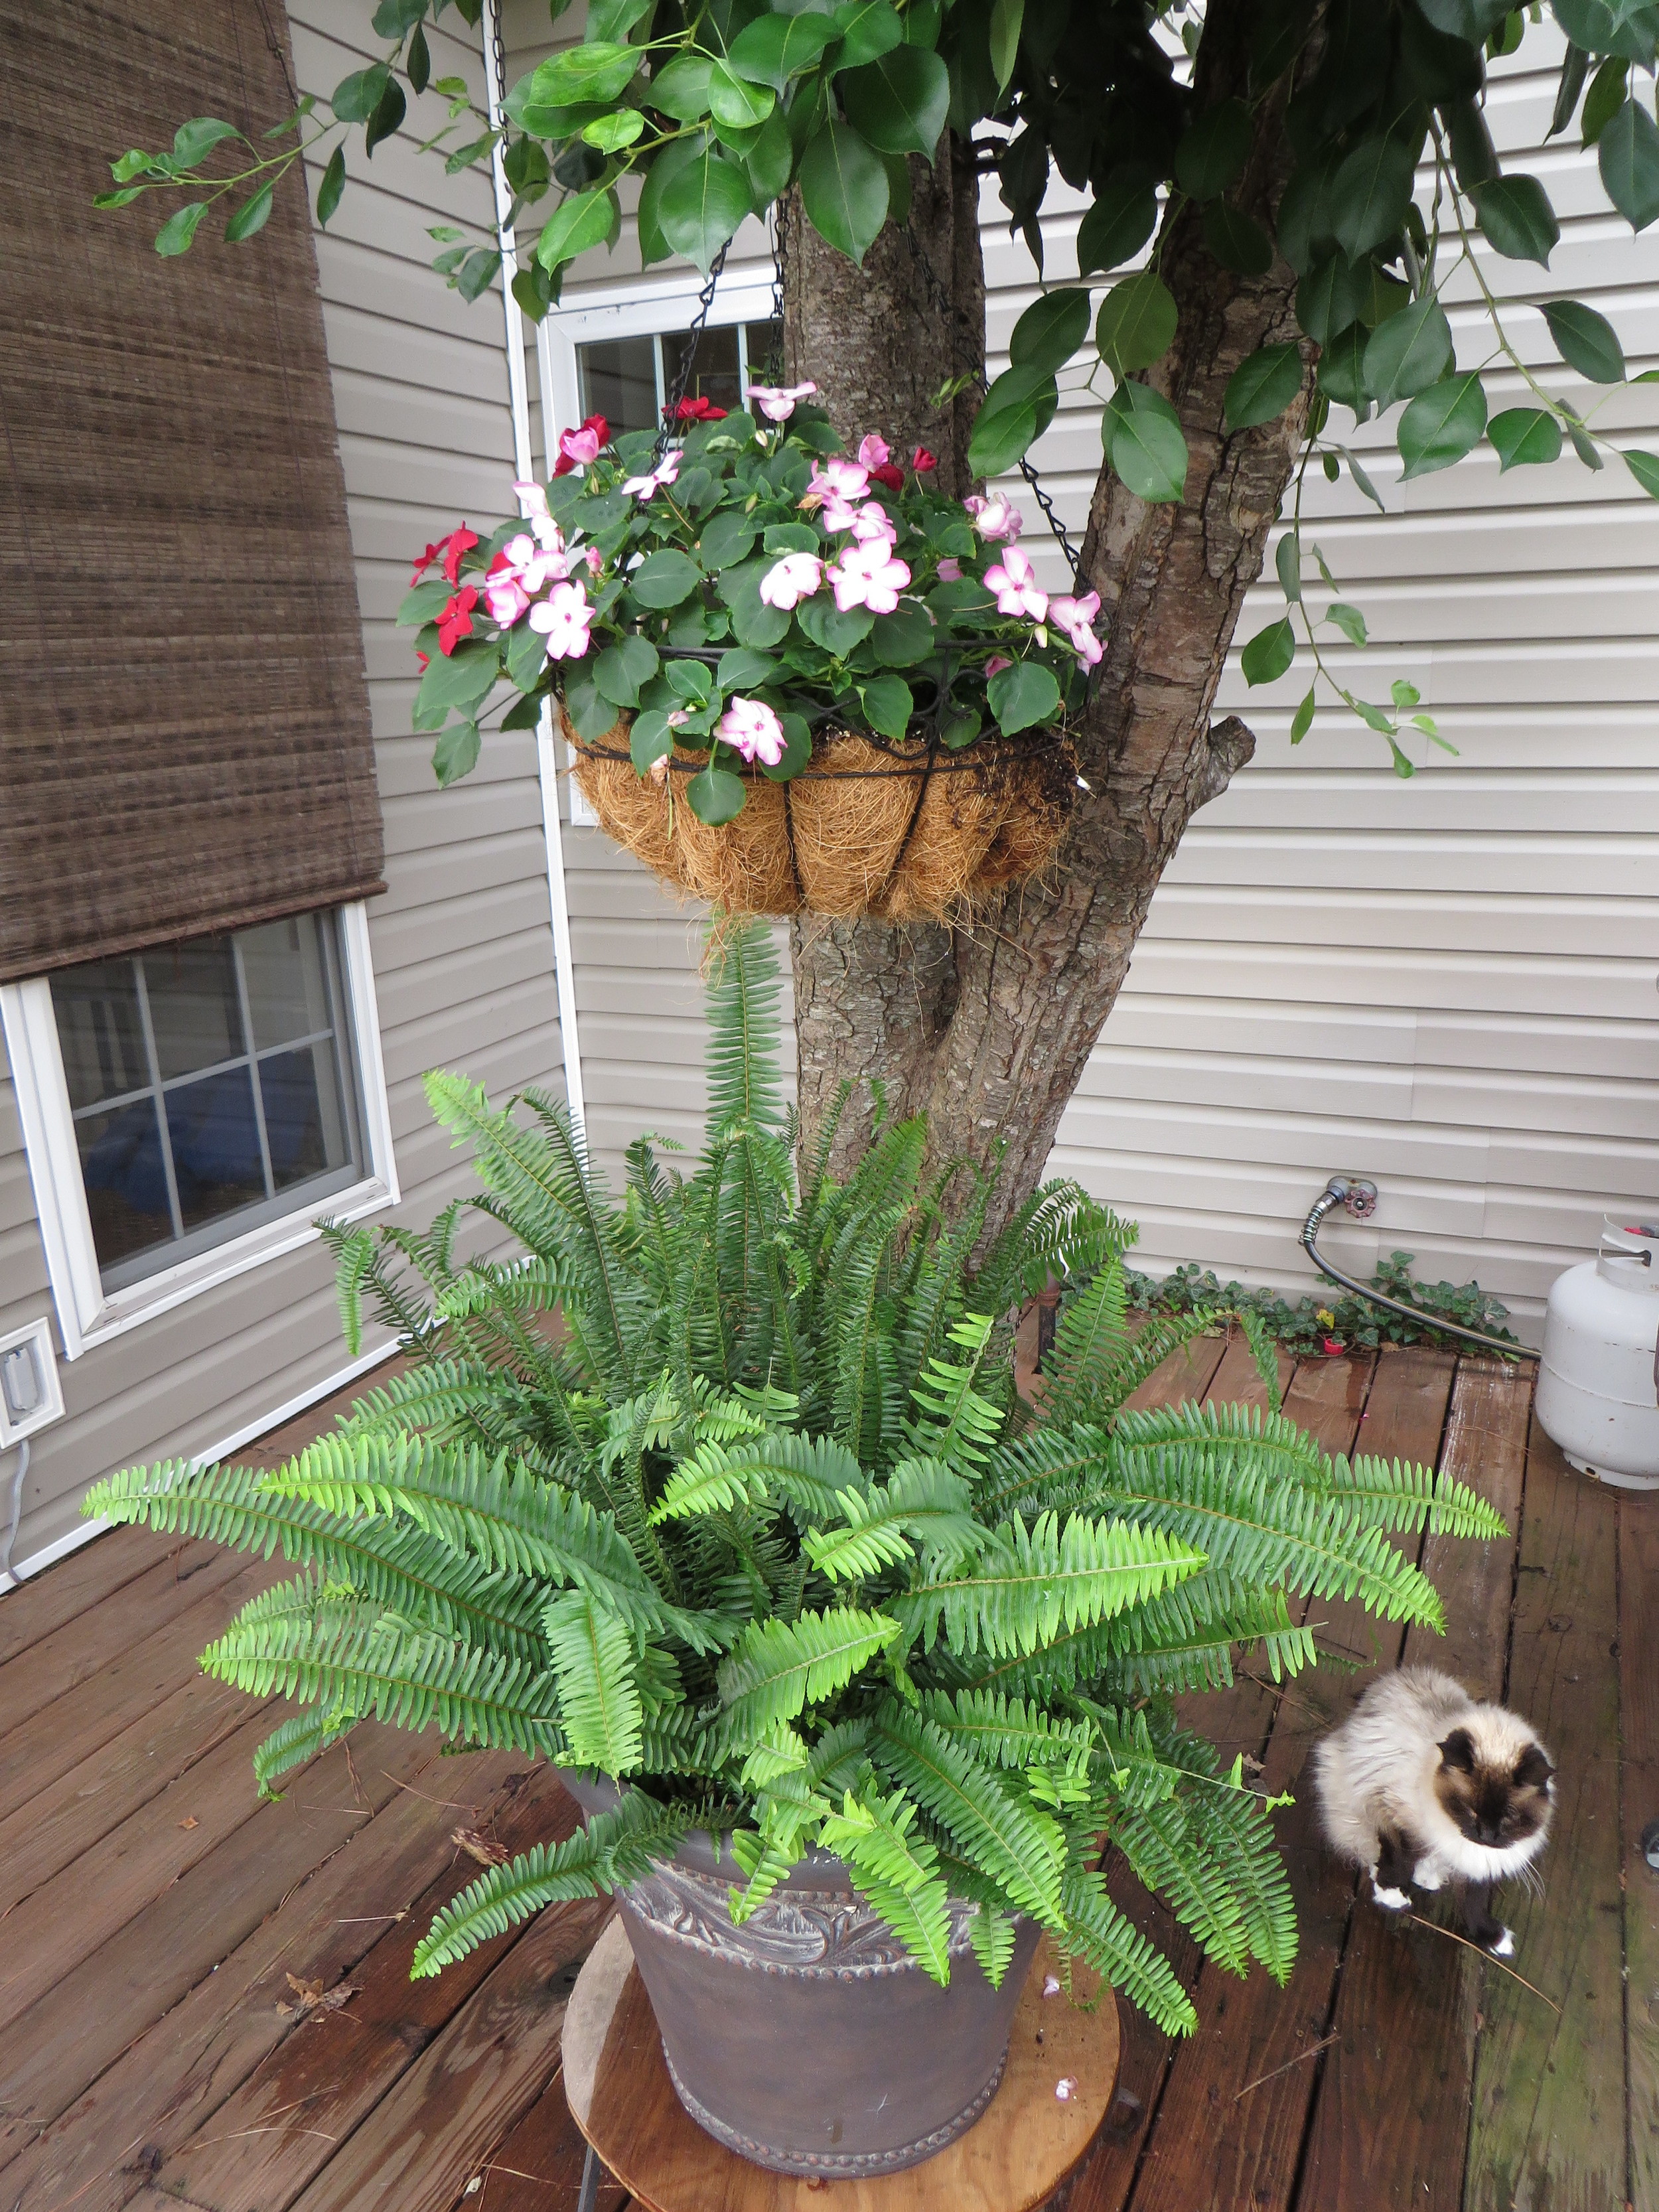
I fill in with a few colorful annuals and I have a few pots I add ferns and impatiens to every year.


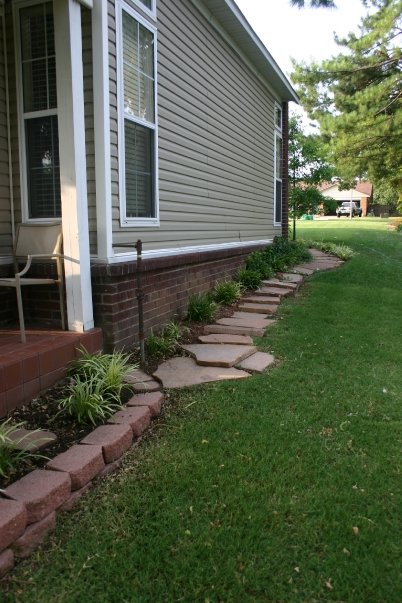
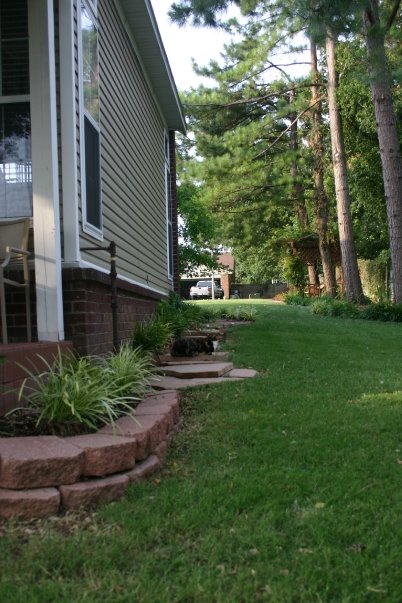
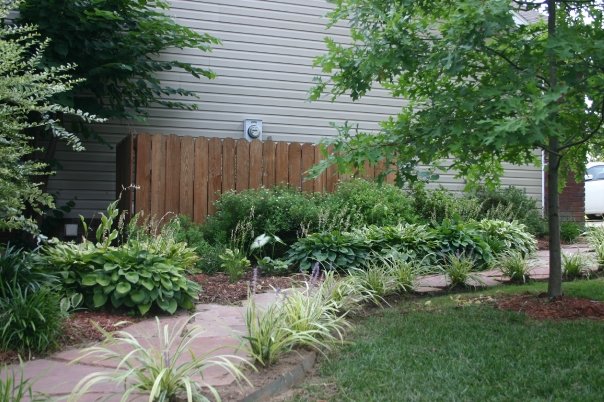
Dressed up the beds on the north side of the house with a little rock and planted a few easy plants…hydrangeas, lirope and some astilbe.


Prime example of why you should really research plants…originally I planted some Stella D lilies here and they did not get enough sun. This side yard only gets a little morning sun which is perfect for the hydrangeas and astilbe.
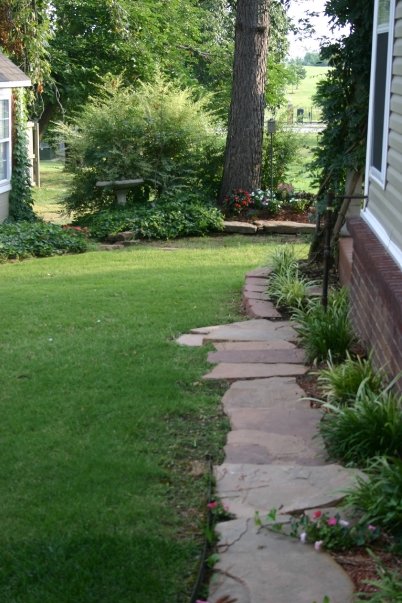
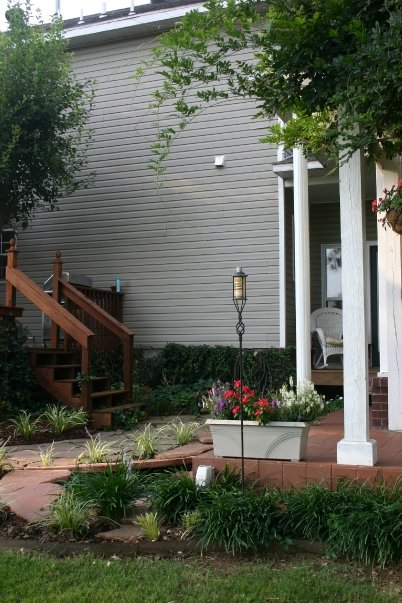
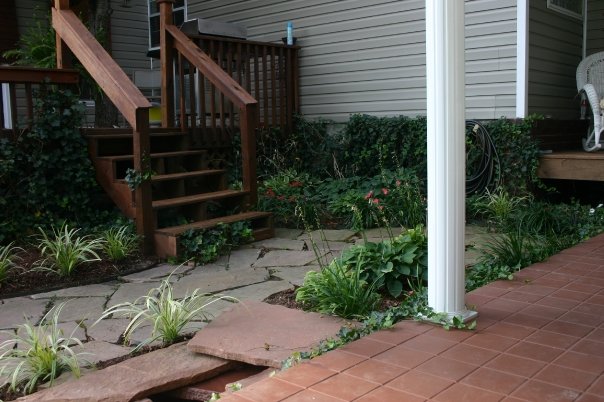
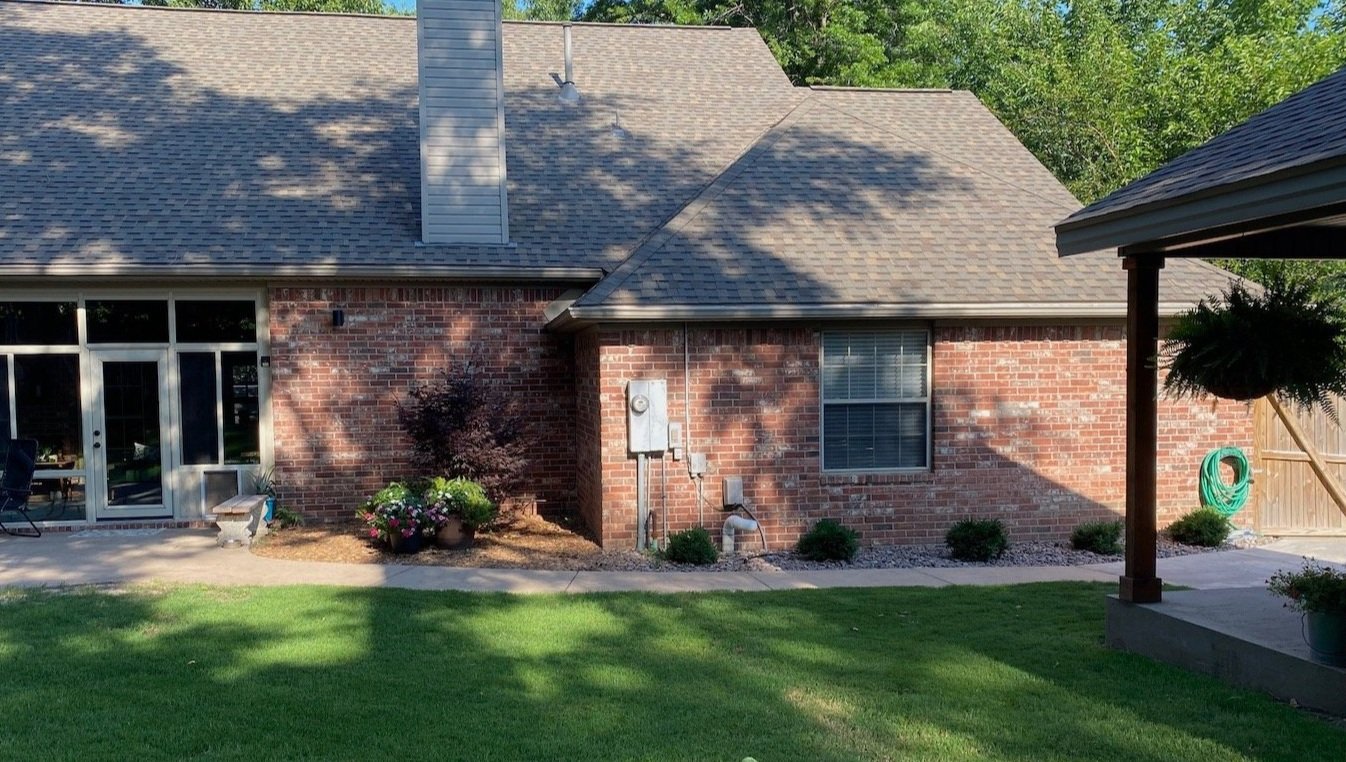
A few weeks ago I finished a little makeover on the side yard where grass would not grow. I added a little flagstone, some decorative rock around the air conditioner, planted some lirope my neighbor was thinning out in her yard, planted a redbud and added a little birdbath.
When I was at the livestock store picking up supplies for my water feature project, they had their azaleas 50% off. I snagged a few and planted one here and two in the side shade bed incase the older ones eventually croak!

The entire back yard slopes towards the house and to each side. This side of the yard gets a pretty heavy water shed because of a downspout. It is one reason this side of the front and back yard would not grow grass. I have to be VERY careful about any changes I make.
HERE I shared the changes I made to the side yard behind the fence.


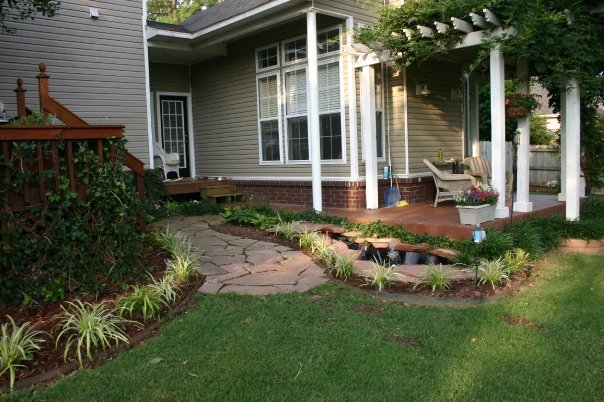
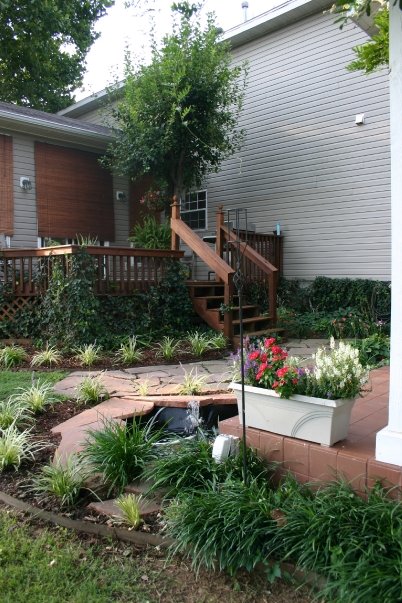
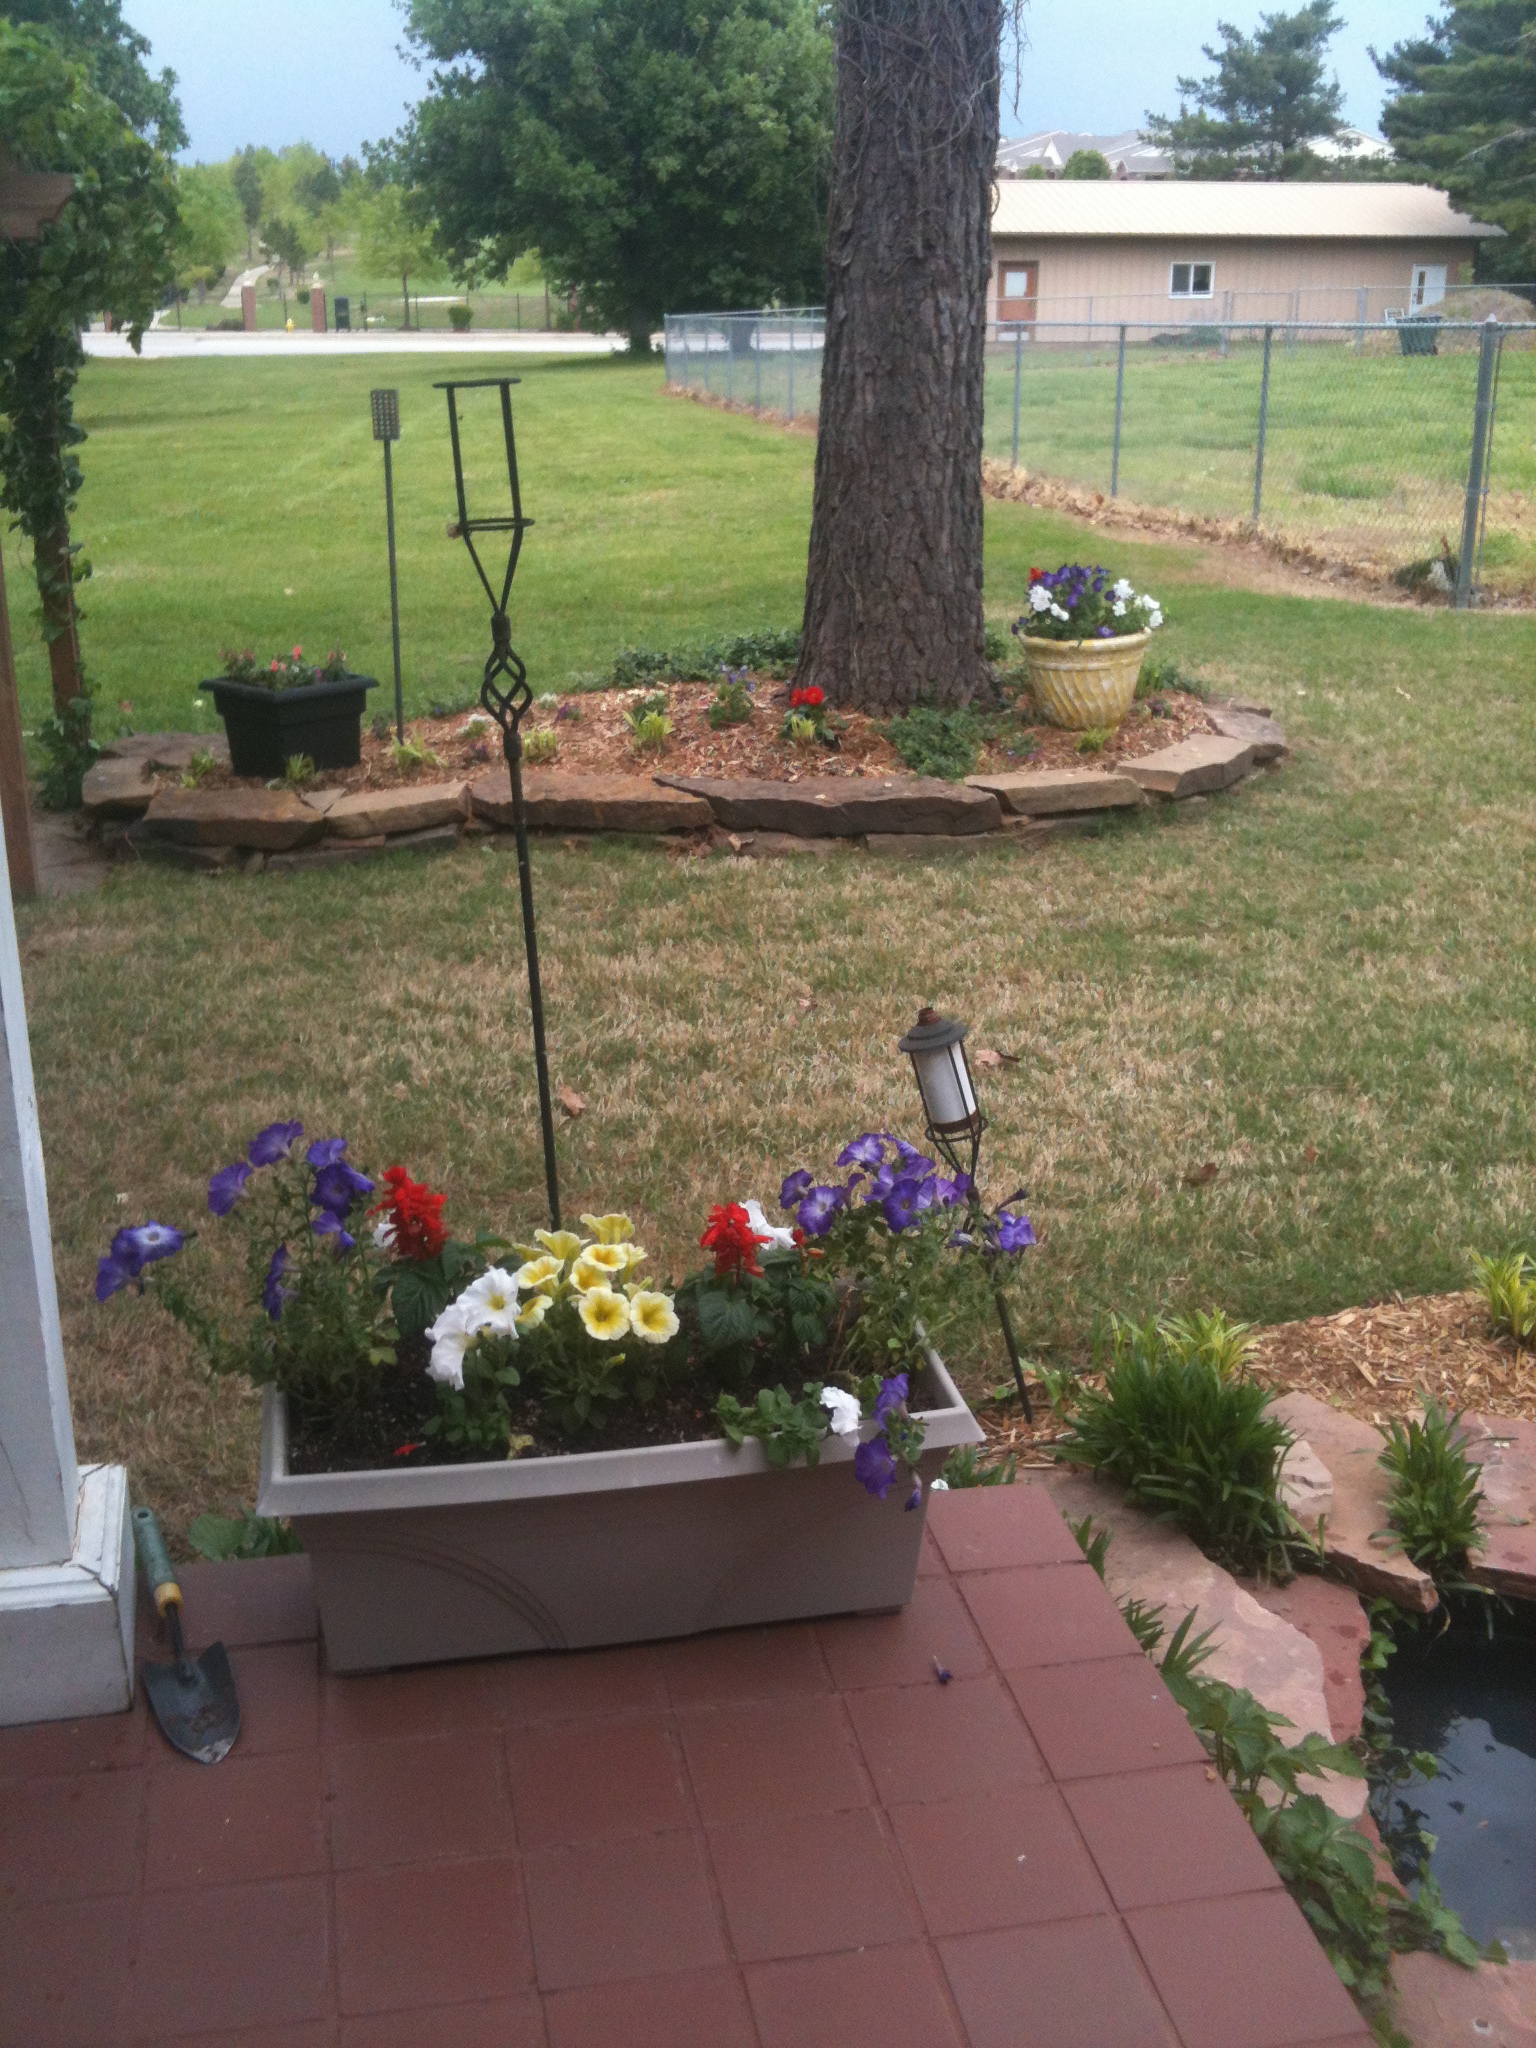
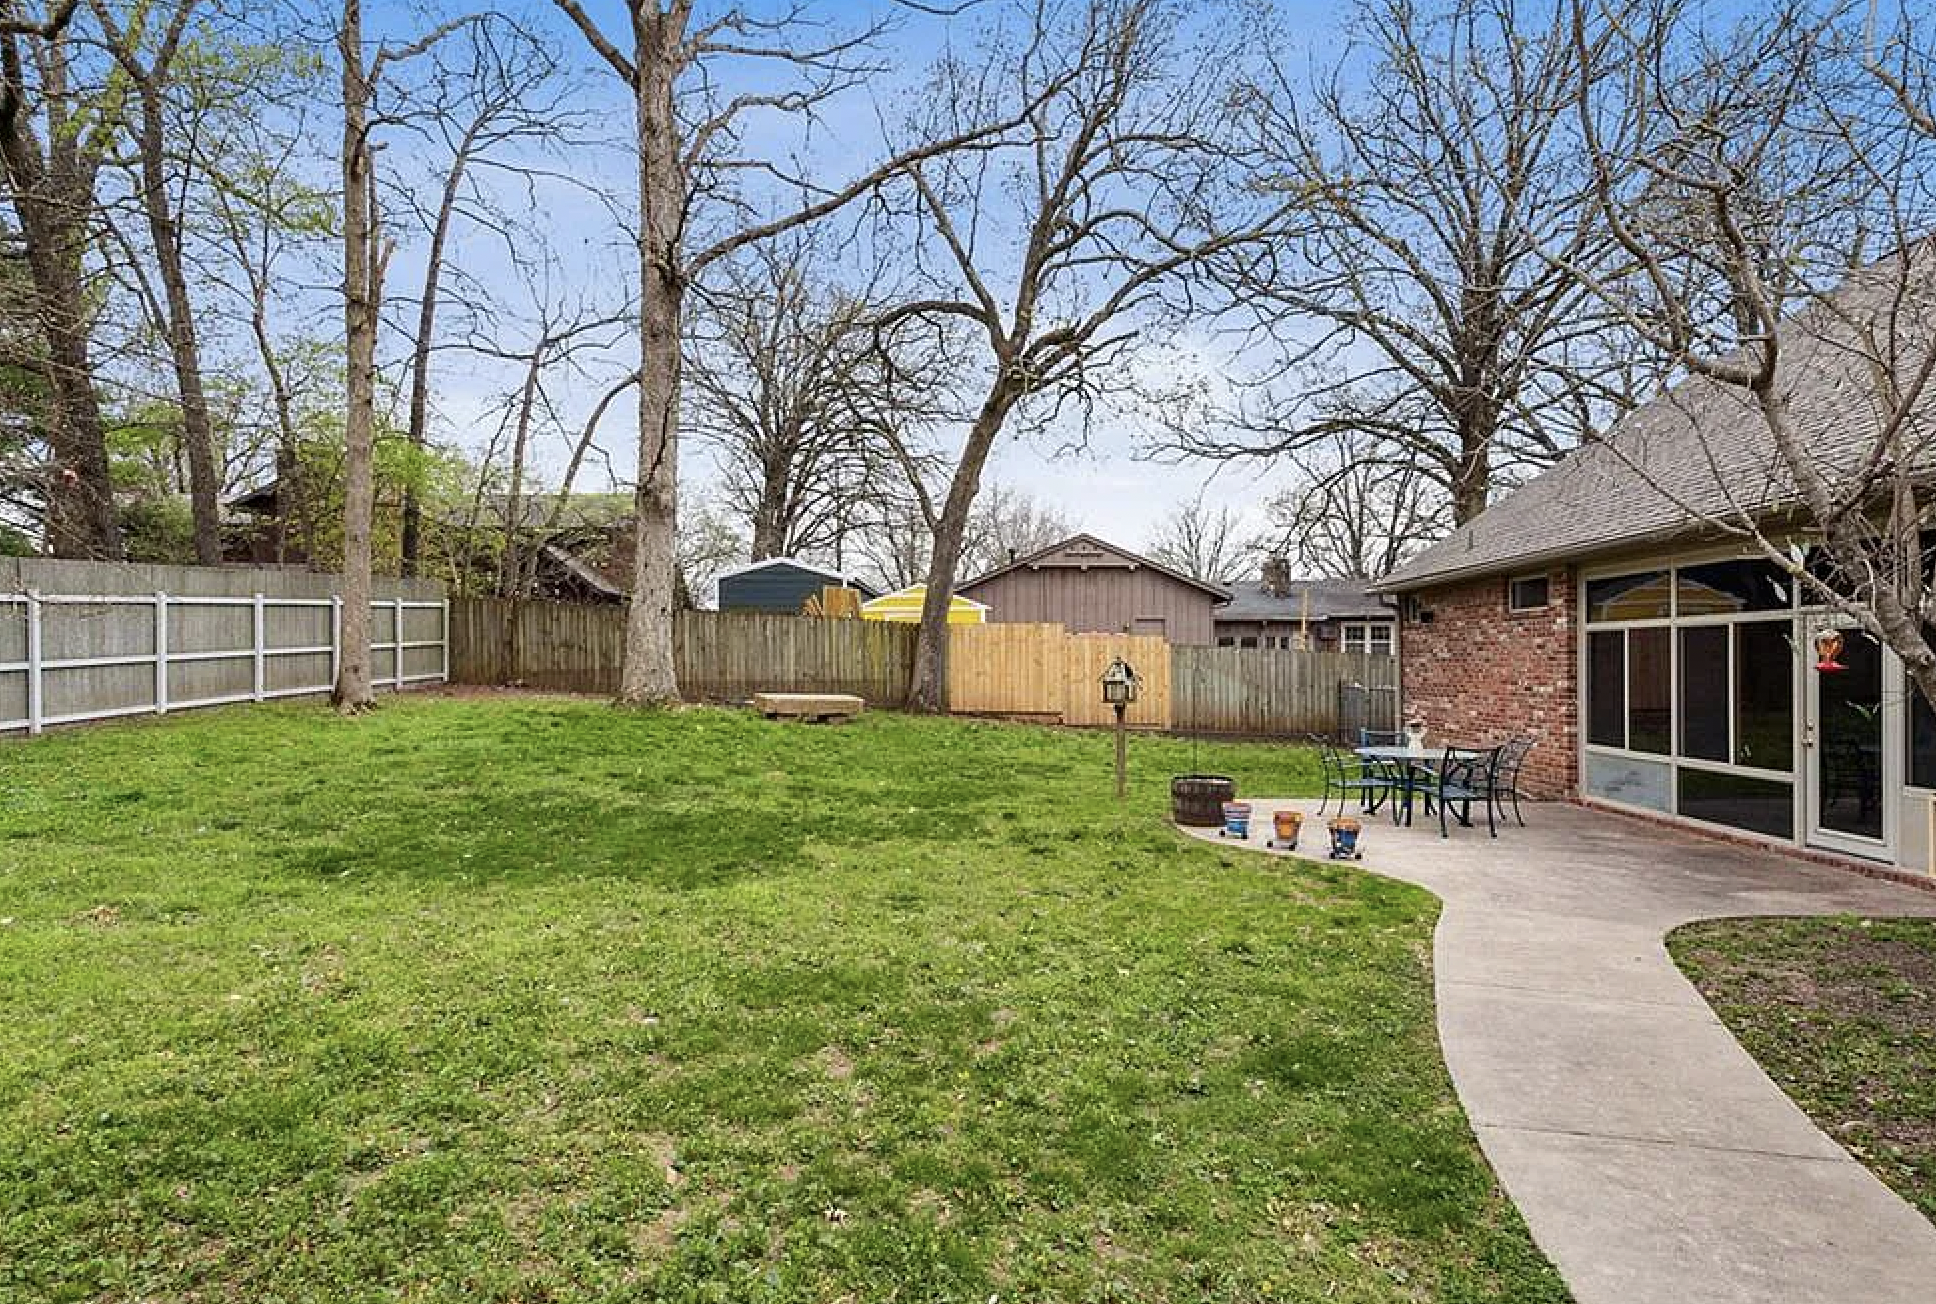
The back yard has probably had the most dramatic changes.
These are the “before” pics from Zillow…when we bought the house….


If you are wondering what that big concrete bench thingy is, we don’t know. It was there and it is HUGE so it’s not going any where. We have been told it is part of the old farm house that was once here before this area was developed.

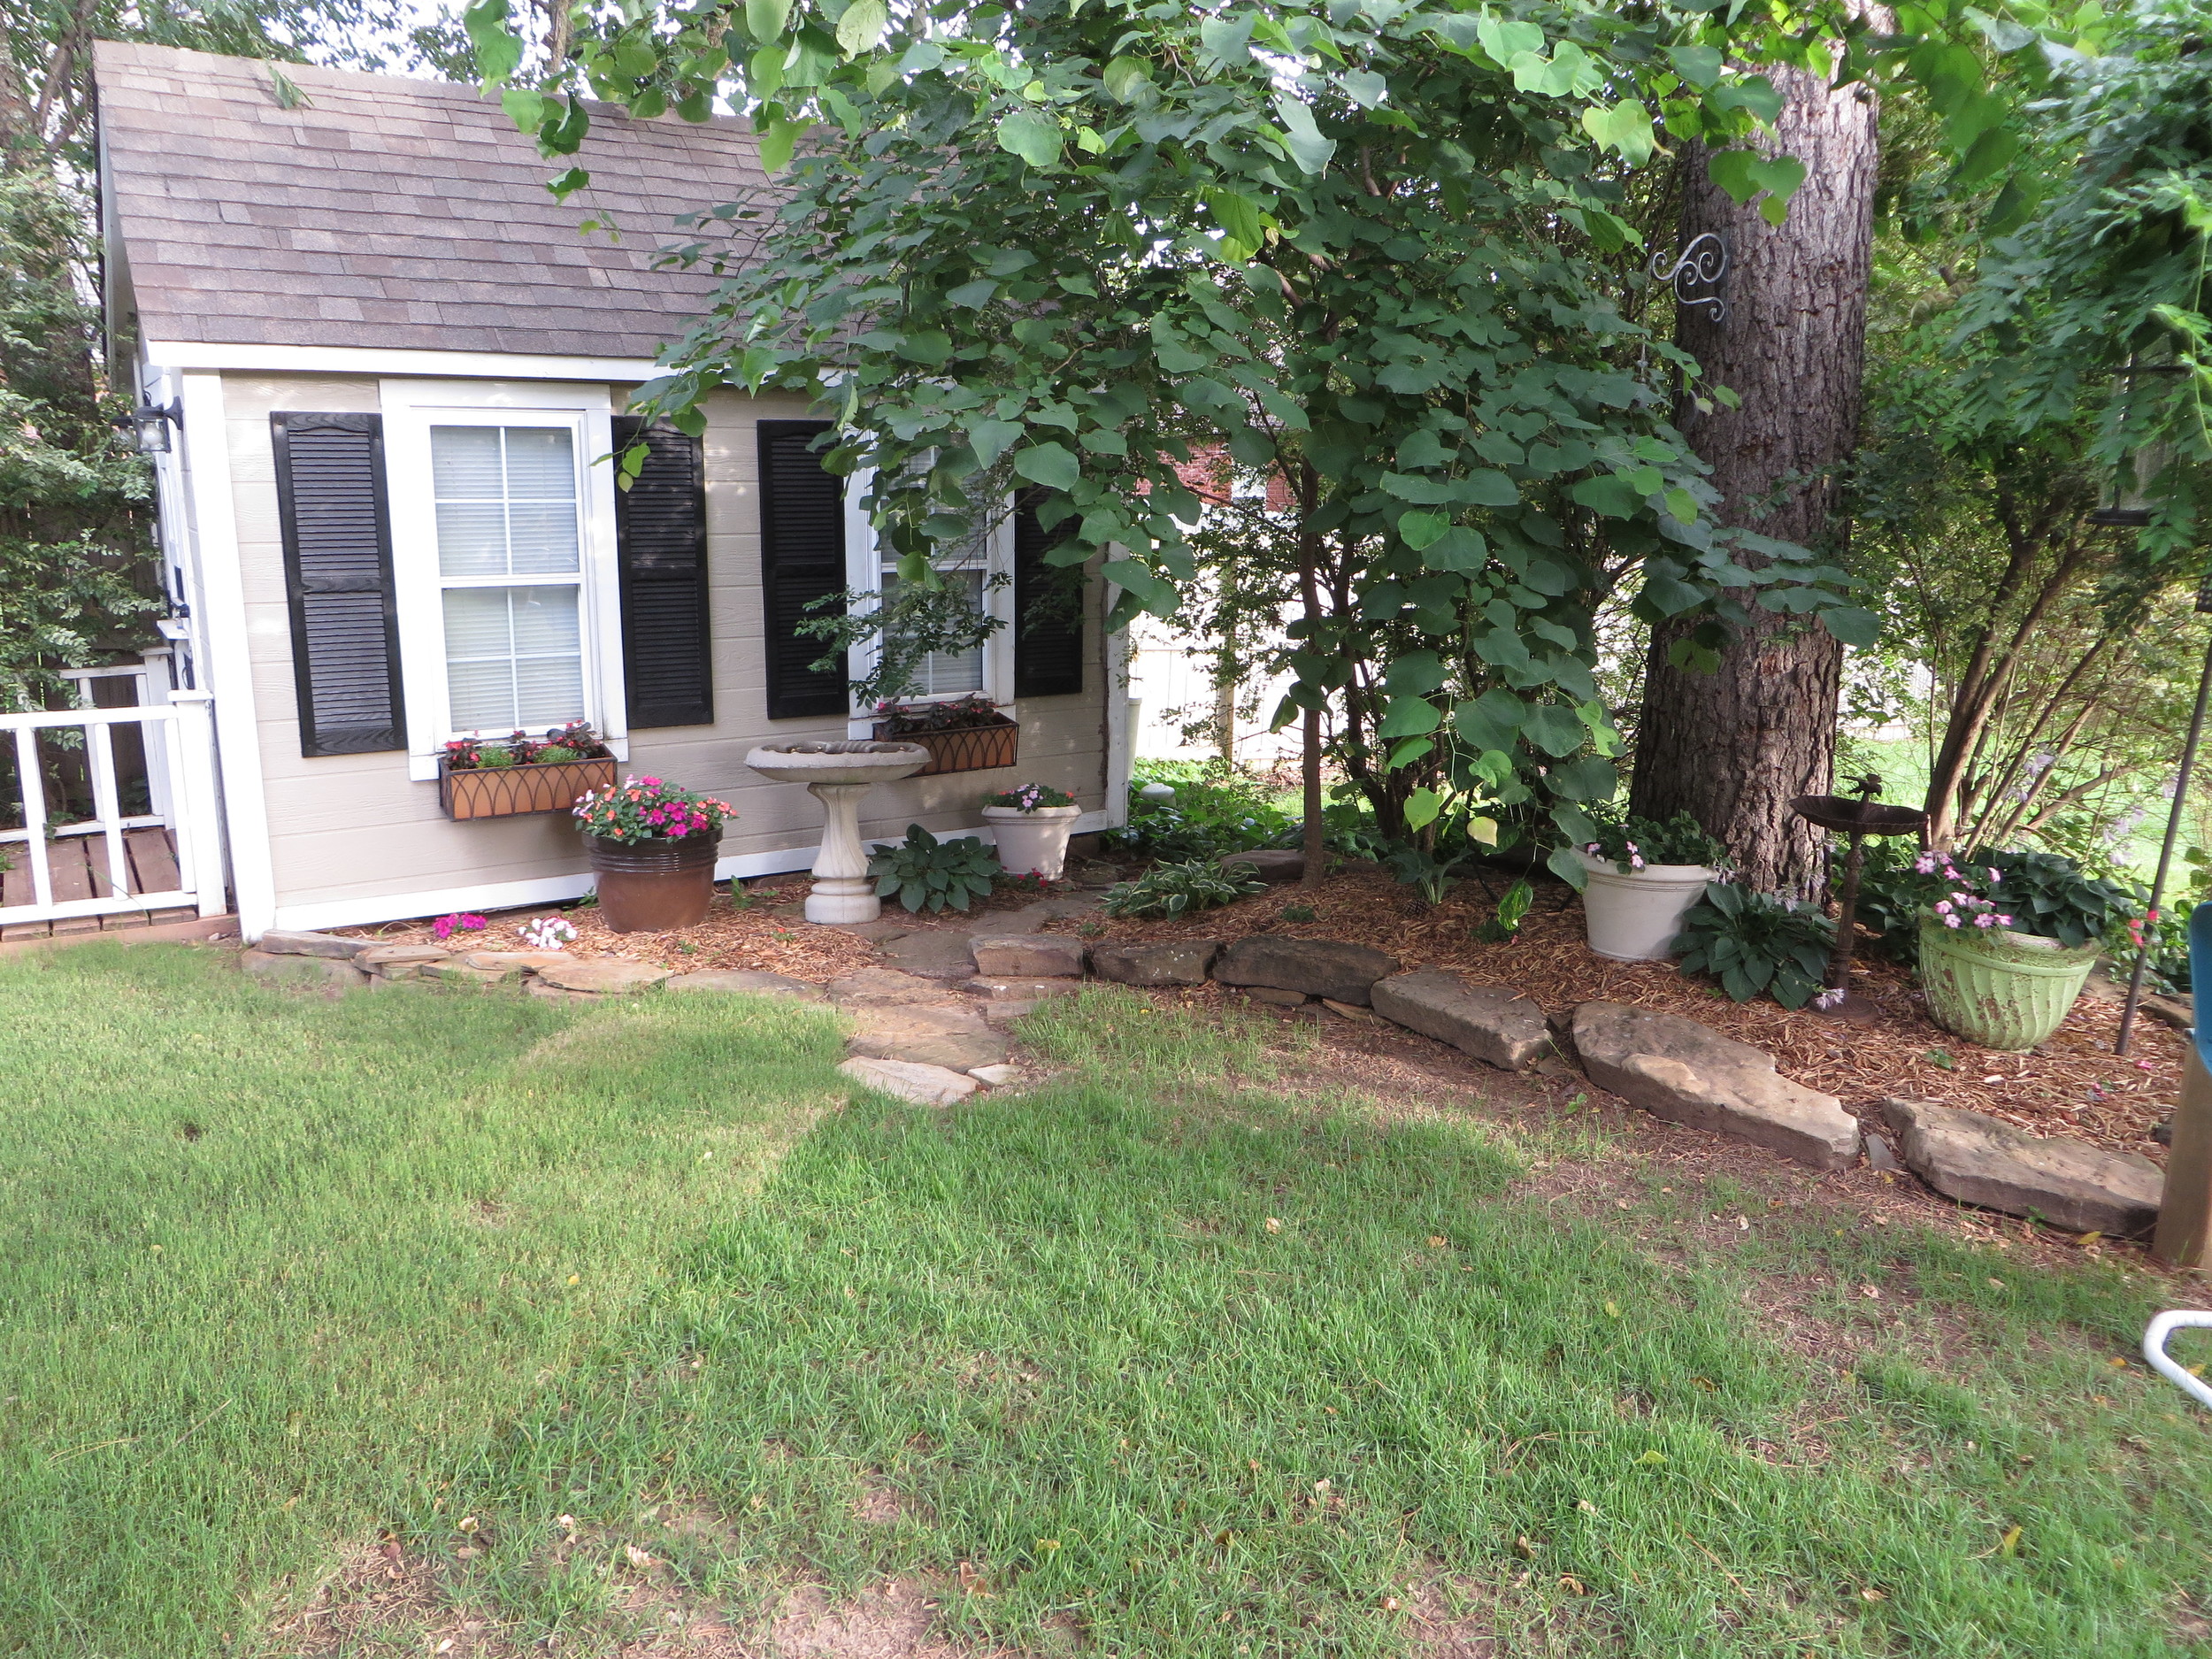
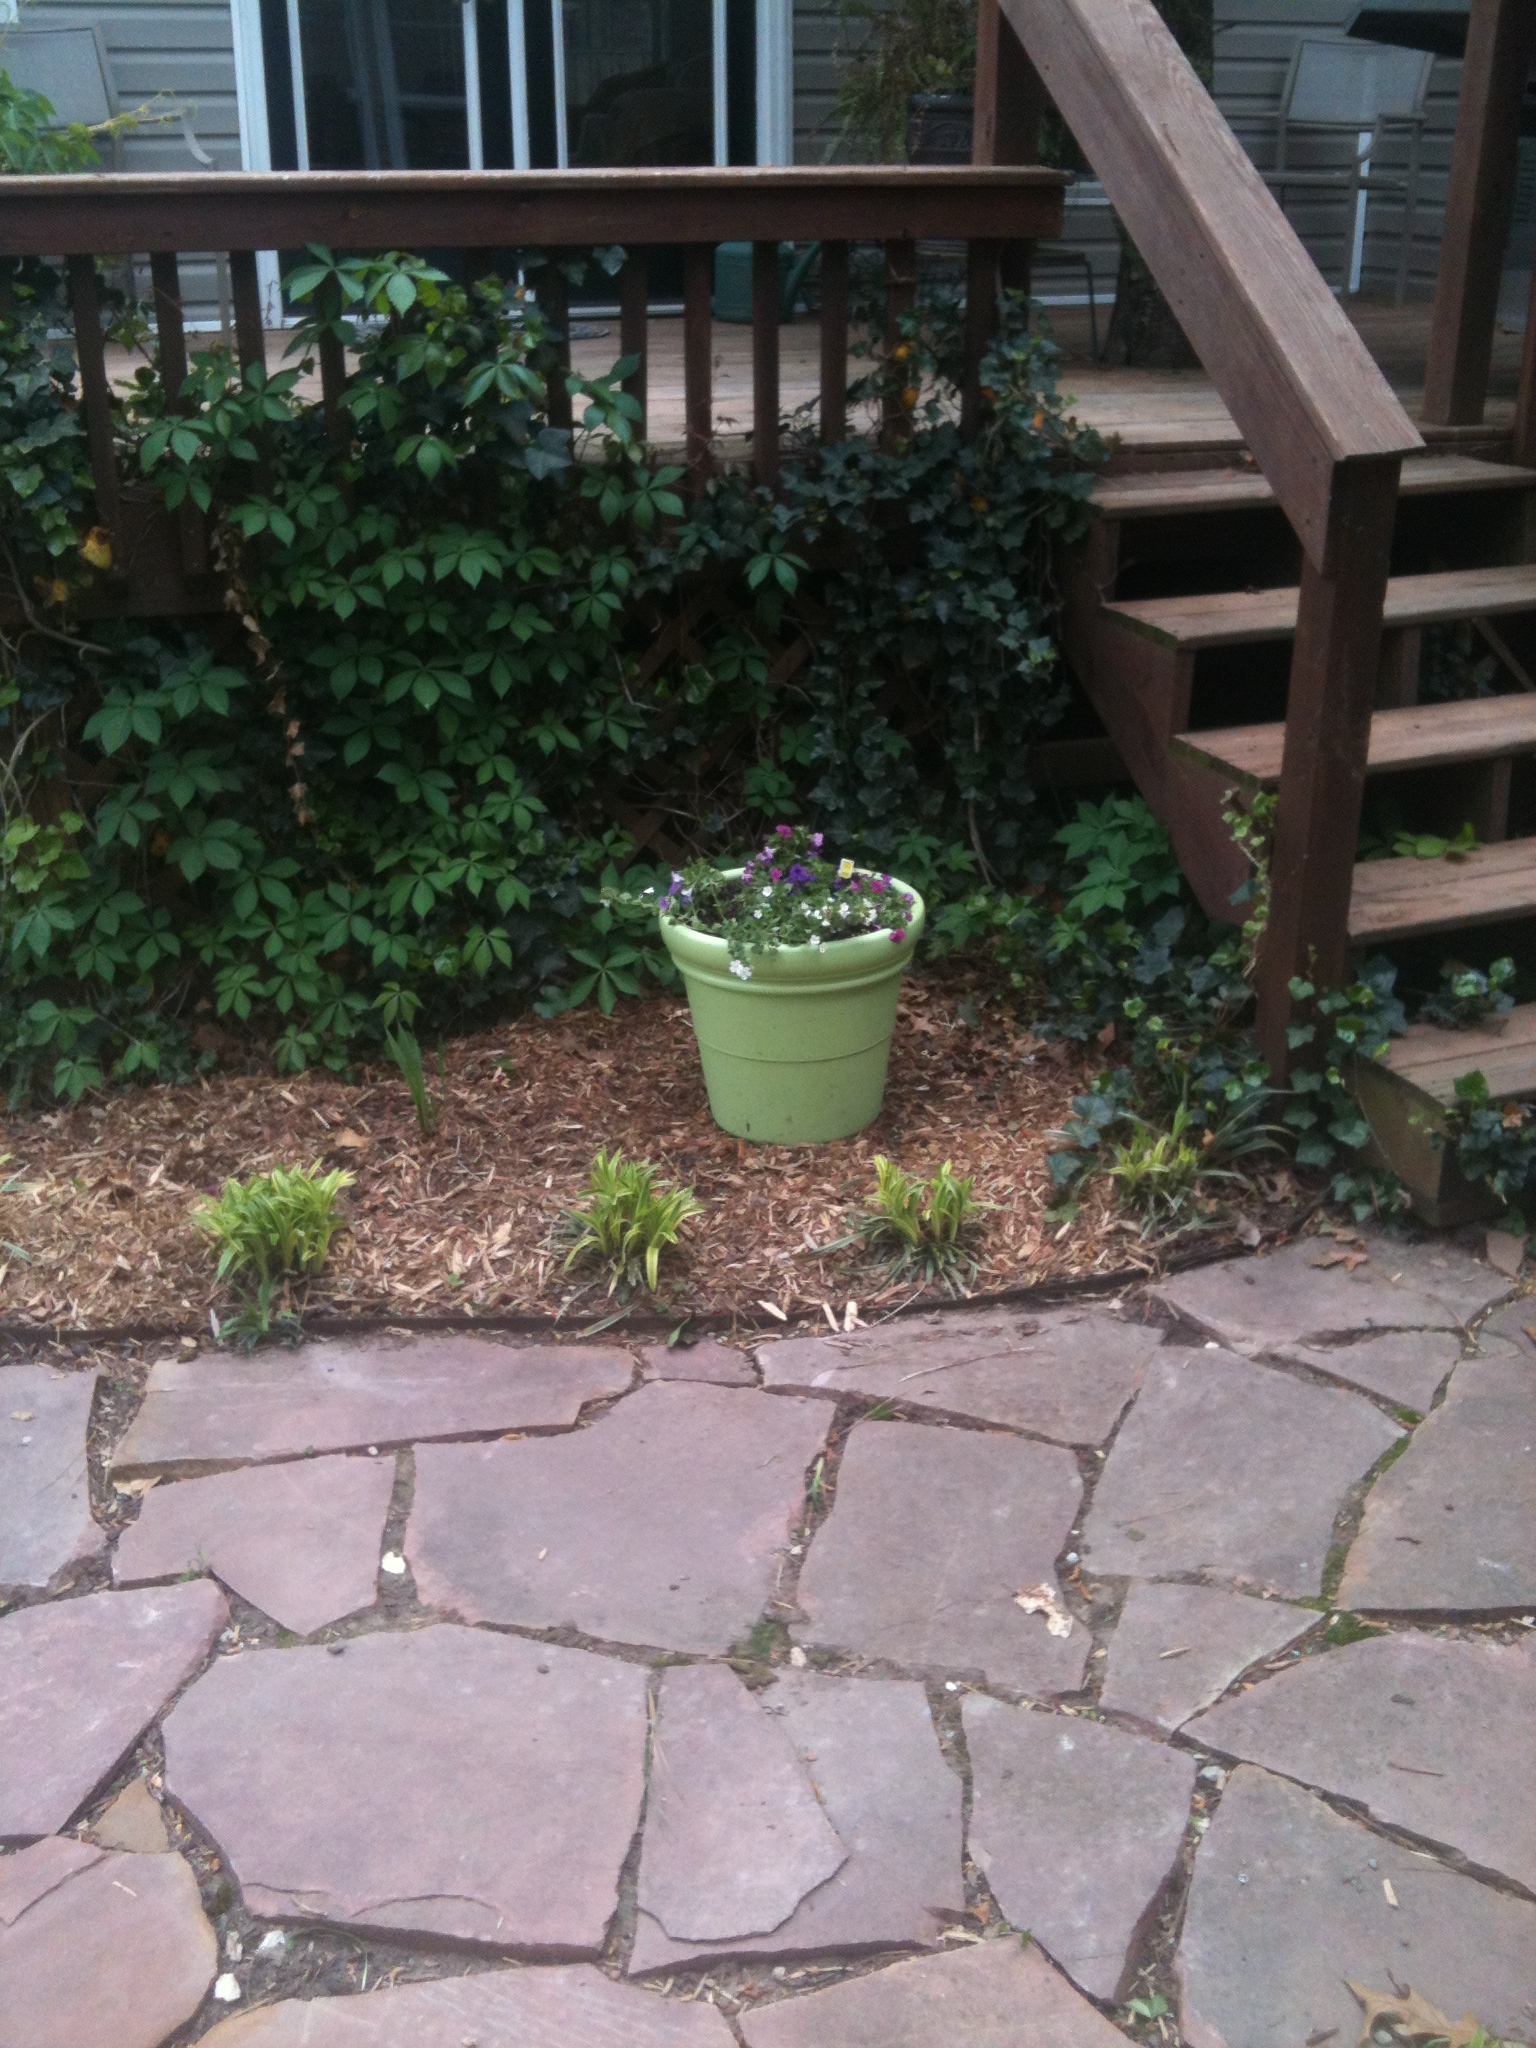
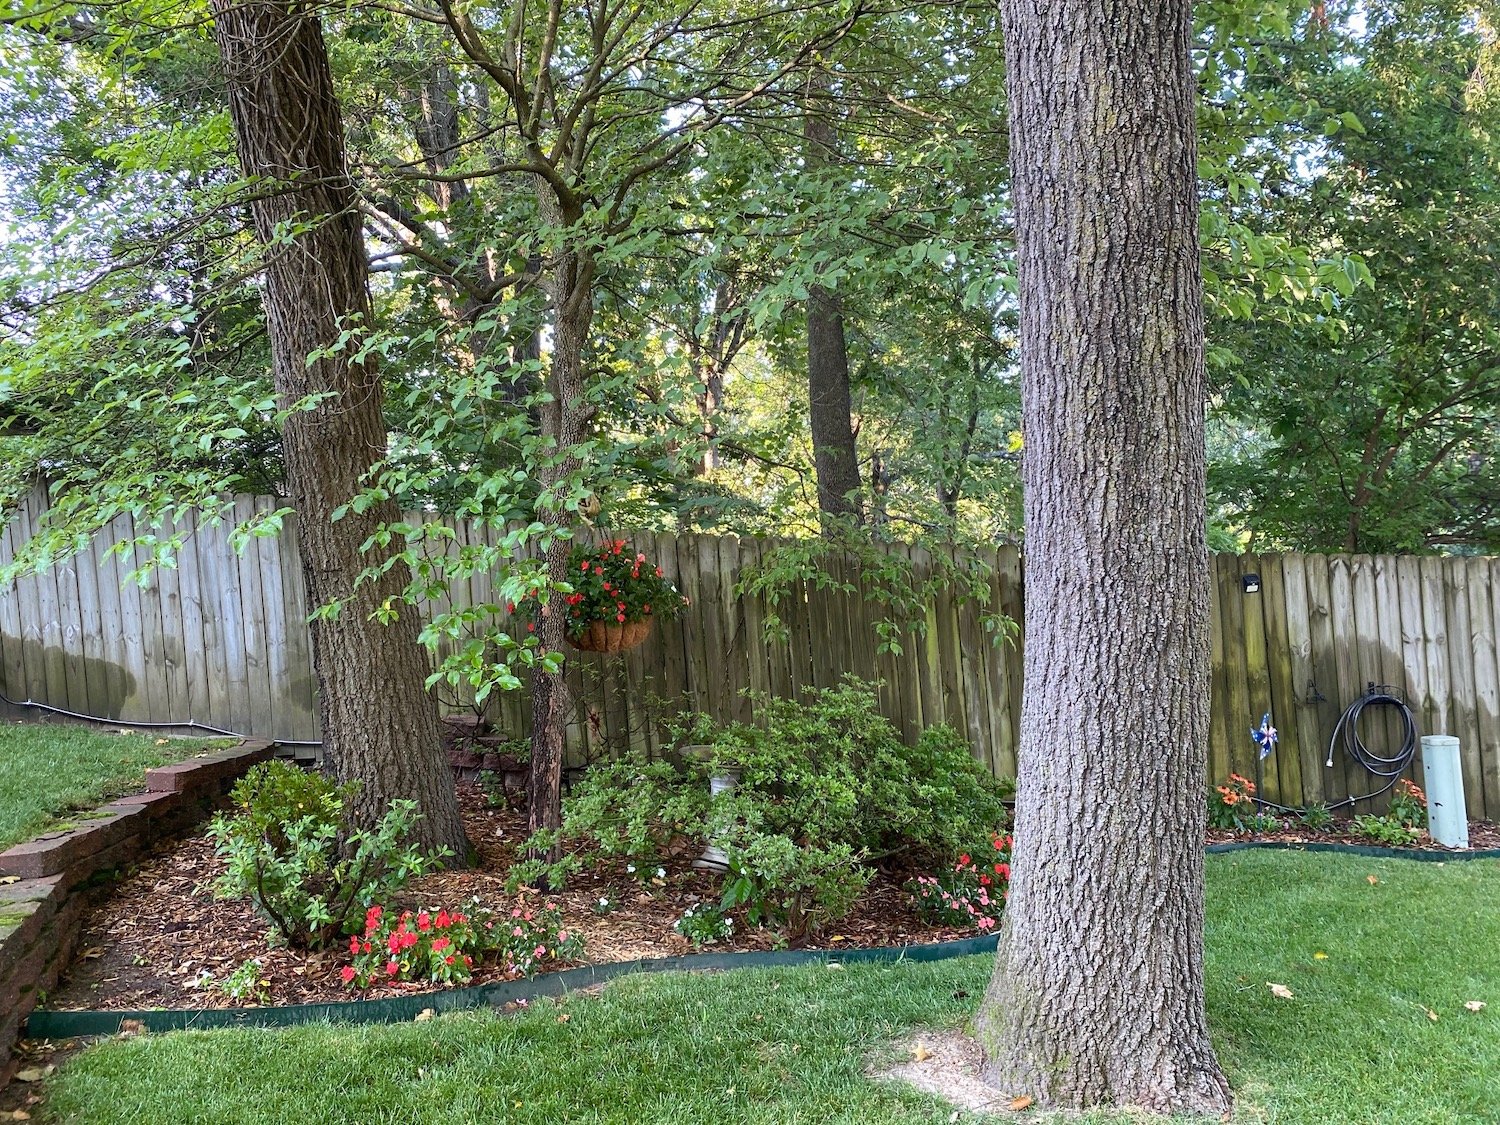
One of the first things we did was take out the shrubs along the back of the house and cut out the old pawpaw tree. I loath to cut down any tree but this one was just too big for the space and was on the siding and roof. We replaced it with a little Japanese Maple and someday I MIGHT figure out what I want to do with this bed. In the meantime, potted flowers will have to do!
We added a little rock and planted smaller boxwoods long the back.


I’ve never been a big fan of rock beds…I always preferred mulch. The ease of these beds the last few years has really made me a fan. Truthfully it is easy to plant in and of course pretty much maintenance free.
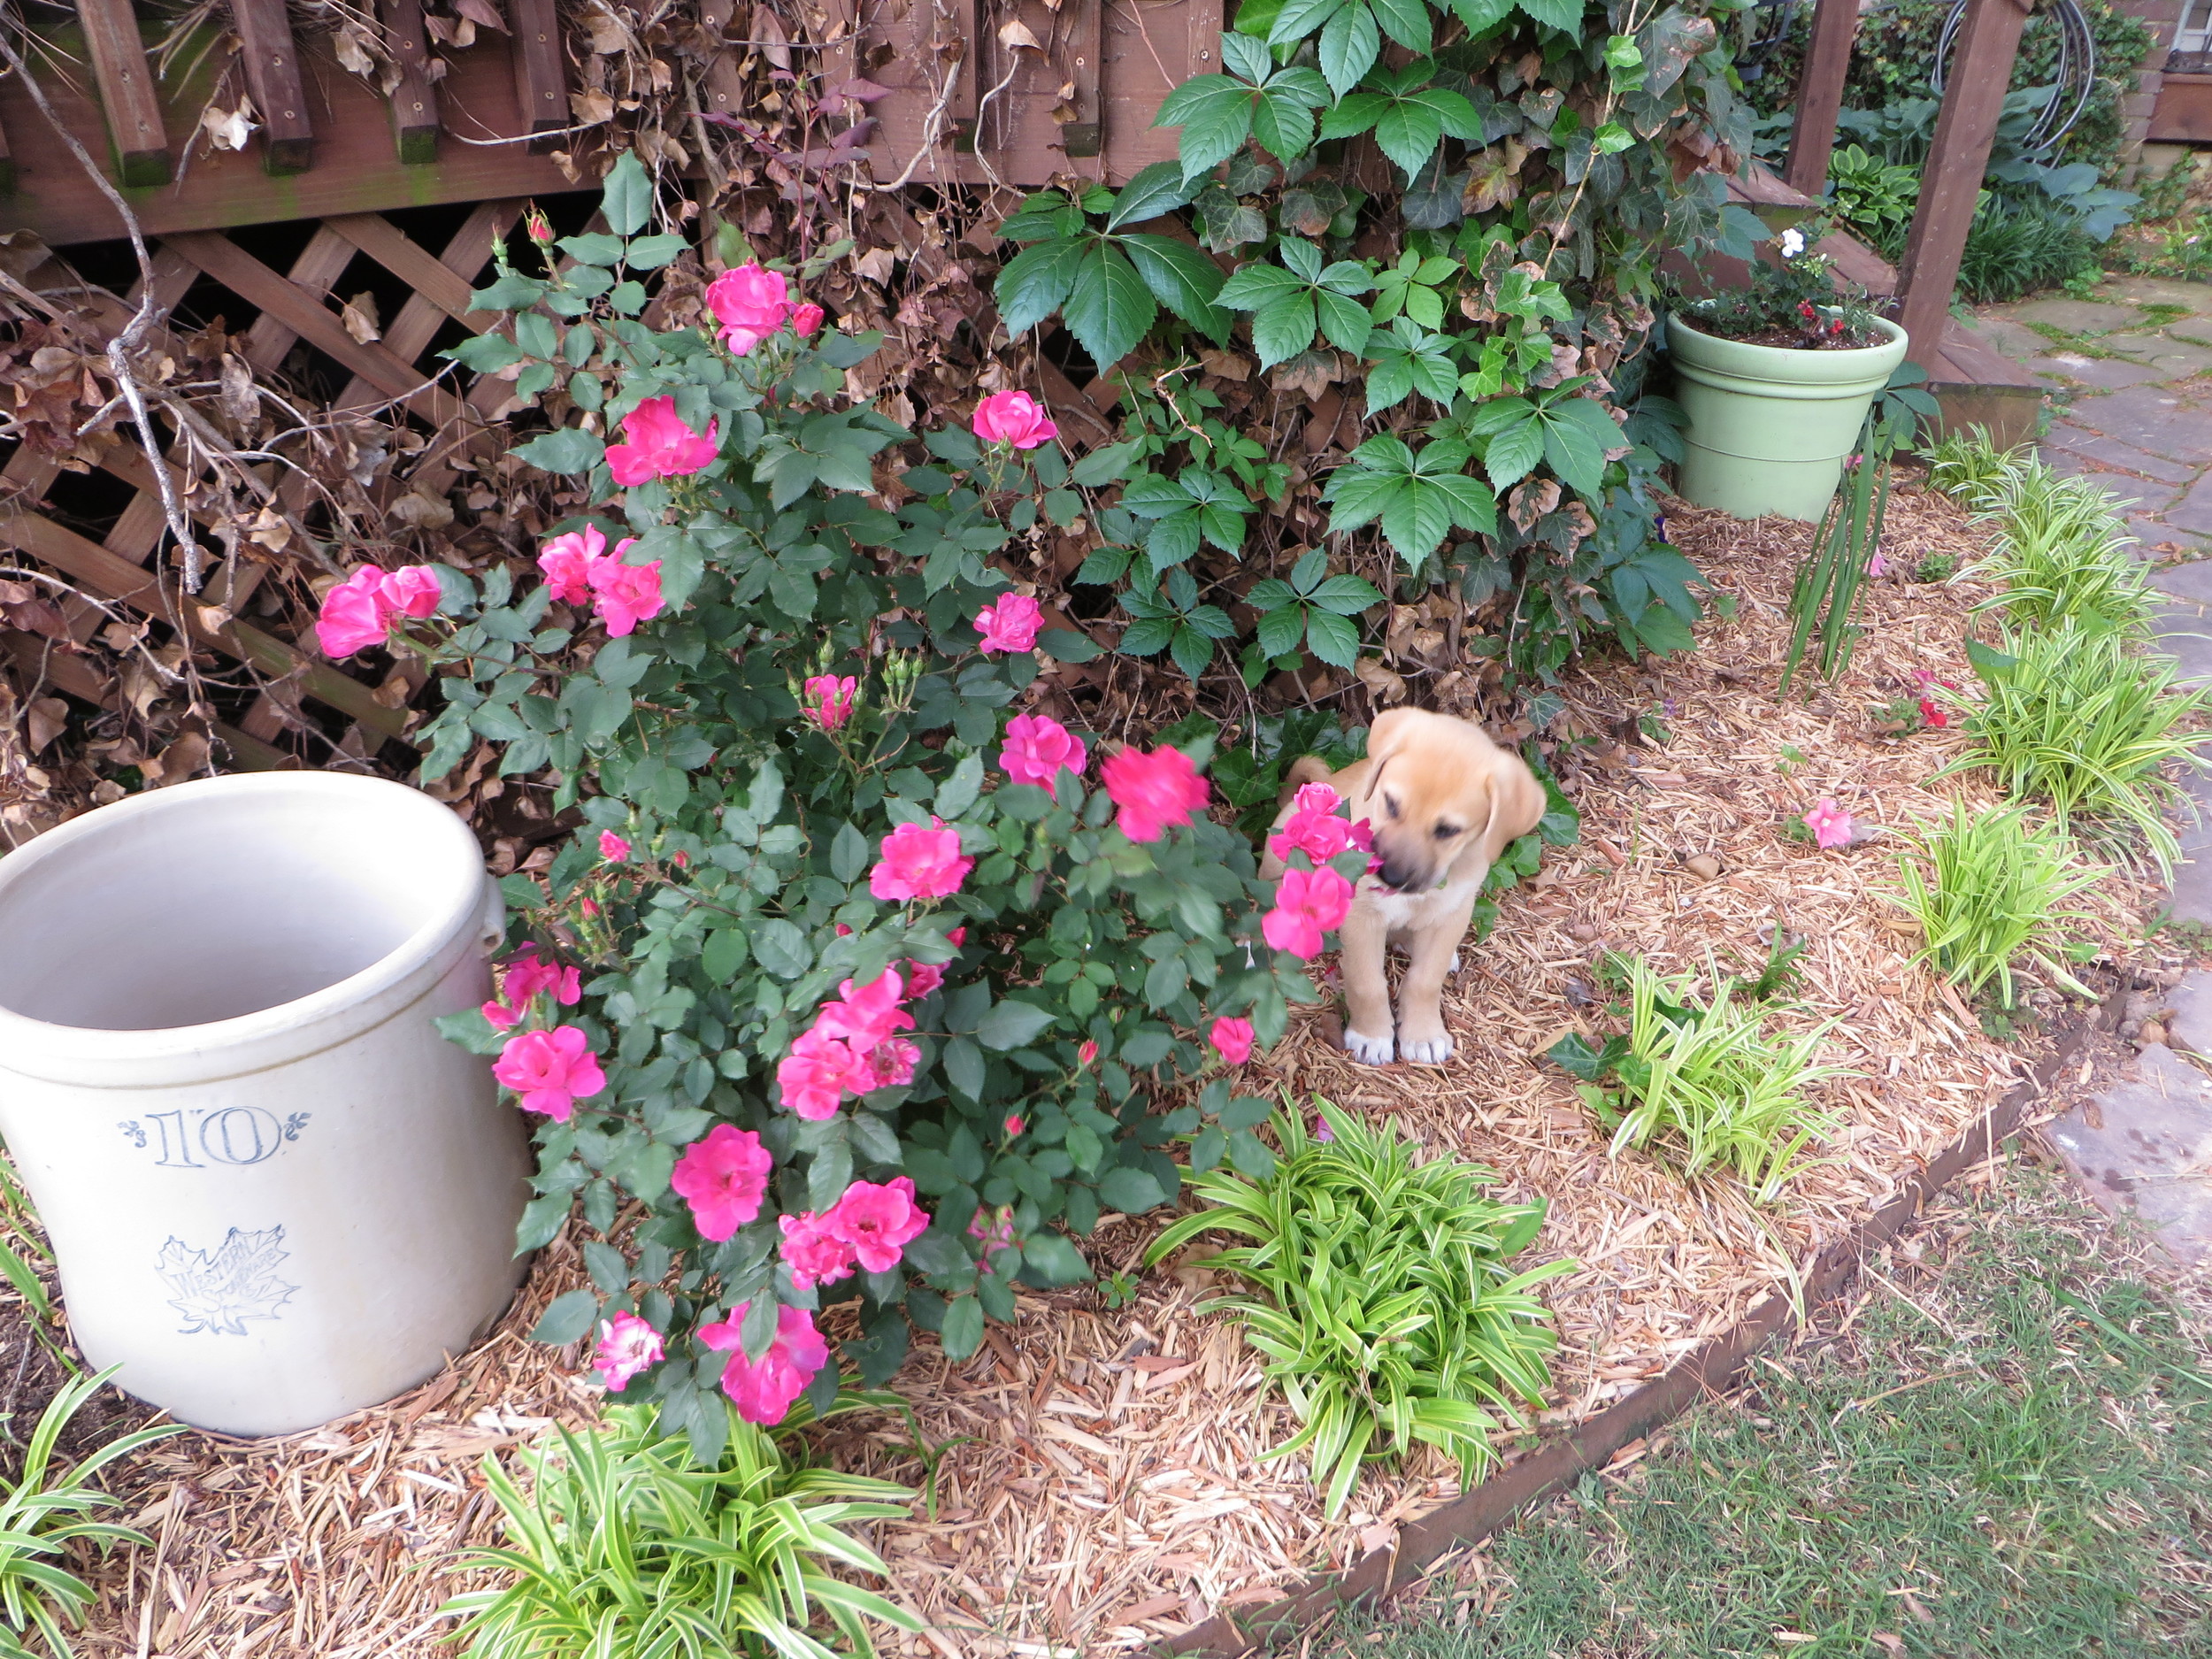
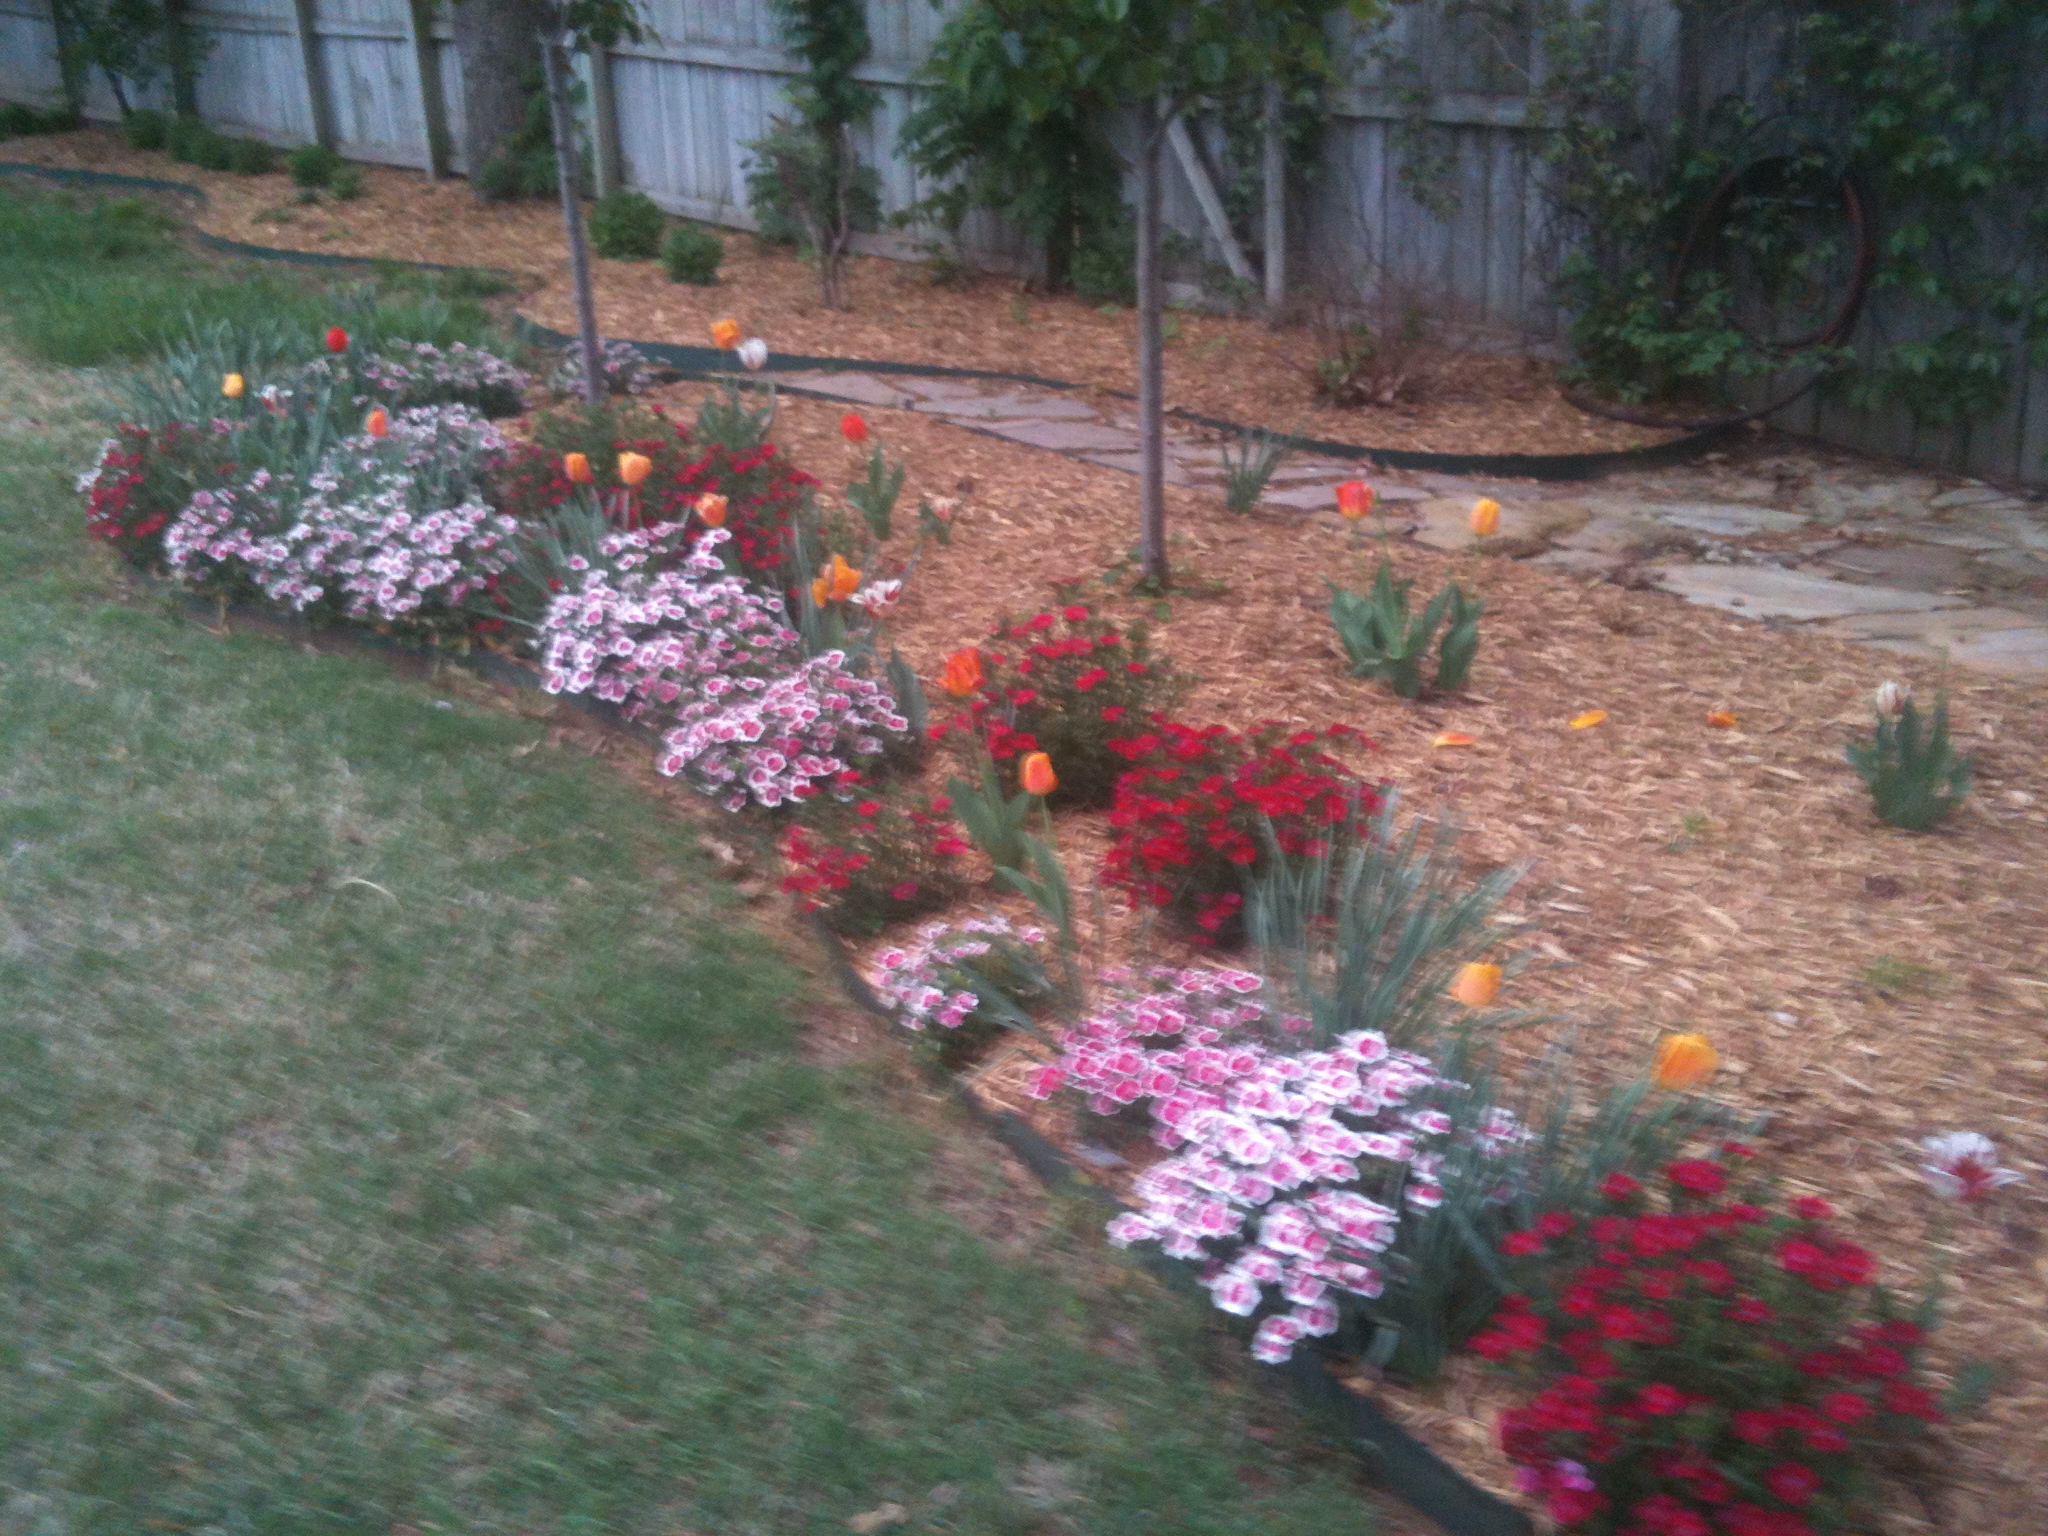
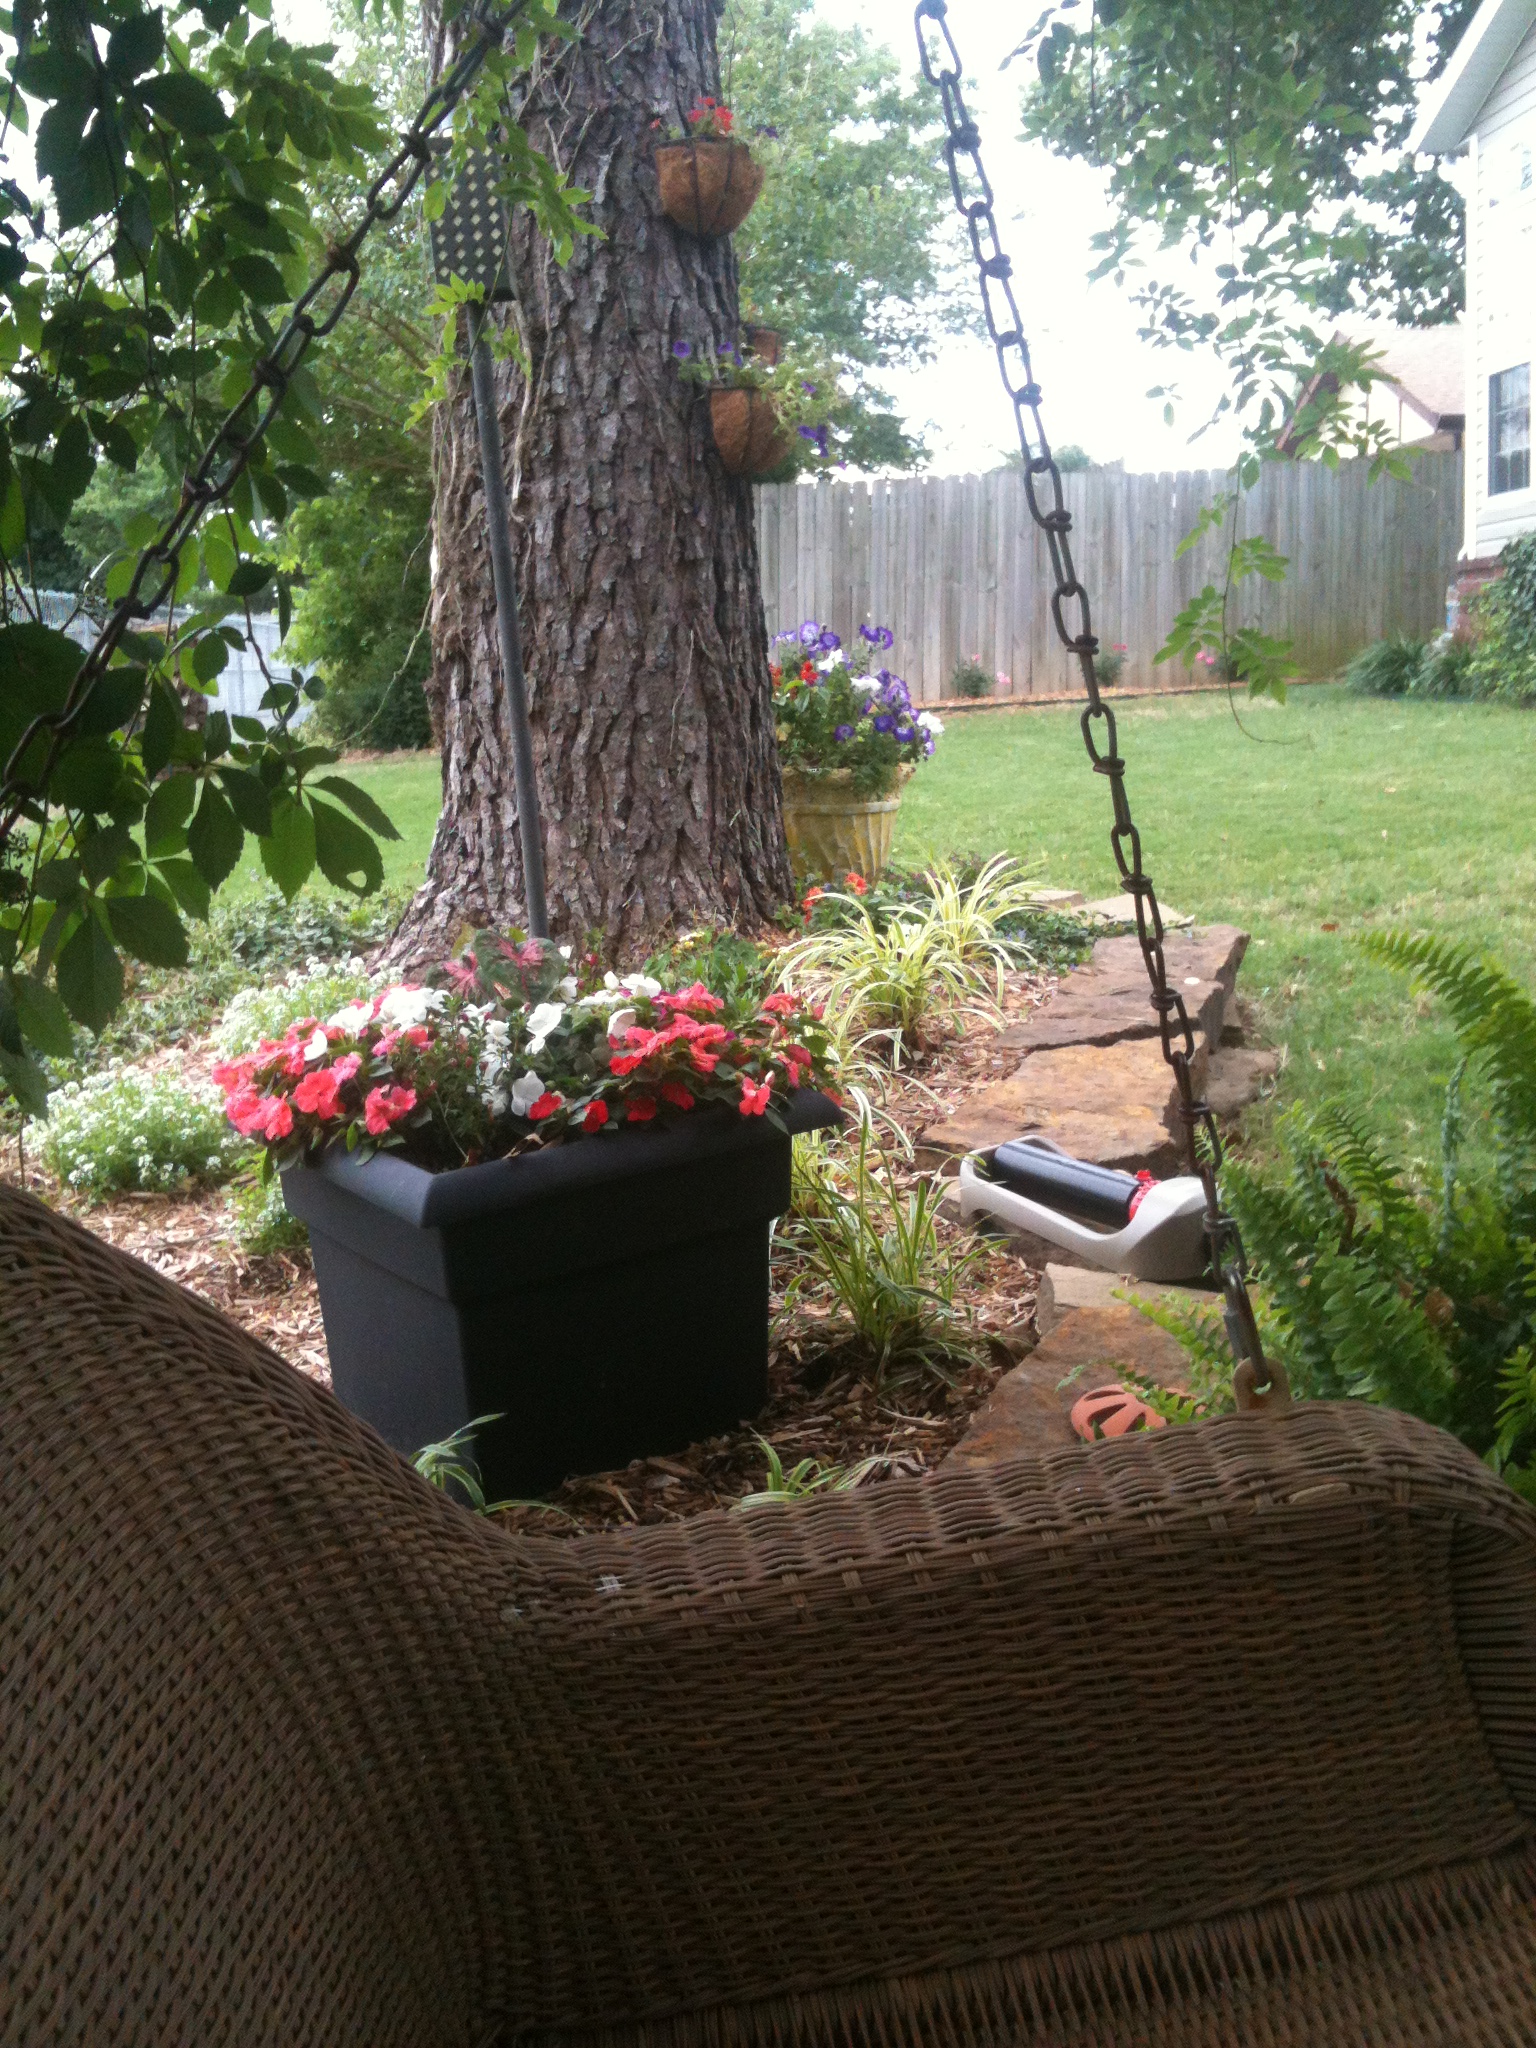
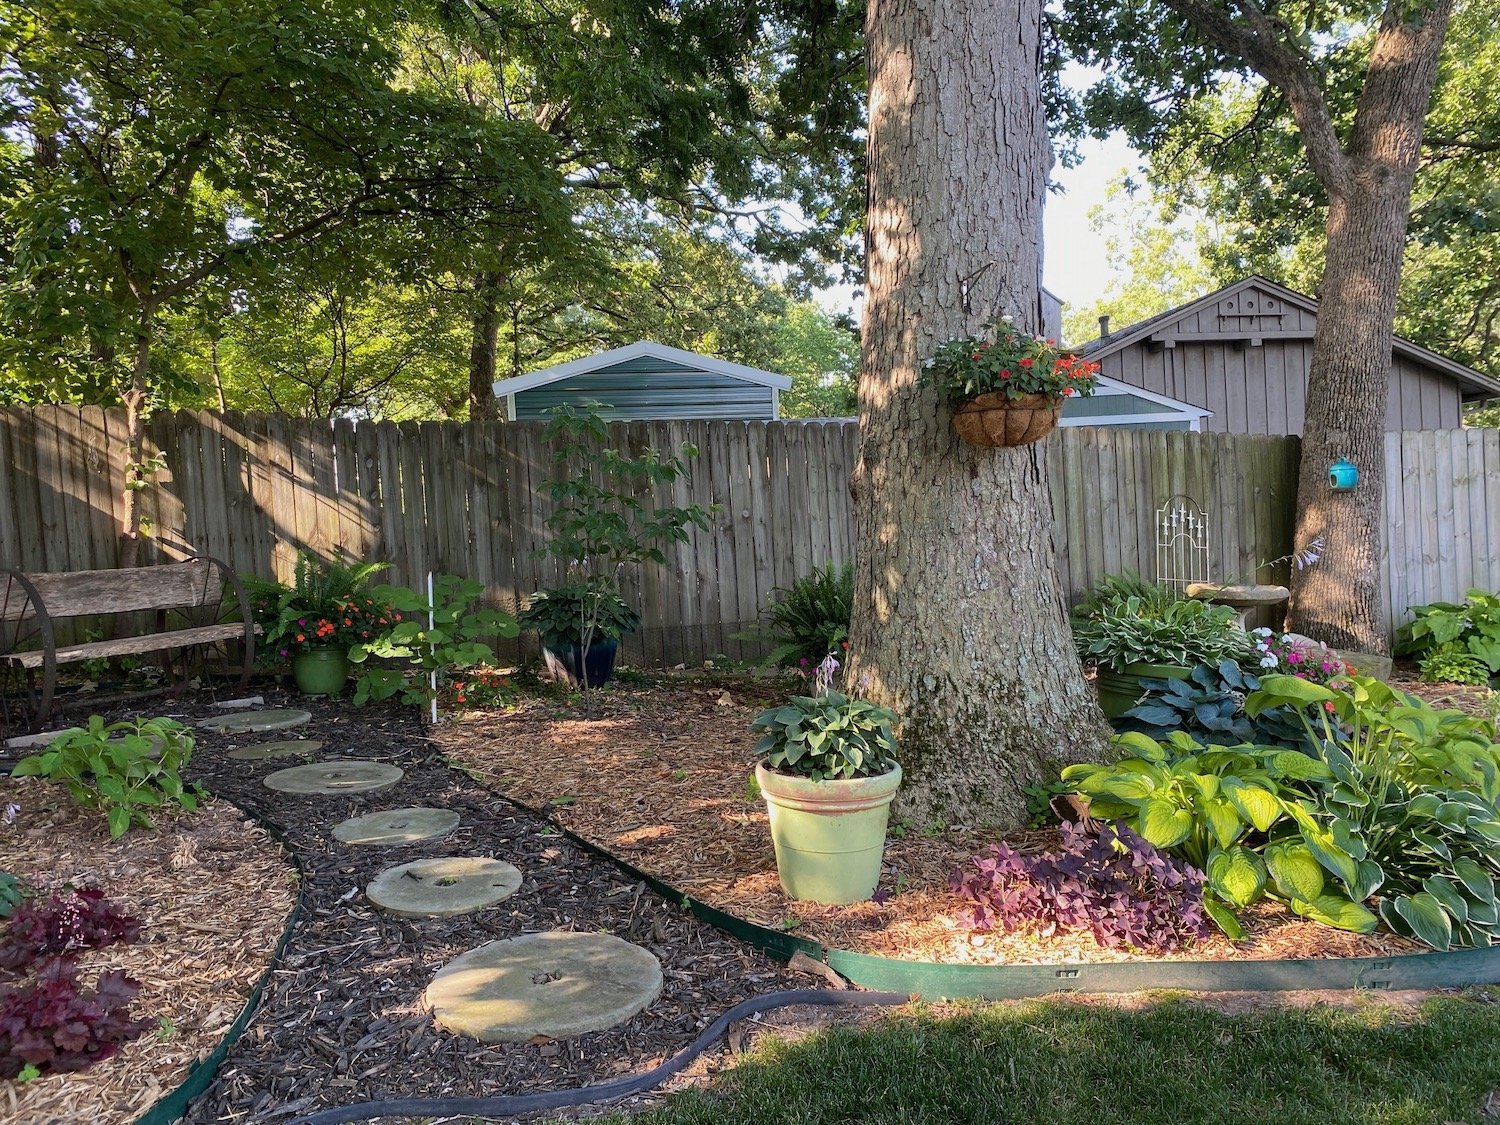
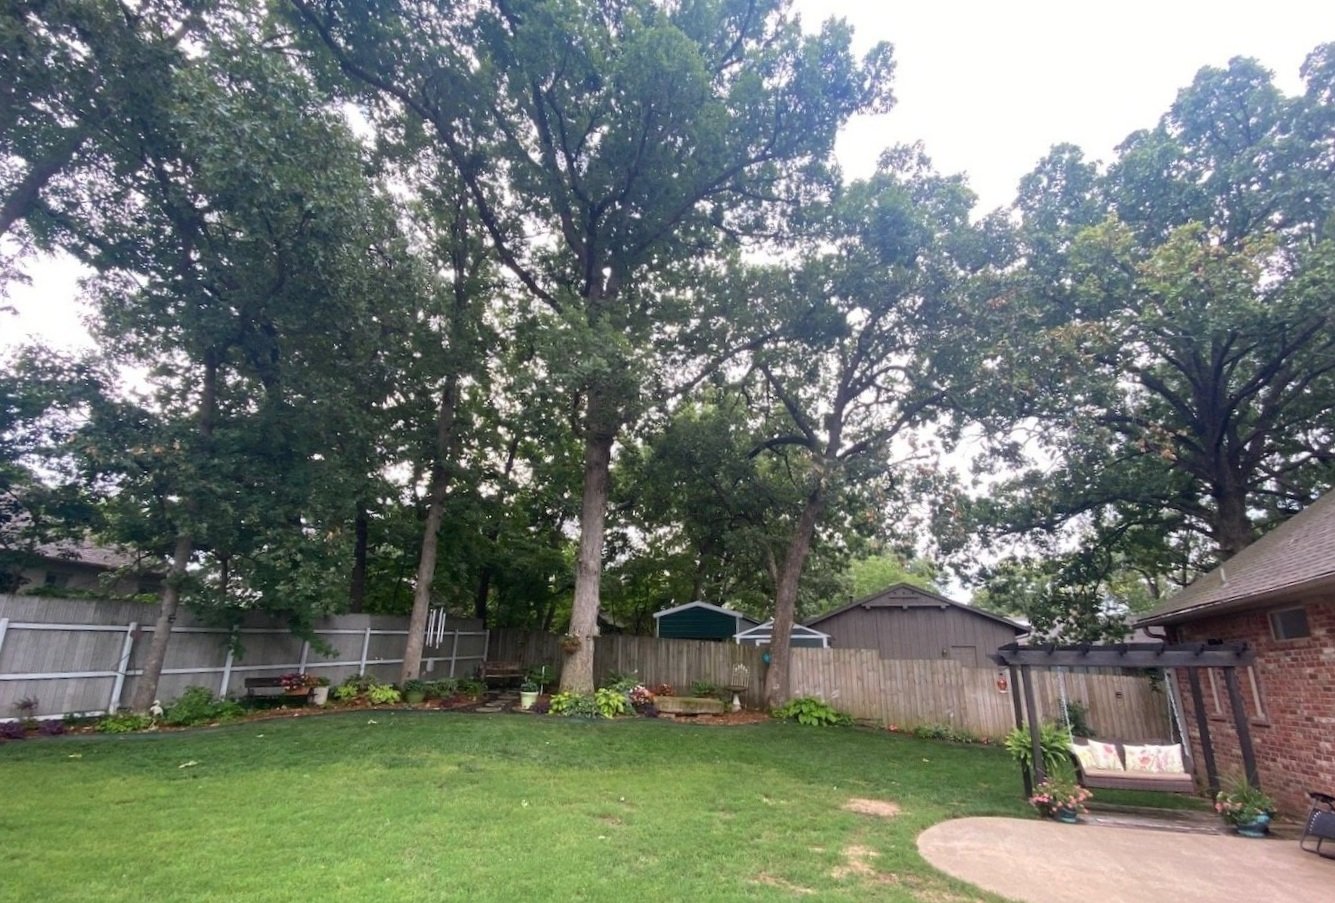
I added the large flower bed in the corner when we first moved in. Again, it was NOT going to grow grass under the humungus trees. I knew I was going to grow mostly in pots so I put the edging down around the trees along the “shade line,” applied some Roundup on what little grass was there, then just topped everything with about 4” of compost.


(Feel free to be envious of my spectacular wind chimes. I showed them to Brian last spring at a local garden shop…he remembered and gave them to me last Christmas. The man is amazing!)
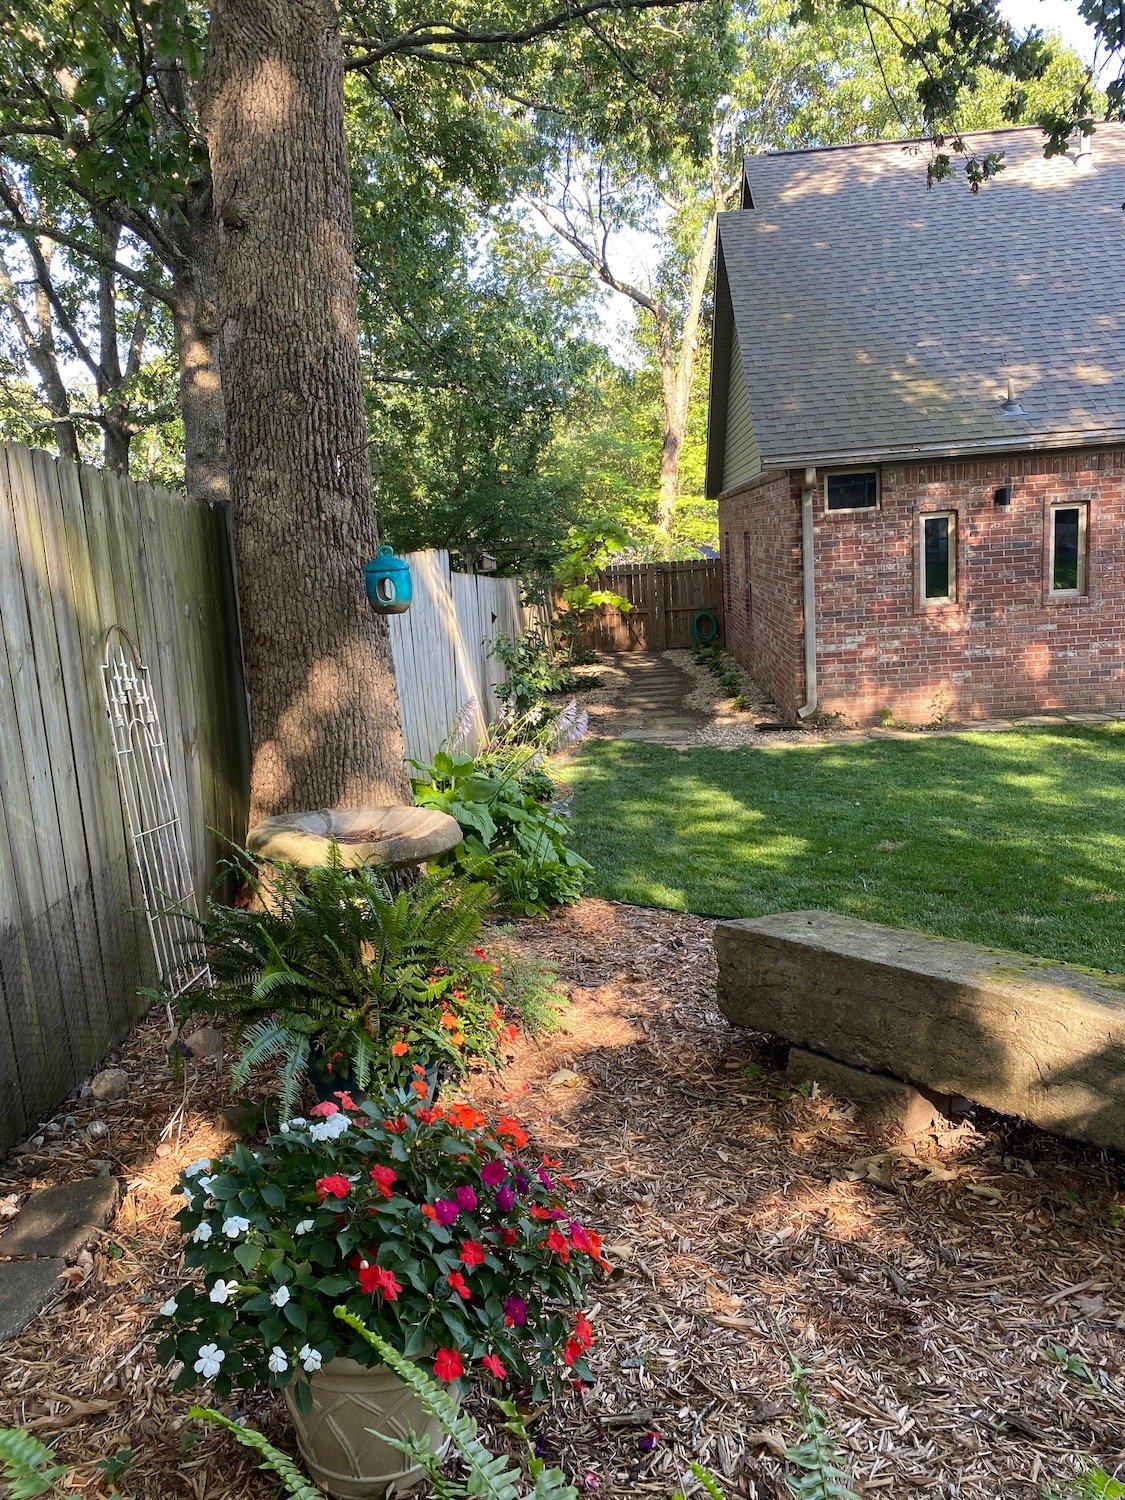
I have always heard you should be very cautious around oak trees so as to not “smoother” their root system. We have a HUGE white oak and several large red oaks. I made sure to keep the compost and mulch thin around the base of the trees. When I plant in the bed, I dig a big hole then add a mixture of garden soil and compost before planting the plant…that way I didn’t have to amend the soil in the entire bed. With all the rocks and roots in this area it would have been dang near impossible. And again, I didn’t want to do anything to disturb the tree root systems.
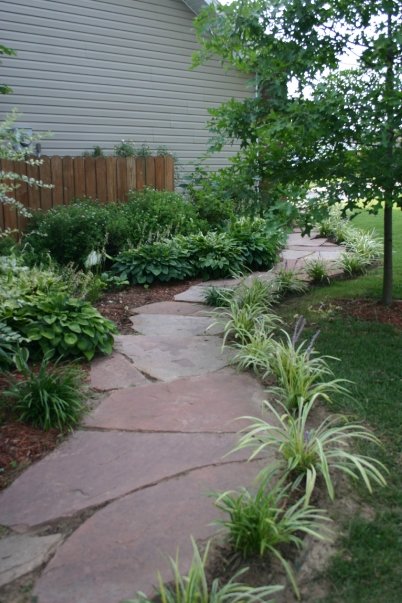
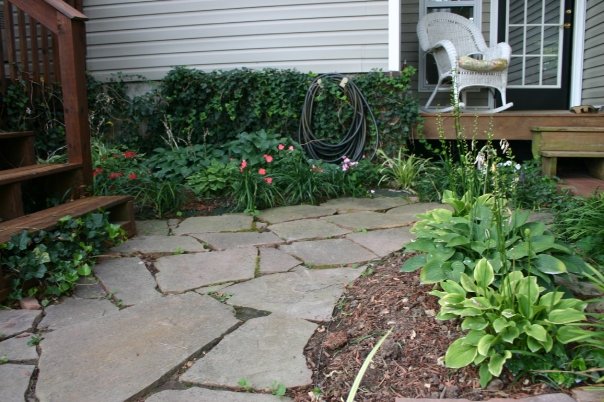
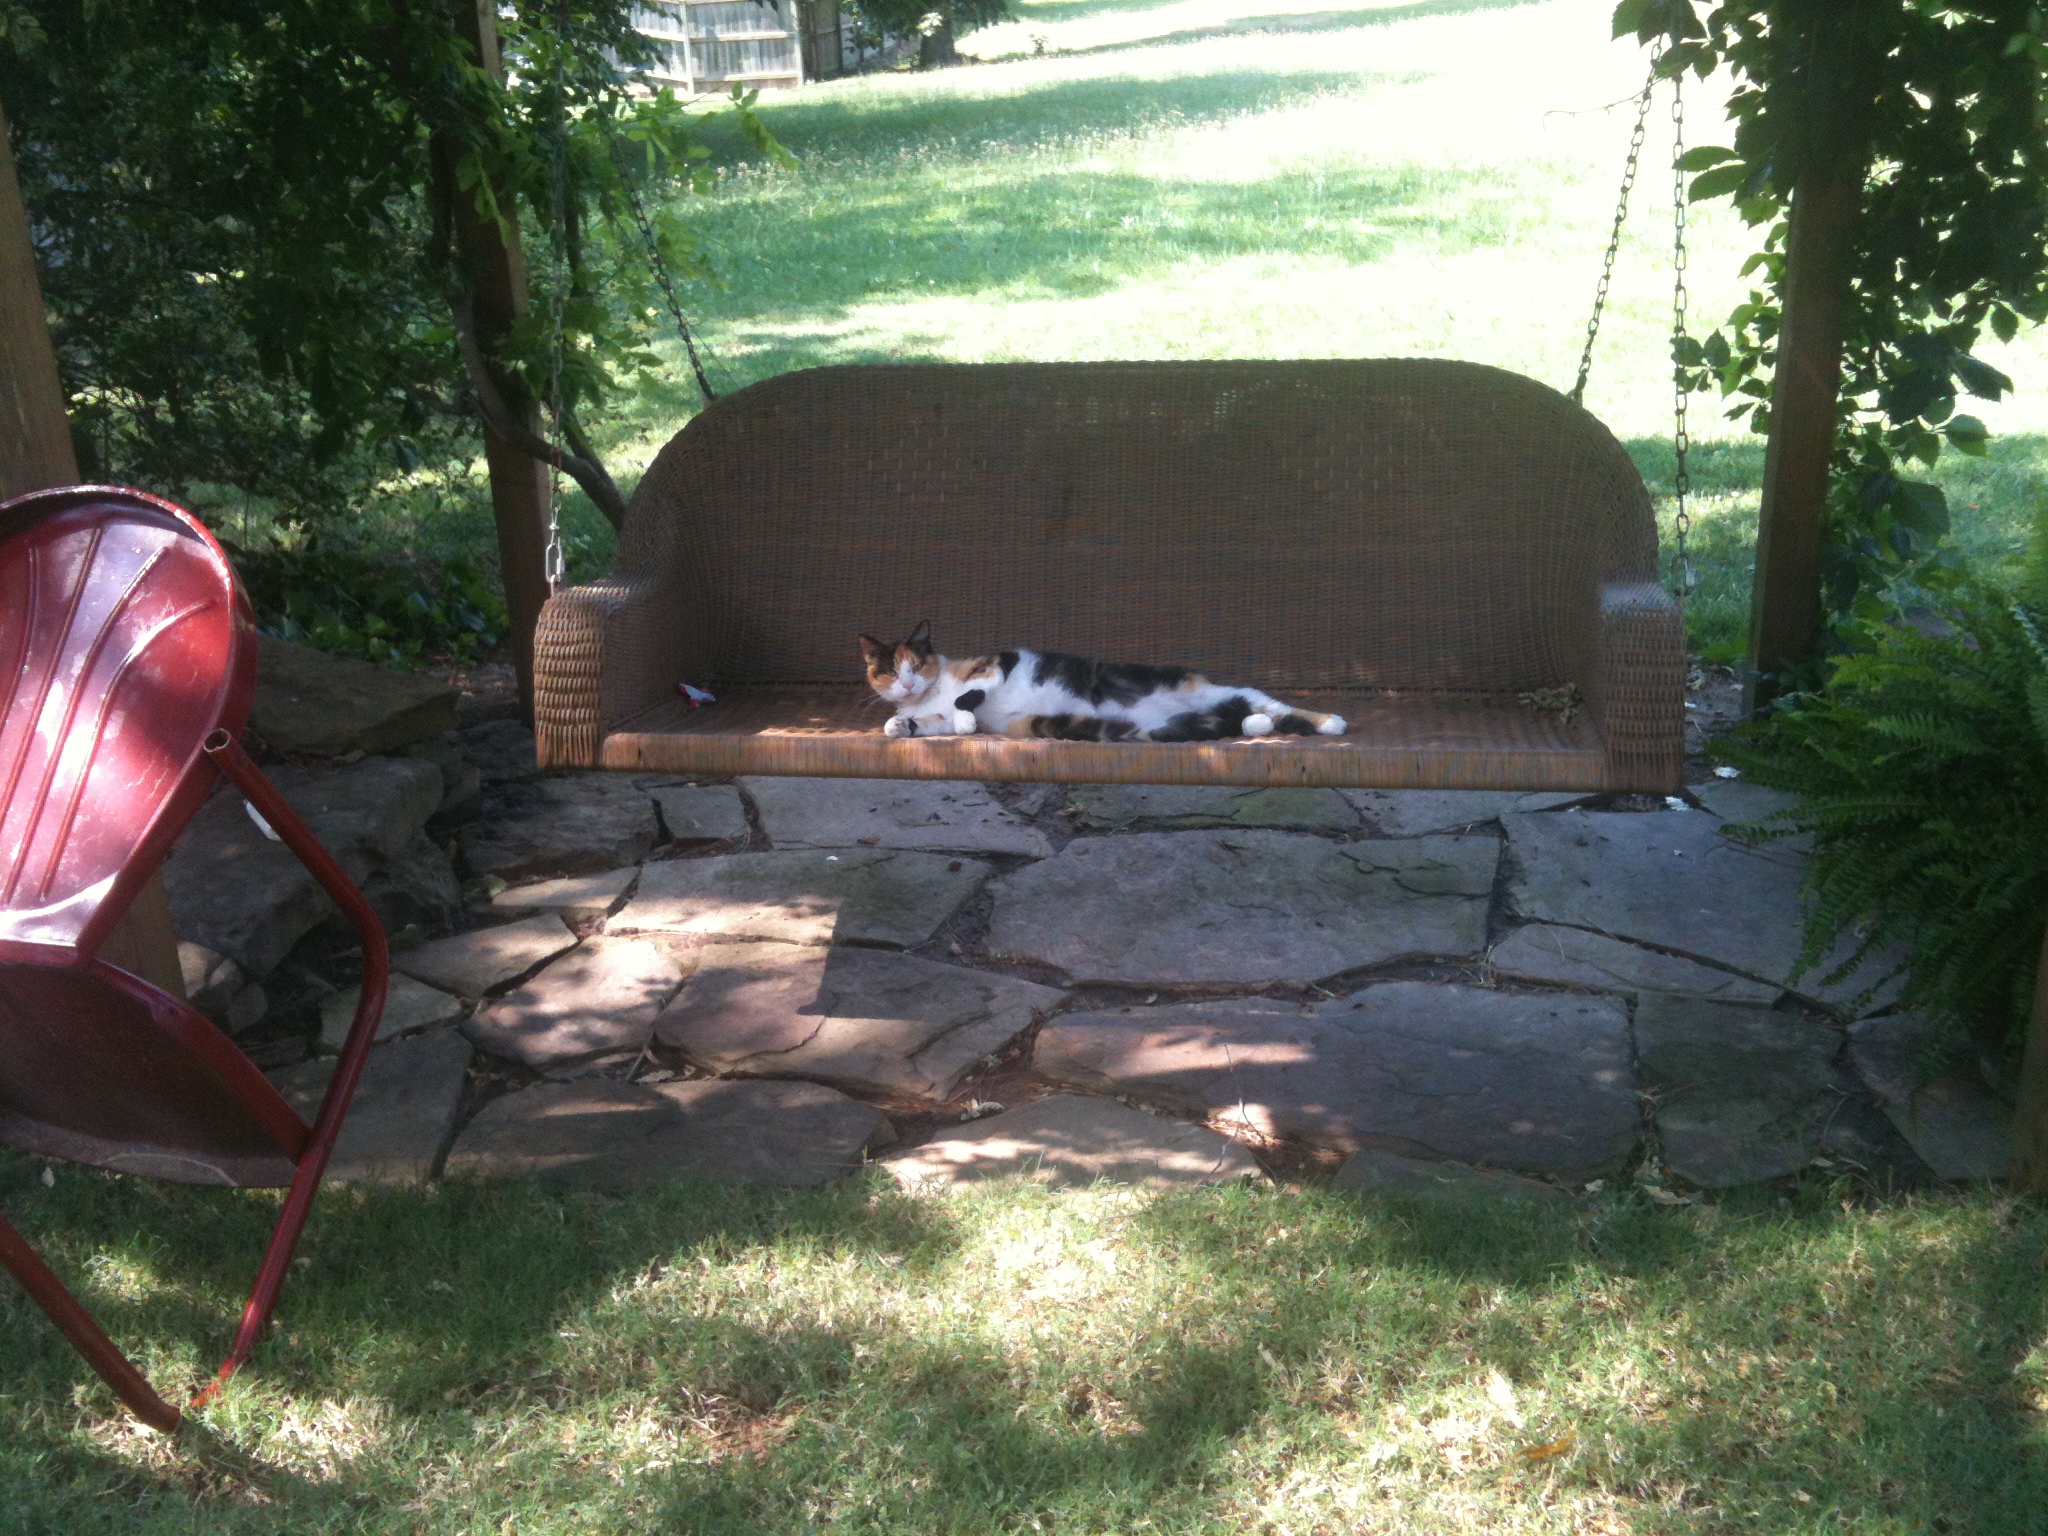
HERE I shared the pathway I made with my grandad’s old grind stones.
I shared HERE the extension of this little back bed. Just what little digging I had to do for the edging and planting destroyed my elbow (don’t ask, I don’t know!)

Around this entire back bed is my next “want to” project. I “want to” extend the entire bed about 4-5’, add a flagstone walk and more plants…in other words make the entire thing bigger. Hum…maybe someday when I don’t have a bum elbow.
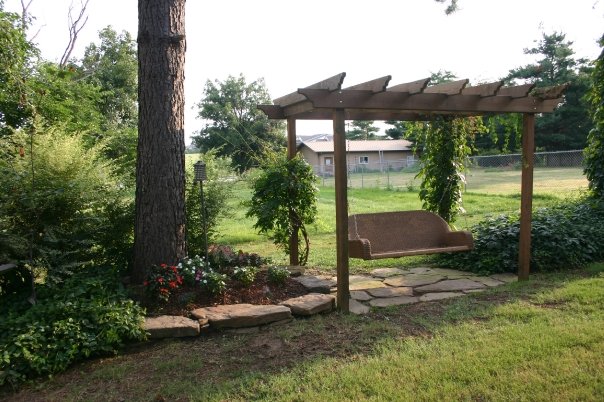
I shared HERE the construction of the swing…and HERE when I stained it.

HERE I shared my shop and the changes I made to it to make it more appealing. The inside is still a shop full of tools, supplies and garden stuff…but the outside had to be dolled up!

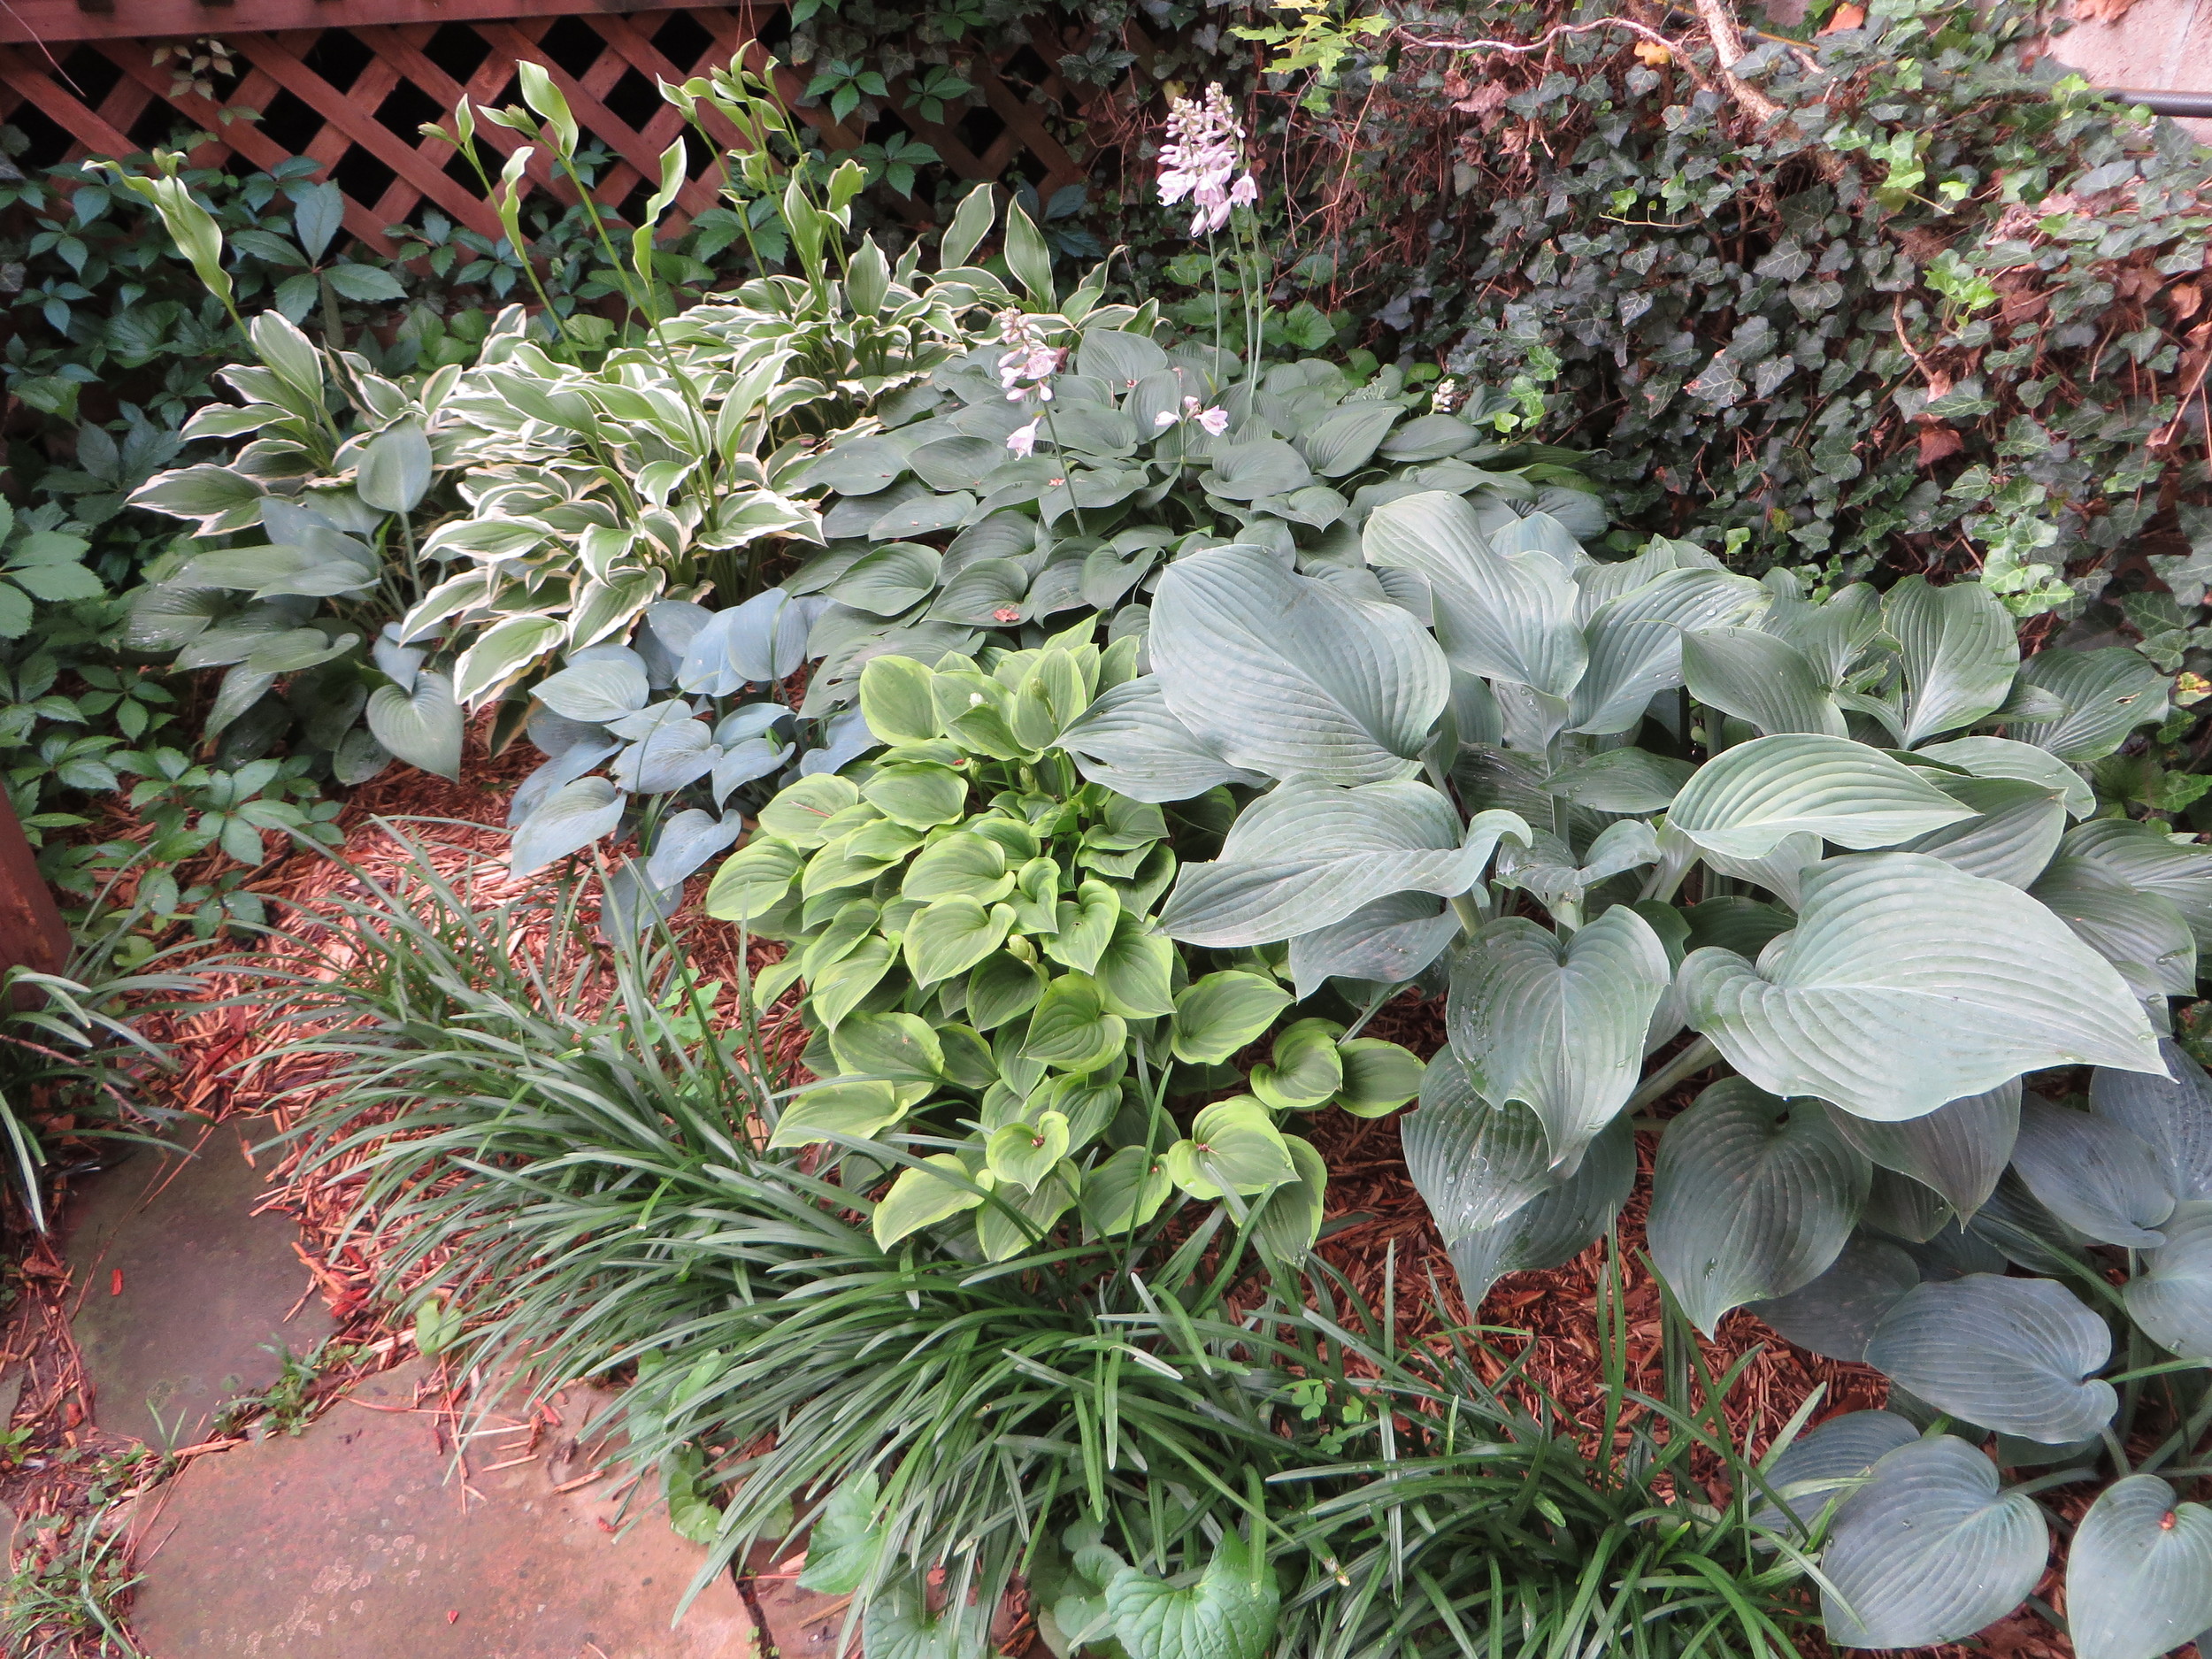
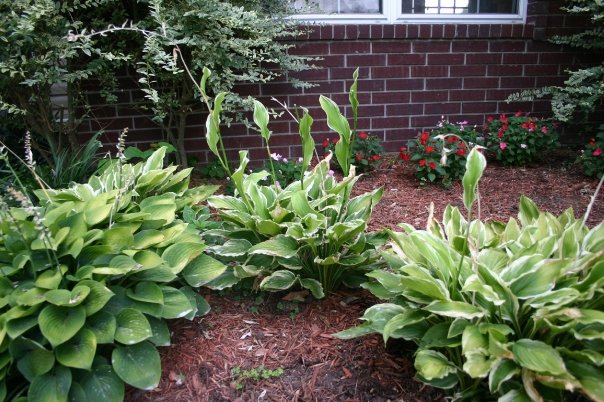
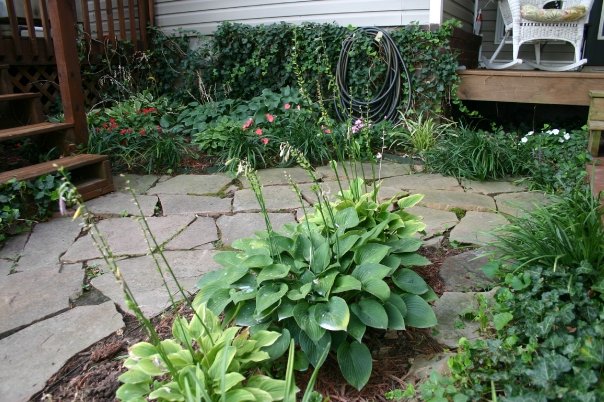
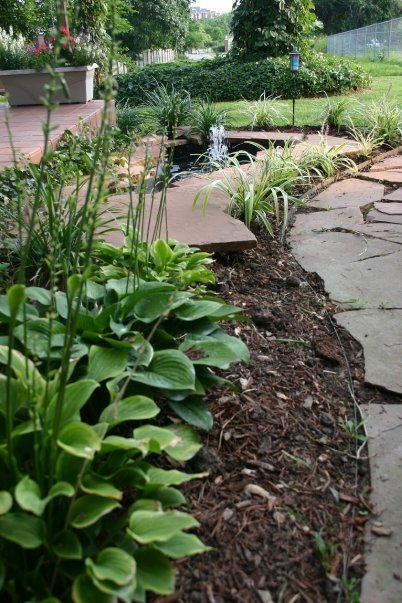
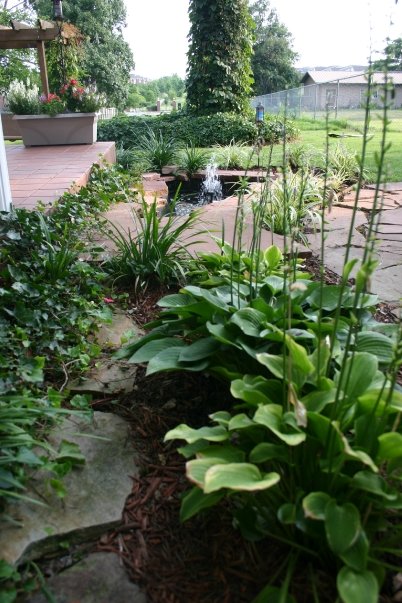
I added this bed last fall for the hostas. I split off the potted hostas this year! Everyone of these hostas are splits!

Two years ago I added a little “pergola shed” onto the back of the shop for Brian’s zero turn mower and our larger garden tools (shovels, racks, wagon, etc.) Everything else goes inside the shop.

We didn’t completely sod the back yard but over the last few years I have sodded and seeded here and there…it is a work in progress. Someday I hope to have a perfect back lawn. With the shade and sun combo it is a struggle.
I was fortunate this yard had an irrigation system. It had been neglected for years so it took several years and some back breaking days to get everything repaired and in working order but it has been worth every effort. I don’t know that I could keep everything alive without it!
I keep thinking that SOMEDAY I will get it all done and then I can just sit around my park-like setting and enjoy. But truth is, I like working in the yard…I like digging in the dirt…I like planting new plants.
There are days I just walk around with my coffee and enjoy. But in my mind I am always looking for new ways to get my hands dirty.
It is my therapy.