Another flower bed...

I’m pretty much through with major projecting on this house…at least until I find something else to tear up!

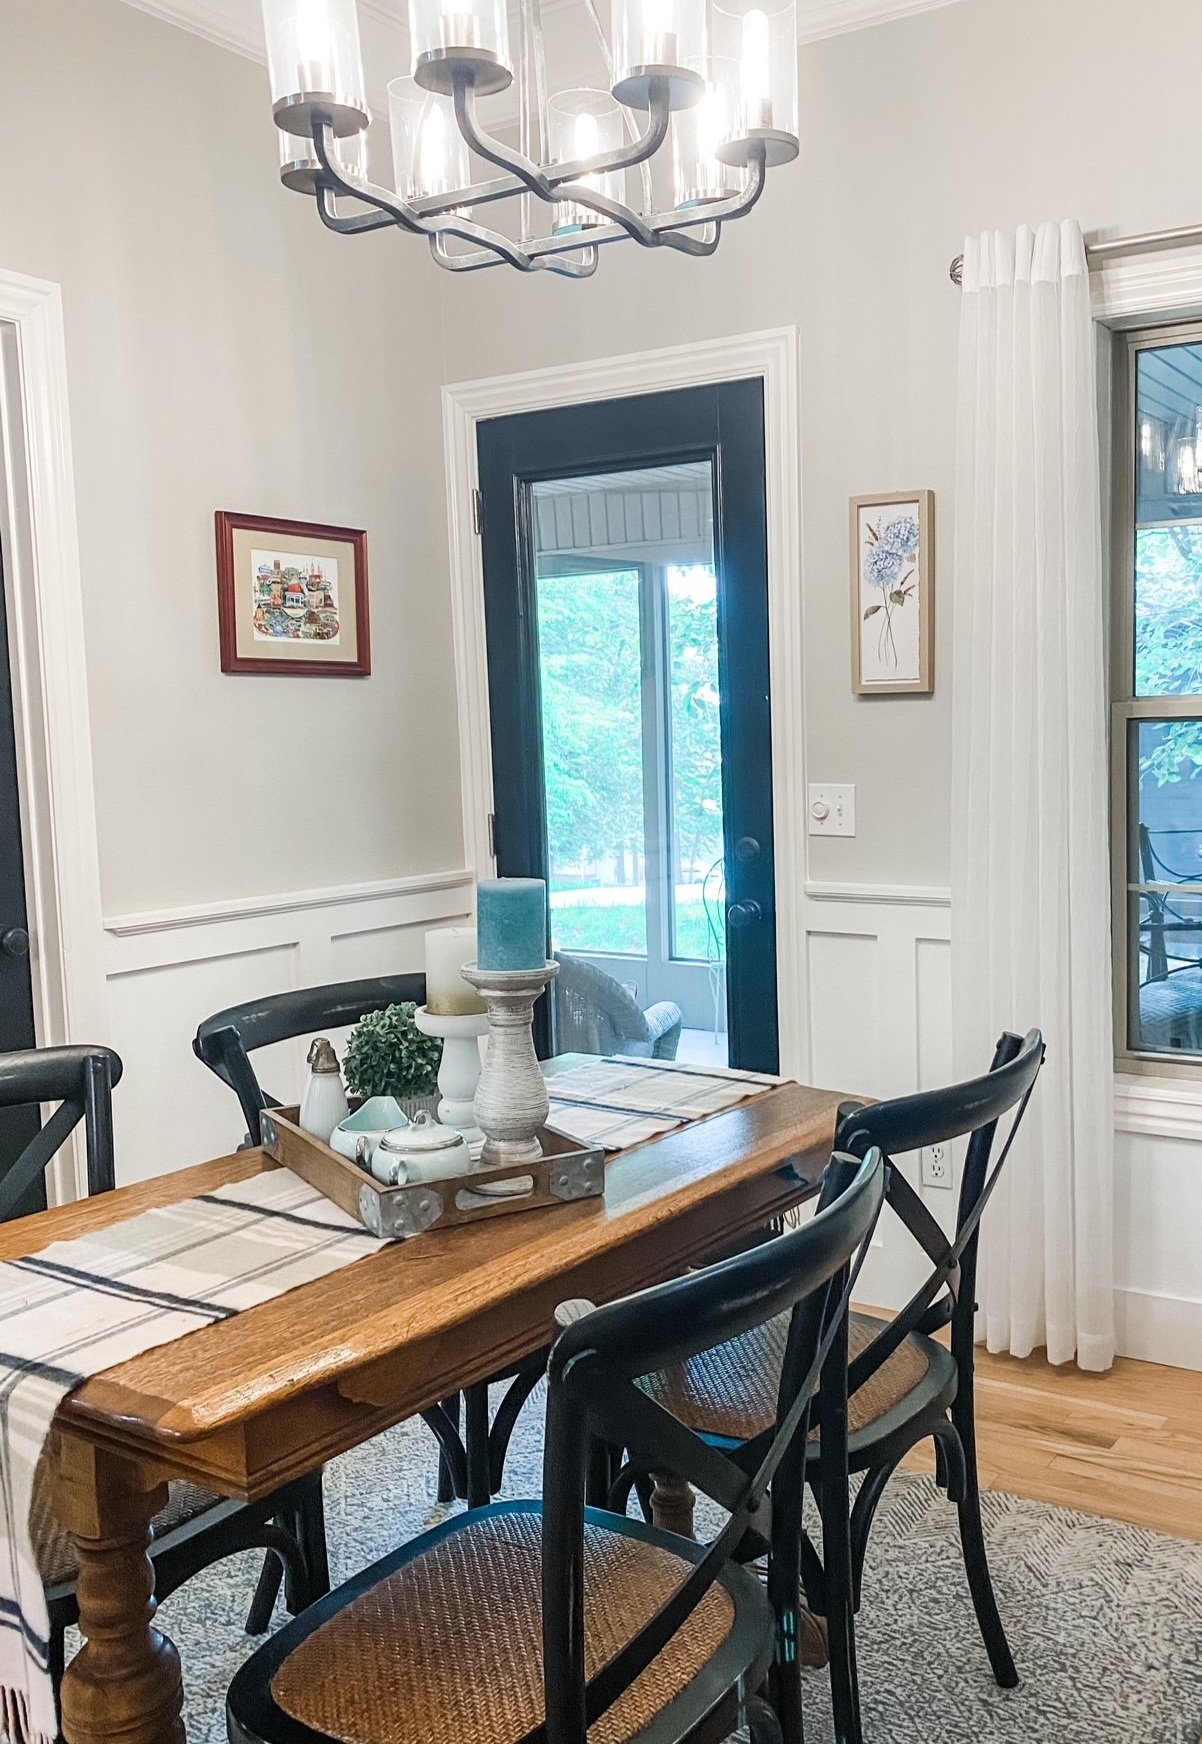
I did replace the door between the screen porch and the breakfast room.

It was set a tad low and over time the “sweep” has begun to scar the wood…so I took out the old door and “lifted” the new door by adding a piece of 1/2” wood beneath the threshold. The door is also 25 years old and metal. I went with a newer, more energy efficient fiberglass door. Not a difficult project and one you can find a TON of tutorials for.

(You can see the old door with a divided light HERE.)

When I ordered the new door I decided I no longer want “divided light” …in other words “grids.” Which meant I had to replace the glass in the den door since it is divided light as well…and of course they have to match. That door is fine and I really only needed to replace the glass insert. Again, not a big deal…love the look!

As I mentioned before, one of the ways I stay busy and “give back” is to help my neighbors with their projects. In the past few months I have helped one build a wood screen around her AC units, installed a water line for a back yard faucet, hunted plants for landscape projects, help set a large pole for a hose reel, modified a metal fence to keep dogs from escaping a back yard and did some fiberglass repair on a garden fountain.

And this week I built a “garden bench” for my neighbor…I will share that soon. Too stinking cute!

Have wagon and tools, will travel!

In between dragging my wagon around the neighborhood, I managed to get a little yard work done.

I absolutely love my back flower bed and love this time of the year when it comes to life! Every time I look out my bathroom window I am so grateful for it!

This is the view from my bathroom window! When the dogwoods are in bloom…WOW!

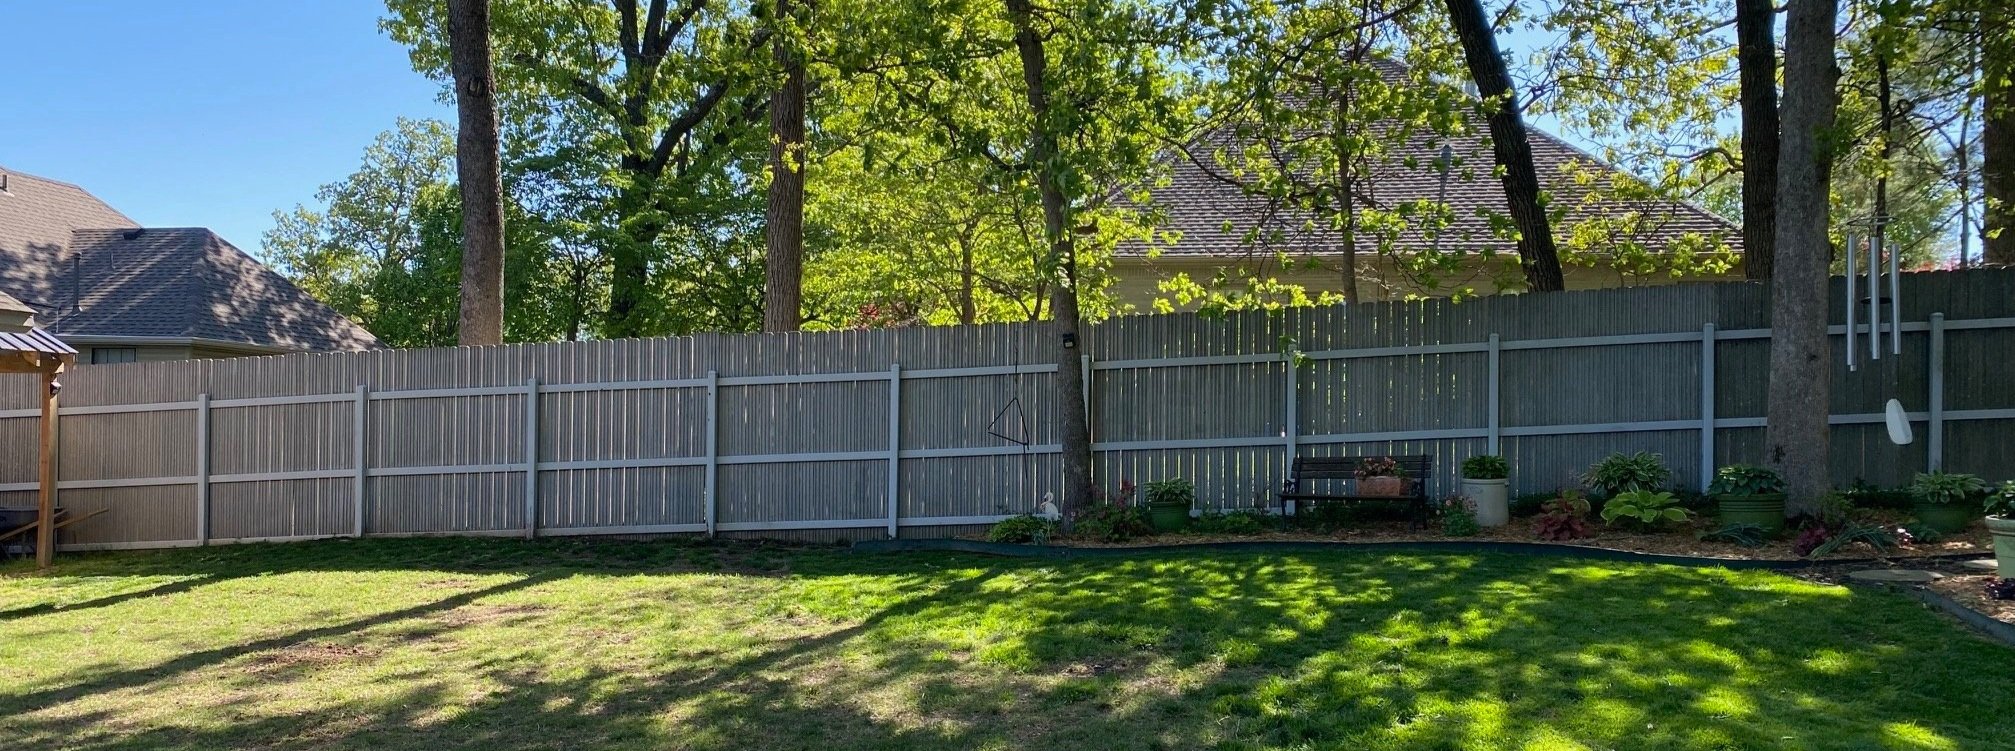
But I have one area in my yard that bugs me…rocky and wouldn’t grow decent grass.

Since I have transitioned to perennials and don’t have to do as much spring planting, I decide to tackle this area and extend my back flower bed.

Why do I convince myself that ANYTHING is easy? In my mind I think, oh, I’ll just put down a little landscape edging, throw in some compost and add some plants.

Silly me.

First, this area has some massive tree roots that needed to be taken out. So I had to dig the dirt and rocks (more rocks than dirt) away from them, take a reciprocating saw and cut the roots and take them out. Sounds easy…it is not.

Oh, and I cut a buried wire while I was hacking on the tree roots. Don’t know what it is but I cut it and had to repair it.

Then I had to install the metal edging. Okay, first, that stuff use to be around $8 for an 8’ piece…it is now $30 for one piece. What the heck? Second, again, this area of the yard is really rocky so creating a little trench to set the metal edging in unearthed about 4 five gallon buckets of rocks. CURSES!!!!!

So then I decided I really should use what grass was there to fill in a few bare spots around the yard…kind of like “sod plugs.” That took two days and I think I have destroyed my elbow. Don’t ask, I don’t know.

Again, rocks. LOTS of rock. I think I raked up another 4-5 buckets and honestly I don’t think I put a dent in it. I just got it down low enough to top it with about 5-6” of compost. The booger was digging holes for new plants…AUGH!

And of course the whole irrigation thing, which will now not really work well with the new bed addition. So of course that had to be moved which entailed digging MORE rock…what a pain!

I carefully researched plants to make sure I put in perennials that can take full shade during the day with full evening sun.

Another issue…this area is under a huge black walnut. Black walnuts put off a chemical called “juglone.” Some plants can grow under their canopy but others can not! Research, research, research!

The only thing I knew for certain I wanted to plant is a pink dogwood…found a decent one at a local nursery. They didn’t bother to tell me that a tree can suffer “wind burn” if you transport it in the back of a pickup truck without a tarp.

Half the leaves are all shriveled and “dead” but they swore it will rebound next year. Guess I will find out.

I added a serviceberry, some coral bells, a few flowering bushes, and a few annuals just for summer long color. I transplanted some Stella lilies from another area of my yard where they didn’t get enough sun.

All in all I am pretty happy with it…only one regret…I should have made it bigger! But it’s done for now and maybe next year I can play with it some more…right now I am too busy icing my elbow and knees!

ANOTHER COLLEGE GRADUATE!

A few weekends ago we will celebrated my oldest grandson who is graduating from college. Hard to believe! CONGRATS CAMDEN! We are all so proud of you!

Piece by piece...

I had a friend on Facebook ask where she could find much of my decor because we share a style.

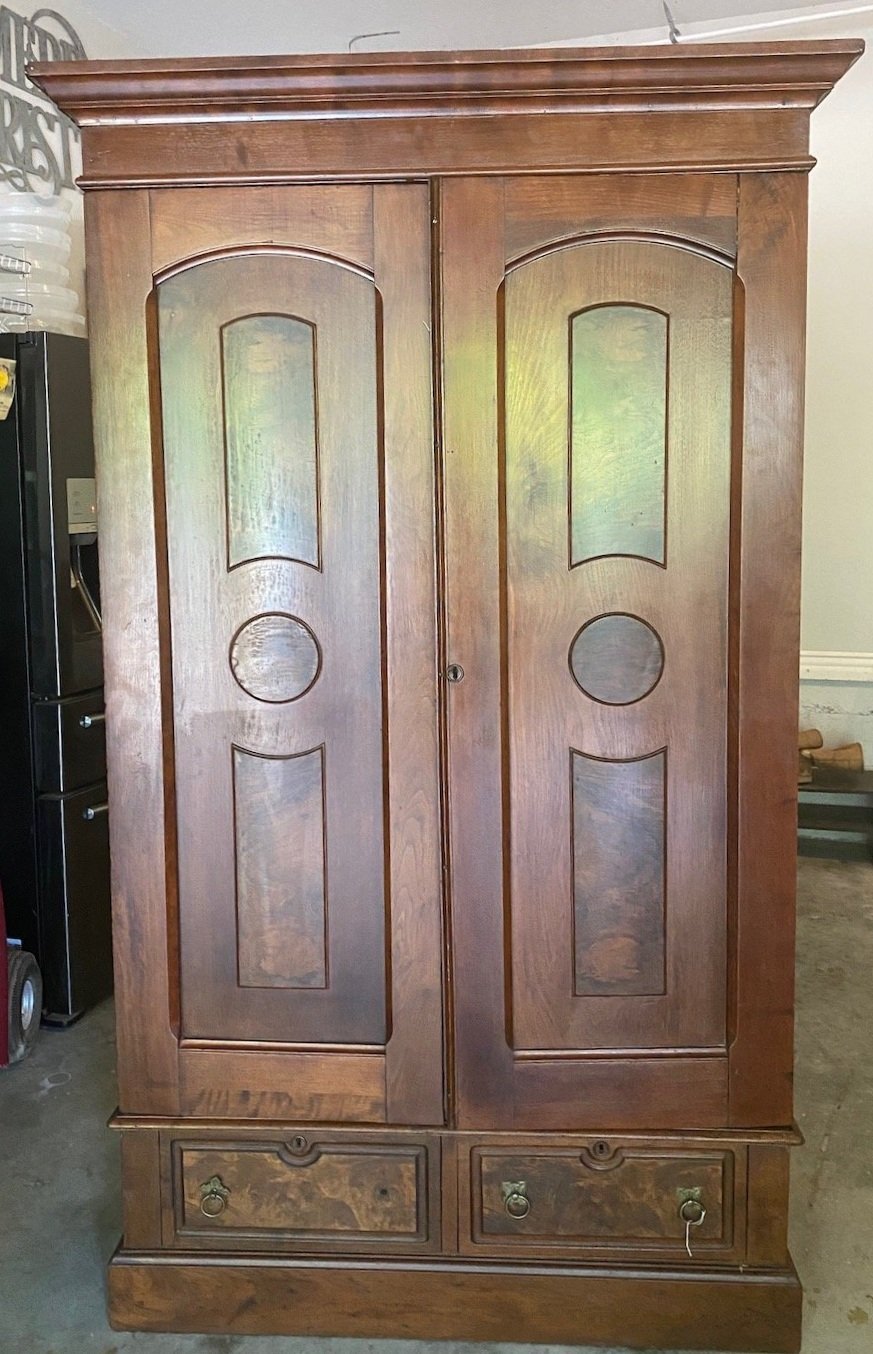
Funny…as I walk around this house I see so many pieces I have cobbled together over the years. Pieces I bought at auctions and refinished. Some at flea markets. Some I bought new and tired of over time so I gave them a little facelift. Pieces I inherited. ( I am actually kind of shocked at how many pieces there are and how little I paid for them originally!)

Every room in this house has pieces I have refinished, refurbished or rehabbed.

My bedroom….

Twenty years ago I bought an entire bedroom set…bed, dresser, highboy and two night stands. Paid a small fortune for the matchy-matchy set so I couldn’t bring myself to get rid of it. Over the years I finally gave up the bed and dresser and the highboy and nightstands have had little facelifts. The furniture and our master bedroom got a full makeover HERE.

Before….

After….

My office…

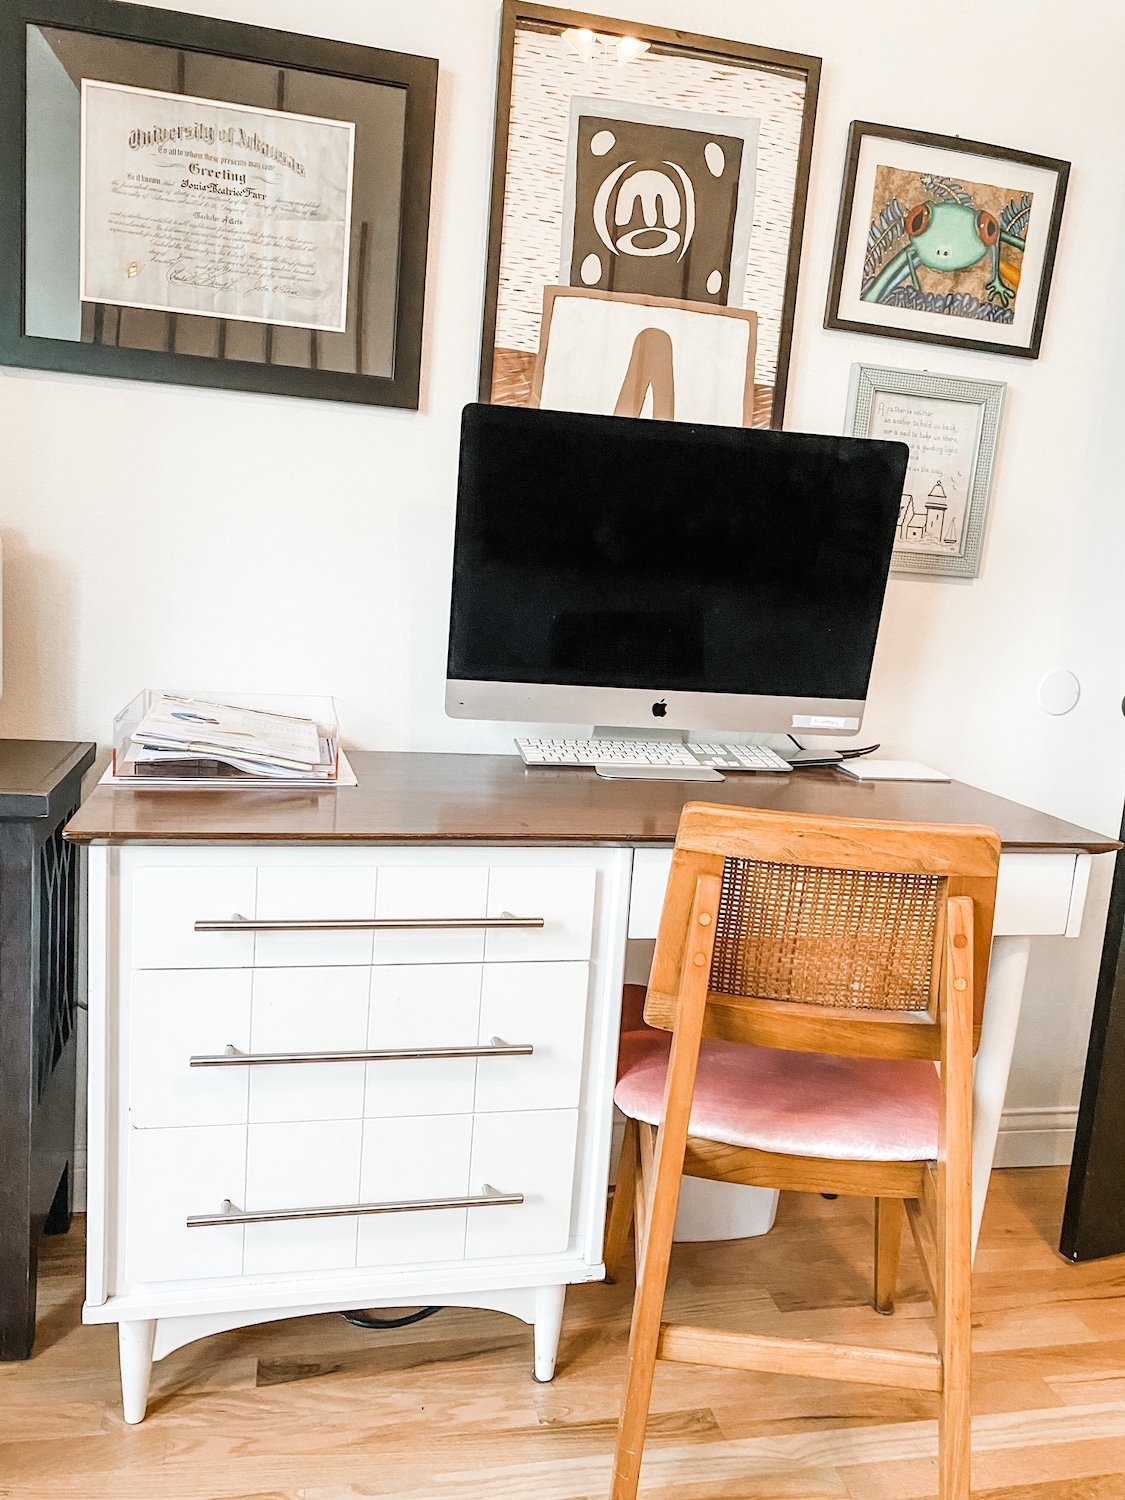
I bought this desk at a junk shop YEARS ago…I think I paid $25 for it.

Still love it although it could use a little refresh!

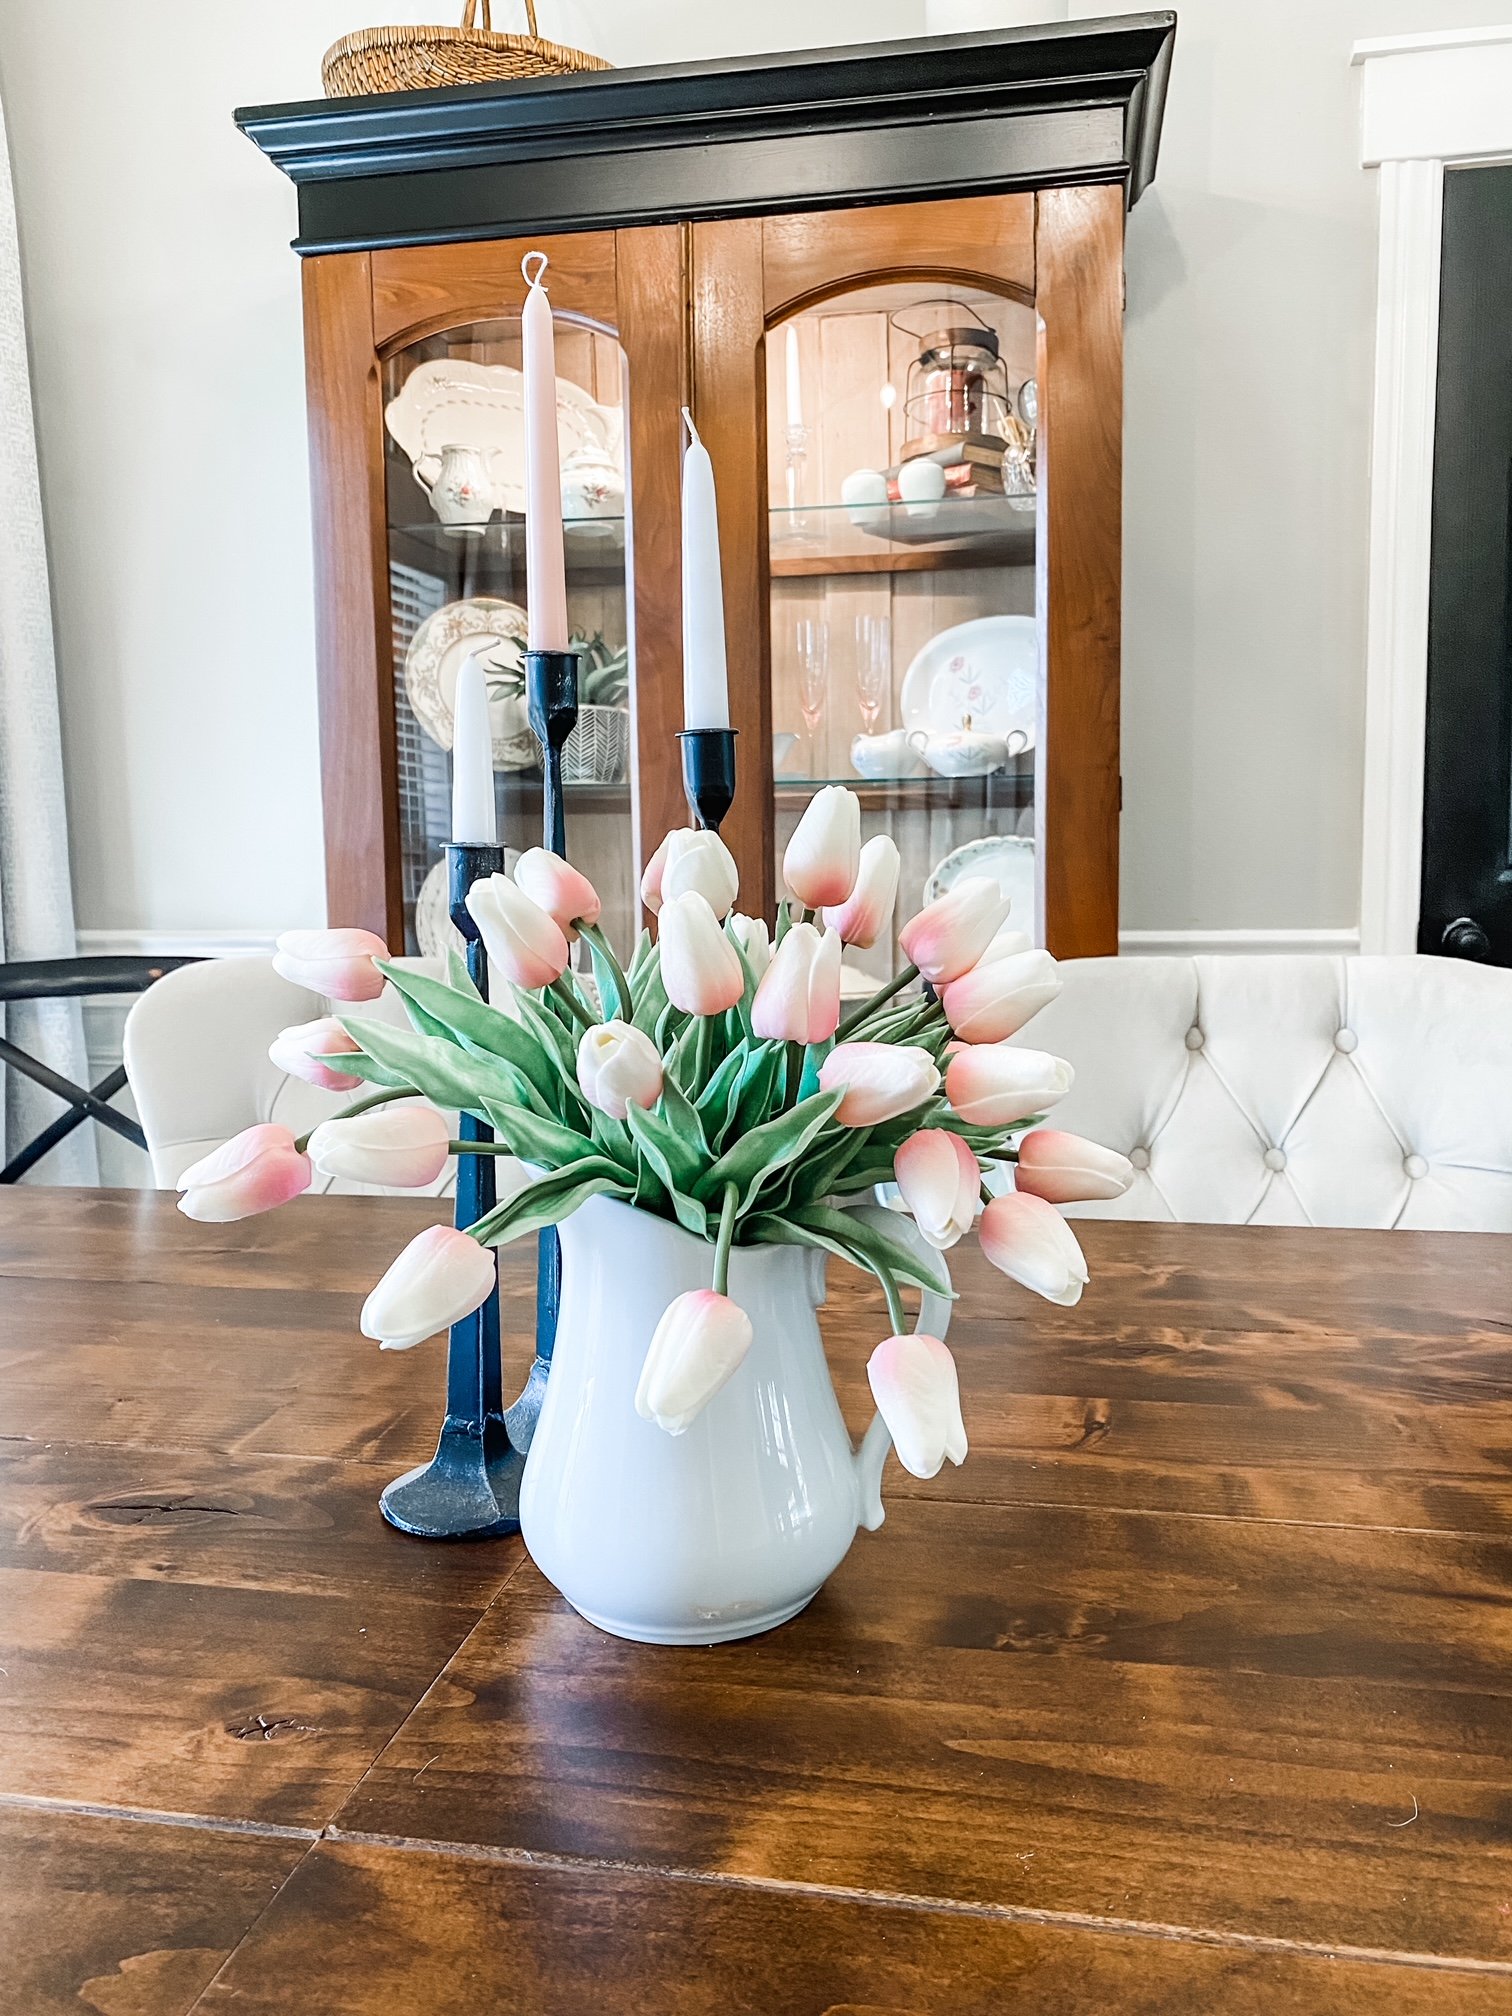
The china display cabinet in the dining room. This is a prime example of a piece that is not my professed style but I absolutely love it all the same…LOVE!

I had a vision in my mind’s eye of what I wanted and I knew this piece could be exactly what I wanted with a little time and effort….

It took a bit more time and effort than I anticipated but it really is one of my favorite pieces.

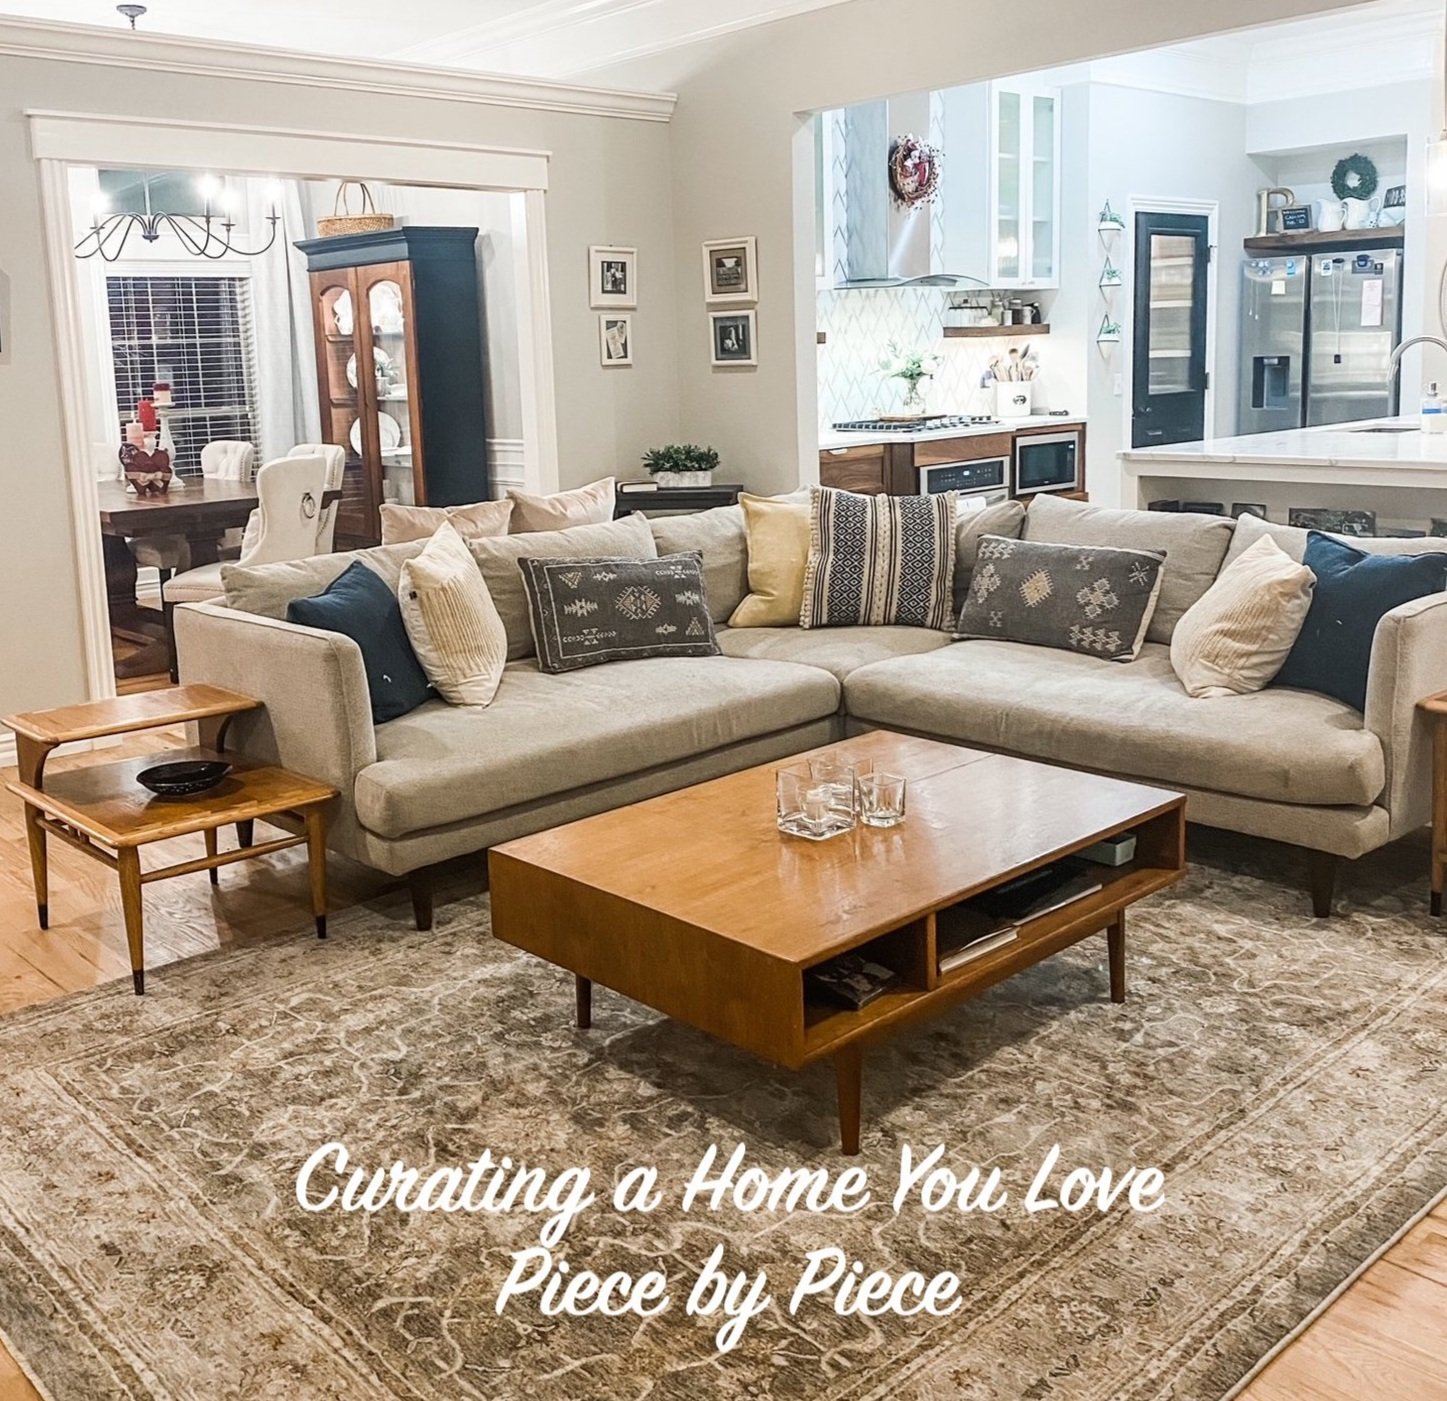
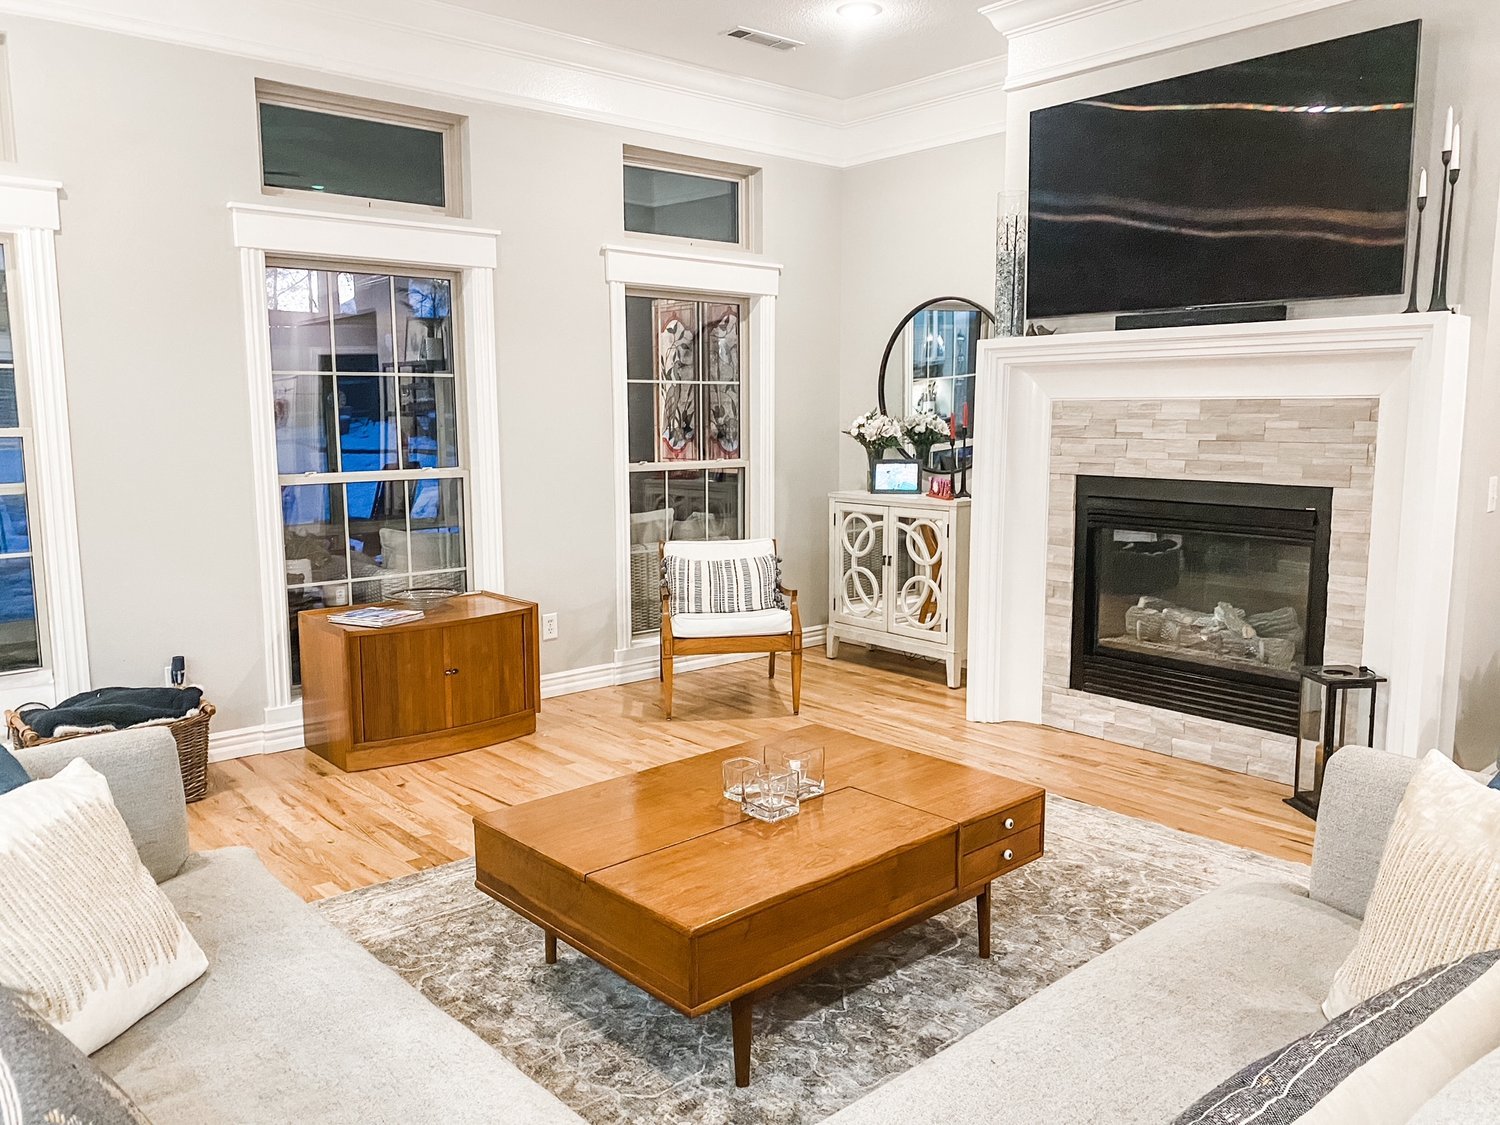
I have several pieces in the living room I have rehabbed over the years.

This AMAZING coffee table I picked up at an auction for $22!

I sometimes wish I had a round coffee table but I love this piece so much I just can’t bring myself to part with it!

Several Lane Acclaim tables I have picked up here and there and refinished.

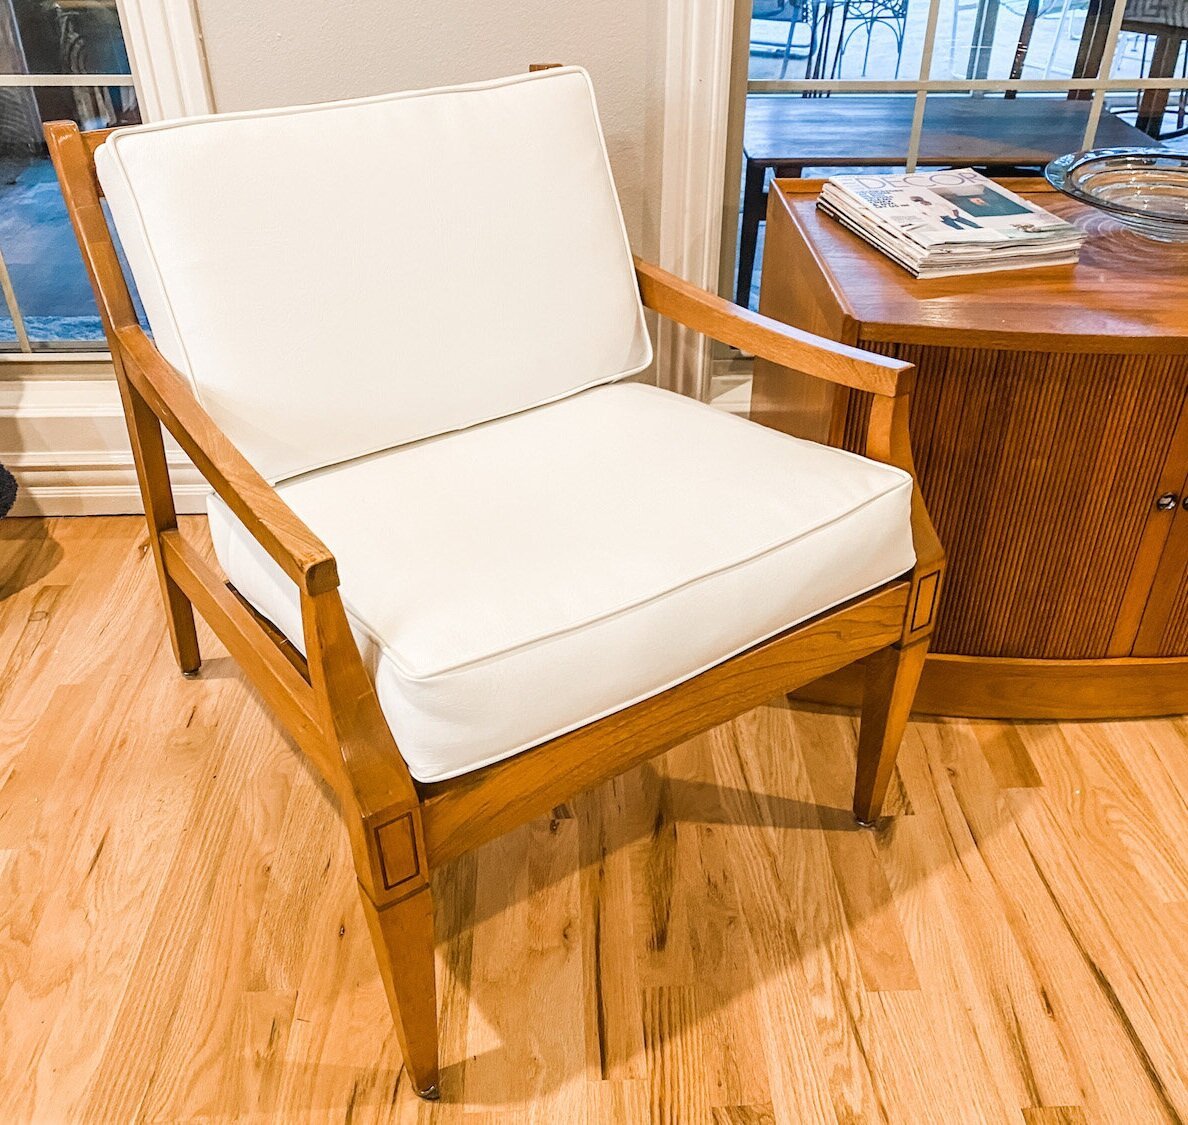
My grandmother’s little mid century chair has had two little makeovers. The teal chair is one I bought off Marketplace years ago and reupholstered….

My breakfast nook has several pieces as well.

The table….

The little china cabinet was a fun and relatively easy project….

They seem to work well together after their little facelifts….

There are so many more pieces I have curated and rehabbed over the years. Side tables, benches, chairs, dressers…every room has pieces I have refinished, painted or reupholstered.

It took years for me to collect all these pieces, bring them back to life and create a home I love with pieces that have purpose and meaning.

Most of the links are to the original rehabs where I share what I did…unfortunately I am NOT a good teacher so often I direct you to search the internet for good tutorials on how to repair, refinish and paint pieces. Find a tutorial that makes sense to you and begin curating your home one piece at a time.

It doesn’t happen over night! And it seems to be never ending…

Just breathe....

If you can…I am struggling to breathe because of my stinking allergies.

Still, this is a wonderful time of the year to “breathe”…at least for me. In years past, when my kids played baseball, football and softball, this was a hectic time of the year. Practices, games, scrimmages…every evening, every weekend.

But now I can take this time, between the super busy holidays from fall to Easter that seem to be never ending, and breathe.

I still have a lot to do. Clean out and purge a few closets, clean the windows, clear out the flower beds in preparation for mulch, split hostas, power wash rugs.

But my favorite thing to do in the spring is sit on the porch and soak in the beautiful dogwoods and spring flowers…and breathe.

Monday all the bunnies and Easter decor were packed up and put away and for the first time in seven months there is no seasonal or holiday decor.

The next big seasonal explosion will be for Memorial Day and 4th of July.

Until then, just breathe….sit on your porch and drink your coffee. Take a walk around your neighborhood or local park and take in all the beautiful spring flowers and blooming trees. If you are like me and suffer from severe allergies, take your meds and get out and enjoy the season!!! It is so short!

Let your house breathe also…open the windows. Keep your decor simple and focus more on purging than filling space. Pick a drawer, closet or cabinet, purge and clean. Then go out and enjoy this beautiful time of the year!

In a few weeks it will be time to start my summer planting…I need this down time!

Easter garland....

I have mentioned many times my obsession with decorating for EVERY holiday.

Christmas was a given for years….

And of course fall….

Up until a few years ago, that was pretty much the extent of it…maybe a few knick knacks here and there for a few holidays like Valentine’s Day or Easter, but nothing major.

Then I “retired”…and decorating EVERYTHING for EVERY holiday has become my thing. A wreath on the porch, entry and kitchen, a tablescape, special candles, special dishes…every event. I even bought “Easter” champagne glasses this year and we don’t even drink! But they matched the Easter dinnerware so ……!

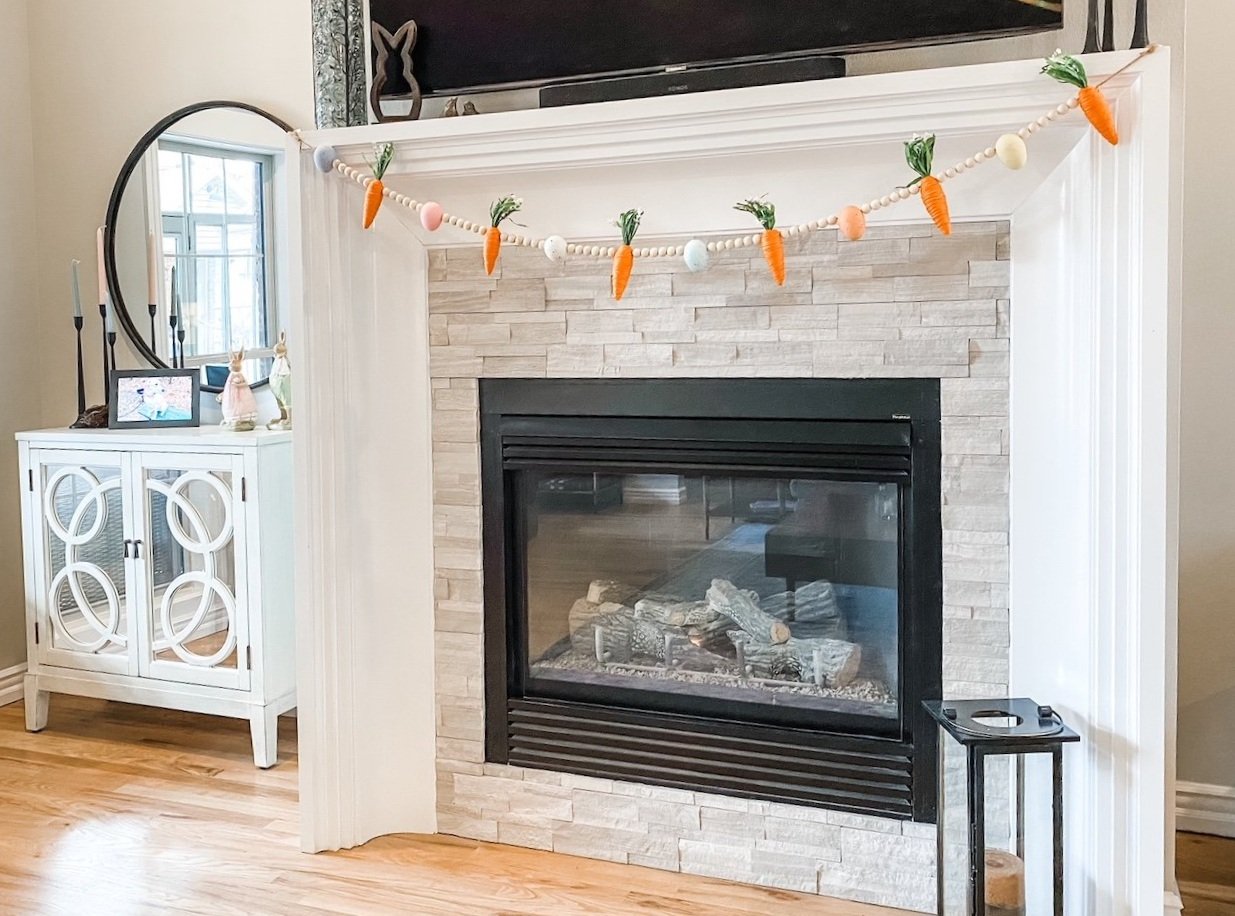
Anywho…I think the little holiday banners and garland I see on Pinterest are just too stinking cute. This year I decided I wanted an Easter garland…you know, with carrots and eggs….for the fireplace.

So I went searching.

First I ordered THIS carrot garland from Amazon.

Cute but it wasn’t really tripping my trigger.

So I went on Pinterest and started looking for a little inspiration.

All said and done, this was the final look I came up with.

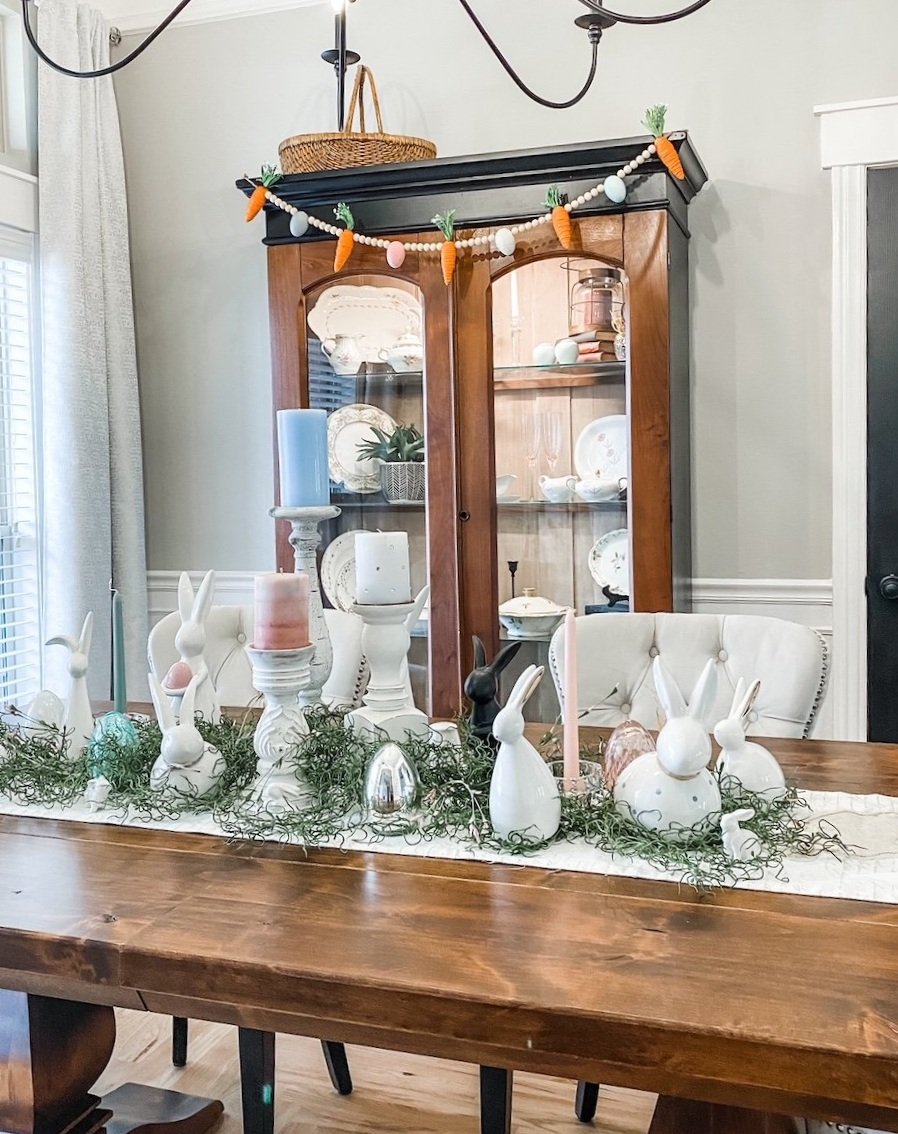
I had a little extra of every thing so I even made one for the dining room hutch.

This was super simple to make…the little carrots slid right off the jute they were on. I threaded the jute on a big upholstery needle I had on hand, then strung the beads, carrots and foam eggs onto the jute.

Garland…too cute!

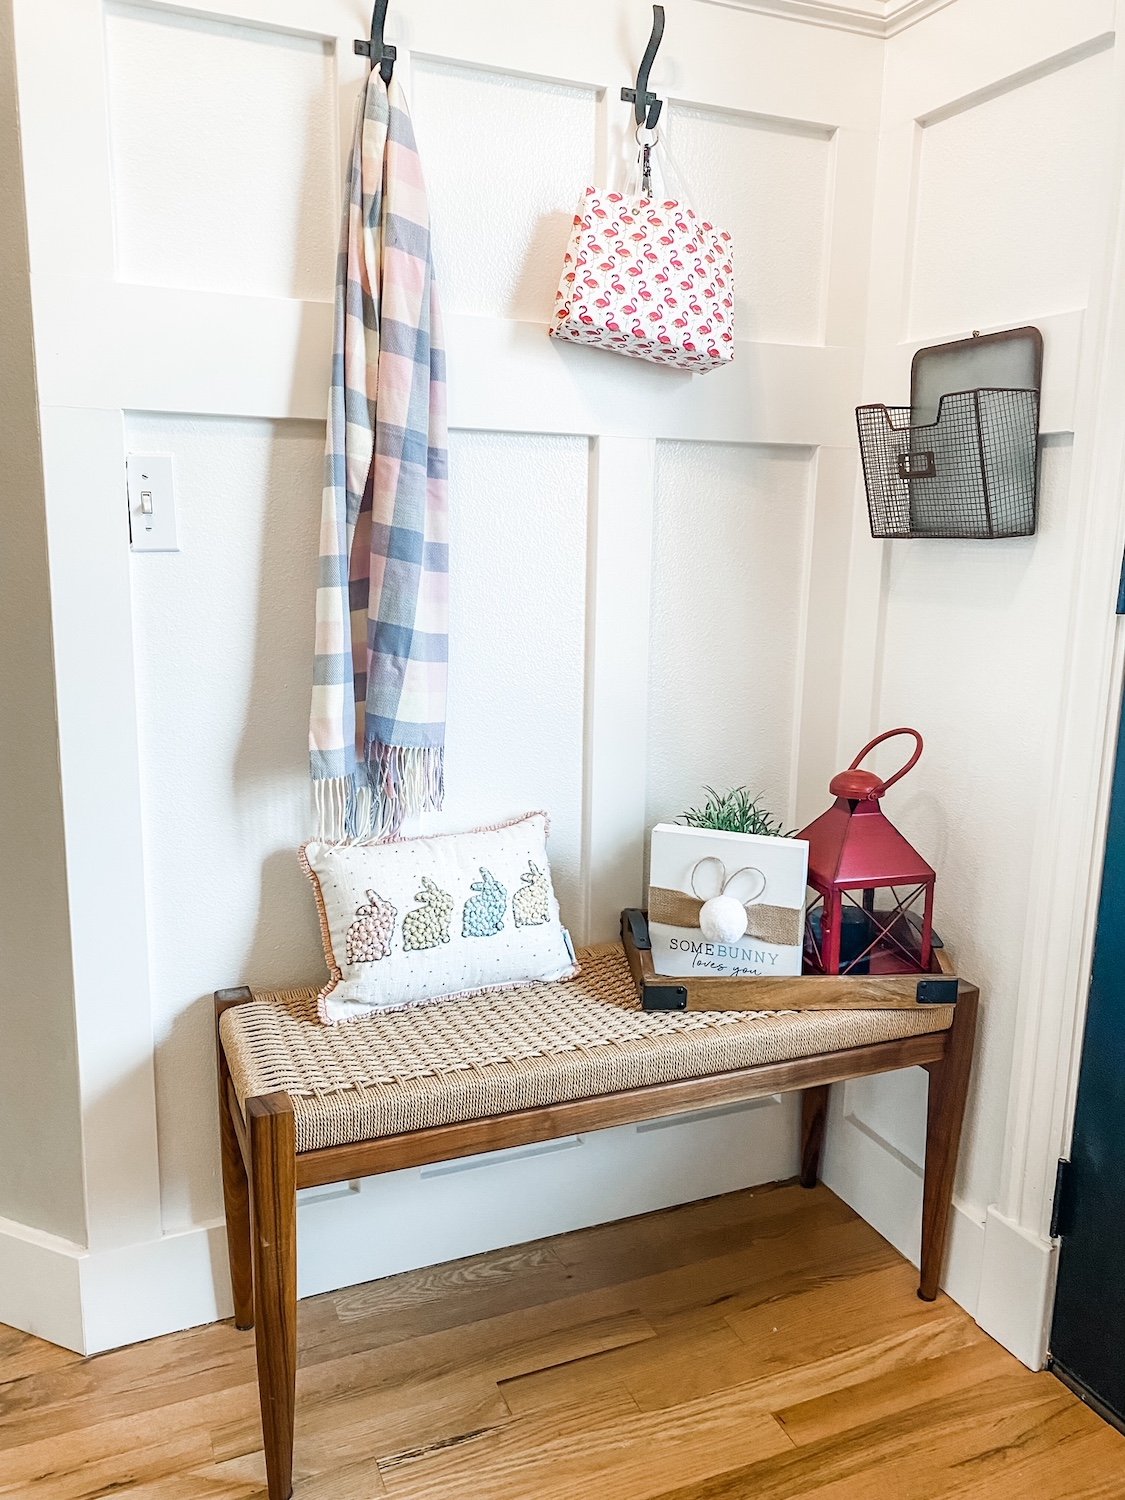
As you can see, i have a thing for bunnies…just scattered around the house. Lots of pink, blue and green candles…spring wreaths…Easter pillows. Foam eggs here and there!

It may not be “the most wonderful time of the year” but fun none the less!


The Olive Tree....

I recently decided to jump on a “decor bandwagon.”

Seems olive trees are all the rage right now. As I have mentioned before I have a few issues keeping indoor plants healthy so I have zero issues with breaking the “no fake plants” rule. If you are like me and have a black thumb for indoor plants, it is the only way to bring “life” into your home. (I kick butt when it comes to outdoor flower beds but this is where indoor plants come to die!)

Anywho, I have an olive wreath…but I was hesitant to spend a big chunk of money on a tree that 1) will go out of style in short order (think ficas, fiddle, etc) and 2) may or may not actually look decent.

So I did a little research and read reviews and landed on THIS tree on Etsy. I went with the 6’ tree. Pretty tree and very affordable but still seemed a tad short. I knew I was going to have to put it in a basket or pot so I decided to give it a little lift in the process.

I found a large pot at Lowe’s I like. To “pot” the tree I needed another smaller pot, some scrap cardboard, spray foam and decorative rocks….

I placed the small (and very inexpensive) pot upside down into the larger decorative pot…I secured it with a bit of hot glue just to keep it from moving around.

I hot glued the potted tree on top of the small pot. I used cut up card board around the small pot just to “fill in” the space and give a cardboard collar something to set on.

After all that I used spray foam to fill in and secure it all….

I use this spray foam for several reasons. First it puffs up pretty solid and kind of acts like a “glue” to hold everything super secure. Second, while it dries pretty hard on the top, it still is a foam and is easy to stick stuff in it if you want to…like for floral arrangements and such (I used it HERE for fall urns!) It is also relatively light weight so it fills these pots without adding a lot of weight like rocks would! It is also lightweight so it makes it easier to move the pot around!

Lastly…it is much cheaper than floral foam!

A few hints for using this stuff…it is super sticky…let it dry before you mess with it! If you get it somewhere you don’t want it, just let it dry well then scrape it off! (If you fail to take my advice and mess with it while it is wet, use mineral spirits to clean it up.)

It expands quite a bit so work in “layers”…let it cure well before you add more if needed. On this project I did two “layers” before I got it to the right height.

If you find that it is “too high” in spots, you can cut it with a serrated knife to trim it down after it has dried.

Since I was using black decorative rock, I sprayed the foam with black paint so it would blend in….

Then I just placed the rocks on top of the painted foam….

I like the overall height and look now. You have to “pot” these anyway, might as well add a little height to them.

I decided to put it in the corner of my breakfast room. If I want to move it to another spot, it is relatively light weight…not so much that it is a tipping hazard but not so heavy that it would be a pain to move.

You may notice I am already decked out for Easter…this little tree gave me the perfect spot for one of my newest Easter additions….

Next week I will share a bit more.

Until then….

"Mud room" bench....

This is a project you see a lot on Pinterest and it is a super simple and functional use of normally wasted space.

Case in point…my daughter-in-law’s sister’s (Laura) house….

This room is next to her kitchen…designed to be the “breakfast room” space but is really used as a thoroughfare from the garage into the house and has become a general “drop zone catch all. “ With two small kiddos, it could be the perfect “craft room” and drop zone but as you can see there was no form or functionality to the space.

So she sent me this “inspiration” photo.

A functional and organized space for shoes, backpacks, coats, etc.

Heck, I can build that!

She likes the board and batten look of my entry more than the “panelling” look in her inspiration photo. No biggy. Remember what I have said before…the key to any project is first, your inspiration…..second, your plan and third, the execution.

So we had the inspiration…just a few tweeks and we had a plan…

Now it was time to execute!

I have said before I am not a “how to” kinda person…I am a “YOU CAN DO IT” kinda person. So find a tutorial for installing board and batten and building a bench that makes sense to you and works for your space.

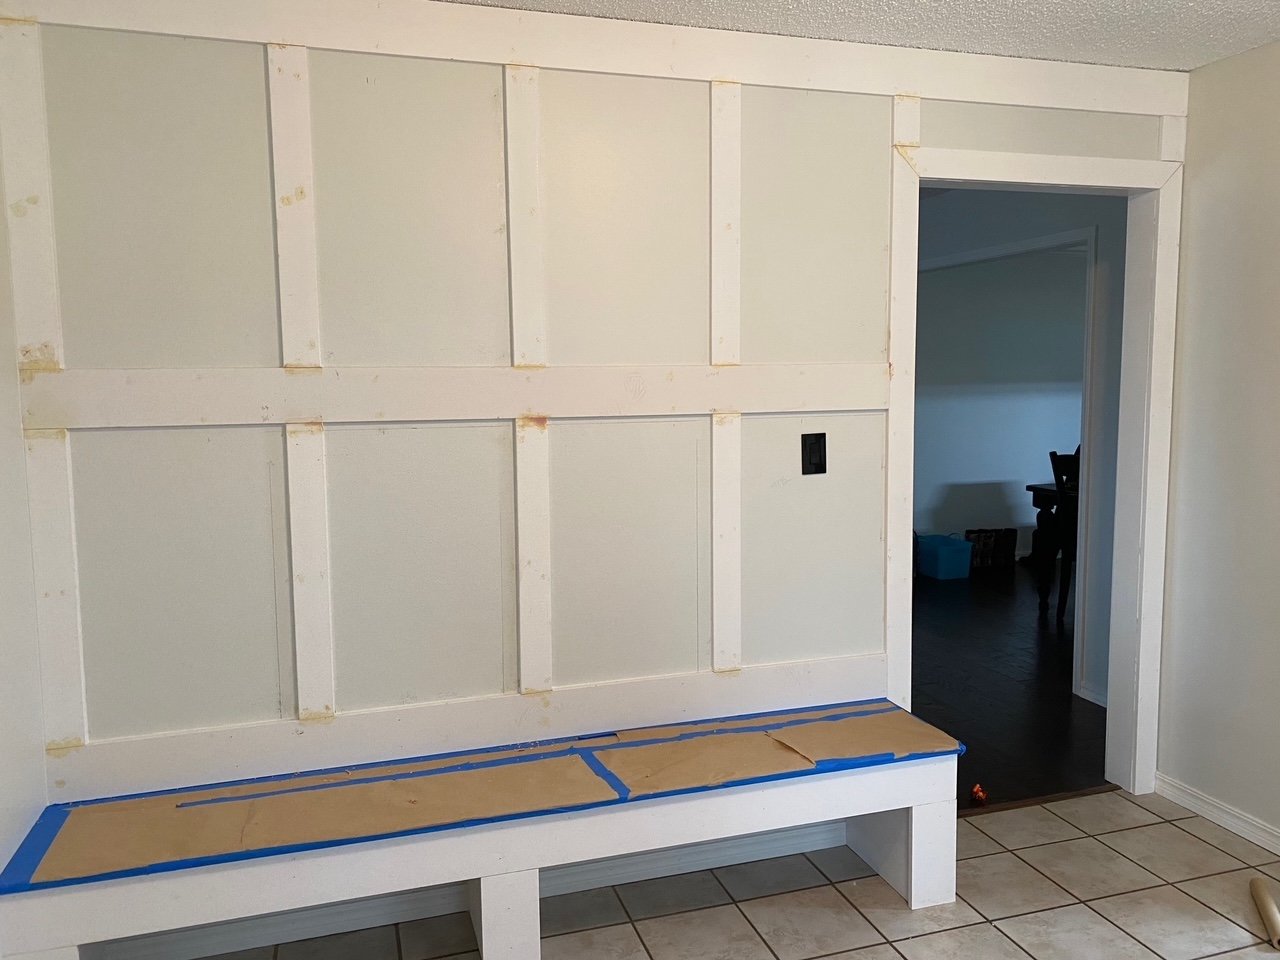
First up…the bench. I had to off center the middle support because of an outlet but it was pretty basic stuff…2x4s, construction mastic and wood screws. Again, find a tutorial that makes sense to you! (Even I look at tutorials sometimes and say WTH!)
I build the legs of the bench out of 2x4s then clad them with plywood. Simple.

I used 1x6 pre-primed pine to trim out the front of the bench. MDF will “swell” if it gets wet so you can use it on wall treatments but I highly recommend using a solid wood product on anything adjacent to the floor.

I always use pre-primed or prime and sand before I install to avoid having to prime and sand inside the house!

I used 3 1x6 lengths of oak for the bench top. You can also use pine…MUCH cheaper but Laura liked the look of the oak. I used a rooter on the edges, just a hair, so when I joined them together they look more “plankish” than solid.

I built the bench top, using a biscuit joiner, in the garage… no stain just 3 coats of polycrylic, and then installed it before I moved on to the wall treatment.

For the board and batten wall treatment I used preprimed MDF.

I usually install the horizontal pieces first…making sure they are perfectly level. Then I go back and add the vertical boards. Putty all the nail holes and seams and make sure you caulk EVERY joint and crack…sand it all super smooth.

REMEMBER if you can feel it you are going to see it after paint…so sand and feel with your hands! Sometimes it can take 2-3 coats of joint filler to get good coverage.

We covered the wood bench top and painted with a brush and roller…three coats!

GORG!!!!

We added cute little hooks Laura picked out!

I was still loading tools and the littlest (3 y.o.) was already claiming all the hooks for his back pack and Hulk costume and mask! Probably should have added more hooks…lol!

Props to Laura…I really believe the vision and inspiration are the most important keys to any successful DIY project.

She did good and I have no doubt this little area will now serve her family well!

Preserving pictures from old negatives...

Again, I am probably the last person on earth to discover this, but I thought I would share just incase ONE person is as clueless as I have been.

I love old photos. I am the keeper of all the family archive photos and documents.

When it comes to my immediate family photos, I have always developed and printed every roll of film, printed every single digital picture (phones and cameras,) labeled the back of every picture and put each into photo albums for each kiddo.

When I bought my first digital camera in 2004, I would print EVERY picture I took, label them and put them in each kid’s individual album. Then I would make a back up copy onto a CD, and in recent years, a jump drive. All labeled by year and stored in my fireproof safe….

Even now, every year I print every picture on my phone, label them and store them. Then I copy the entire year onto a jump drive.

From birth to adulthood (when I had to snatch pictures off their social media), I have them all…THOUSANDS.

Unfortunately,I have never been able to find a good way to wrangle the boxes and envelopes of negatives…THOUSANDS!!!

Granted, all the pictures have been printed and stored, but I could never bring myself to dispose of the actual negatives….you know, those flimsy brown strips (for you youngins who don’t know what a negative is). I mean, what if the house burns down and the albums go up in flames. Keep in mind the negatives have been stored in a cedar trunk in the guest room so not sure what I would do if the entire house went up, but that is another issue.

One day last year I stumble on this nifty little gadget….

I found it here on Amazon.

It really works exactly like it says it does…you run each negative through the machine, punch a button and it sends the photo to a SM card that can then been transferred to your computer, then stored to a jump drive.

There may be one out there that lets you save it directly to a jump drive but I couldn’t find one at the time.

The photos are top notch quality…and even better when you consider that the machine allows you to make minor edits to the photo before you save it. It works on 135, 110, 126mm negatives.

It took a few days of sitting and scanning but it was worth every minute. By the time I was finished I had every “pre-digital” photo stored onto a jump drive.

I gave each of the kids a jump drive of their photos….great stocking stuffers! While they have all these pictures in their albums, most kids (anyone under the age of 40) will probably never sit down and go through a picture album…but they will pop a jump drive into their computer and look at old baby pictures.

Which is exactly what my youngest daughter did…”How did you get anything done the first 6 years of my life…I was so cute, oh my god!”

Yep…she was.

I had almost forgotten how incredibly precious they all were…until I got to spend a few days looking at, and preserving, all their old pictures.

Now my next big archival chore. Transferring all the photos on CDs onto jump drives…because evidently, in spite of what they told us, those too can degrade over time…so now I am transferring thousands of photos on CDs to my computer so I can put them onto jump drives.

We have 4 computers and three ipads in this house and not one has a CD drive…that should tell you something!

Where have I been?

I know…I have been MIA for over a month.

When I first started this blog, I posted every day. That was just too difficult so I started posting twice a week. That was even taxing so I started posting once a week.

And now here we are…over a month later.

Truth be told, the holidays are a super busy time for me.

All the decorating, baking, entertaining.

And of course the sitting and staring at the Christmas tree. I do that A LOT. The season is just so short since I have a hard fast rule to NOT decorate for Christmas until after Thanksgiving…I want to soak it all in.

I get up every morning and turn on all the Christmas lights and they stay on until I go to bed. I don’t even want to tell you what my electric bill is that month…wowza!

This year I added ANOTHER decorated tree in my bedroom…I’ll have to share that next year. I featured my new black and white tree in my office HERE . Now I am one step closer to having my dream of having a decorated Christmas tree in every room. Upside…it is AMAZING…down side….what a chore to take it all down!

The MOST WONDERFUL TIME OF THE YEAR is in the books and time to move into the new year.

First up…a baby shower for my daughter in law.

Everything was beautiful and of course hosting this special event gave me a reason to do a super deep clean on my house.

Breath….

Now on to something that has been bugging me for several months.

The living room rug.

I bought a new rug before Christmas. I loved the old rug….

But after a few years and a puppy, it was ready to go. Rolled it up and hauled it to the trash can.

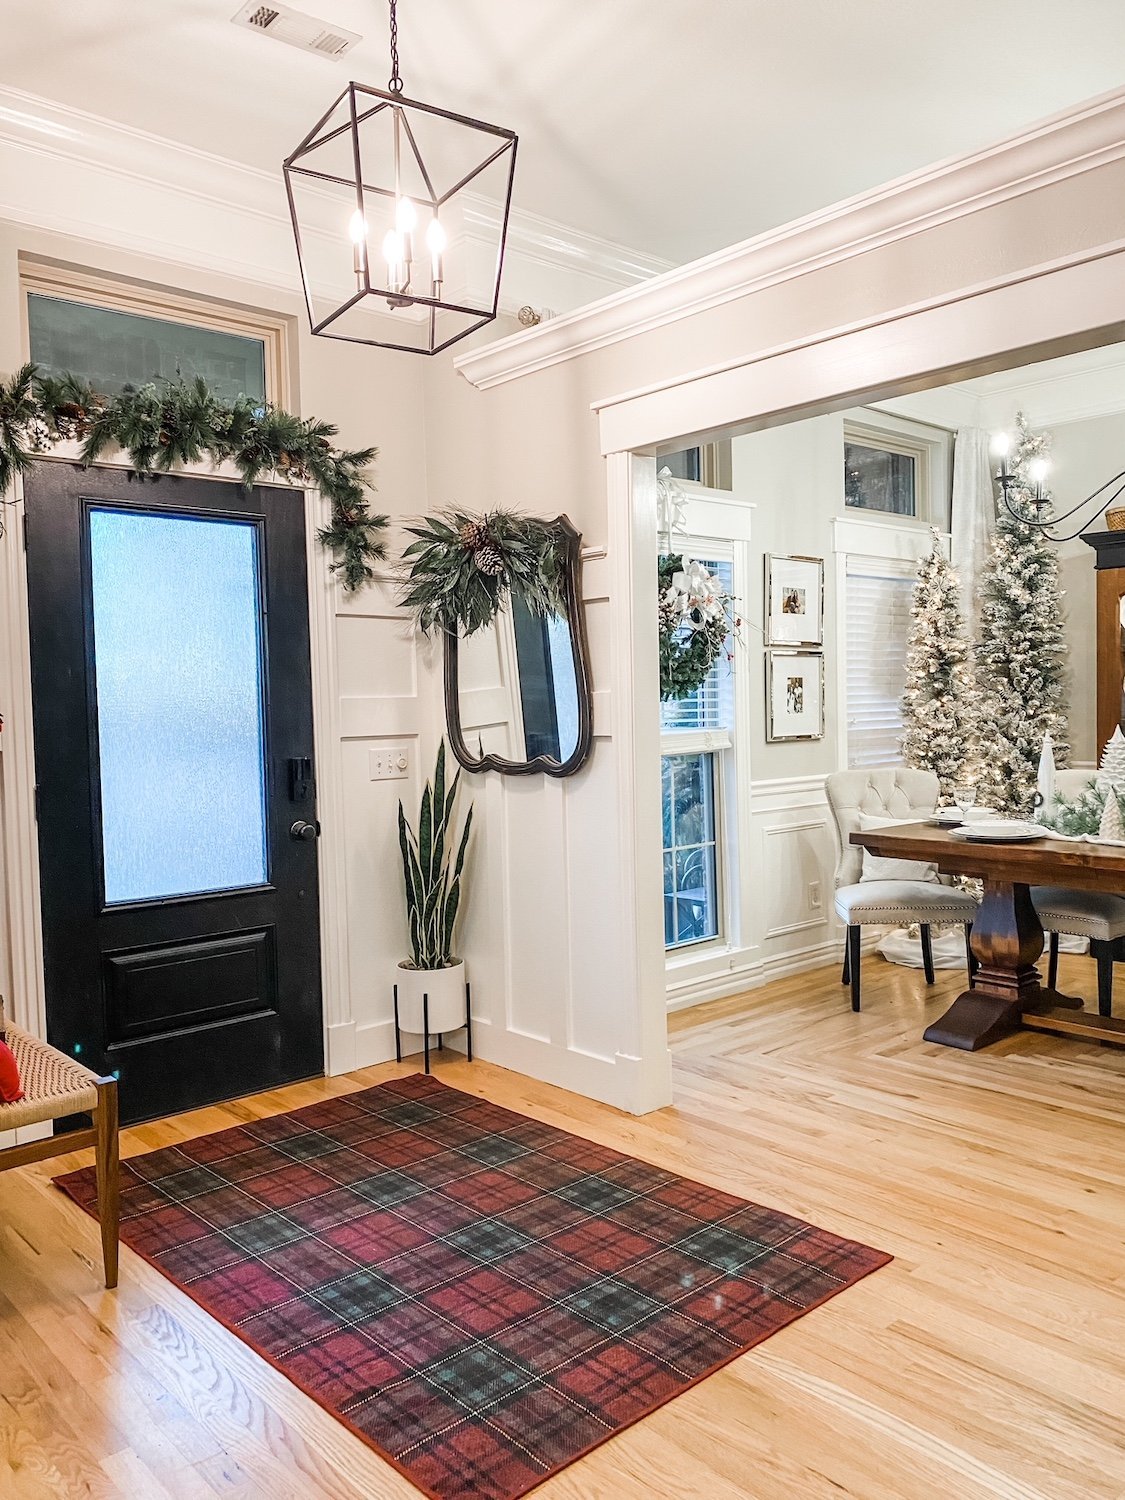
I tried a holiday Ruggable rug in my entry this year….

…I loved this rug…very durable and at the end of the season I picked it up and threw it in the washing machine! Sweet!

So I decided to try a washable rug in my living room. I couldn’t find one I liked on Ruggable so I checked out Tumble, another washable rug.

I found one I thought I liked, ordered it and put it down.

I didn’t even take pictures of it because I knew the minute I rolled it out it was all wrong!

Do you ever have one of those “design choices” that you get all done, stand back and go ICK!?

Yeah…that was my reaction to this rug!

It is a beautiful rug. And with 3 cats and 2 dogs, and a slew of granddoggies, I love the fact that I can pick it up and throw it in the washing machine.

But it just didn’t work.

The problem was the color…the rug is what I call a “cool” color and everything in my living room is “warm.”

I don’t have a problem mixing “cool” and “warm” decor….if it is done right.

But this just wasn’t right. All this rug did was make my couch look dingy and dirty…and it is not either.

Sooooooo…..what to do, what to do?

First, I do what I always do…I let it be for awhile. I live with it.

A few weeks later…I still dislike it immensely.

I couldn’t send it back because I had “let it be” for a few months and by then…well, life. Rolled it up, tore the bed apart and put it down in my bedroom.

I’m not swooning over it but I’m not growling at it every time I walk through the room… (yes, it looks lavender…but it is actually kind of a taupy/grey/blue kinda color…which makes it appear lavender)

So now I had to find a new living room rug…OH MY GOSH!!!! I can do a lot of things but choose a rug is not something I do well.

I went to 6 different stores…found a few I loved but not enough to justify the price. I know me…in a year I will tire of it and I will want something different. Rugs and pillows are something that is easy to change so I try to keep the cost on those in the reasonable range.

A $3000 rug in a house full of critters and traffic is probably not reasonable.

Finally settled on a new rug…

Meh…again, not swooning but …. (again, it APPEARS browninsh but it is more of a warm grey/copper/blueish color)

So, on to the new year.

So far I only have a few projects online.

A “mudroom” bench and storage for my daughter-in-law’s sister.

She found her inspiration…..

I took measurements, I drew up a plan, and made a material list.

We were going to start that project this week but we got 5” of snow Tuesday so that got pushed to next week.

Definite share when I get it done!

My neighbor wants to redo her pantry like I did mine (shared HERE). She has some family obligations for the next few weeks, so that is on hold.

We are only a few months away from potting, mulching and planting! But as I said, snow…and cold…sooooo….

So I am doing what I always do in January and February….I am hibernating.

I need these few weeks to decompress…and breath!


Christmas! It really is the most wonderful time of the year!

I almost didn’t do a Christmas post this year because I thought not much has changed.

But every year I add more and more to this house.

A few weeks ago I shared the new “black and white” tree in my office (I shared the accent wall and office makeover HERE)….

I love this tree and this year I wrapped all our Christmas eve gifts (shhhh…it’s pajamas) with white paper and black and gold ribbons to match the tree….LOVE!

Next year this tree will play an important role because we added a VERY special element to our Christmas decor.

In the 40s, Brian’s grandad (his Papa) gave his dad a used cast iron train set for Christmas. Brian remembers it going around his Papa and Grammy’s Christmas tree every year.

This year Brian got it from his dad. It is magnificent!

This year we are displaying it above the dining room with some miniature Christmas knick knacks and little fairy lights.

We can’t put it around the main tree in our living room because of all the gifts but next year we will put it around the tree in the office.

Why….because next year we will have a 10 month old grandson who will absolutely love it…it goes around the tracks and even blows steam!

When I began to look around I realized how much has indeed changed because of all the little projects I have completed this past year.

The dining room…I added wainscoting and the china display cabinet and that changed everything up a tad!

No major projects in the entry this year but I added a tartan holiday rug from Ruggable!

So far I really love this rug and am considering getting one for the living room!

The breakfast room…this year I added the board and batten and a new china hutch….

It didn’t change up things too terribly much…just added a few touches to the hutch, moved the tree that use to be in the corner onto the screened porch and replaced it with the tree that was in the office last year!

My master bedroom….

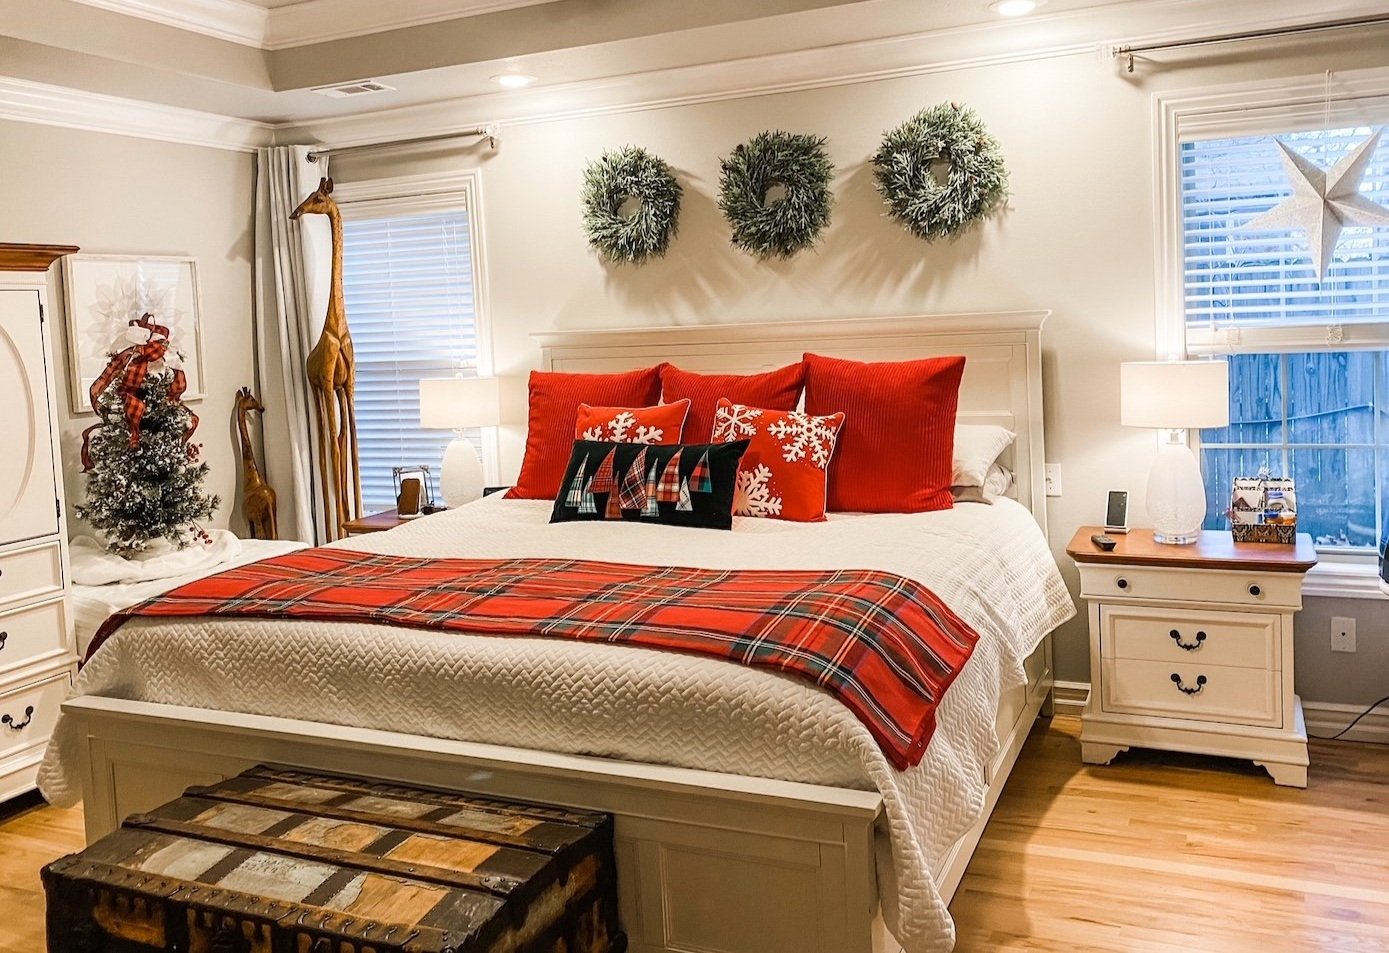
I’ve never decorated the master bedroom for the holidays but this year was kind of a fluke. I ordered a ton of stuff for the guest room earlier this year. My oldest son is currently staying with us while he gets his pilot license so there is really no reason to deck it for the holiday. So I decided to use all the holiday froo-froo for my bedroom.

I LOVE IT!!!

The green pillow with the Christmas trees is one I made with the scraps from THIS never ending quilt project. (To date I have made 8 quilts, two pillow covers and one throw pillow)

My friend brought me this amazing star from Germany…I can’t wait to add a light to it!

The little tree is the one I had in the guest room last year. Next year when the big dog kennel is finally gone I am going to put up a bigger tree. Similar to the one in the office…only red and white! (I am slowly working my way to my dream of having a Christmas tree in every room!!!)

Decorating this room was a no brainer since, like the guest bath and office, you see it from the entry….

Not sure why it took me three years to do it!

The living room…earlier this year I changed out the fireplace surround. It didn’t make a huge difference, but this year I decided to add garland to the fireplace mantels. I desperately wanted the soft touch Norfolk pine that is all the rage but by the time I knew I wanted it, it was all sold out.

I have to be careful about the height and placement of any mantel decor because of the televisions (one of the few “design concessions” I gave Brian) .So I settled for some pretty frosted berry picks…four laid out in a row. I added them to the living room and den fireplace mantels.

I left the mirror in the living room and I love how it reflects the tree!

Truthfully, I think I like the color and texture of the picks on the mantels better than I would plain green garland.

Great example of doing what you love rather than what Pinterest tells you to do!

So simple and so pretty.

Last year I shared how to make these little door signs…still think they are cute as a bugs ear! (the one on the left really is my wrapping room)

I did change all the other door wreaths. It really isn’t hard. Candle wreaths with a little ribbon…simple and inexpensive but very pretty throughout the house!

The kitchen…the only change in there this year was the pantry. Humungus difference for me for holiday baking but didn’t change the holiday decor!

I didn’t change much in the “Stewart plaid” all season room. I found this darling Stewart plaid top hat topper in a Christmas shop in Breckenridge and had to have it!

Little has changed outside…I did finish a TON of projects this year but nothing that really affects decorating for the holidays! (Check out the outdoor swing pergola I featured HERE)

I scattered a few things in my laundry room…nothing earth shattering.

So, while there doesn’t seem to be a lot of changes, additions and tweeks, there are.

I hope you and your family have a WONDERFUL holiday!!!!

A new black and white Christmas tree...

This is our third Christmas in this house and every year I add something new.

Last year it was the “Stewart decor”….love and can’t wait to deck this room this year!

Year before was my “funky bow” obsession…still love those as well.

In both these links you can see a lot of my Christmas decor. Over the past few years I have added simple pre-lit trees to several rooms…guest room. office, all season room, dining room…most already had some “froo-froo” (flocking, berries, pinecones) so I didn’t really decorate any other than the main tree in the living room.

But while cruising Instagram I saw something that stopped me in my tracks.

This tree….

LOVE! I just think it is soooo pretty!

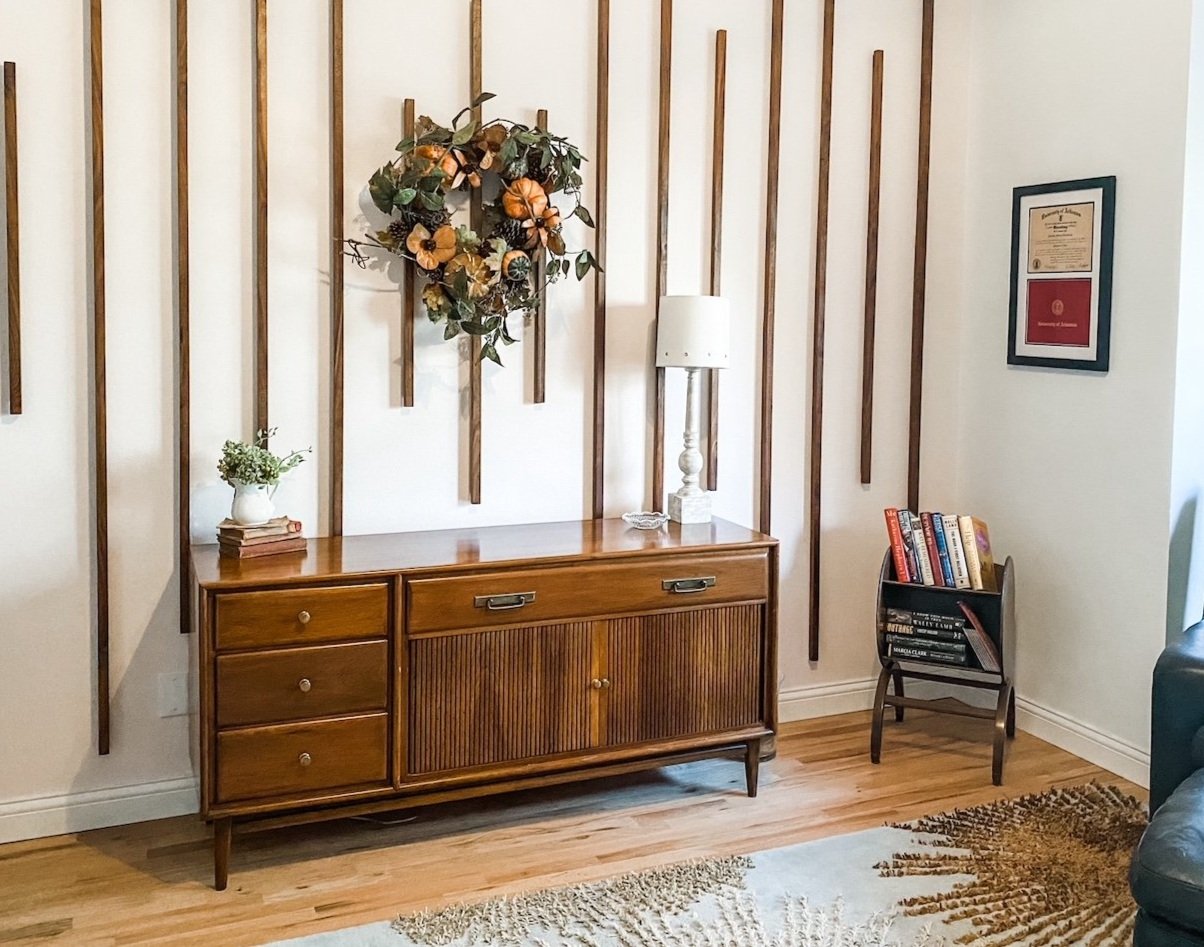
When I added the accent wall in my office earlier this year, a credenza is one element I wanted for this room. A few months ago I found the perfect credenza….a Heywood Wakefield Cliff House credenza in super awesome condition. Just happen to see it on an Instagram posting from one of my favorite vintage stores and was able to snatch it up over the phone. I can not tell you how much I love this piece….

So….when I saw the black and white Christmas tree I knew exactly where I could put it. In the corner next to the new credenza in my office where it can be seem from the living room and entry!

Last year I bought a little flocked tree for this room and set it on the side table in the front window. Pretty but just okay.

So I set out to recreate the black and white tree!

First thing I did was order a simple pre-lit flocked tree…bought THIS one and I really like it.

Then I took a picture of the inspiration tree to Hobby Lobby to find each little element.

One problem I ran into was finding the different ornaments…black and white polka dot and striped ornaments are not really the “in” thing.

What to do, what to do?

Time to break out the ole’ glue gun and get creative.

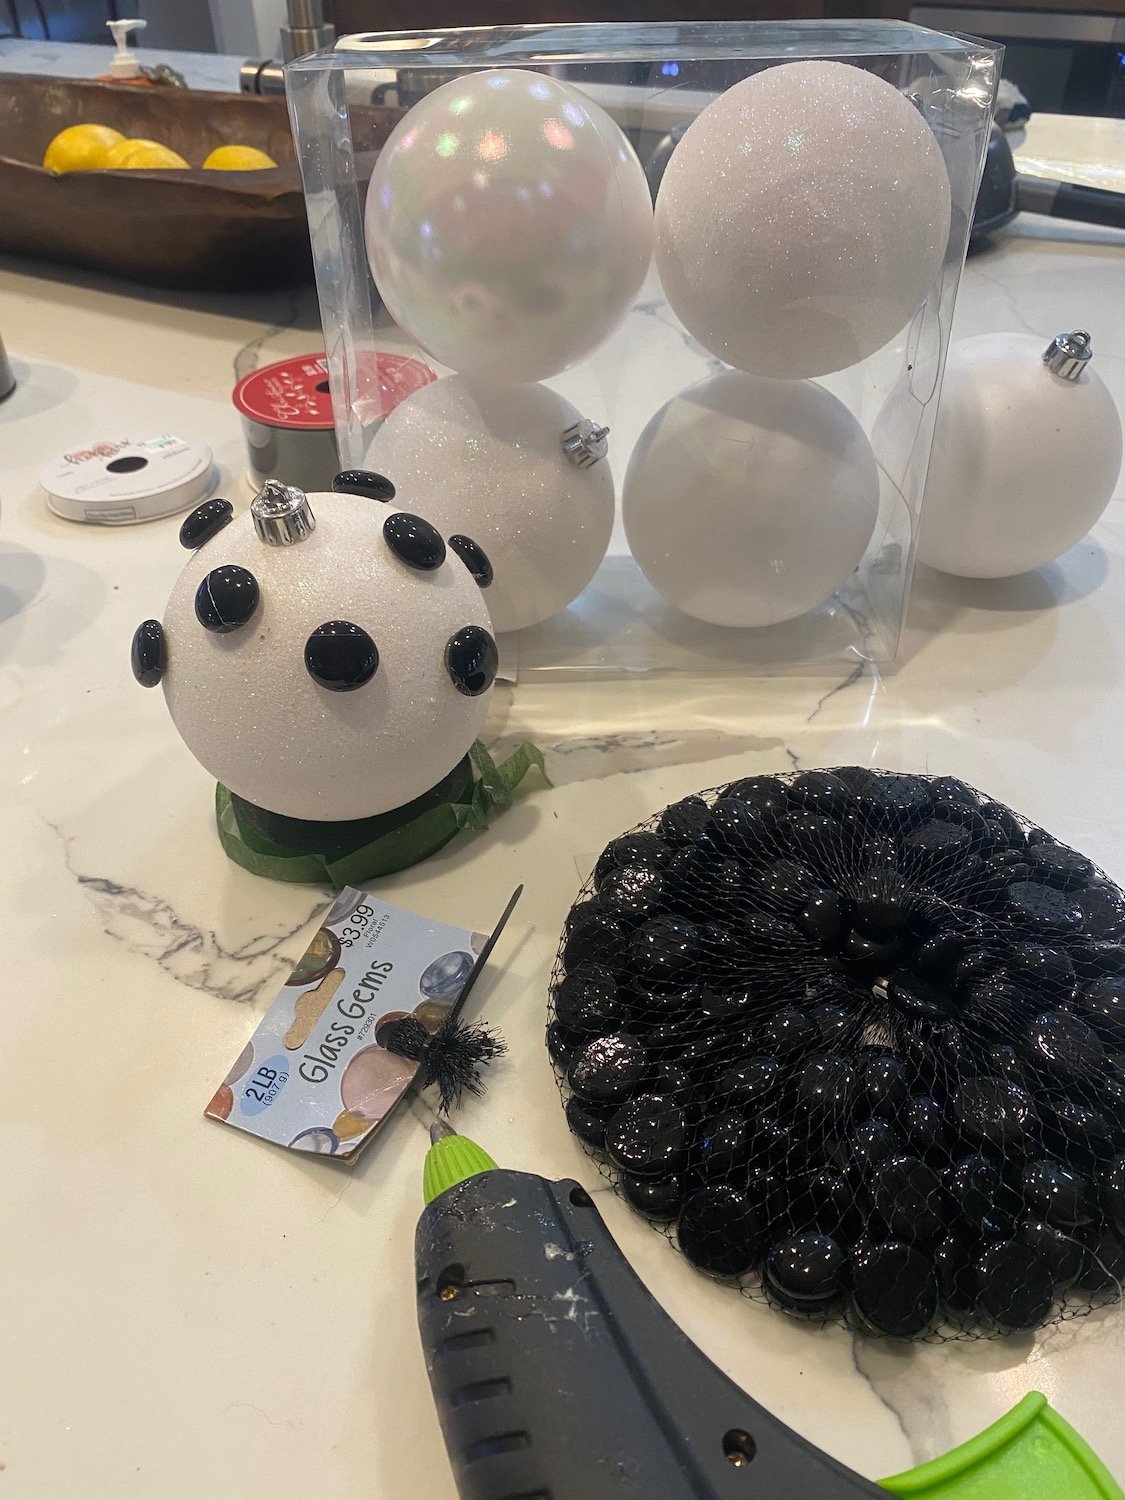
I bought some plain black and white ornaments and glued black glass beads and ribbon to the white ones and gold ribbon to the black ones.

I added pretty little bows to a few ornaments..

I was able to find a few “glitzy” ornaments that I dressed up with bows, a few velvet picks and even some simple white pinecone ornaments.

I made big bows out of gold and black holiday ribbon and glued inexpensive small black ornaments together to create little clusters.

Filled in here and there with inexpensive poinsettias.

The ornaments are certainly not “keepsake” ornaments like the main tree but simple and inexpensive and will be super easy to change if I decide to go with a different color scheme later down the road.

I wanted a tree that was simple but elegant.

I think I pulled it off!

I wish I had a link to the inspiration tree but it was on instagram and now I can’t find it. But there is tons of inspiration on Pinterest so look until something takes your breath away….then go out and create it!

YOU CAN DO IT!!!!