Piece by piece...

I had a friend on Facebook ask where she could find much of my decor because we share a style.

Funny…as I walk around this house I see so many pieces I have cobbled together over the years. Pieces I bought at auctions and refinished. Some at flea markets. Some I bought new and tired of over time so I gave them a little facelift. Pieces I inherited. ( I am actually kind of shocked at how many pieces there are and how little I paid for them originally!)

Every room in this house has pieces I have refinished, refurbished or rehabbed.

My bedroom….

Twenty years ago I bought an entire bedroom set…bed, dresser, highboy and two night stands. Paid a small fortune for the matchy-matchy set so I couldn’t bring myself to get rid of it. Over the years I finally gave up the bed and dresser and the highboy and nightstands have had little facelifts. The furniture and our master bedroom got a full makeover HERE.

Before….

After….

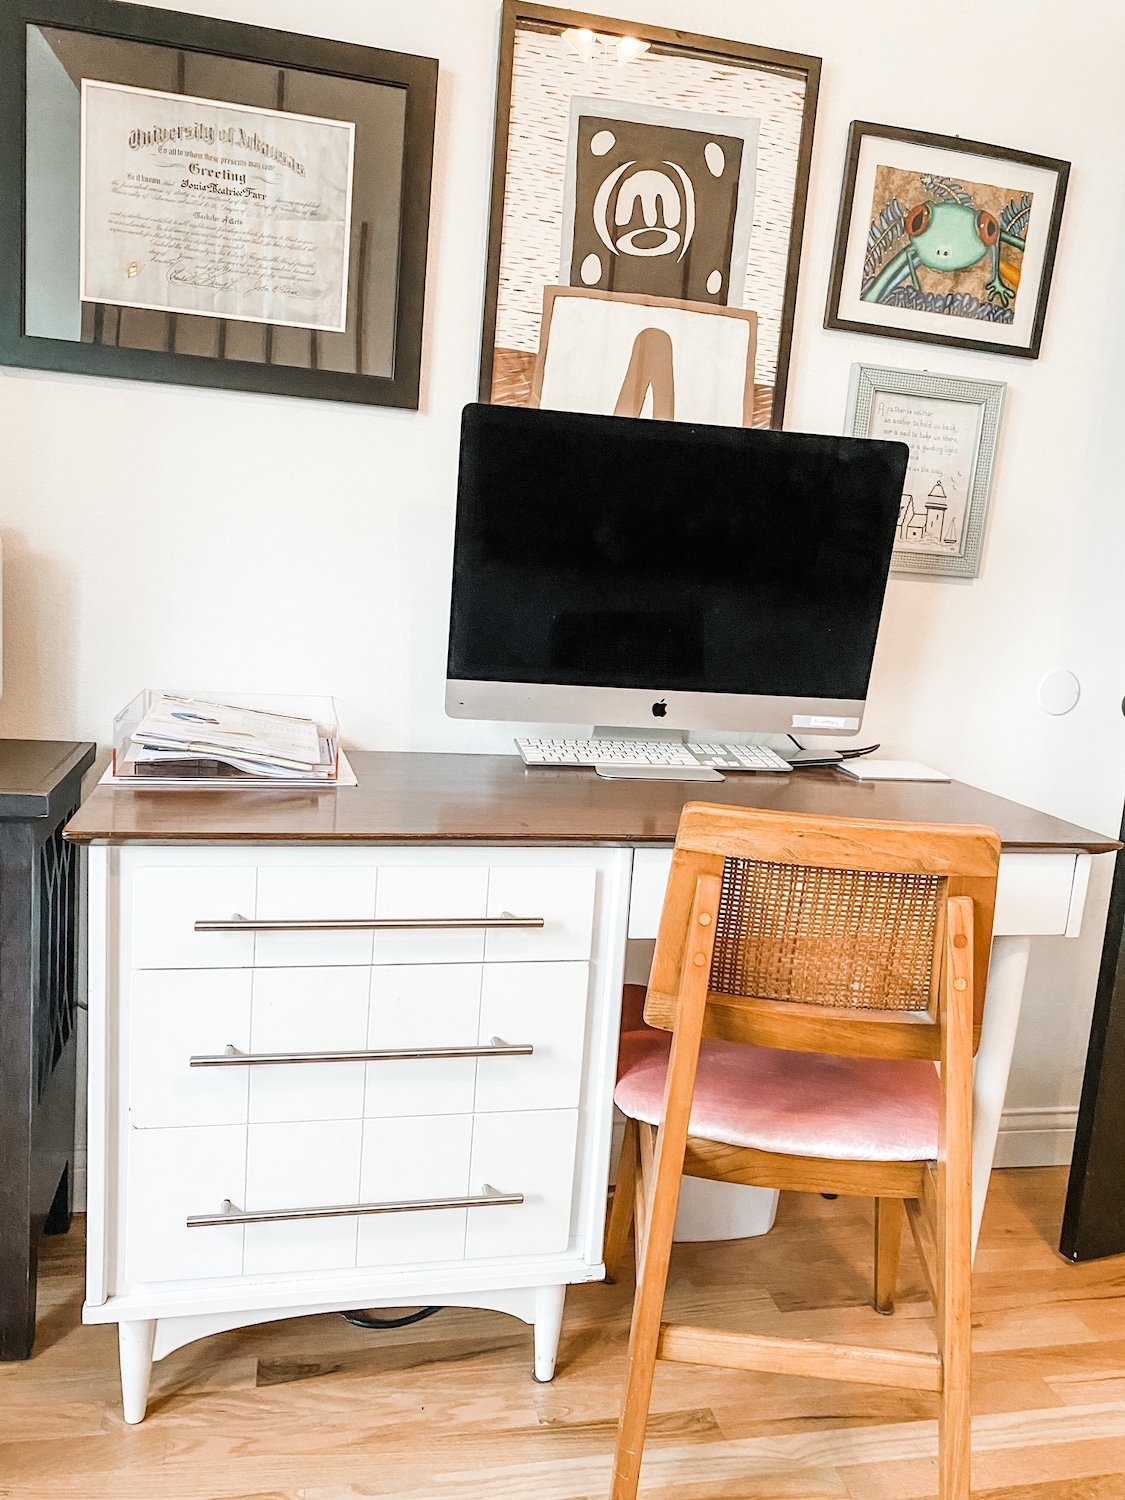
My office…

I bought this desk at a junk shop YEARS ago…I think I paid $25 for it.

Still love it although it could use a little refresh!

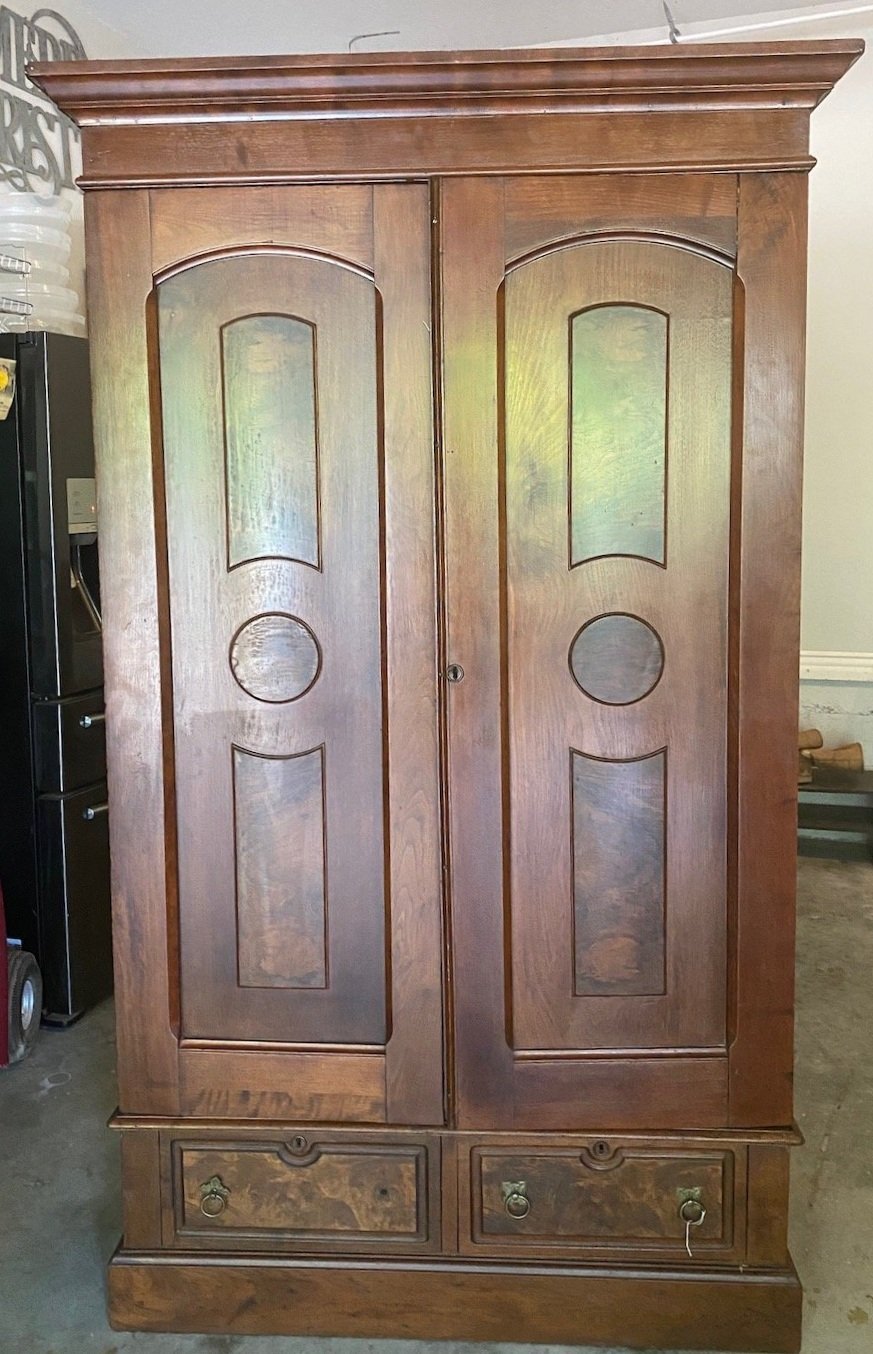
The china display cabinet in the dining room. This is a prime example of a piece that is not my professed style but I absolutely love it all the same…LOVE!

I had a vision in my mind’s eye of what I wanted and I knew this piece could be exactly what I wanted with a little time and effort….

It took a bit more time and effort than I anticipated but it really is one of my favorite pieces.

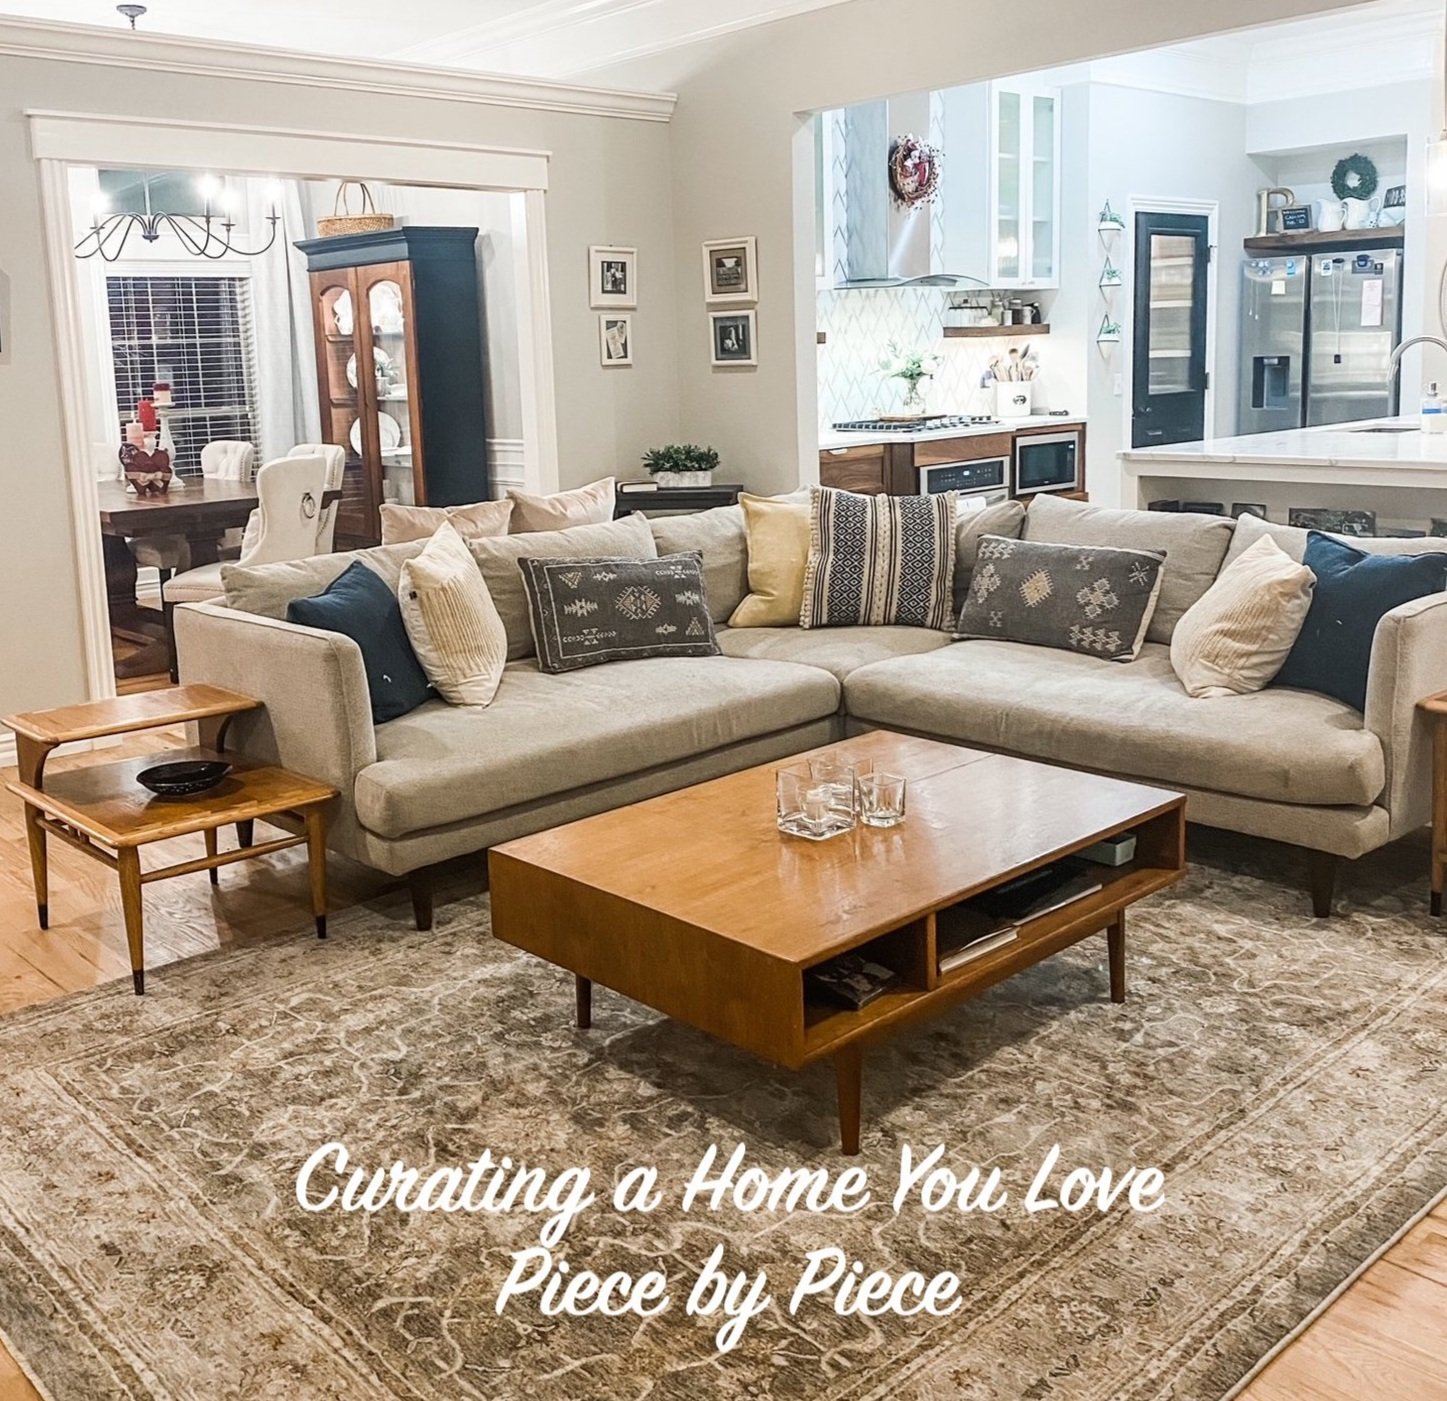
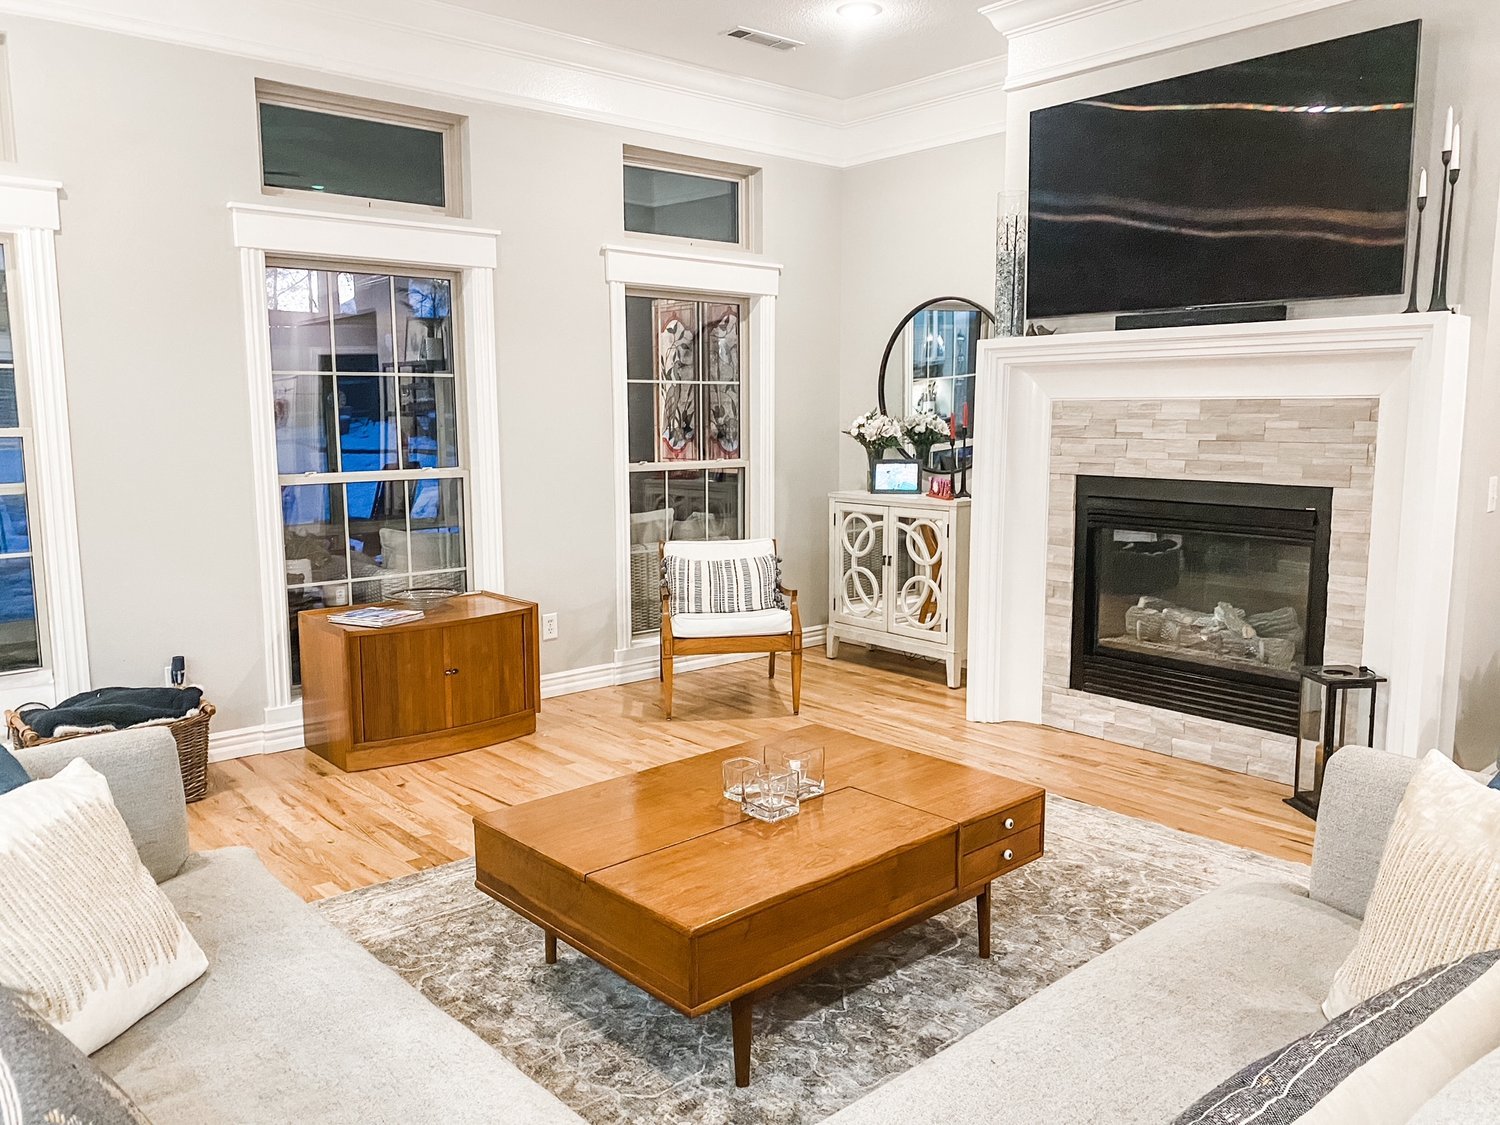
I have several pieces in the living room I have rehabbed over the years.

This AMAZING coffee table I picked up at an auction for $22!

I sometimes wish I had a round coffee table but I love this piece so much I just can’t bring myself to part with it!

Several Lane Acclaim tables I have picked up here and there and refinished.

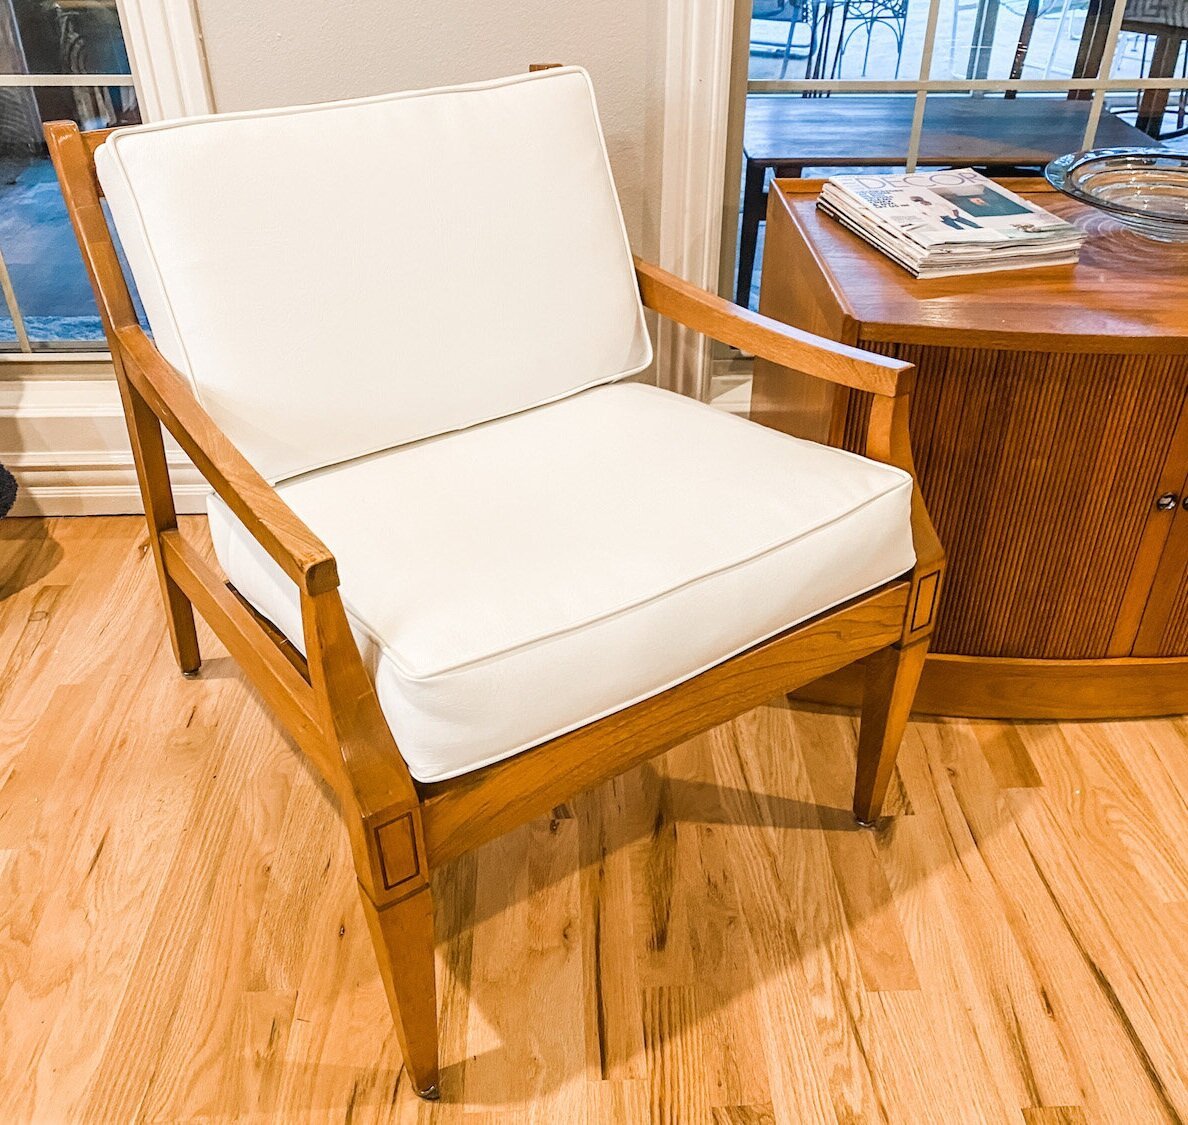
My grandmother’s little mid century chair has had two little makeovers. The teal chair is one I bought off Marketplace years ago and reupholstered….

My breakfast nook has several pieces as well.

The table….

The little china cabinet was a fun and relatively easy project….

They seem to work well together after their little facelifts….

There are so many more pieces I have curated and rehabbed over the years. Side tables, benches, chairs, dressers…every room has pieces I have refinished, painted or reupholstered.

It took years for me to collect all these pieces, bring them back to life and create a home I love with pieces that have purpose and meaning.

Most of the links are to the original rehabs where I share what I did…unfortunately I am NOT a good teacher so often I direct you to search the internet for good tutorials on how to repair, refinish and paint pieces. Find a tutorial that makes sense to you and begin curating your home one piece at a time.

It doesn’t happen over night! And it seems to be never ending…

Another Drexel Accolade addition to the family....

It has actually been in the garage for months...but when I needed a large piece in my space at 410 Vintage Market and dug it out,I couldn't bring myself to turn loose.

A Drexel Accolade dry bar/server. The top actually flips open.

It isn't the first piece I bought for resale that wormed it's way into my heart...no secret that I love mid century pieces.

But this Drexel Accolade bar is more of the "Hollywood Regency" style. Identical to this little Drexel side table I painted with a high gloss lacquer and love in my den....

There is a good chance I will paint it if I decide to keep it...for now I have shined up the brass hardware and will leave it at that.

Over the years I have snagged some amazing bargains at auctions and on Craigslist...a little DIY magic and they are stunning additions to any home!

This Drexel coffee table....

My growing collection of mid century dressers...

This one is Matt's...I just don't have any more room!

My never ending collection of side tables!

I started collecting Lane Acclaim tables years ago...I think between the kids and I we are up to 10! That doesn't include the 2 walnut Lane coffee tables and the end table I just refinished for Katie and Matt!

Chairs...

Odd little bookcases are always fun!

If you walked through my home you might think I lean more towards the "traditional" side of home decor at a glance...but all these pieces have blended in to created a cohesive "eclectic" style. This "style" of home decor allows me to infuse pieces I love without worrying too much about whether I am breaking a "decorating rule" for a specific style!

So...back to the amazing Drexel Accolade console/bar...

In my opinion, there is too much "wood tone" in this space...I absolutely love the wood grain on this piece but there has to be a good balance...it just doesn't feel "balanced."

So there is a good chance that IF it stays, it will get painted. Again, that is a big "if." I think I have had no less than 5 different buffets and hutches in this space at one time or another and I always end up moving them out and moving the table back against the wall...as I mentioned before my toes tend to find anything out of place, and since the dining table has been against the wall for the better part of 19 years, it may not work well in the middle of the dining room where it REALLY belongs!

We'll see...that is one of the beauties of learning to DIY furniture...you can buy it cheap, paint, upholstery or refinish it and promptly move it out if it doesn't suit your needs. Without the guilt of having to live with something you hate because you paid a fortune for!!!!

OR it can find a permanent home where it can shine for another lifetime!

Simple makeovers for the worst offenders...the KSTP treatment!

There is NO excuse for ugly furniture. With warmer weather just around the corner, it is time to start looking at your furniture with a critical eye and making a list of pieces that CAN be changed with just a little bit of work!

We all have it...those "cheapo" pieces of furniture that are, at the very least, offensive! Maybe they were given to you, maybe you bought them at a "discount" store...maybe you bought it at the thrift store to fill space in a room.

Pressed board construction, laminate tops, dated finishes, pieces you put together with a little allen wrench thingy that came with the worthless little "screws" that promptly strip out and leave the piece wobbly and worthless!

It's ugly and cheap, but seriously who has the money to buy "real wood" furniture when you are struggling from pay check to pay check and having to buy shoes for a kid whose feet seem to grow a size every month.

I get it...I've been there. Fortunately I have learned to shop resale and auctions for "quality" pieces...and even if they need a little TLC, I have the tools, knowledge and time. But not everyone has that...or the money to buy and refinish high quality pieces.

That is why I advocate the KSTP treatment. Let me explain....

First, before you even get to the KSTP treatment, ALWAYS give the piece a good cleaning. On the nastiest, I use ammonia water but some can just be wiped down with a little water and mild detergent. Whatever you need to do to get the gunk off the piece! If it is "stuck" on just scrape it off with a razor! No matter if you scratch the finish...you are going to paint it!

Second, make any and all repairs that need to be made...and if you don't know how to repair it properly, google it! 

Okay, now the KSTP treatment....

K- Kilz (my favorite primer but any QUALITY PRIMER will do! That is why this is the KSTP treatment and not the PSTP treatment!)

For smaller pieces I use a spray can only because it is easy and gives me a nice smooth finish. On larger pieces I use a brush and 4" foam roller! TIP! Always shake the can longer than the directions recommend. Kilz will spray on with a "grainy texture" if you don't shake the can well! No biggy since you are going to sand anyway, but just makes it a little easier! Also, pay attention to the temperature recommendations...it matters!

Many paints SAY they are a "primer and paint in one." Sorry, I am old school....I ALWAYS prime and I personally recommend it. If you want a superior finish that will hold up to use and abuse, prime! 

S-Sand. A 220 grit paper will usually smooth out the piece after it is primed. I wrap a piece around a sanding sponge block!

If you have "ornate" legs or detailing, use 000-0000 steel wool.

USE YOUR HANDS, not your eyes. Feel the piece.

Trust me, if it isn't smooth, it WILL show after you paint it! Sand it until it is smooth to the touch! If you cleaned the piece well, scraped off all the gunk, this step really should only take a few minutes.

T- Tack cloth. A MUST after you sand but before you paint (or apply any finish). Blow or brush off as much as you can, then use a tack cloth!

You can purchase it at your favorite home improvement store...usually in packages of 2 and relatively inexpensive (around $2)! You can wipe a piece down all day with a clean cloth, but you WILL leave "stuff" on the piece if you don't tack cloth it. Tack cloth will remove EVERYTHING. If you still feel "stuff," hit it with the sand paper again and then tack cloth again! 

P-Paint. This is where people usually freak out. My favorite for wood or laminate furniture is oil-based but it can be a tricky paint to work with for a novice and difficult to clean up. Fortunately latex paints have come a long way and are much more durable these days! QUALITY spray paint is probably your best bet for smaller pieces. I say quality because you can buy spray paint a tad cheaper at discount stores, but I am not a huge fan of cheap paint for ANY project! I usually buy Valspar or Rust-oleum from Lowe's.

On smaller pieces of furniture the difference will only be a few dollars but will be worth it in the long run. 

Each of the brands come in LOTS of great colors...just find the color you love! I have found very little difference between the two brands...the Valspar tends to dry a tad quicker....but both are quality paints! ALWAYS shake the cans well and follow the directions on the can!!! 

I have followed every tip in the book to get rid of the occasional "striping" on large, flat surfaces...like dresser tops or table tops. It doesn't seem to matter how I spray, what the temperature is or how hard the wind is blowing...sometimes I get stripes.

My solution has been to purchase the little "sample pots" of paint custom mixed to match the spray paint I am using and roll it on the large flat surfaces with a 4" foam roller! 

Penetrol and Floetrol are a MUST any time you roll or brush on paint...oil or latex!

Use it. It will eliminate the brush and roller marks and give you a MUCH smoother finish! 

These are just a VERY few projects using the KSTP treatment (I have done hundreds!)....world of difference for a little bit of work! I am working on a piece right now that is in the S stage...primed and sanded but now I need to figure out what color I want to paint it...soon!


Even light fixtures and paddle fans can be spray painted!!! On metal pieces and furniture hardware, I use metal primer primarily for the "rust retardant" factor!

One last important TIP when using ANY technique to paint anything....ALWAYS give the piece time to cure before you put it to work! 

I was always skeptical of those "two day" makeovers they did on tv where they would paint something and then "stage" the pieces with all kinds of stuff within hours of putting a final coat on. (Kind of like getting your nails painted at the salon...even though you dry them for 10 minutes, you are still going to ding them if you dig in your purse for your keys! Unless you get gel polish...awesome stuff!) Trust me, that is the fasted way to ruin a finish! Don't do it...be patient and give the paint time to harden (cure) before you set a lamp on it or try to hang the fixture (trust me...I have had to repaint many pieces because of impatience!) 

One dated, nasty, cheapo piece of furniture can ruin an entire room. Toss it or paint it! YOU CAN DO IT!

*I have not been compensated for pimping these products! These are the products I use and work for me!!!*

Simple bench or stool makeovers...

At least once a month I run across pathetic little benches or stools at the auctions or in thrift stores. I have featured a few in the past....

...this cute little piano bench here....

A bench I made for my daughter out of an old coffee table here....

My dad's old tool bench....

I use it as a little side table next to the chair in the den! This is one of those things that serves a purpose and has tremendous "sentimental" value as well! 

And at least a dozen or more I failed to take either before or after pictures of over the years! I'm a baaaad blogger!

Trust me....they are super simple to makeover with a little paint and fabric and always turn out precious! 

Recently I did a little footstool and bench and actually remembered to take a before AND after picture!

This little foot stool was pretty pathetic in it's original state....

I stripped the fabric (and removed at least 2,483 staples), chalk painted the base, distressed a bit and sealed with poly (gives lighter paint an "aged" look), added a little bit of foam to "fluff" it, new fabric and new "gimp" trim.

Cute as a bugs ear!

I found this old icky coffee table at the apartments. Like the old coffee table I turned into a houndstooth bench for my daughter, it was pretty worthless for it's intended use...a coffee table. 

I removed the top (super simple...a few screws), added foam padding and batting and covered it with fabric and gave the base a little KSTP treatment.  Reattached the top to the base with screws. Super simple! 

Both are now in my new flea market booth at 410 Vintage in Fayetteville! Awesome place so make sure to drop in sometime and check out all the AMAZING treasures! 

Next time you see a ratty old foot stool or a dated old coffee table, see it for its potential! They are super simple to make-over and are perfect for additional seating or a place to throw your clothes at the end of the day...and of course, they are the perfect little touch to add character to your home!