Where in the world have I been?
I can’t even believe I have not posted since February. Seems like so much has been going on…baby showers, trips, projects…so much!
When last I posted THREE MONTHS AGO I was working on this project…hiding the wart!
I started out by building a “screen” around the “wart.” My original plan was to lay the flagstone first, then build the screen. Honestly, building the screen first worked out much better!

I decided to go with the “louver” look (see HERE for a link to a really good tutorial) so I built two inserts to go between the post I set. They have to be removable so we can service the generator once a year. Built the inserts then attached them to the post with carriage bolts. Threw down a few inches of sand and thats where I left off for a few months….

I needed to give the sand a little time to “level” and pack down…and I also had to get ready for a very special day for my very special son and daughter-in-law! Their baby shower….


Again I was honored to make their cake and desserts…so much fun.
Then it was off for our spring vacation. Brian had to attend a conference in Vegas so I flew to Vegas the last day of his conference, we rented a car and toured the five national parks and one state park in souther Utah. Again, I am not a travel blogger….but if you have never seen these AMAZING National Parks…just go! They will take your breath away!


I can assure you that no photo I took…or have ever seen…does them justice.
Then home for a ton of projects.
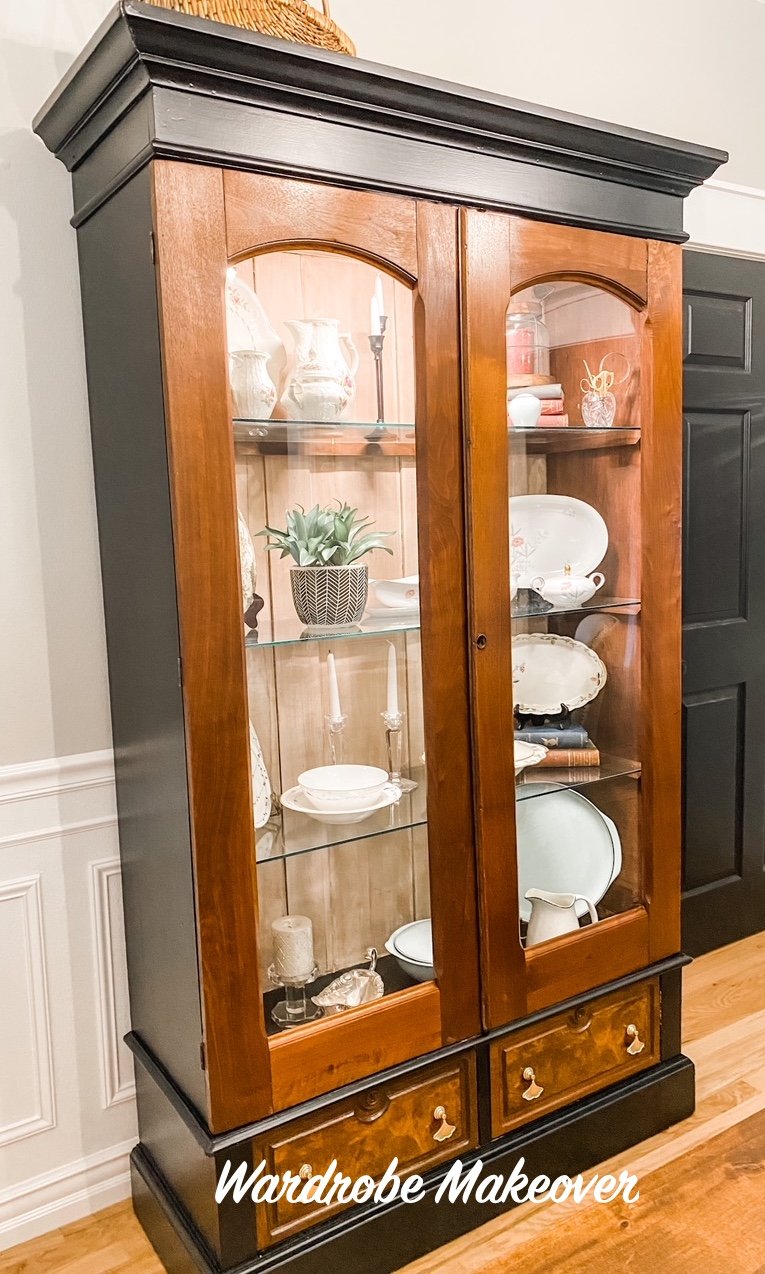
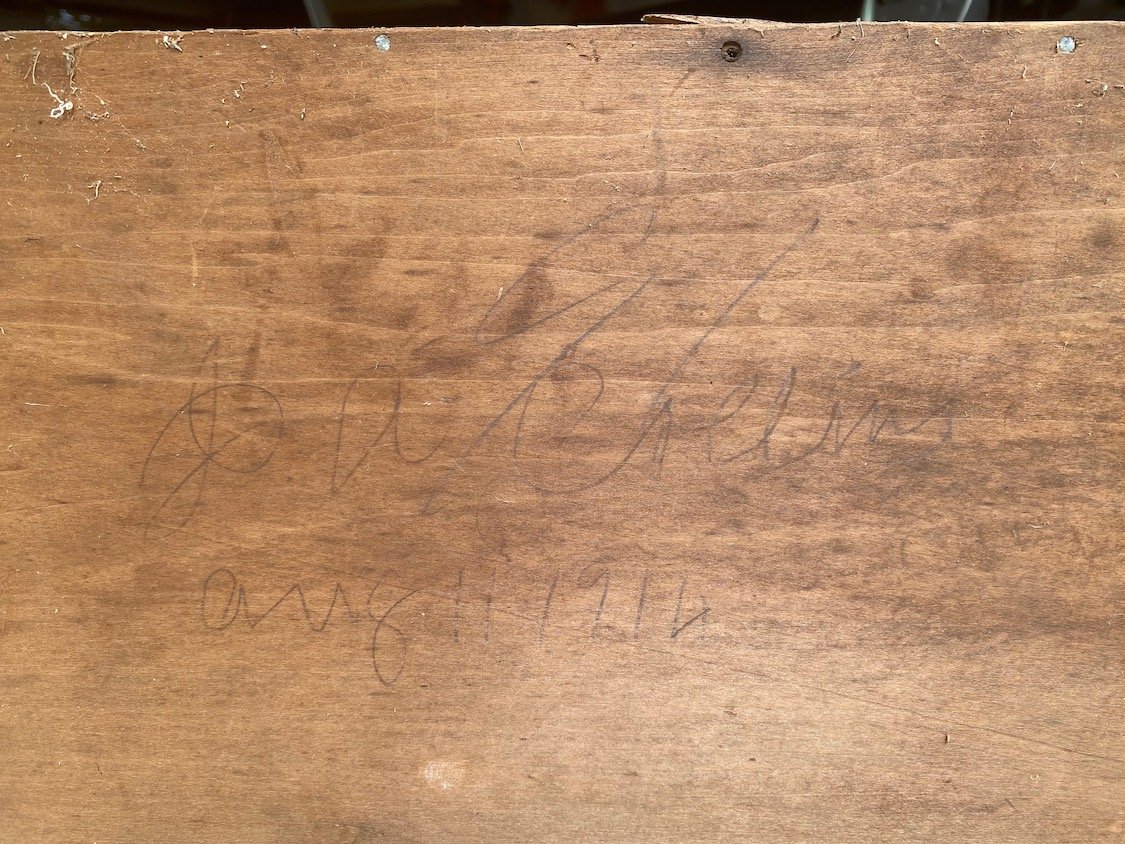
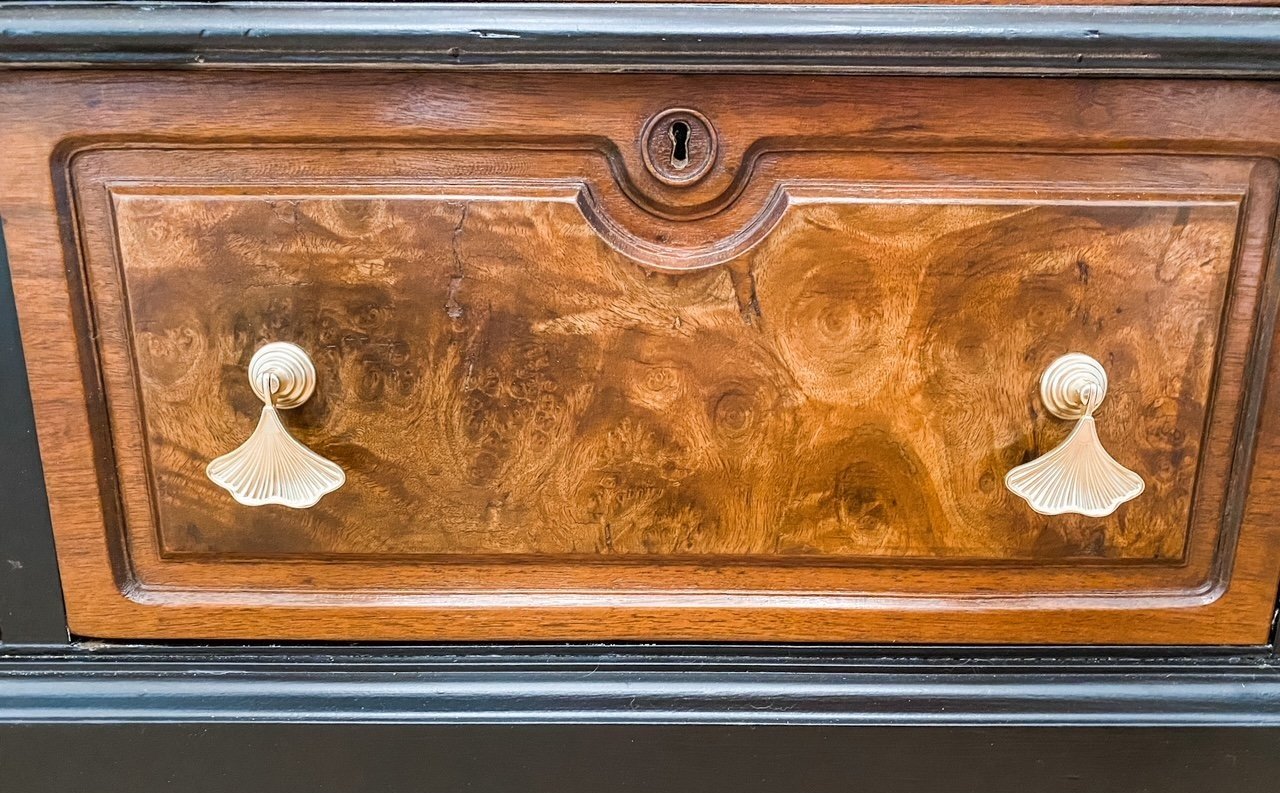
Refinishing an antique dresser for the nursery….

I used THIS process and I promise it is hands down the best process for refinishing any piece of furniture…regardless of the existing finish!
I built new shelving in my workshop…..

Not as fancy as some I have seen on the webisphere but functional for my purposes!
I finally laid flagstone around the wart screen and now I am waiting a few months to stain the screen black to match the pergola swing….

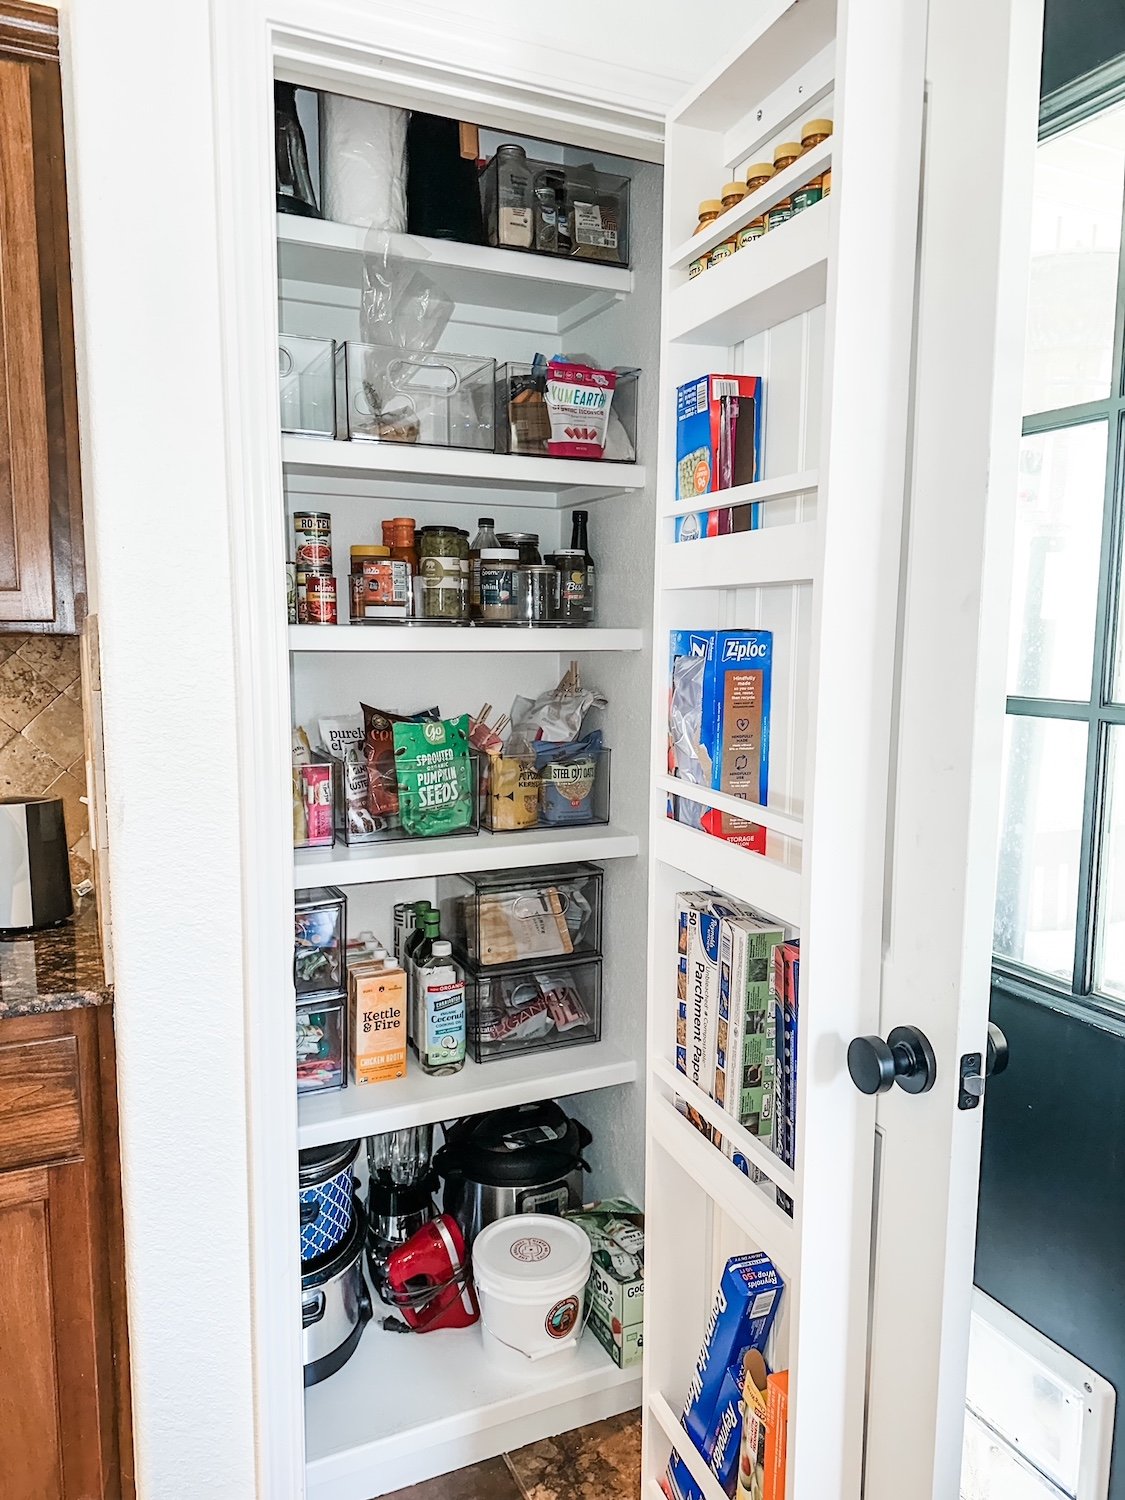
New drawers for under the bar storage cabinets. …


I have no idea why I didn’t have my cabinet guy do this when he built these cabinets. I store all my seasonal dishes and service ware under here and it really was a pain to have to shuffle things around to get to the stuff in the back. LOVE!!!!
Now that the weather is warming, I have been planting…nothing new except I decided the flower bed I added last year wasn’t big enough…so I am making it bigger!


I have moved the edging out, weedeated all the existing grass down to the nub, sprayed it with Round Up and next week I will fill it with compost and mulch. I already have a few plants in mind for this space but honestly I need some space to split hostas again next year!
While I wait for grass to die, this is the next project I am contemplating..

A screen around these gawd awful utility things. They have bugged me since day one and with the addition of the “wart controls” to the right, it has gotten worse.
My “plan” is to build a box kinda thing around them and face it out with hinged doors so that it can all be accessed if needed. I want to build it out of treated wood then stain it black to match the swing and the wart screen.
That’s the plan…we will see.
As you can see, it is never ending! Unfortunately, as I have said many times, I am a baaaad blogger. I rarely think of what I do as being “content worthy.” But hopefully the changes I make will inspire you to roll up your sleeves and make changes to your home.
I don’t do good tutorials but there are TONS out there on the blogesphere…anything you want to learn to do can be found on the web!
As I have said before…my daddy didn’t teach me how to build a wart screen, or build cabinet drawers, or bake a cake….what he taught me is how to figure out how to do something I want done.
Will you make mistakes….ABSOLUTELY! I still do and I have been doing this stuff for a lifetime!
So…GO FOR IT!!!
Because until you are willing to roll up your sleeves and dive into whatever you think you want to try or change in your life, you will never be able to ….