china hutch makeover...
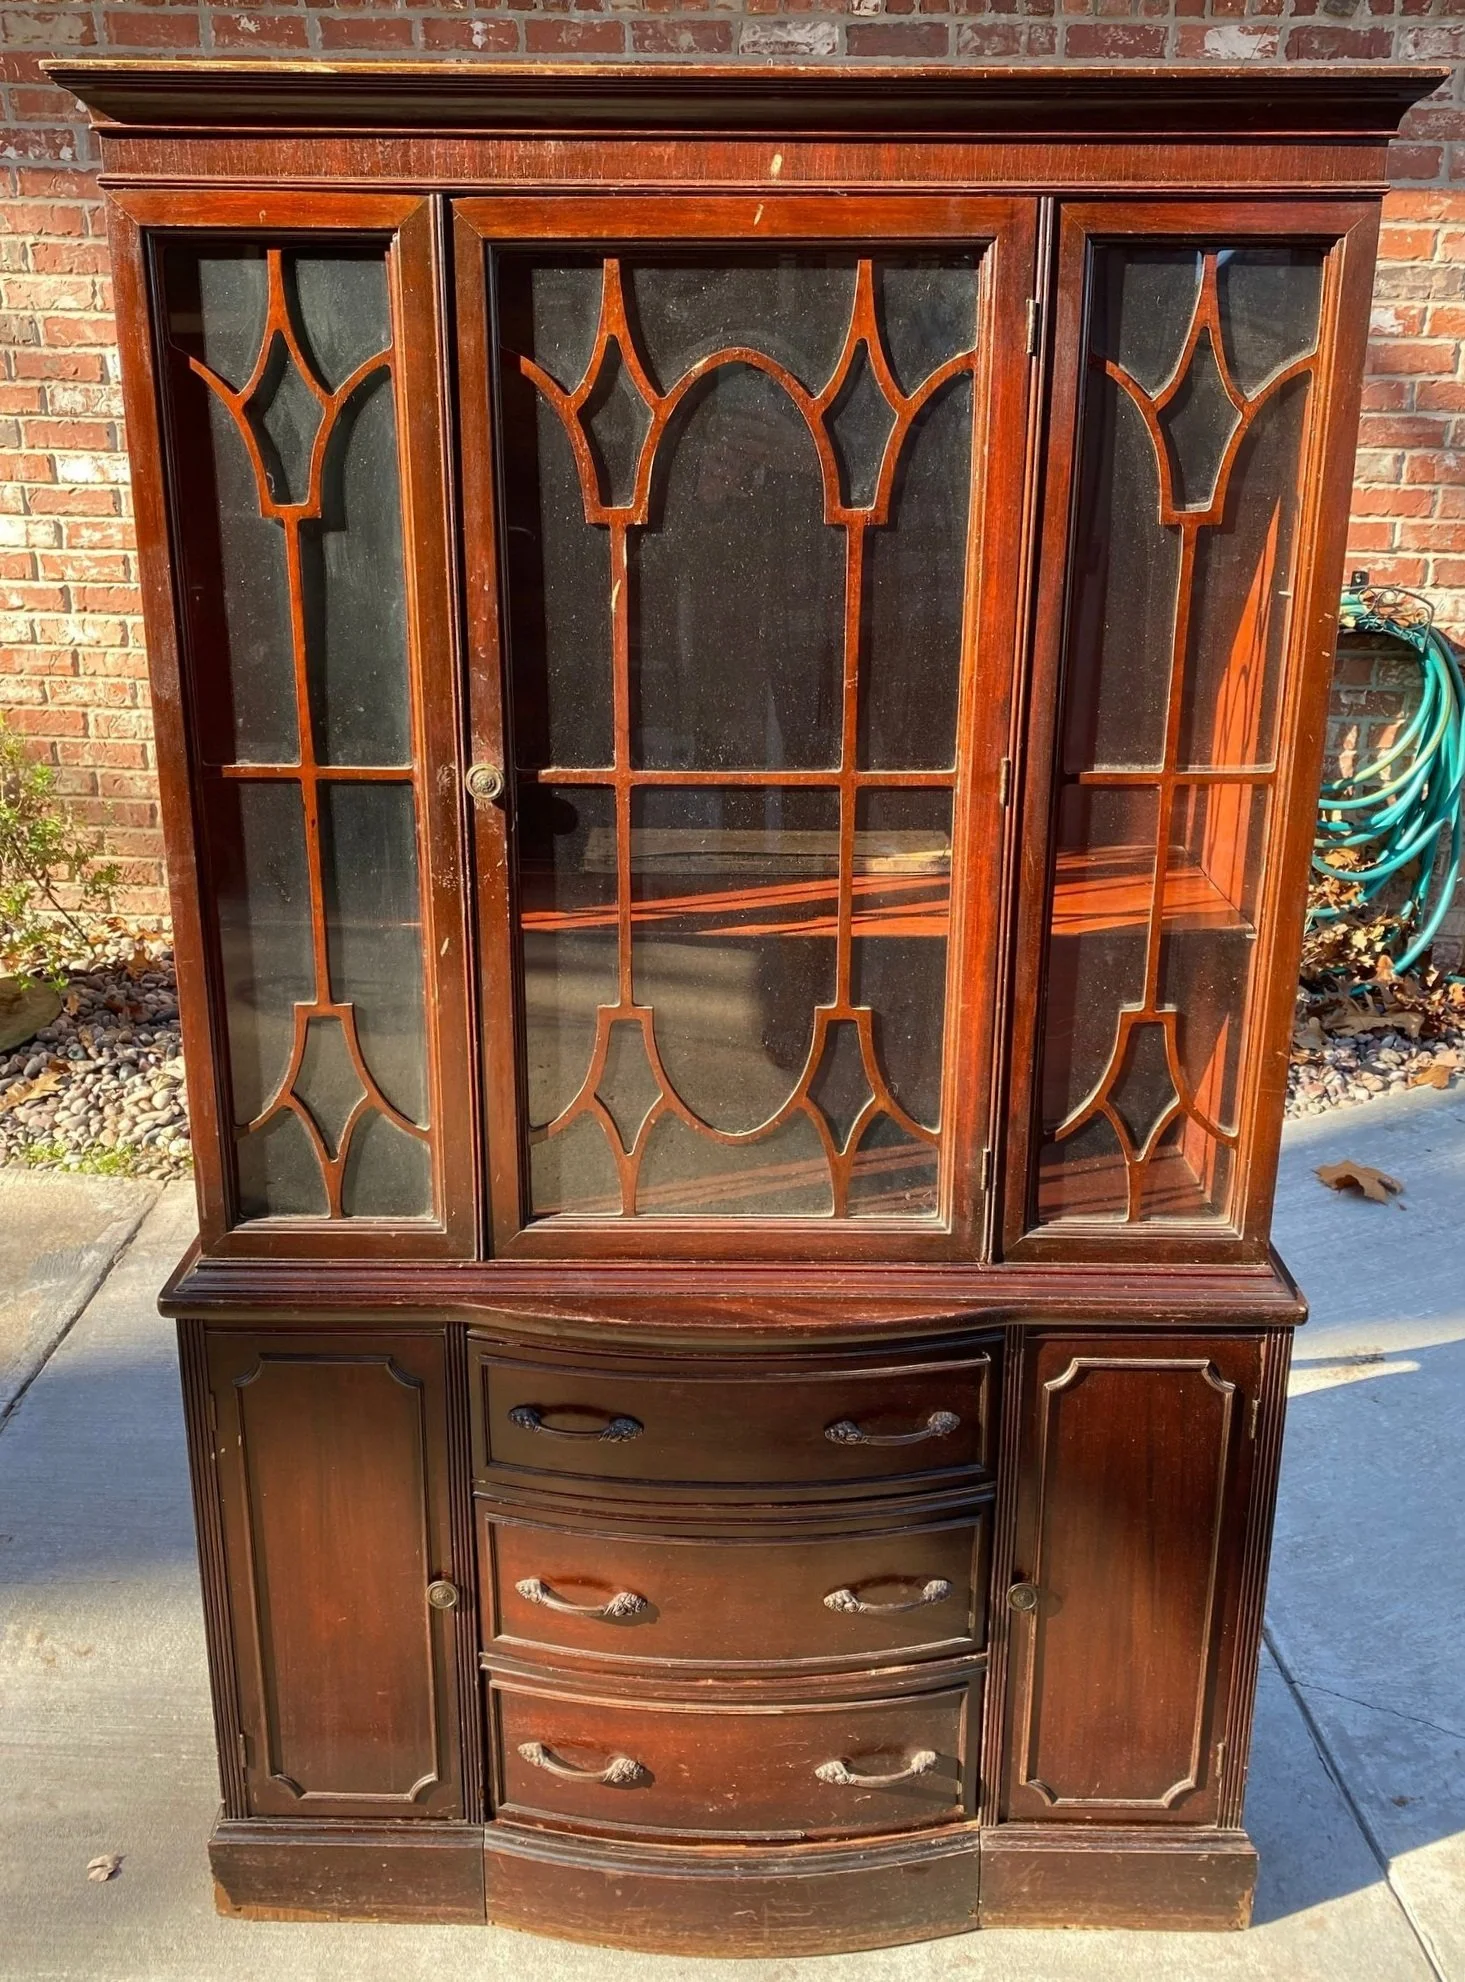
I originally bought this piece to makeover and sell…
When I gave my breakfast room a little makeover (featured HERE last week) I decided I kind of like the look and it gives me a place to display my heirloom china….


I didn’t take pictures while I was giving it a makeover because, well, I just didn’t….
But the process was pretty straight-forward.
I removed all the hardware. The drawer hardware was not the original so I ordered hardware that would have come with the piece originally. Fortunately the door hardware was still there so I just cleaned it up a bit with Brasso and SOS pads to highlight the engravings.
Before you go scrubbing on hardware with Brasso and SOS pads, make sure it is real brass. A magnet will NOT stick to real brass…if one doesn’t, scrub away.
I removed the shelving. I also removed the glass and decorative glass inserts. Not difficult because it was just held in place by some strips of tiny molding and nails…I just popped those right out and set them aside to paint and reuse.
The shelving was pretty warped and I tried my trick of laying them on the floor and placing weights on them…no go. So I ordered glass shelves to replace them. Honestly, I like the glass better.
The glass shelves where a lot heavier than the wood shelves. Originally the piece just had two little supports on each side for the wood shelving (no supports along the back for the span which might explain why the shelves bowed.) I didn’t feel comfortable with that so I added 1x3 support boards along the back, securing them with glue and staples. Now I feel confident that the shelving is properly supported and can handle the weight of dishes. (If you have ever had a glass shelf come crashing down on your china you would understand my concerns. Yeah, it happened!)
There were a few other minor repairs that had to be made…since I was painting the piece, I did them before primer and paint.
Remember, if you are staining, stain first then repair. If you are painting, repair first then paint.
I cleaned the piece well then I caulked all the “joints.” Remember if you are painting a stained piece you have to caulk all the places where wood meets wood…and you may even have to putty nail holes. If you miss anything it will show up when you prime the piece…just caulk and putty and spritz it with a little primer.
I sprayed the entire cabinet with Bullseye primer. Primer is MUST on mahogany pieces because it will bleed through the paint! If you paint a piece and see “red” or “shadows,” that is the mahogany bleeding through…or water stains, oils, etc…more layers of paint WILL NOT cover it. Prime it then repaint it. Or save yourself the grief and prime everything before you paint. Mahogany is not the only thing that will bleed through paint. Nail holes and “gaps” will show up and you will be able to fix them before you apply your paint.
Also, you will get a much prettier and durable finish.
I know some paints (like this one) profess to be paint and primer in one. Maybe so but I always prime with a primer. Usually Kilz or Bullseye.
I sanded it smooth then wiped it down well with tack cloth.
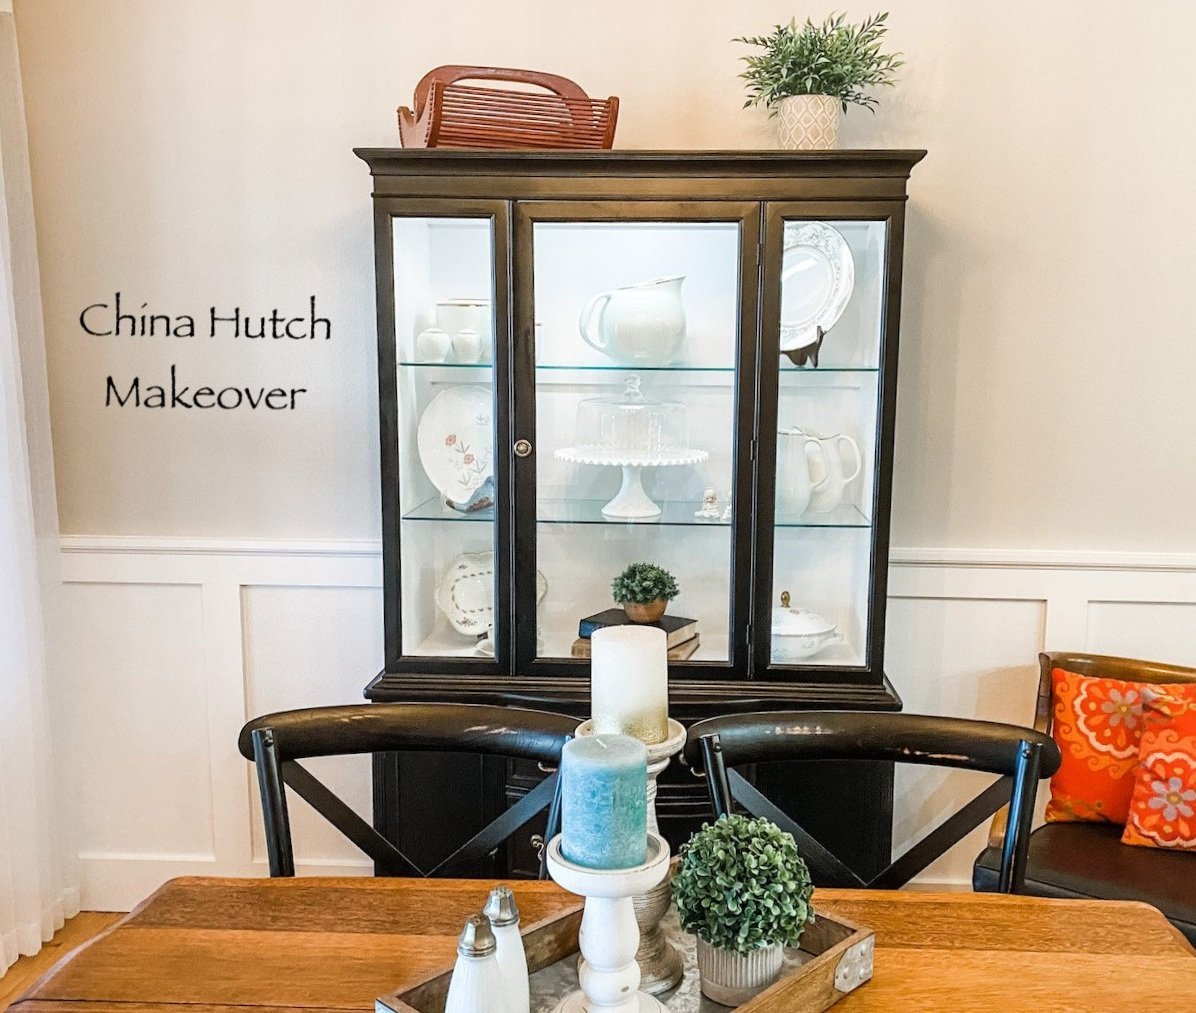
I decided to paint the inside white and the exterior black. I painted the inside with some satin white latex I had on hand, let it dry and cure then taped it all off to spray paint the exterior.
I painted the interior a satin finish but I wanted a flat black for the exterior. I went with Rust-Oleum Matte Farmhouse black.
After the black had cured (I usually give it a few days) I replaced the hardware, reinstalled the door glass (without the decorative doo-dads) using the small trim and silicone and moved it into the house. I gave it another few days to cure before adding the glass shelving.
I did not paint the inside of the drawers or the inside of the lower cabinets. I rarely do unless the piece has an odor or stains I can’t get rid of by cleaning. If you have a piece that has odors or stains sometimes your only recourse is to prime and paint!
I added a LED light to give the display a little glow! That entailed drilling a small hole in the top for the cord and mounting an LED light strip in the top of the cabinet….simple simon!
Lovely.
This is where I remind you that “cure time” is super important when working with painted wood. I always get annoyed when I watch those shows on HGTV and they paint and stage furniture the same day. DO NOT DO THAT!!!! Be patient…give paint time to cure. If you don’t you will scuff and scar your new paint job and will be seriously disappointed.
If you look back at this blog you will see I use to do this kind of thing all the time…I loved it.
I don’t do it much anymore and I forgot how much I love taking an old abused and neglected piece and turning it into something beautiful and useful again!!!

