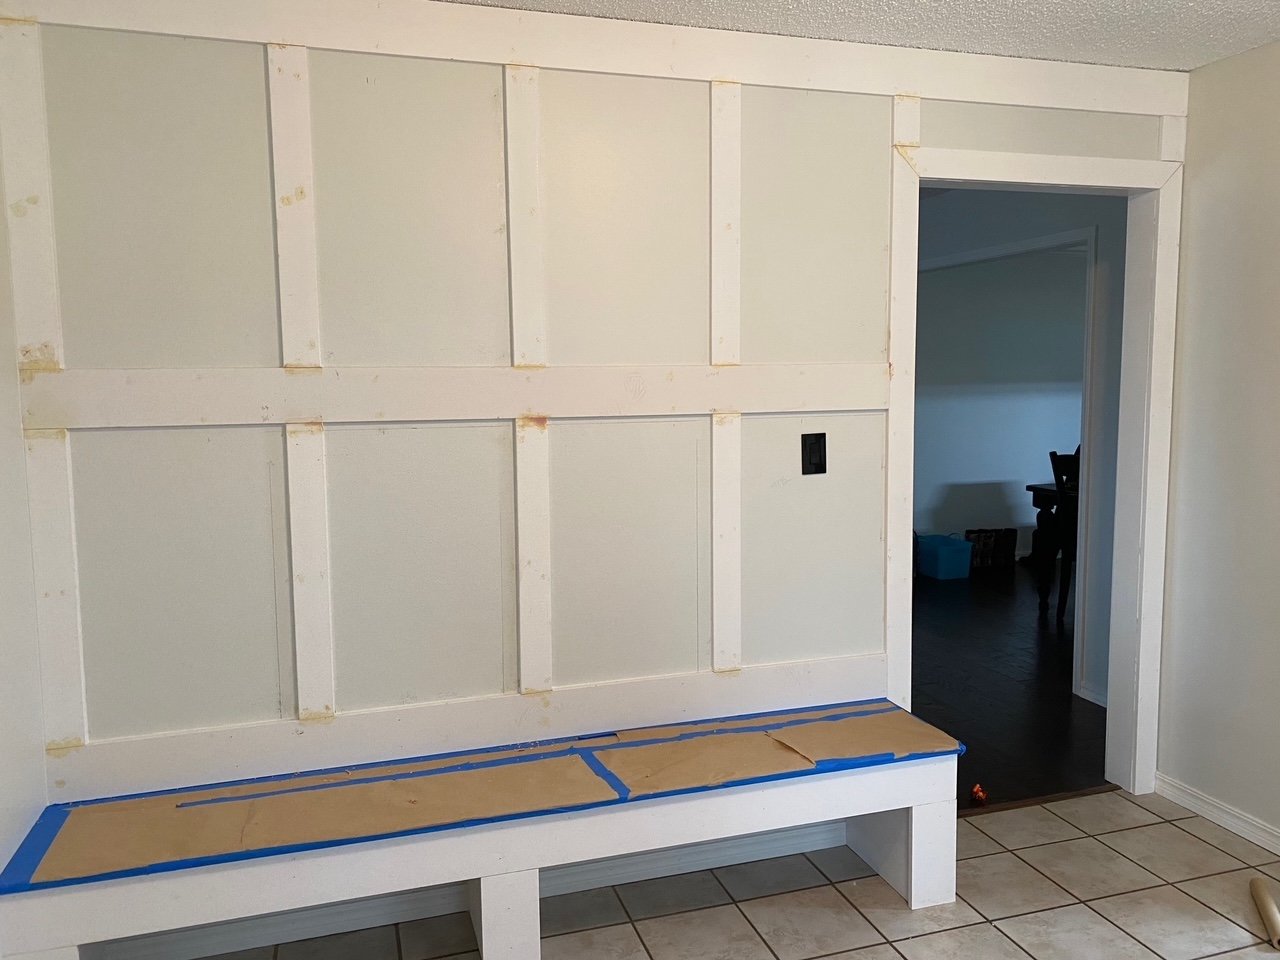
"Mud room" bench....
This is a project you see a lot on Pinterest and it is a super simple and functional use of normally wasted space.
Case in point…my daughter-in-law’s sister’s (Laura) house….
This room is next to her kitchen…designed to be the “breakfast room” space but is really used as a thoroughfare from the garage into the house and has become a general “drop zone catch all. “ With two small kiddos, it could be the perfect “craft room” and drop zone but as you can see there was no form or functionality to the space.
So she sent me this “inspiration” photo.
A functional and organized space for shoes, backpacks, coats, etc.
Heck, I can build that!
She likes the board and batten look of my entry more than the “panelling” look in her inspiration photo. No biggy. Remember what I have said before…the key to any project is first, your inspiration…..second, your plan and third, the execution.
So we had the inspiration…just a few tweeks and we had a plan…
Now it was time to execute!
I have said before I am not a “how to” kinda person…I am a “YOU CAN DO IT” kinda person. So find a tutorial for installing board and batten and building a bench that makes sense to you and works for your space.
First up…the bench. I had to off center the middle support because of an outlet but it was pretty basic stuff…2x4s, construction mastic and wood screws. Again, find a tutorial that makes sense to you! (Even I look at tutorials sometimes and say WTH!)
I build the legs of the bench out of 2x4s then clad them with plywood. Simple.
I used 1x6 pre-primed pine to trim out the front of the bench. MDF will “swell” if it gets wet so you can use it on wall treatments but I highly recommend using a solid wood product on anything adjacent to the floor.
I always use pre-primed or prime and sand before I install to avoid having to prime and sand inside the house!
I used 3 1x6 lengths of oak for the bench top. You can also use pine…MUCH cheaper but Laura liked the look of the oak. I used a rooter on the edges, just a hair, so when I joined them together they look more “plankish” than solid.
I built the bench top, using a biscuit joiner, in the garage… no stain just 3 coats of polycrylic, and then installed it before I moved on to the wall treatment.
For the board and batten wall treatment I used preprimed MDF.
I usually install the horizontal pieces first…making sure they are perfectly level. Then I go back and add the vertical boards. Putty all the nail holes and seams and make sure you caulk EVERY joint and crack…sand it all super smooth.
REMEMBER if you can feel it you are going to see it after paint…so sand and feel with your hands! Sometimes it can take 2-3 coats of joint filler to get good coverage.
We covered the wood bench top and painted with a brush and roller…three coats!
GORG!!!!
We added cute little hooks Laura picked out!
I was still loading tools and the littlest (3 y.o.) was already claiming all the hooks for his back pack and Hulk costume and mask! Probably should have added more hooks…lol!
Props to Laura…I really believe the vision and inspiration are the most important keys to any successful DIY project.
She did good and I have no doubt this little area will now serve her family well!


