The Pantry Makeover....
It has only been a little over a year since I “froo-frooed” my kitchen pantry. I love it and have found all the little storage elements I added to be very helpful. I have managed to keep it fairly organized.
After living with this space for a few years, it is time to reconfigure it and install new flooring.
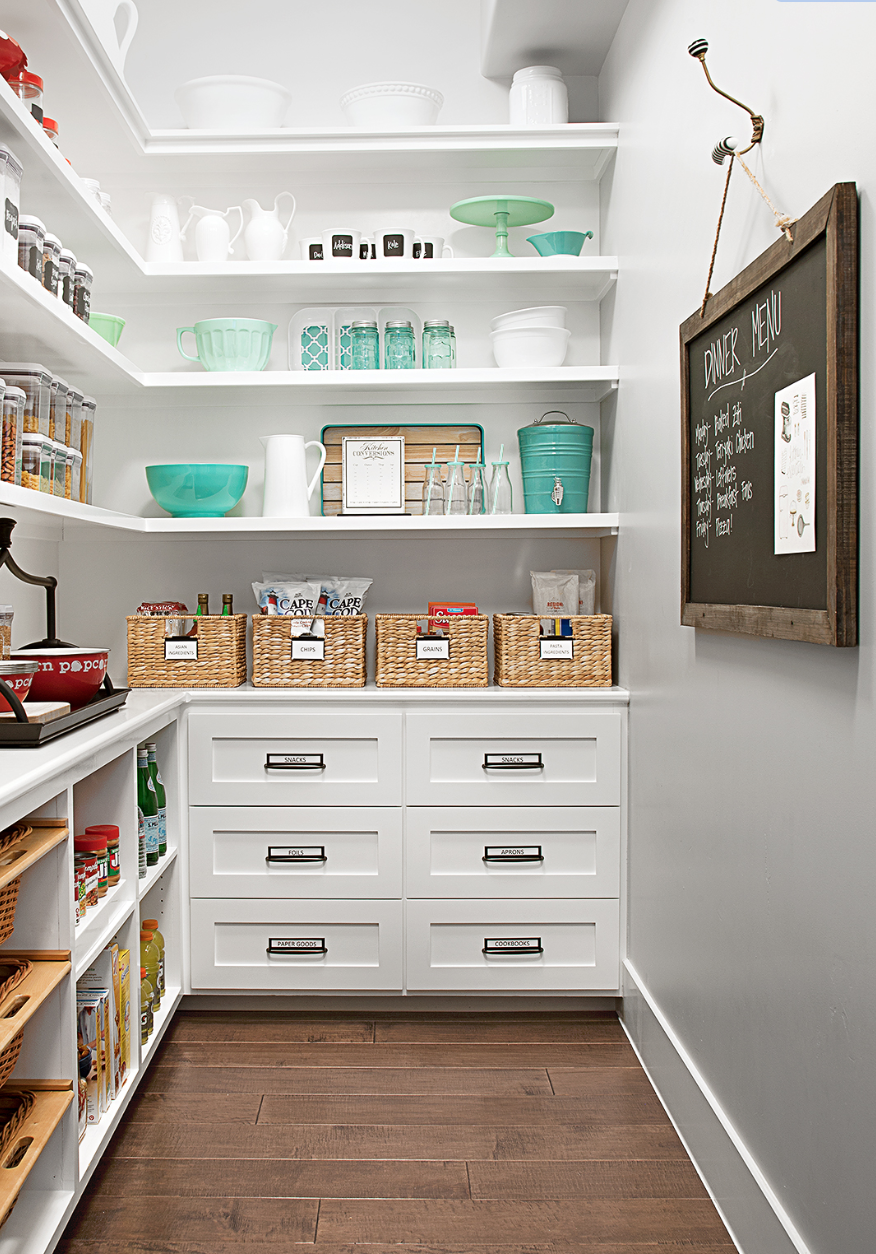
First things first….find my inspiration. Same song, second verse…cruise the blogisphere and Pinterest and see what trips my trigger.
Once I had an idea of what I WANT, it was time to take some measurements and draw everything out on graph paper…inspiration + space = ”the plan.” Drawing the space to scale gives me the ability to play around with the elements I think I want on paper before I start sawing and nailing. It also gives me important measurements for cabinets, flooring and shelf material.
I wanted base cabinets to hide rarely used appliances (food processor, grinder, etc), dutch ovens, crock pots, etc.
I wanted a cute counter top for the flour/sugar jars, toaster and can opener.
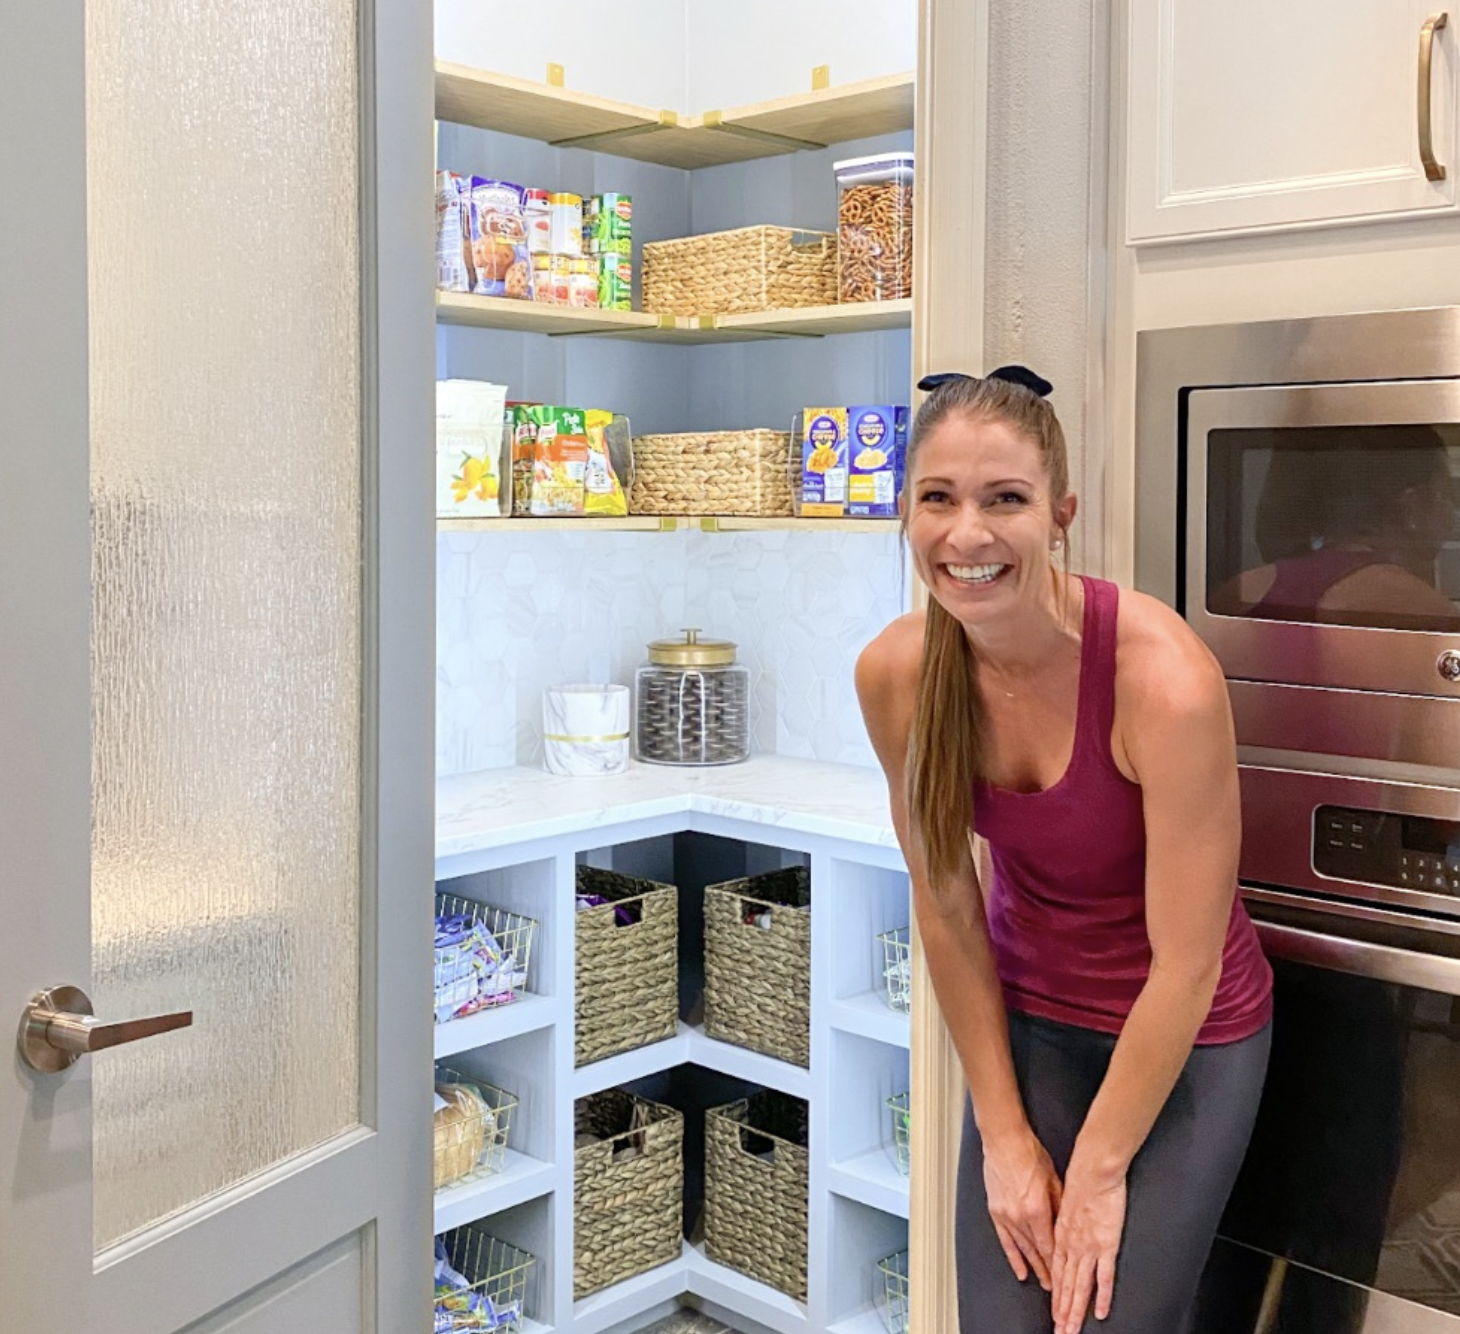
Lauren’s pantry was most similar to my layout so I looked closely at what she did….
Like Lauren, I knew I wanted to use 12” wall cabinets as the bases. However, I decided to build my shelves a tad differently.
I liked the look of the shelving featured HERE….
Unfortunately I couldn’t find any wall cabinets to use as base cabinets…at least none that are affordable. It’s a pantry. With the cost of materials THROUGH THE ROOF I have to be conscience of the cost of this little project.
I wasn’t real keen on open base cabinets but Lindsey built some really awesome bases…
She posted a great tutorial on building these base cabinets…pretty much exactly the way I built mine!
So all this got worked into “the plan.” Again, a fluid plan, but a plan none the less.
First up…the flooring. The flooring was the original tile and I decided to use the same tile I used in the laundry room. Tiling over the tile in the laundry room worked well so I decided to do that again.
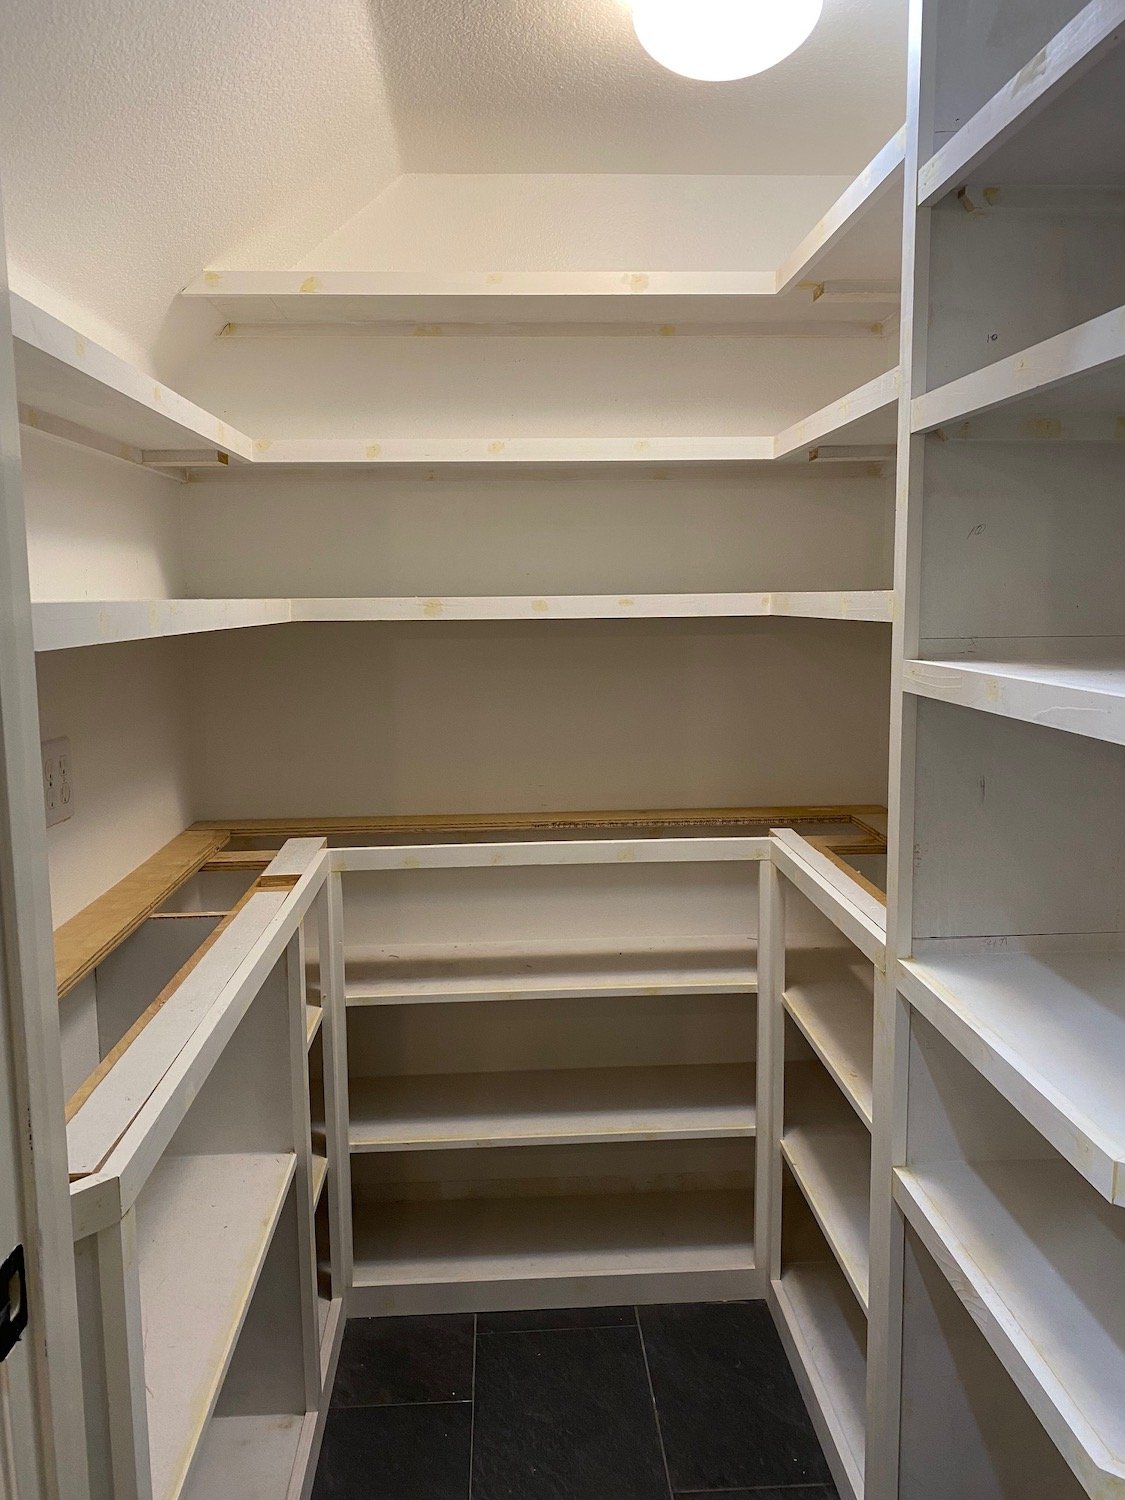
I wanted to reset the shelving and build some additional “shelf towers” so I removed all the existing shelving….
I wanted a new light fixture so I found one I kind of liked. HOWEVER, it came with Edison bulbs. Kind of important since you can see the bulbs through the glass but I just don’t like the light…just too “yellow.”
One morning I woke up thinking “I really don’t like that light.” So I got up, took down the new one and put the old one back up. Again, it’s a pantry…functional is more important that pretty sometimes. Maybe I’ll eventually find something that is both pretty and functional…way down the bottom of the list at this point.
BTW, in case you want to see what “projecting” looks like around here….
I patched and painted the walls white (my new fav, BM Chantilly Lace), grouted the floor tile, then started building the base cabinets and adding the new shelves. I preprimed and sanded all the material so all I had to do after it was assembled was caulk and putty holes. A light sanding, wipe with tack cloth and it was ready for paint. Prepriming and sanding BEFORE you cut and install will save you a MAJOR dust storm in the house.
AGAIN, I am not going to go into a long drawn out tutorial…just so many great tutorials out there.
Some people go to the lake during Memorial Day weekend. I build shelves.
The countertop. I like wood since it is not an actual food prep space.
If I wanted to splurge I would have built walnut counters or even a butcher block. But again…it’s a pantry!
The question then is if I go with a less expensive wood do I stain it with a dark stain or just leave it natural.
I love the dark stain but I worry it is running it’s course. But you know what, I don’t care. I love the darker stain and since the walls and cabinets are white, dark it is! I decided to use the pine “project board” from Lowes, stain with a “brown mahogany” and then apply a couple of coats of polycrylic. (Remember, polyurethane has a tendency to yellow over time)
Floors done, walls painted, cabinets and shelves built and painted, top on. Now the hard part…letting it all sit and cure before I load everything back in. IT IS IMPORTANT PEOPLE!!!! Let your paint and finishes cure before you go all decor-crazy on it…otherwise you will scar and scuff and will have wasted all your time and money!
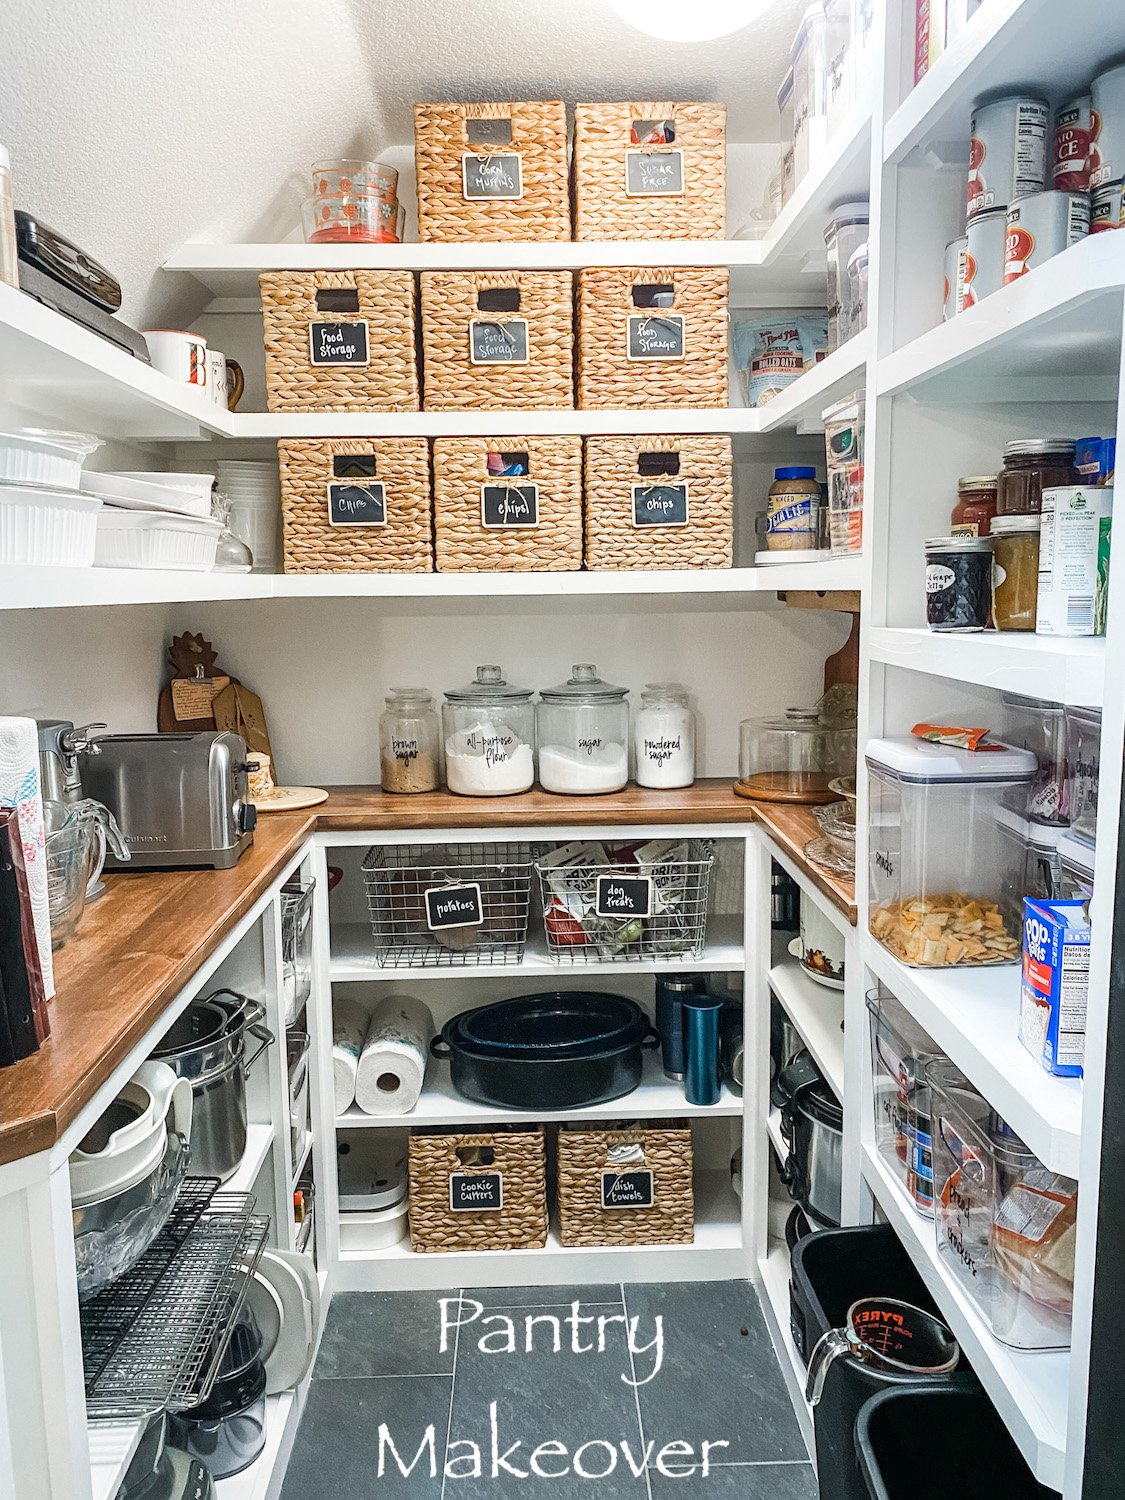
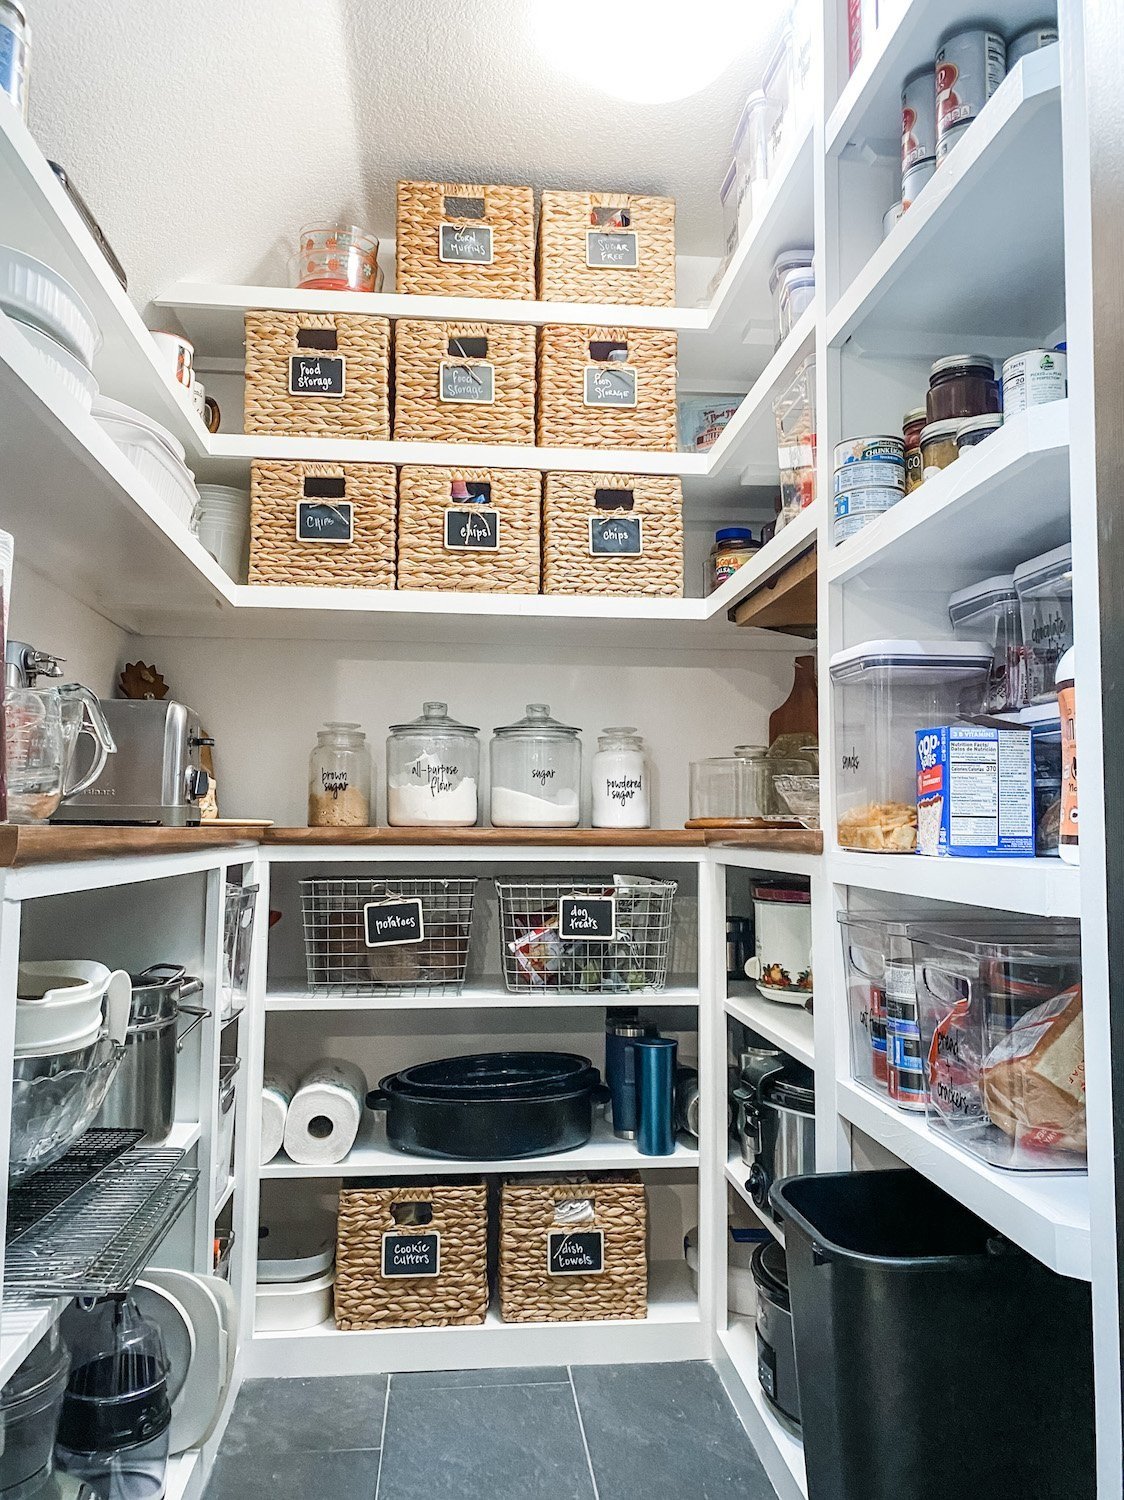
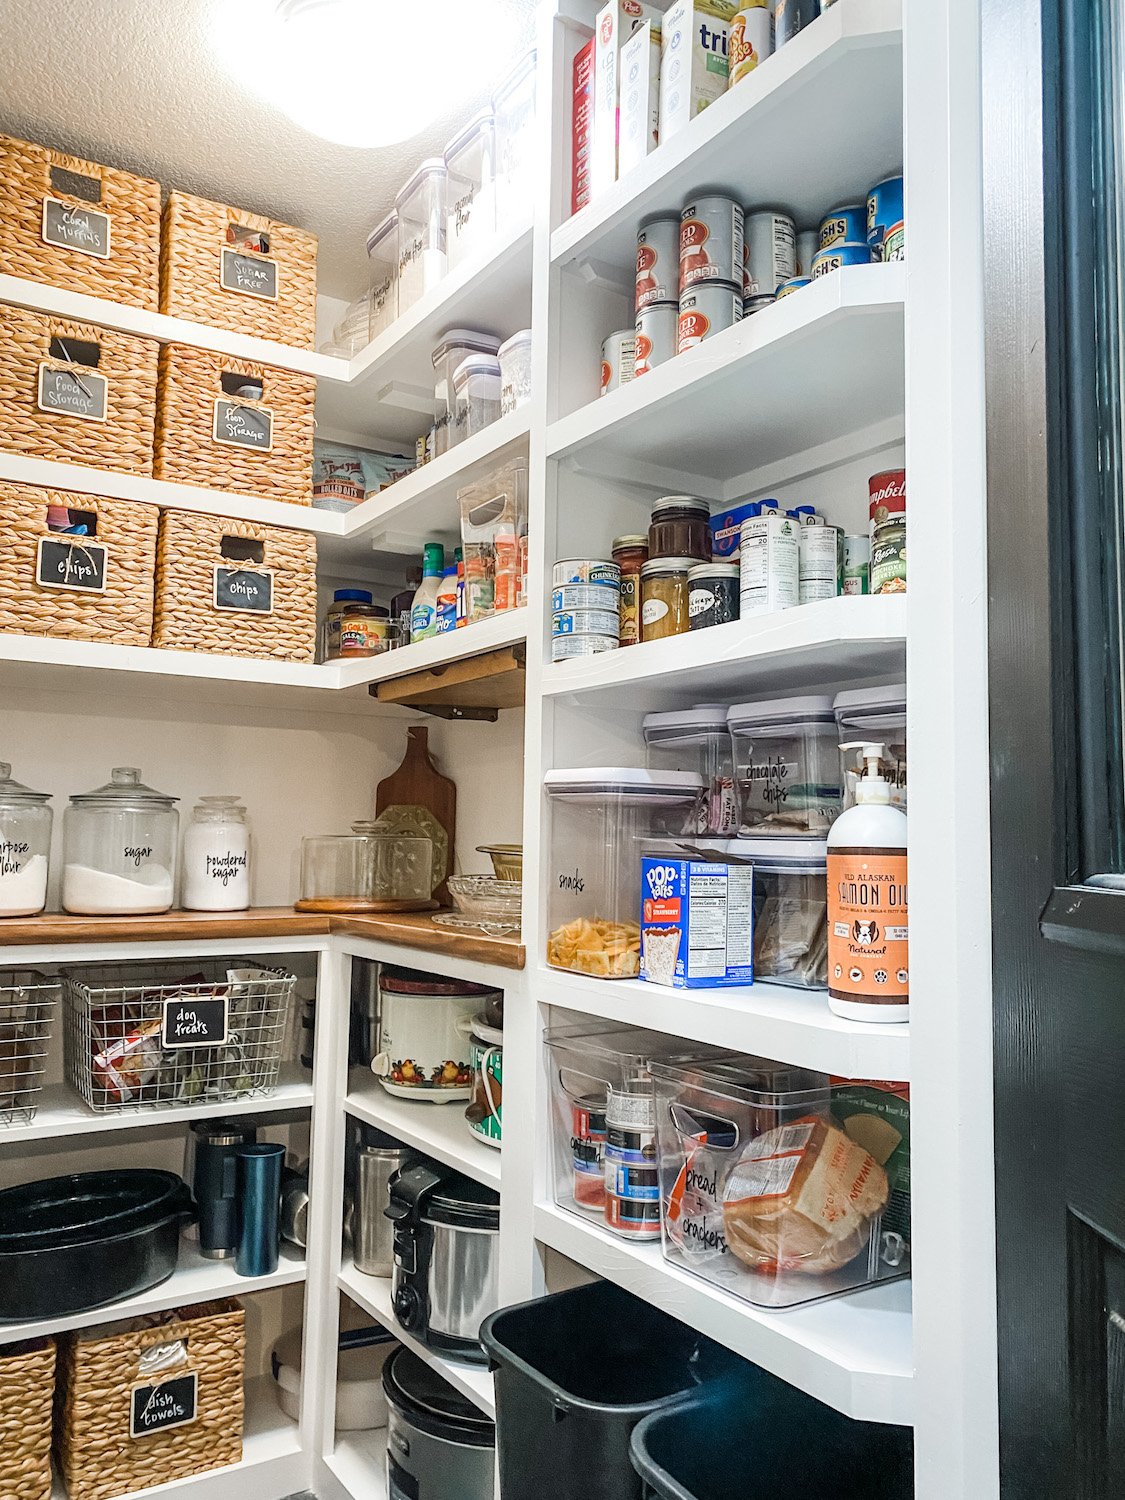
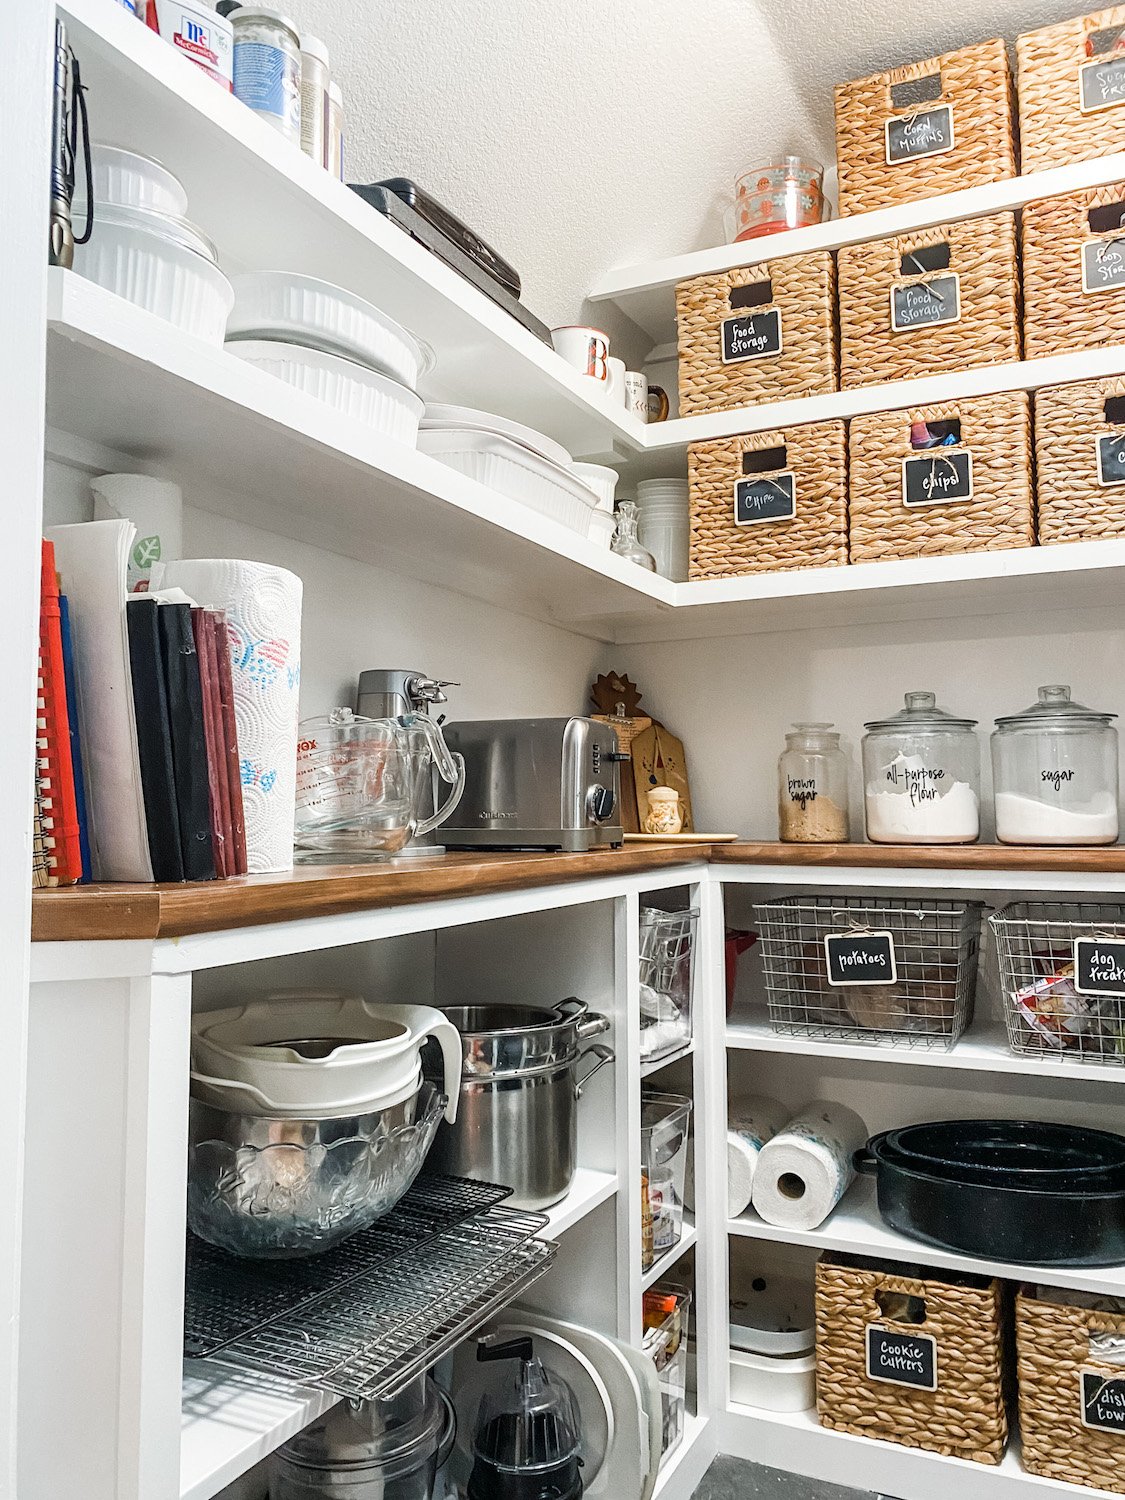
You may notice I actually gained a couple of shelves on the right and middle walls just by reconfiguring them. I also changed the upper shelves on the left to 10” and 8” deep shelves instead of the 12” that were there. I didn’t need the depth and it seemed to “open” up the space a tad.
I could have carried the top all the way around on the right and still had dog and cat food storage under it…but I needed a few shelves 14” tall so I decided to do a separate “shelf tower.” Perfect for taller items like the stacked storage containers, cereal boxes and wine bottles. All the other shelves have a 10” clearance which is ample tall enough for most of my stuff.
Right side….
Left side…
I love that we added an outlet in this pantry…perfect for the toaster and can opener so they don’t take up real estate in the kitchen.
I think my Kitchen Aide mixer would look cute in here but I like it on my kitchen counter. If it were in here I would have to haul it back and forth to the kitchen…it’s too heavy and I’m too old!
I was a bit bummed that I couldn’t originally find cabinets with doors but honestly I like this look better! While dutch ovens and crock pots aren’t really display worthy, the open shelves keep the room from feeling so small and claustrophobic. Believe it or not this space is only 5 x 5. Tiny but mighty!
I have no doubt that at some point I will add a backsplash…not sure whether it will be tile or wallpaper or something else…but something to give the space a little color and character. Right now I am worn out just getting to this point!
Last year I added glass to the pantry door. I LOVE it and I’m glad that is one chore I don’t have to do now!
The important thing I want to share is that reworking a space can make a huge difference. I now have a pretty pantry that works beautifully as an extension of my kitchen. Remember, I don’t have a lot of upper cabinet storage in my kitchen so this pantry is super important!
On a scale of 1-10? For me, not difficult because I have the tools and the know-how. For a novice DIYer, probably an 8. But there are a ton of tutorials out there for how to build simple shelving or how to use old cabinets to create a space like this. The first thing you have to do is find “inspiration” for the space you actually have and work from there. It is doable…YOU CAN DO IT!!!!!
On a blog board I am on someone said she was afraid to do something like this because she was afraid to mess up.
Don’t be afraid to “mess up.” That is how you learn…watch tutorials and read blogs. There are so many great resources at your fingertips these days.
Use them…and JUST DO IT!
