My everyday life...

I hope you had a wonderful Thanksgiving holiday!!! Now I feel like I can move on to Christmas...I just can't decorate or shop until after Thanksgiving!

I would like to think that OTHER bloggers get to hang around all day painting, sewing, cooking and just blogging away about all their fun and creative projects.

I suspect that is not the case. Truth is, we all have a REAL life. One that requires our daily attention.

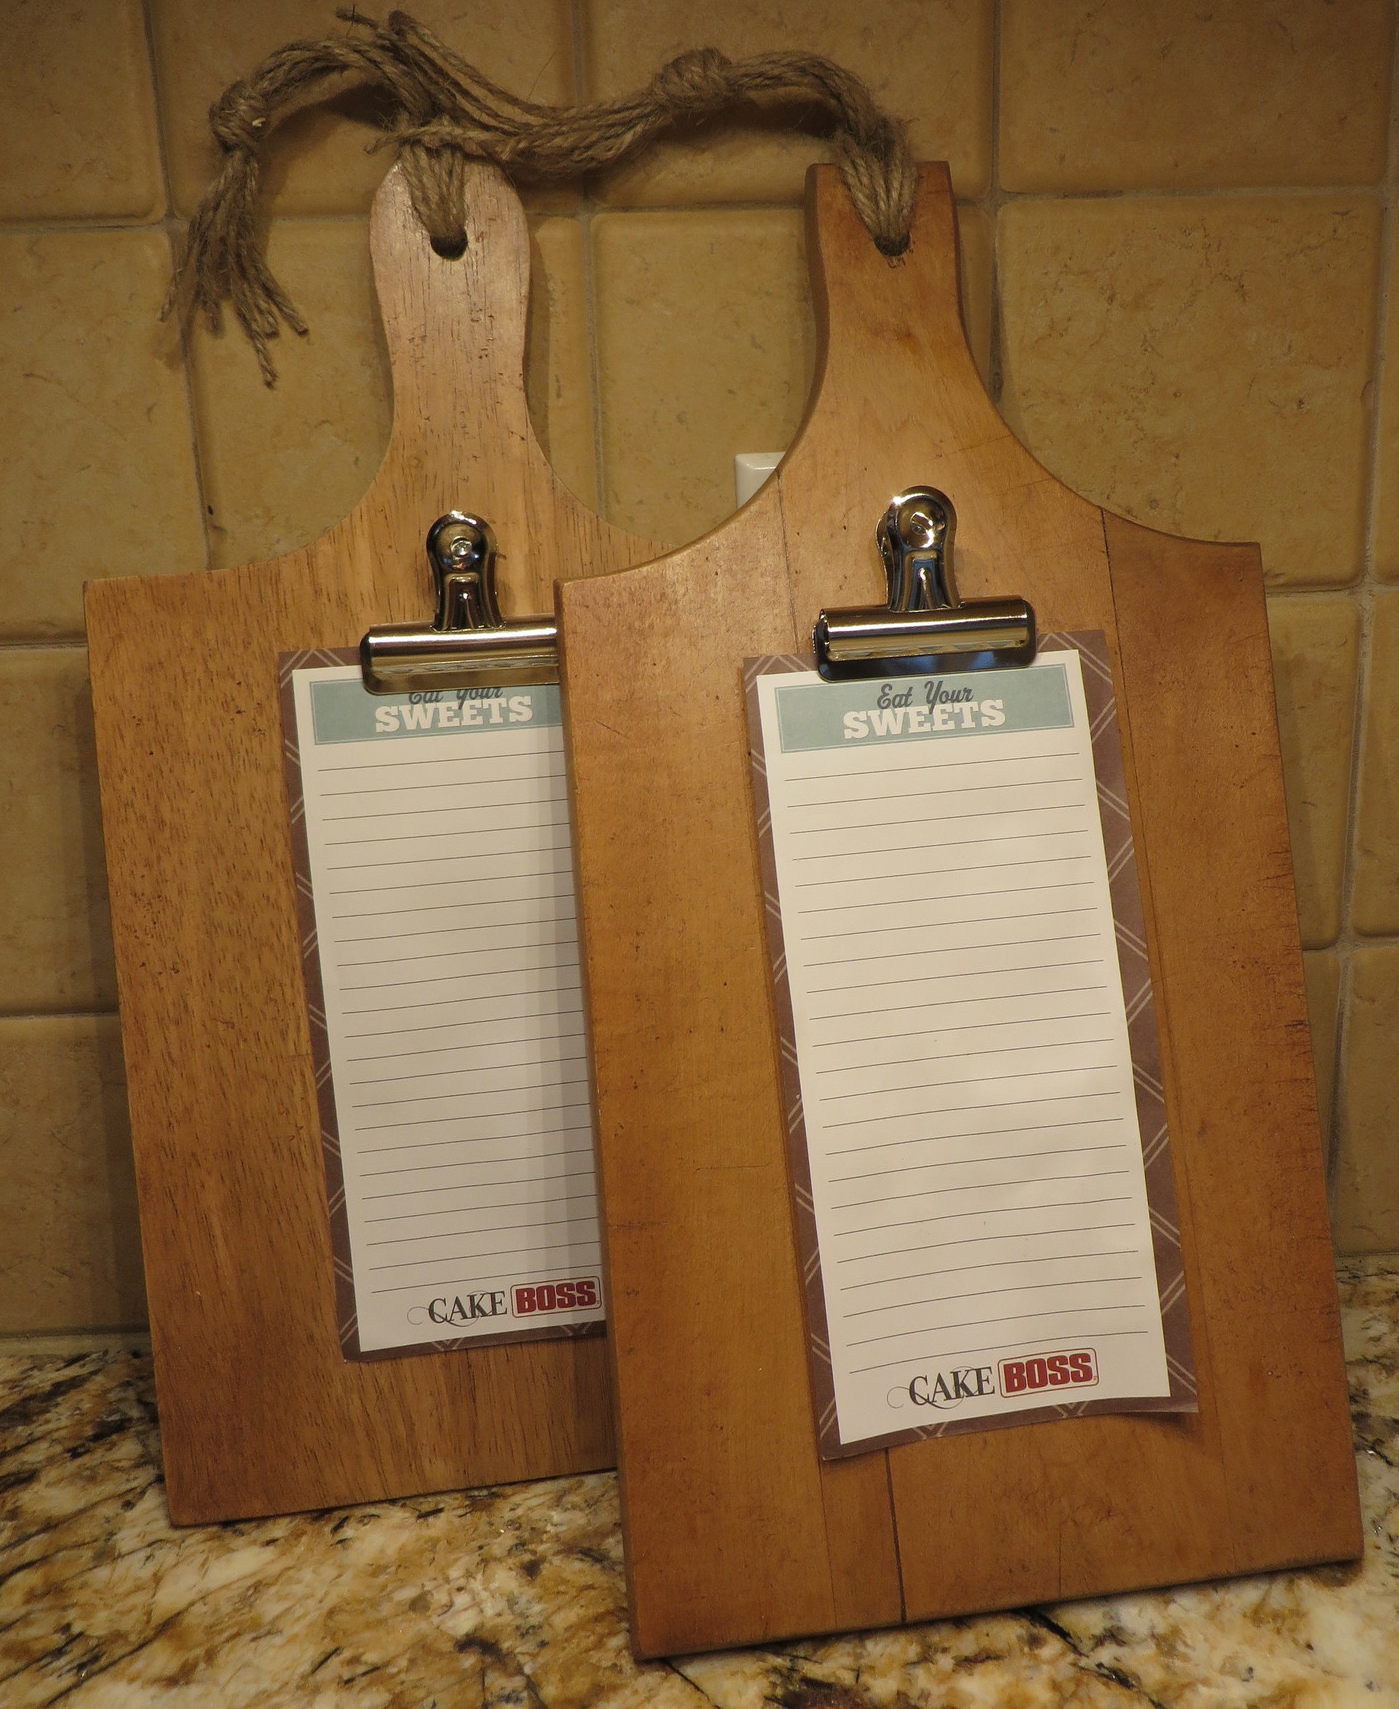
I am a "list maker." I keep multiple yellow note pads all over the place...in my truck, in the kitchen, on my desk...consolidated when needed. Seriously, if I don't write it down, it probably won't get done. Errands, calls, chores, needed supplies...all has to be on the list. If I forget my list, I drive around aimlessly with no idea what I need to do. 

Do I have a phone that has a "list" function? Yes I do. But I can barely make calls and text with it...forget about making a list on it!

If I forget to consult "the list," chores don't get done.

Sometimes a chore or errand gets moved from list to list...in other words, it didn't get done today, so it goes on the list for tomorrow...and then maybe the next day...and the next.

Last week, before all the Thanksgiving hoopla started and Christmas began creeping out of the attic (an avalanche actually!), I wanted to get a few mundane "honey-dos" completed that had been languishing on my lists for a few months! You know, that stuff most women tell their husbands to do...um, I don't have that luxury!

I finally shut off the seasonal meter...only because the hiss from a busted pipe reminded me I forgot! I pulled down some creeping plant stuff that overruns my front facade every year so Brian and Matt would be able to put up Christmas lights, (that is one "honey do" they do have to do) and I reworked the flagstone in the front bed to make room for a HUGE rock (220 lbs...seriously!) that was needed to deal with the roof run-off!

And last but NOT least I desperately needed to recaulk the kitchen backsplash and do some touchup grout and caulking in my bathroom! 

If you want your tubs and kitchens caulked, invite me over...that is one thing that drives me nuts! Nasty, cracking, mildew infested caulk...or poorly done caulk. Either way, I am liable to go to my truck and pull out my utility knife and caulk gun! 

It is one of those tiny maintenance things that needs to be addressed in your home. If you do not keep your tub or backsplash properly caulked, you WILL eventually have water damage to your walls and/or floor. It may take a few years, but it will happen. So ever so often, scrape out the old, nasty caulk and replace it with new! It will look better AND you will prevent water damage around your tub and in your kitchen!

It seriously is not a hard thing to do!

Here are a few general "rules of thumb." 

1) Always caulk between your countertop and backsplash and between your tub and wall tile. DO NOT use grout in those gaps...grout should ONLY be used between tiles...never between tile and another material. Caulk between tile and walls but make sure you use a "paintable" latex caulk...and recaulk every time you paint! 

2) Silicone caulk only cleans up with mineral spirits and is usually NOT paintable. You should use silicone in "wet areas" like in your tub/shower or outside in areas you will not be painting. You can use latex caulks on walls and trim and on your kitchen counters. Latex caulk will clean up with water. 

3) If caulk or grout cracks or separates, cut or scrape it all out with a utility knife before applying new caulk or grout. If the area is "stained" with mildew, spray it with bleach and use an old toothbrush to scrub it out. Let it dry thoroughly before applying new caulk or grout! 

Some caulk says it is mildew resistant...I think they lie. 

4) Less is better....if you glob the caulk or run a thick bead, you are going to make a nasty mess. Especially if you are using silicone caulk!

This is a "before and after" picture on my kitchen counter.

On the left is after I had removed the old caulk and applied new...on the right is the old stained, cracked caulk. You can often find latex caulks that match tile grout! In bath tubs, it is best to go with a caulk that matches your tub, if possible...white on white, almond on almond, etc. 


The tub caulk had gotten pretty nasty and I had some cracking in the grout in the corners. (It is evident from the pictures that I put this chore off entirely too long!)

I removed all the old grout and caulk with a utility knife, used a little bleach and a toothbrush to scrub out any mildew and nastiness... 

...and then applied new grout and silicone caulk.

First, I mixed up a small batch of grout. I used my finger to mash it in the corner and then wiped it with a dishcloth. Small and simple repair!

Pure silicone caulk is not the easiest thing in the world to deal with but it really is the best sealant for "wet" areas. When cutting the tip on your caulk, try to cut the tip no bigger than your "gap" and make sure you cut it at about a 45% angle.

When you run the tip along the "gap" make sure you run a smooth and even line...keep the caulk gun moving at an even and steady pace. I use my finger (whichever one has a broken nail at the time) to smooth out the line, wiping any excess on a paper towel as I go! 

I saw a little trick online one time where they run a piece of tape along the tub to keep excess caulk from getting all over the place.

I tried it. Honestly, I have done this so many times, I can run a good line and do a pretty good job smoothing it with my finger. The tape thing didn't work for me, but no harm in trying!!! Especially if you are prone to getting a lot of caulk where it shouldn't be! 

Just know that if you use this trick, remove the tape immediately and you still need to run your finger along the caulk to smooth it out because the tape is going to "pull" the caulk up a bit on the edge. 

(After the caulk dried I did some serious scrubbing on the grout with baking soda, followed with bleach! Man that stuff can get nasty!)

I did learn a valuable lesson...caulk does not store in your garage! No telling how long that silicone caulk had been in my garage and just because it had never been opened did not mean it was good. After 4 days, it had STILL not dried...so I had to scrape it ALL out and apply new caulk! Such is life!

Again, caulk is not something you want to ignore when it begins to break down! 

Now that I have a few "honey dos" completed, I can concentrate on Christmas! Yippeee! Not much has changed from last year, but I did make a few Christmas pillows and I have one or two little additions to my Christmas decor that I can't wait to share! I even have a little "craft project" I will share!

'Tis the season!

Mid Century dining chairs...

I originally shared my mid century chair score here. My intent was to restore them and keep them...after all, they are my greatest design love...mid century!

Unfortunately, I figured out early on that I honestly have no place for them. They just don't mesh with my dining table... (which is absolutely NOT mid-century but I love it!)

....so I have been dragging my feet getting them done. Why bother. I just have to get rid of them....*sniff*

I finally finished two of them and they turned out as beautiful as I knew they would.

I stripped the old finish by scrubbing with steel wool and the acetone/lacquer thinner mixture. I applied 4 coats of tung oil finish and recovered the seats with white vinyl. Vinyl was kind of the "thing" for mid century furniture and I didn't want to deviate too much from the original! 

I reattached the original seat bottom because it had the "Roomates Baumritter" mark on it! 

They are a little nasty and there really was no way to clean them up since they are just cardboard. But for a mid-century lover, the identifying mark can be important!

The other two are sitting patiently in my garage waiting for a little love and attention. One has a broken cross brace and will have to be replaced with something new...makes me sad! 

I listed these are on my Etsy shop and if they don't sell I will take them to Midtown. For now they are sitting in my living room and I am trying to keep the drool off of them...and the cats...and guests.

Seriously, who would actually SIT on a chair like this!

Dining room buffet....

Fourteen years ago I added the den and the bar in my kitchen...since then the dining table has been shoved against the wall in the dining area and only comes out for Thanksgiving! Basically, my dining room is a thoroughfare between the living room, kitchen and den. Lord knows you need this kind of space when you have teenage boys tossing balls around!

This picture was taken while I still had my Duncan Phyfe table...

...before this table....

I really love the openness of the space but Saturday I picked up a piece at an auction I fell in love with! I had honestly intended to sell it, but it fit this space perfectly!

(Again, sorry for the photographs....I did the best I could...it is a very dark piece! I edited with Photoshop just so you could see the detailing!)

This piece baffles me.

The top is definitely mahogany. I suspect the doors are walnut...and some of the inside of the cabinet and drawer is oak. The screws are all flathead screws. None of the wood is veneered. Today's reproductions are usually constructed with less expensive woods and different hardware.  Basically, the quality of construction, the quality of the wood and the fasteners all lead me to believe it is an "older" piece.

It does have a maker's mark on the inside of the drawer but part of it is missing so I can't figure out who, what or where...

Until I know more about a piece, I hesitate to do anything to it. If it were in really rough shape or if I knew for certain it is a "newer" piece, I wouldn't give it a second thought and I would refinish it or paint it...but it is not and I don't know! It could be from Pier One or it could be from the 19th century...I just don't know!

It is not "my style"...ornate and a little on the "traditional" side. Obviously not that "mid century" style I love. Bringing it in means moving my table into the center of the dining area (like a normal person) and "cluttering" up that space....

But I think I love it! 

It just "fits."

My initial plan was to paint it...off white or a pretty pale blue or green. But the general consensus among the fam is to leave it "as is." And truthfully, until I can find something a little more definitive about it, I think I will leave it be for now. 

This is a prime example of "do no harm" when dealing with "old" furniture. If it is damaged beyond reasonable repair and/or would somehow be enhanced by painting, go for it. I'm not sure this piece wouldn't look better, in this space, painted...but at the same time I hesitate to start slathering paint on a piece I know little about. 

So for now, it will sit as is. That is not to say that at some point I won't get a "bug" and break out the paint!

No promises! 

Opinions are always welcome...what do you think?

That ALL being said, I went to Hobby Lobby this week and they already had their fall decor 80% off! Needless to say, I just had to get a few little things!

I love these little crows...silly but fun!

I couldn't pass up this strand of fall garland ($18) and this wooden pumpkin ($5)! Perfect for the bench!

A few little trinkets for the new sideboard, more berry wreaths I have no idea what to do with (yet) and more!

Again, as I mentioned here, one of the best ways to build a cache of seasonal decor is to shop the "after season" sales...but this year it started BEFORE the end of the fall season!!! I may only get to display this stuff for a week, but it is so worth picking up little things now while they are pennies on the dollar!

A new look....

You may have noticed my new blog header. Totally awesome!

I lost the original somewhere in the mess of my computer. I have no doubt I filed it right where it should be, but in my efforts to stay organized, I lost it...I'll find it someday. I do that all the time...put it where it makes sense and then I have no idea where I put it.

In the meantime, I have had a simple "poppy" header stuck up there. I'm going through a "poppy phase." Pretty, but a little "heavy."

I knew I needed to make another and I knew exactly what I wanted...but I just couldn't figure out how to do it, even in Photoshop.

So while I was cruising the blogosphere, I found this tutorial on The Alexander Collective!

She used "Picmonkey." I followed the tutorial on The Alexander Collective to a T and it is perfect...exactly what I wanted and it didn't cost a thing!

Transparent, clean, simple...just a smidge of color. Pickmonkey is super easy to use so I will be able to play around with the header from time to time and easily change it up!

It even let me create a transparent signature.

Now if I can just remember to use it! (It's kind of big too...so I guess I will keep playing with it!)

While I am on the subject of "changes," we had our first snow of the season today! It was in the 70s a week ago...wow! I honestly can't remember when we had snow this early in the season.

Yesterday Brian and I went to an auction and I picked up some fabulous pieces...most won't need a lot of work and that is a good thing...just too stinking cold! 

Last year we had snow in MAY, this year snow in November...I don't think "global warming" is having much impact on Northwest Arkansas!

It's still fall in my house but it is definitely feeling like winter outside!


Simple fall decor....

I am a "warm" person so I love the traditional colors of fall and it is my favorite time of the year!

I know a lot of people are decorating with blue and white pumpkins...tablescapes, vignettes (that's a fancy way of saying a "grouping" of decor), mantles, etc...but I like the orange, burnt reds and yellows of a traditional fall! Warm tones....and I have TONS of natural light in my house so it makes it a lot easier to decorate with "warm" holiday colors!

Several years ago I decided I wanted to remake my bannister Christmas wreaths in blue and silver....a touch of "cool." Katie quickly reminded me that "red and gold" were our TRADITIONAL colors and she didn't want that messed with. So I obliged and stuck with the "traditional" colors of the season. Occasionally I sneak in something a little "non-traditional," but very little.

So very little changes from year to year...except maybe a few little "additions." 

Traditional decorating is, in my opinion, the way to go. I said last year that I thought it unwise to spend a great deal on burlap and chevron Christmas decor only because I knew it was a "fad" and would eventually fall by the wayside. As I predicted, we are seeing less and less of that this year.

So find a style or decor elements that you truly LOVE and make that the bulk of your "traditional" seasonal decor. No harm in infusing a few "faddish" elements here and there, but if you try to go all out with the newest fad, you may find yourself with an attic full of outdated seasonal decorations. (A few of us are old enough to remember Santa ducks and "mauve" Christmas ribbon...ouch!)

The BEST time to buy seasonal decor is AFTER the season. I know it is tough to buy things you are going to immediately stick in storage, but it is soooo much fun to discover all your new goodies year after year...and it is a great way to build a stockpile without spending a lot of money. MOST of my seasonal decor was purchased on sale for 80-90% off after the season! 

Another tip...you are going to get older and there will come a time when a lot of fluffing and froofing and climbing up and down ladders is hazardous...to both your physical well-being and your pets (yes, I have stepped on a few coming off the ladder!) So years ago I started transitioning to things that were easy for me to "set out."  It is much simpler to tie wreaths to the bannister than it is to struggle with yards of garland and ribbon...and I am not consumed for days every year painting and sewing and making wreaths and garland with the newest fads. 

So this is my "traditional" fall decor....

The den is the perfect template for fall decor. The fireplace wall is "burnt red" and it makes a beautiful back-drop for both my fall and Christmas vignettes. Years ago I bought new fall garland for the front door...the old garland had gotten a little "aged" looking but I didn't want to toss it, so now I just lay it across the mantel....takes all of 10 seconds. The white owl is a new addition I shared here. I bought 4 identical wreaths and hang them in the windows from ribbon. Fall leaf floral in the urn, pumpkins and scarecrows and knick-knacks here and there...

I shared how I dress up these simple outdoor lanterns for Christmas here. For the fall, they get a "fall" ribbon and floral pick, pine cones or a seasonal candle. 

Outdoor lanterns are great for all seasons. After the holidays I just remove all the ribbon and seasonal stuff and place a candle in them! I love that they are simple to decorate and don't have to be stored from one season to the next! 

The den side table gets a little fall vignette as well....

I shared the branch box on the floor here. Years ago I made two "table wreaths" with a round floral form, a grapevine wreath and fall picks. I put a candle in one and I found a nifty little grapevine pumpkin at a garage sale for pennies for the dining table! Both are simple to set out and store!

A few little knick-knacks here and there. (I bought the silly turkey at an auction for a few dollars! Garage sales, thrift stores and auctions are great places to find holiday decor for next to nothing!)

I bought a bunch of candle holder "berry wreaths" several years ago. I hang them on all the downstairs doors and on a few frames and cabinets with seasonal ribbon...super simple and when I decorate for Christmas, I just replace them with holiday wreaths!

This wreath I hung on my new living room mirror is a little larger. I think I found it in a box of seasonal goodies I bought at an auction for next to nothing! For Christmas I have the perfect crystal wreath I shared here and I think I will pick up a boxwood wreath for after the holidays! Wreaths are super simple to decorate with and store after the holidays! I just drop mine in plastic bags for storage!

Inexpensive (especially on clearance) floral picks and sprays are ideal for vases and urns...it usually doesn't take a lot to dress them up and they make a huge impact. I just replace the fall floral for Christmas floral every year!

Seasonal garland is super simple to lay on top of hutches, wrap around light fixtures, hang around doors and lay on tables. I love fall garland...but if you have ever priced it, you know it can be super expensive!!! And that, my friends, is where "after holiday" sales are great. Every year, I hit Hobby Lobby the weekend after Thanksgiving and snag their 80% off decor!

I lay inexpensive garland in the dining and den transoms and then mix in a few real pumpkins and gourds....well, usually but this year I didn't quite get around to picking up pumpkins and gourds...but it is still pretty!

Last but not least, the "kiddo scarecrows." I hesitate to even share these because it is so hard to get a good picture because of the glare (as I have said MANY times, I am NOT one of those bloggers that has killer photog skills!) I originally put these up when my two boys and youngest daughter were little...now they and the pumpkins are a tad faded and tired looking. I intend to change this little vignette every year, but a busy life always seems to get in the way. So, someday! In the meantime, they take their place every year and are replaced the day after Thanksgiving with Santa and the pine forrest!

Building a cache of seasonal decor can take time. But if you keep your eyes open at thrift stores and garage sales, shop the after season sales and stick with "traditional" decorating, you don't have to break the bank. Save the "fad" vignettes for one or two special places in your home and avoid the frustration and stress of having to decorate your entire house every year in a "Pinterest theme." 

Enjoy the season!!!! 

Christmas pillows....

One of the great things about the "blogoshere" is all the great inspiration AND motivation!

This past week I was reading one of my favorite blogs, "The Interior Frugalista", and Marie was sharing her snowflake decorative pillows...only she calls them "toss cushions." Gotta love those Canadians...lol!

Anywho, it not only inspired me, it motivated me to do something I seriously dislike doing...sew! 

I have been scavenging down pillow forms. I wanted down forms for the decorative pillows that have poly-fill and a few extras for some holiday pillows!

As I mentioned before I like down forms because they are more comfortable and have a "designer" look! To me they just look "rich" but their price tag can reflect that and it is difficult for me to fork over twenty bucks for something I am going to have to make a cover for and something that is nothing more than a "doo-dad." 

This past week I found 6 awesome down pillow forms, in varying sizes, ALL for under $7...a few for as cheap as $5. Thrift stores and flea markets. Yep...I am buying ugly old designer pillows, removing the cover and sanitizing the forms for reuse! (just toss them in a hot dryer with a dryer sheet!) 

Since I had all these forms piled up, I knew it was time to drag out the old sewing cart and get busy!

TIP: If you have a 18 x 18 pillow form, you may be tempted to cut your cover fabric 19 x 19 to allow for the seams. DON'T. Cut the fabric 18 x 18...your cover will be about 1" smaller than the actual pillow form, but that is what will make them look super "puffy" and "full." I read that once on a designer website (no source, just info stored in the back of my brain!) and I tried it...makes a huge difference! 

I have shared "pillow tutorials" on several posts in the past (you will note I advocated cutting your cover fabric larger back then...again, don't)...you can check them out here, here, here, and here. 

There is no sense in rehashing the "how to." I've provided a tutorial and there are "how to" tutorials all over the internet. Marie does a great job of "tutorialing." (As I have said before, if you can sew a straight stitch, you can sew a decorative pillow...if you can't, now is the time to learn.) 

So I am going to share just to provide inspiration AND motivation and give you a few little tips on where you can find material to make inexpensive holiday covers. 

My first "inspiration"  came from a Pottery Barn knock-off I found on Pinterest....

This little pillow was super simple to make. I used two pillow shams that came with a white bedspread I ordered to put over my down comforter for the winter. I was never going to use them on the bed, so I decided to use the fabric for my decorative pillows. I didn't have enough for the back, so I used the leftover fabric from the tea towel pillows I will share in a bit....

As you can see, I changed things up from the "inspiration" pillow. I used green sparkly felt and rhinestones...both of which you can buy at your local craft store. I cut a bunch of "leaves" from the green felt, and used a bowl to guestimate a circle...

Then it was just a matter of filling in the "wreath" and placing a few rhinestones here and there...basically, I eyeballed it! I used fabric glue on the green leaves and "Jewel It" glue on the rhinestones and let it sit overnight before I constructed the pillow. I used a "premade" silver bias tape for the piping! 

I made this pillow out of tea towels I picked up at Hobby Lobby...

....they were around $4.50 (50% off!) for two!

One set of towels made TWO pillow covers and I used the leftover fabric for the backs of the wreath pillow! I spruced it up a bit by placing a rhinestone in the middle of each of the snowflakes and added a little piping around the edge. The piping is made out of bias tape and you can find a tutorial here on how to make inexpensive decorative piping from bias tape!

I made two pillows with this snowflake cutout table runner and a white table cloth I bought at TJ Maxx. (I would not suggest using inexpensive tablecloths for pillow projects...just seems too "thin" and tends to ravel quite a bit. Lesson learned.)

I centered the runner on the piece of fabric I cut out for the front of the pillow and basted the top and bottom to it with my machine to keep it in place. After I basted it, I used the fabric glue around the edges of the cutout to keep it "flat."

Again, I glued a rhinestone in the middle of each snowflake. I just love "sparkle!"

After making two white snowflake pillows, I had enough of the snowflake cutout to make one more pillow. I picked up a "burnt red" pillow and I kind of liked the color so I deconstructed it, made it a tad smaller so the pillow would be fuller and added the white snowflake cutout material.

I only have one, but I think it will look great in the den where I have more "fall" colors year round!

I also put zippers on all these pillow covers so I can easily remove them and reuse the forms!

I tend to be an "OCD/symmetry" kinda person so I made two of each of the decorative pillows so I will have one for each end of the couch when it is time to decorate for Christmas.

All these pillows are 18 x 18 and honestly, I don't like the three lined up together. I found two smaller pillow forms and plan on making Christmas covers for them and using one with two of the 18" pillows on each end of the sofa...maybe...someday...IF I get a little more motivation in the future! 

While I was making a mess, I decided to make another "floor pillow" for the den. I had two large poly-fill forms (actually they were Euro-pillows with ugly covers!) I bought at an estate sale and I thought they would be perfect to toss around on the den floor for tv watching! I had already made one large toss pillow and two smaller decorative pillows out of some leftover fabric from my dining chair project. 

I used the drop cloth material leftover from this chair project and an iron on graphic from The Graphic Fairy. Since the pillow was fairly large, I decided I wanted the graphic to be bigger so I pulled it up in Adobe Photoshop, enlarged it and then printed it out on four sheets of iron-on transfer paper.  Then it was just a matter of piecing the graphic together and ironing it on the fabric. There was a little "line" where two of the pages didn't quite fit together perfectly...I used a Sharpie to fill it in a tad.

I removed the "Grain" wording on banner in Photoshop and had intended to replace it with "Love Life." But I had a few issues with my printer so I ran out of transfer paper. Since I put zippers on all my pillow covers, I will just remove the cover and iron on the new words when my order of paper comes in. 

I still haven't shared my fall decor. Truthfully, it hasn't changed a whole lot from last year. But I have a few little additions and I thought it would be fun to do an entire post about the fall decor and update my Holiday Decor pictures. After all, Thanksgiving is less than three weeks away and the day after Thanksgiving, it all goes back in the attic! If you see anything that "inspires" you, it will be the PERFECT time to snag fall decor for pennies on the dollar!!! You may have to wait til next year to use it, but it is always fun to find things you forgot you bought last year!

Fall 2014

So this week...I promise! 


I'm Not a Trophy Wife


Duncan Phyfe table makeover...

I never dreamed I would paint my antique Duncan Phyfe table. Just last year I shared how I "rehabbed" it by applying a new finish!

But times are a changin' and when you do "retail" you have to go with the flow and that means coming to terms with painting furniture....even antique furniture!

I shared the need to paint two of my Duncan Phyfe chairs after a repair!

I kept these two chairs and paired them with my new dining table after a little "seat makeover."

Last week I finally broke down and painted and reupholstered the two captain chairs!

When I found my new dining room table, I knew the beautiful Duncan Phyfe table would have to find a new home. I honestly loved this set...bought it twenty years ago at an antique store. Tough to let go of!

I put the table and two captain chairs (pre-makeover) in my booth but the youngens just don't appreciate beautiful mahogany. Can't imagine why...but as I said before I am coming to terms with the fact that "warm and cozy" can sometimes equate to "dark and dank." And I have to admit...this set felt a little "dark and dank" in it's native state. 

Not sure is someone will want both the chairs and table, but just in case, I used the same "off-white" chalk paint on the base of the table. I used black latex paint on the underside of the table top, then mixed up a batch of black chalk paint for the top so I could distress it and let the mahogany peak through. Then I sealed the base and the top with poly.

I have to admit, I love it. 

I took the pictures after I had set it in my booth so they are a tad dark. I had a set of ironstone dishes and Currier and Ives dishes and mixed them up to create a pretty tablescape that I hope will be inspiration for someone for their holiday table! 

IT'S TIME FOR HOLIDAY PILLOWS!!!

I spent the day making Christmas pillows! As I have mentioned before, I REALLY dislike sewing, but as with many DIY projects, I love the results! And having my sewing machine on a little portable table makes it sooo much easier to manage these all day sewing projects!

I mention this because I found an awesome resource for down pillow forms. I like down forms MUCH better than poly-fill forms because they are softer and way more comfortable! And they just look nicer!

I could not find any down forms for under $15-20 a piece, depending on the size. But in the last two weeks I have snagged 6, all for under $7! How? Thrift stores and the flea market! I have been buying ugly decorative pillows just for the down forms inside!!! 

I remove the ugly (or just dated) cover, stick the form in a hot dryer with a dryer sheet to fluff, sanitize and freshen and BINGO!!! Cheap forms!

I tell you this because it is a great time to keep an eye out for them in thrift stores, flea markets and resale shops! I put zippers on all my holiday covers and when the holidays are over, I will be able to remove the covers and reuse the forms! 

I made three different styles of holiday pillows using a snowflake table runner, inexpensive tea towels and sparkly felt! They are soooo stinking cute!

Can't wait to share!


Just paint it!!!!

Sometimes I forget to share the simple little projects...shelves, tables, chairs. They are relatively easy to "update" and truthfully, they usually sell as fast as I can get them in! 

This little table was one of those "pressed board" veneered oak pieces. Nothing special and honestly something you probably wouldn't give a second look just because it is so "dated."

Do you have a dated little piece like this that is ready for the curb...PAINT IT! 

A little chalk paint, a little distressing, poly seal and a new little knob. (The little shelf was chalk painted and distressed as well...I didn't even take an "after" picture and I don't think it lasted a day.)

So simple. Perfect for a little corner or nook that needs "something." Or a bedside table in the guest room.

I can not tell you how many little tables I have "rehabbed" over the years...and no matter how out-dated or ratty they are, they always turn out darling. 

Do you have a simple table in your house you really don't like? Give it a little makeover...you might just find that you love it again. And if not, trust me, it probably won't fetch any less at a garage sale!

For chalk paint I use a "homemade" recipe....

2 1/2 tablespoons of Plaster of Paris dissolved in 1 1/2 tablespoons of hot water.

Mix with one cup of latex paint. Mix well!

I tried the calcium carbonate recipe. I seriously disliked it. It was "gritty" even when I dissolved it in hot water. So for now, I'm sticking with the Plaster of Paris recipe!

After painting the piece with chalk paint, I distress it a tad and then I seal with a spray on poly. I know a lot of people are using wax, but I'm not a fan of wax as a furniture finish for several reasons! 

Today I started painting my old Duncan Phyfe dining room table. It's not that I don't like the table, I just like this one a little bit better.

But honestly...after chalk painting the base an off-white and painting the top black, I'm kind of digging it again. 

Painting an antique Duncan Phyfe table is something I thought I would NEVER do. But I am finding that there is just not a high demand for that "style" in their native mahogany. So for the sake of "resale," it is getting a makeover...and I know someone will LOVE it!

I will share the makeover as soon as I finish it up this week!

"The Graphics Fairy" chair....

I love bloggers who "share." No strings attached! That is what The Graphics Fairy does...they share their totally awesome graphics...anything and everything you could possibly want is there for the taking! They even provides graphics in reversed printable PDFs for transfers! 

I have my favorites and I have used them on several projects.

This is a little chair I picked up at an auction MONTHS ago. I stripped the upholstery, chalk painted it, and then it sat...and sat...and sat. I had no idea what I wanted to do with it.  

I finally decided that it needed something simple, no frills.

The simplest fabric to use for upholstery are paint drop cloths you can buy at your local DIY store. I used it here on an ottoman....

Drop cloth material is very easy to work with and super durable. I wash them in bleach first and then dry. A quick ironing and you have a lot of fabric for a little money. And the best part is you have a "blank slate" to add any graphic or design you want. Well, that, and if you mess up, you aren't kicking yourself because you just ruined fabric that cost $30 a yard...ON SALE!

I used the material here for my little painted bird pillows!

I went with the vintage French graphic for the back....

...and black piping and a few black nail heads just to give it a tiny bit of flare!

The side table was another simple little project. It is a very pretty walnut table, but it had little "do-dads" on the top...those little railing thingies (did I think to take a picture...no!)...and honestly, it was kind of "dark." I put it in my booth as it was, but it didn't sell so I brought it home, removed the little do-dads, filled the holes, sanded, and then gave it a little chalk paint/distress treatment. I don't expect it to last long now! 

Simple cutting board clipboards and APPLE PIE RECIPE!

I picked up a few more old cutting boards at an auction recently. I don't intentional set out to buy them but occasionally I find them in a box of goodies I purchased. 

I shared here and here how simple it is to "refinish" these simple little pieces of wood. And since I am not real fond of using them for their original intended purpose, I am always on the lookout for a simple way to repurpose them. The older boards can be beautiful refinished and displayed on your counter or wall.

"Newer models" need to be dolled up a bit and given a new purpose....

IMG_2720.JPG

I scrubbed the boards with a 1/2 acetone and 1/2 lacquer thinner mixture and steel wool just to remove all the old oil and finish. Washed them down with mineral spirits and then I applied a stain to darken them a bit. Since I am not going to be using them for food prep, I sprayed them with clear poly. Then I attached a little metal "clip" with a wood screw. You can buy the clips at Hobby Lobby or probably any craft store. I think they were around $3 for 3. 

(TIP: ALWAYS use a stain that does not "seal"...that way if you don't like the color you can layer on another coat of stain or use a different color. If you use one that "seals" you are pretty much stuck with that color unless you strip it again!)

You could hot glue magnets to the back so you could hang it on your refrigerator. Maybe display it on a plate holder on your counter...or just hang it the wall...whatever works for you! 

It is the perfect way to keep note paper handy in your kitchen...just tie a pen or pencil to the clip. Maybe even use it to display old recipes or hold recipes while you bake! 

I think it would be a precious housewarming gift or holiday gift for a teacher!

Super simple and inexpensive! Keep an eye out at garage sales and thrift stores for old cutting boards...trust me, they are there. 

CARAMEL-PECAN APPLE PIE

I originally posted this recipe here!

As I noted in the original post, it is TO. DIE FOR! Definitely a recipe to put in your holiday arsenal!

I have tweeked it a bit...so here is my version! 

CARAMEL-PECAN APPLE PIE

PIE FILLING

5-6 cups peeled and sliced tart apples (I use Granny Smith...about 5)

1 teaspoon vanilla

1 teaspoon lemon juice

3/4 cup chopped pecans

1/3 cup packed brown sugar

3 tablespoons sugar

4 1/2 teaspoons ground cinnamon

1 tablespoon cornstarch

1/4 cup caramel ice cream topping, room temperature

1 unbaked deep dish pastry shell (I buy the frozen kind!)

3 tablespoons melted butter

* In a bowl, toss apples with lemon juice and vanilla.  Combine the pecans, sugars, cinnamon and cornstarch; add to the apples and toss to coat.  Spread caramel topping over the bottom of the pie shell; top with apple mixture (shell will be really full!) Drizzle with the butter!

TOPPING:

3/4 cup all-purpose flour

2/3 cup chopped pecans

1/4 sugar

6 tablespoons cold butter (I zap mine for about 13 seconds just long enough to soften it a bit!)

1/4 cup (or more) caramel ice cream topping, room temperature

* In a small bowl, combine the flour, pecans and sugar.  Cut in the butter until mixture resembles coarse crumbs. Sprinkle over filling. (I kind of "pack" it on top of the apples with my hands)

BAKE AT 350 DEGREES FOR 60 MINUTES or until filling is bubbly and topping is browned. Immediately drizzle with the caramel topping when you take it out of the oven. 

Cool or serve hot right out of the oven. 

It's great with ice cream. If any lasts past the first day, zap it in the microwave for a few seconds...warms it right up just like fresh out of the oven.