Home office makeover reveal...
Last week I shared the need to give my home office a little “character and design appeal.” (You can go to the link to see the “before.”)
This week I will share a few changes I made…not huge changes but enough to give it a little be more appeal.

It wasn’t until I was working on my “Bogey Home Tour” page that I realized I had done absolutely nothing to this room. Not a huge deal but, as I mentioned, you can see this room from the main living area and it is right off the entry…so it really needed a little something.
The first step was to purge and organize. The closet is great for storing my small seasonal decor (Valentine’s, Easter, the 4th, etc.) and office supplies but it could stand a little purge and organization.
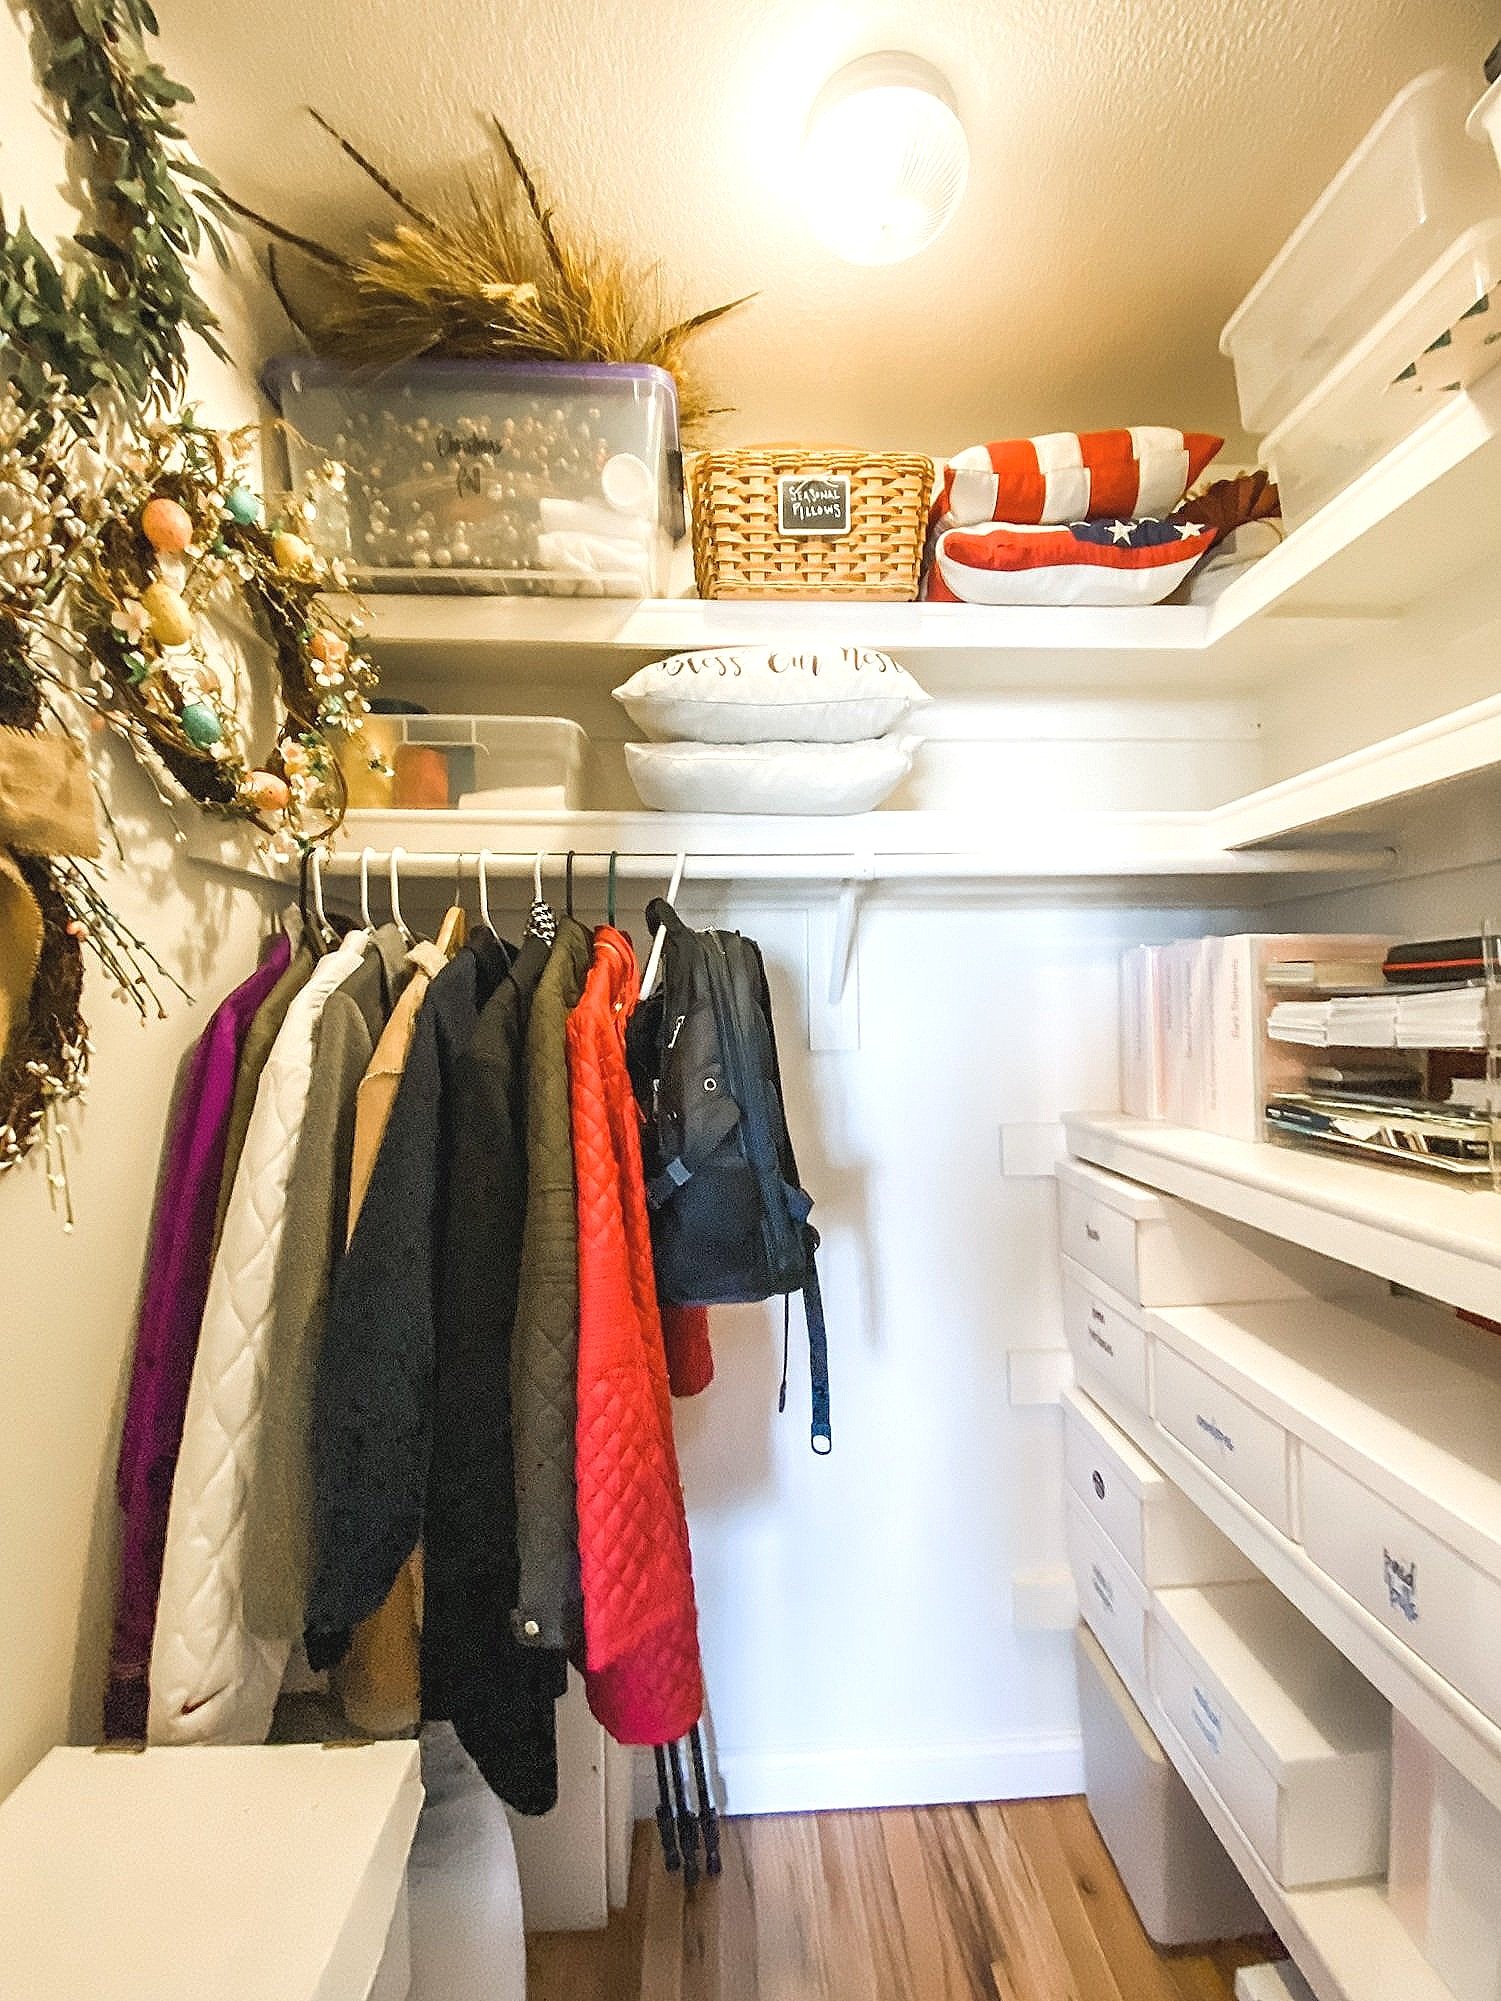

It had a mismash of boxes and baskets and binders so this is one of the few things I splurged on…matching boxes for receipts and such and new binders. Then it was just a matter of organizing everything else…mostly the small seasonal stuff. I even organized all the decorative candles I switch out for every season on my dining table….

After purging I painted the walls and trim. Three of the walls and all the trim were painted white…just plain ole’ white. The wall I decided to do an accent feature on was painted pink. Yep, pink.
This mess of a wall and credenza had become a dumping ground. I removed all the “unnecessaries,” changed up the pictures on the wall and organized the laptops in THIS little gem.
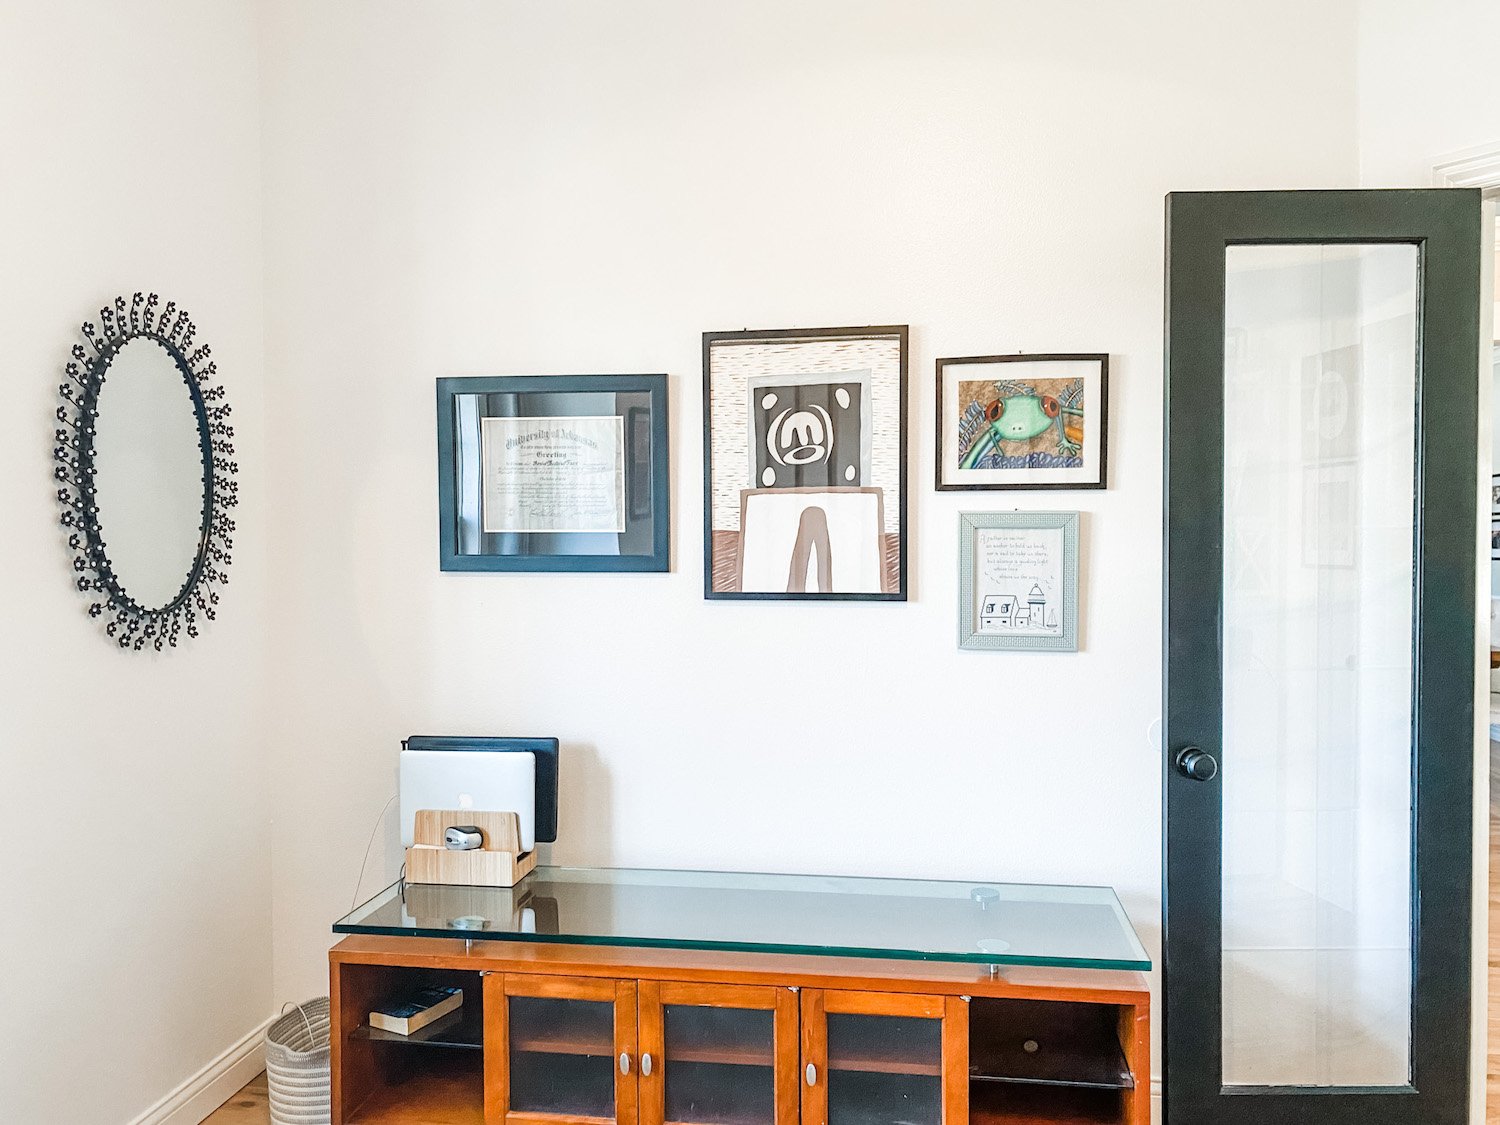
Eventually I will get another piece to put here but for now, this works.
I also have some leftover walnut and may make some floating shelves or a picture ledge for this wall…maybe…we’ll see.
I still like this shelving/cabinet….

…it just desperately needed to be purged and organized. I debated putting the printer inside the cabinet, but we really do use it a lot. All the paper, business checks and cartridges are stored in the bottom. I may eventually add a little more greenery (aka fake plants) but for now this will suffice.
I really wanted to put a glass top desk in front of the window, but as you can see, this is Cleo’s lookout chair…she spends most of her day in this chair guarding the house. Okay, she spends most of the day SLEEPING…but still…

The only real change in this little window space (besides paint) was the removal of the blinds. The window had blinds when we moved in that have never been closed…so I just took them down. I rehung the curtains…they never get closed but they “dress” the window.
I may eventually change out the big ugly brown leather chair for something a little more sleek and modern, but for now Cleo seems perfectly comfortable and content.
I will also eventually change out the rug but for now it matches the chair. This is one of those times when I would love to do a whole room makeover…new chair, new rug, new credenza…but I am doing what needs to be done with as little expense as possible…baby steps!
As I have said time and again, sometimes our design “wants” are dictated by pets and kids…and of course finances. You may WANT a white couch but that’s probably not a good idea if you have a toddler running around with a sippy cup of juice or a large black dog that likes to run around in the mud. (BTW, if you think you will finally be able to get that beautiful white couch after the toddler becomes a kid or the kid becomes an adult, forget it. )
Now, the desk and accent wall….


The top of the desk needed a good purge. There really was nothing on there that couldn’t be put in a drawer or filed away…out of sight. I did buy one acrylic organizer for the top just to put bills and such in. The rest got cleared off and stored away. (Remember, I open my mail by the trash can…trash goes in the trash, mail for the kids goes in the mail holder by the front door and anything that needs my attention goes on my desk. No piles of mail laying around screaming for my attention…I take a few minutes EVERY day to deal with the mail as it comes in. )
I recovered the seat of the office chair with some pink velvet I had on hand.
Now, the pièce de résistance. The accent wall. HERE I talked about “finding my inspiration” for this room. After weeks of cruising the internet, I finally decided that this was the look I love.
And I do love it!
Next week I will share a full tutorial on this wall. Tutorials are usually not my forte’ but hopefully I can make sense out of how I created this “visual interest.”
As with all DIY projects, I firmly believe it all comes down to confidence. No, I had never created a wall like this…but I had no doubt I could give it the old college try. Succeed or fail, I would learn something. I think I succeeded although I will admit there are a few things I might do differently if I did it again (which I probably won’t!) But that is the great thing about sharing what I do…you can learn from my challenges (never say mistakes!)
Until then….

