Happy Valentine's Day!

This is about as good as it gets...except for a little heart shaped wood wreath by the front door. I go all out for fall and Christmas...not so much for this "holiday."

But LOVES to all my Valentines! You know who you are!

In my home we always hug and say "I love you" when we part...doesn't matter where you are going or for how long you will be gone.  Always.

Best parental advice I ever got (and can give)...hug often and NEVER be the first to let go. 

I hope the people I love know how I feel EVERY day!

Drexel Declaration Mid Century coffee table...

I know I am always talking about how AWESOME some of my furniture finds are, but this is truly an AWESOME piece!!! Mid century and walnut...my absolute favorites! (Check out some of my other mid century finds and makeovers here!)

We scored this coffee table at an auction.  I probably should have flipped it over and looked for markings before bidding, but it is pretty big and honestly, I didn't want to draw too much attention to it (gotta be "cool" at the auctions!) When I bid on it, I knew nothing about it other than it was walnut and mid century! Structurally, it was in mint condition and I knew it could be spectacular with a little elbow grease. The scratches and water sports were not too bad! We were told it had been stored in an old outbuilding for years....I believe it! 

The piece is marked on the bottom. It is a Drexel Declaration coffee table.  A relatively "rare" piece with a good value!

As I have said before, it is not the "profit value" that motivates me.  It is the absolute LOVE I have for this furniture.  

It has been in my garage for months. I just didn't have the time or space to mess with it! The first thing I had to do was strip it.  Keep in mind the finish on these pieces are 50+ years old so the old varnish has "yellowed" over time.  And of course there is all the wear and tear...scratches, water damage, worn finish! But you CAN NOT strip old paint or varnish inside. The chemicals are just too strong and stripping and sanding does make a bit of a mess so I made sure I got all stripping and sanding done before it got too cold to work outside! (I really need a heated shop!)

I almost always use Formby's furniture refinisher to strip old varnish.  I find that it really does a great job of "melting" the old finish off while hydrating the wood.  Occasionally I may have to use something a little stronger and on very rare occasions I will actually sand the piece.  I did take some sand paper to this piece only because there were several "water stains" that just couldn't be chemically removed.

I can not stress enough how important it is to CAREFULLY sand old furniture!  Veneers can be very thin and it is easy to get carried away!  Always start with a fine grain paper (220 grit) and work your way to a heavier grit ONLY if you need it.  Then work your way back to a fine grit!

You may not be able to remove every stain or imperfection.  And that is okay!  Old and antique pieces are going to have imperfections!  Embrace them!  My office desk I featured here is a prime example....

Try as I might, I could not get this old cigarette burn to go away...and that's okay.  It is a constant reminder of one of the many reasons I shouldn't start smoking again!

Fortunately I was able to get almost all the "imperfections" off the coffee table.

Also, most finishes were originally applied in a way to make the wood grain appear "uniform."  A multi-layer technique may have been used or the finish and stain were sprayed on. Once the original finish is removed, you are likely to find that the wood grain no longer has a "uniform" appearance. Again, embrace it! 

After making sure I removed ALL the old finish, I "washed" the entire piece with mineral spirits. This is an important step when refinishing furniture whether you are applying a clear finish or painting.  It removes all the gunk and oils. Then I hit is with a very fine sandpaper just to knock down the grain a bit.

The mineral spirit wash will also give you an idea of what color the wood will be when you apply a clear finish.  Most woods will be a completely different color stripped than it will after a clear finish has been applied. After you wash the piece with mineral spirits, the wood will eventually dry back to a natural color, but while it is wet you will be able to tell what color it will be after a clear finish is applied and whether you will want to apply a darker or different color stain.  I personally love the color of natural walnut after a clear finish is applied, so rarely will I apply a stain.

After wiping the piece down with mineral spirits, I wiped the entire piece down with tack cloth to remove dirt and dust.  Again, you can wipe down a piece all day with the cleanest cloth...I can promise you the tack cloth will find more!  Use it and use it between EVERY coat of finish or paint! 

After stripping, sanding and tacking, I began applying the Formby's tung oil.  I love this stuff...in my opinion it is a superior finish to poly!  Super easy to apply and much less room for error. If it gets scratches in the future, just hit it with 0000 steel wool, tack cloth and then apply another coat of tung oil.  Simple!

Because of the weather, I had to apply the tung oil inside.  The smell and fumes from tung oil is not that bad. Steel wool itself tends to crumble and create "dust" so I decided to try something new...which is NOT something I do easily! I picked up these little "finishing pads." They seem to work pretty well! I still favor the steel wool, but the pads produced far less "dust" than the steel wool!

A little trick when painting or refinishing...place aluminum foil under the feet/base after you are finished sanding and tacking.  Most paint and finish won't stick to aluminum foil (unlike paper) and it will protect your floor and keep dust from being dragged onto the base when applying the finish!

I usually apply 3-5 coats of tung oil.  I use a "stain sponge."  You can usually find them in the stain section at Lowe's. Three coats is usually enough, but if I still feel the finish is "uneven" I will continue to apply coats until I get an even "gloss" look.  ALWAYS rub it down with 0000 steel wool and tack cloth between each coat. 

Whether you use steel wool or finishing pads or sand paper, make sure you always sand WITH the grain.  

"Sanding" and tack cloth between each coat is VERY important.  I used tack cloth before I applied the first coat of tung oil and I could still see and feel "crumbs" after it dried!!! 


I love this piece.  I think it looks a tad too big for my living room, but I just can't bring myself to part with it! Honestly, I think I would like it a bit better if I had a bigger rug.  This one has always been a tad too small, but it was cheap and I just needed something to throw down to keep our toes warm! With an old kitty in the house, you don't invest too much in rugs.

So I have been looking...Joss and Main...Overstock...I'm looking!  Someday.

(UPDATE!  Yep, that is the NEW rug...featured it here...and I seriously love it! I am so honored to be featured on betterafter.net!  Gail asked to see the inside, so here is a picture with the top open. As you can see it has a little compartment with a sliding drawer. The inside was in mint condition, so I did not do anything to it!)

IMG_0224.JPG
signature.jpg

LED light strip project....

Again, I am probably the last person on earth to discover an amazing product.

So if you are behind the times like me, pay attention.  Because this little project is total awesomeness and possibilities are unlimited!!!

I shared in December my Christmas above the cabinet lighting.  

I originally ran an extension cord up through holes I drilled in the cabinet above my refrigerator, but my wonderful SIL Joel actually hardwired an electrical cord to my under counter lighting. Now I have a permanent plug on top of the cabinets that is connected to my under-counter lighting...a flip of the switch and both my upper and lower lighting comes on! 

After Christmas I left the Christmas lights on top of the cabinets.  I knew it was only a temporary solution and I would need to find some type of permanent light source. Seriously, you could tell they were Christmas lights...kind of cheesy! 

I knew I wanted LED lighting.  The cost of the lights are usually a bit pricey, but they are extremely cost efficient to run.  The HUGE upside for me is they put off NO heat.  I leave my under-counter lights on all the time and they never get hot.  And supposedly, they last a lifetime...whatever that means.  

But the LED strips I used under my cabinets cost about $50 for one 12" strip. I only needed three strips to do under my cabinets, but I knew I would need 5-6 to get a good affect on top. Since this is honestly more for aesthetic appeal than function, that was really cost prohibitive! 

So I went searching for a solution.  My first thought was plain ole' Christmas rope lighting. I know they have LED rope lighting.  But wouldn't you know....I didn't bother to look for it until AFTER all the after Christmas sales...so I couldn't find one box of rope lighting in the stores. 

So I went to my second favorite shopping spot (Lowe's being my first!)...AMAZON! 

Amazon has everything.  And since I wasn't sure exactly what I was looking for, the customer reviews really helped me narrow down my search.

Anywho, I ended up with these amazing LED light ribbons.

I honestly thought it was some kind of "rope" light, but it is just a little 16' strip with these VERY bright and tiny LED lights about every inch! The strip is very flat, only about 1/2" wide and has "sticky" on the back. I bought two rolls. I did read that you have to have the transformer so I ordered that as well. It is a must...it is a converter...you can not plug these lights into a regular outlet!!! And they don't come hardwired with a plug on the end.  

All told, I spent about $50 for 32' of LED lighting and the converter!!!  That is the cost of ONE 12" LED light strip!

So it was time to "install" the above the cabinet lighting.  Seriously?  Install? I am not joking when I say a 5 year old could do this.  It is a matter of twisting four wires together, peel, stick, plug! 

Now, this is ASSUMING you have a power source on top of your cabinets.  If not, this may be the best way to get power above kitchen cabinets. You could plug the power transformer into a remote hub and turn it on and off that way! Amazon has those too ;)

As I mentioned, Joel installed a permanent plug for me that is controlled by the same switch that controls my under counter lighting.  He took an extension cord, cut the "plug in" end off (the "male" end), ran the wiring down between two cabinets, stripped the wires and hard wired it into my existing under counter lighting. (This is NOT something a 5 year old could do!)

To connect the LED light strip to the power transformer you merely twist the like-color wiring together (black to black, red to red) and SECURELY connect with wire nuts or electrical tape.  It is hard to tell in this picture, but there is a black wire and a red wire inside the large black wire coming out of the transformer!

Then I laid out the entire strip and began peeling and sticking along the back side of the top of my cabinets! Seriously...this is not rocket surgery...YOU CAN DO THIS ! 

IMG_1371.JPG

Before you do this, make sure the tops of your cabinets are clean and dry. The strip is pretty sticky (it professes to use 3M) but if you have dirt and gunk on top of your cabinets, it won't stick well! I shared my "nasty little secret" here along with a little tutorial on how to manage this mess!

I would strongly suggest getting the "warm white" like I did...and even then, they seem a tad "stark" to me.

IMG_1377.JPG

But never fear...there is a DIMMER specifically for LEDs!!! I have ordered that and hopefully it will be in this week!  It allows you to adjust the brightness of the LED lights (remotely).  I'm hoping it will allow me to dim the lights just a tad so they don't seem so "stark" in contrast to the under-counter lighting.

The great thing about these little lighting strips is they can be cut to ANY length.  I only needed a short piece to the right of the transformer, but needed more than 16' to go all the way around the other side. So I just cut one strip and used that piece to connect to the piece that was too short. The "connectors" come with the power /converter strip!  I will honestly say, getting this "connection" to work is not as easy as you might think. It may seem easy, and I am sure it is suppose to be...but not so much for me.  But eventually it worked and all is well.

IMG_1374.JPG

Now the truly awesome thing about these little light strips are the ENDLESS possibilities.  They have "water proof" strips that are encased in some kind of water proof plastic...I would imagine kind of like rope lighting. Most of the reviews I read said they emit an odor so I don't think I would put them in the house.  But how awesome would those be around a deck or patio.  Or maybe an RV awning!  (I "stole" these pictures from the internet...sorry)

RV lighting

Under cabinet lighting

Under cabinet lighting

And honestly, it is a MUCH cheaper way to add under counter lighting than the way I did it originally.  The downside being you would have to have an electrical outlet and someplace to put the power transformer since it is also a "converter" and necessary! You cannot just hardwire these strips directly to a regular 110 switch...it has something to do with them being DC vs AC...don't ask...just don't do it.

I am very happy with the results. Again, I do want a dimmer to "soothe" the brightness a bit, but it makes a huge different in the lighting in my kitchen.  The first pictures show my kitchen with NO lights on and only natural light through the window.  The second picture is with the under and above lights on...no overhead light! Huge difference!

As you can see, I don't do a lot of "decorating" on top of my cabinets outside of the holidays.  I know me well enough to know it will do little but attract dirt and gunk.  For example, I don't even drink...that wine is probably 20 years old and is only up there for show! I have a hard enough time keeping what little I have displayed clean!  But with the new lighting, I may just have to do a little froo-froo!

You know, the more I look at pictures of my kitchen, the more "aware" I become of the hulking black refrigerator!  When I designed the layout of this kitchen 14 years ago, I really wanted a "counter-depth" refrigerator...one that was flush with the cabinets.  But they were much more expensive and had less cubic square feet...with two teenage boys, that was a deal breaker! Now, not so much, and every time I see pictures, I realize how desperately I need one...hum. 

Grandfather clock repurposed...REVEAL!

Okay, this one was a tough one for me.  I really had every intention of doing a "dark wax" treatment on this piece.  To date, I have used the chalk/plaster paints (both store bought and homemade!) but I always seal them with a polycrylic or polyurethane top coat rather than wax.

So I started doing a little more research on this method of sealing chalk/plaster painted pieces.  

I started with a nice tutorial/opinion by Cindy at Cottage Instincts.  She has tried many different products. I also checked out what Sherri at Painted Vintage had to say. I am a firm believer that one should learn from other's trials and errors whenever possible! As  with all opinions, take them with a grain of salt and do your OWN research...and do what works for YOU!!! Sometimes "trial and error" are our best teachers!

The wax stuff just seems so tiresome and time consuming for my tastes.  

But my biggest concern was one I read a while back...once you wax a piece, the wax must be stripped before you can repaint it...unless of course you repaint it with "chalk/plaster" paint which touts "no prep."  But what do you do when that is no longer "all the rage" and you just want to spray paint or hand paint a nice plain ole' finish? Truth is, you will have to strip the wax before you do that.

That is just not something I want to deal with.

Now one could argue... "You're selling the piece...what do you care happens after the fact."

I do care.  I care a lot.  I want every piece I sell to be sound, solid, and something that will become a timeless treasure. I am not selling junk that can be disposed of a few years from now when the tides turn.  Color schemes may change...but quality pieces can last a lifetime if you are able to repaint or refinish them!   I don't want someone taking latex paint to a piece 5 years from now, only to have it all flake off because the piece is waxed and they didn't know to strip it first!

Short story long, I did not wax this piece.  Maybe sometime down the road I will experiment with it...but for now I stuck with what I know works best for me. Paint and poly finish! Seriously, do what works best for YOU!!!  

So, here is the "before." I went into great detail of how I "repurposed" and prepped for the paint treatment in my last post.

IMG_1233.JPG

After the "reconstruction" and prep, I painted the inside with a latex paint.  I went with a soft greenish color for the back panel and an off-white for the sides and shelves.  Then I mixed a homemade plaster paint with the off-white paint for the exterior.

The best recipe I have found for plaster/chalk paint is 2 tablespoons of Plaster of Paris, 1 1/2 tablespoons of cold water and one cup of latex paint.  Lately, I have had a bit of an issue with the paint "chipping" when I distress it.  I thought it might be because the paint I used was gloss...so this time I used a satin. That doesn't seem to be the problem.  The only other thing I might try is adding MORE plaster of paris to the paint.  Who knows, maybe it is the finish on the pieces...most of them are old and have an existing finish.  In the beginning, I still sanded even before I painted with the plaster/chalk paint. Now I am taking everyone at their word that you don't have to "prep" before you paint with plaster/chalk paint....maybe they are wrong! 

Anywho, I painted the exterior with my homemade chalk/plaster paint....

Personally, I like this look.  But then again, I'm not into the "distressed" look...but a lot of people are so I distressed the piece. Again, I got more of a "chippy" affect.

The question then becomes, how do I get the trim to "pop?"  How do I get depth without doing a dark wax treatment?

Good old fashioned glaze.  I mixed black latex paint with clear glaze and worked it into the trim to bring out the detail.  

Looks kind of awesome if you ask me....

I even "staged" the piece for pictures...I just wish I was a better photographer because it really is a beautiful piece and I just don't do it justice! 

Truth is, I love it.  And I love that I was able to take a true antique piece that most wouldn't give a second look and transform it into something that is beautiful and useful again!

Now for a few "before and afters."

IMG_1346.JPG

When I was working on this piece I suddenly remembered a old upright piano my father refinished 40 years ago.  I remember he painted it green and then "antiqued" it with a black wash.  Loooong before glazing and waxing were all the rage. 

Scan0006.JPG

I have no idea how he did this...it is one of those things I wish I had learned from him! I also wish I had this old piano...who knows where it went! I just hope someone has it and knows what a treasure it is!

Don't forget to check out the Link Up page and check out all the Link Parties this week! 

Finding inspiration...Transforming a grandfather clock...

I spent my 50th birthday at an auction.  It is what I love to do and so that is what I did.

Well that and I saw this picture on the auctioneer's website and just HAD to have it!

(If you click on the picture, it will take you to the source website!)

Now most people would think "What the heck are you going to do with THAT?!"  Well let me tell you.  I am going to do an old fashioned "repurpose" on it!  I am going to add shelves and repair the crown and then paint it!

I could rebuild and restore it.  It came with all the clock workings...pendulum, clock, weights, etc. But I have been looking for something old and nifty like this to turn into a bookcase/display shelf. Truthfully, I could buy the trim and materials and make something somewhat similar.  But I really wanted an old and original piece that could be transformed.  So when I saw this picture on Larry William's auction website, I knew I had found the perfect piece!

Truthfully, when was the last time you saw a restored and functioning grandfather clock and thought "Wow, I really want one of those!" ?

Probably not....and most people under the age of 40 (what I refer to as the "target" market) really don't have the desire or room for a grandfather clock.  But they do love unique and repurposed display shelves!

So today I want to show you how you can think outside the box and create something beautiful and useful out of something that otherwise is a bit "outdated."  

Here are the "before" pictures after I brought it home....

As you can see, it has AMAZING trim detail.  Some of the crown on the top has been broken and is missing but that will be a relatively easy fix.  I will just remove the existing crown and replace it with a new piece! 

The only other "flaw" is a tiny bit of bubbling in the veneer on one side, but I am not even going to bother with it...it is an old piece and it will have it's flaws...or rather "character." Structurally it is very sound and solid!

Finding inspiration for a piece like this is not difficult.  Even if you don't have a "creative" mind, you can always "google!"  I Googled "repurposing grandfather clock" and found all kinds of creative inspiration! Some transformed into shelving, some with chalkboard additions and all kinds of different paint techniques! Again, you are only limited by your ability to "copy" what others have done.  Most academic types frown on what they call "plagiarism," but we "crafty" people look at is as a total compliment when someone loves what we do and attempts to "copy" our handy work. Let's face it...that's what the DIY blogs and Pinterest are all about...look what I did and look what YOU can do!

Today I am going to share what I did to "modify" this cabinet to ready it for paint.  

The first thing I had to deal with was the round opening.  Unfortunately, one piece missing is the round trim that would have trimmed out the opening. It is in a little door that opens to reveal the top shelf...it originally housed the clock.

IMG_1266.JPG

Since I am going to rebuild this to be a display cabinet, I decided to cut a square opening and trim it out with new trim. First, I marked it, then cut it out with a jig saw....

IMG_1271.JPG
IMG_1273.JPG

Then I trimmed it out with 3/4" flat molding on the inside edge and 3/4" fluted molding....

IMG_1276.JPG
IMG_1277.JPG

The next thing I had to deal with were the openings in the base and the top originally for the clock mechanisms. 

IMG_1286.JPG

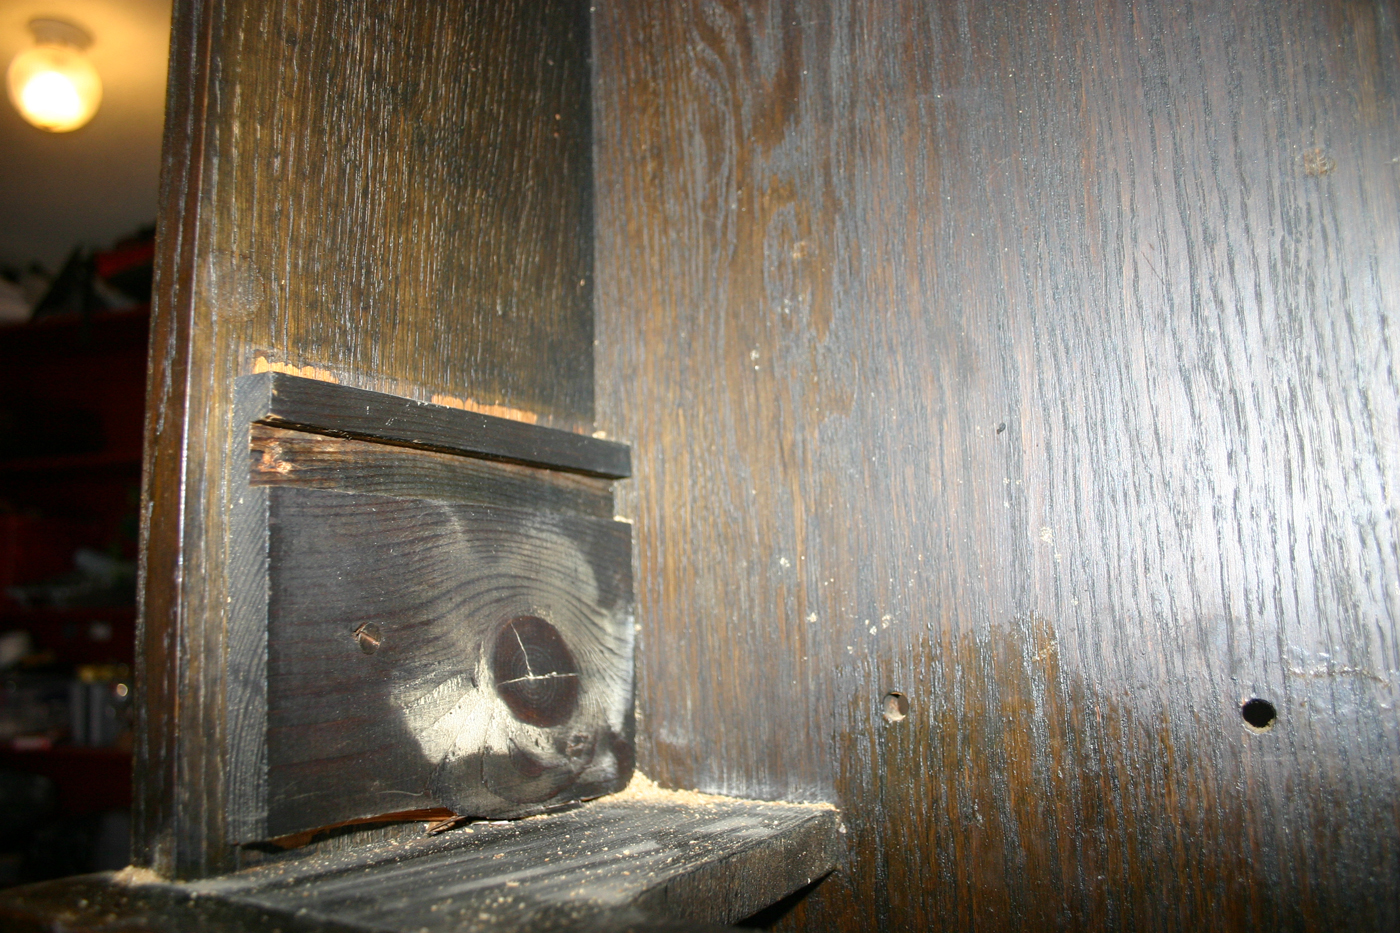
I added a piece of 3/4" board to the base to fill in the hole and on the top I removed the original bracing and covered the existing cutout with a board.

IMG_1288.JPG

If I intend to paint a piece, I usually use poplar.  It is a clean wood, relatively straight and paints nicely! And it is cheaper than oak!

I added two shelves.  Simple. 

My plan is to paint the inside back panel a pretty blue or green and the outside a soft off white. I plan on "distressing" the outside trim and using a dark wax to make the trim detail "pop." I Kilzed the inside since I don't plan on distressing it but left the outside stained.  That way when I lightly "distress" it, the stain color will show through. 

I still have to find a nice "crown" trim to replace the original busted crown. I will stain that and the fluted trim so the stain color will show when I distress it. 

Cold weather is moving in and I wanted to get the modifications and Kilz done so I can move it inside to paint! After rolling and brushing on the plaster paint, I will still have to move it outside to "distress" it, but the temperatures won't matter much.  And then I can move it back inside to apply the dark wax!  

Dang this weather is killing me!

Updated "antique" school desk and school chair...

Several months ago I went to an auction at a pretty nasty place.  Most of the pieces I brought home had to be scrubbed with ammonia.

I bought a little school chair and an old school desk.  Did I bother to take a picture before I started working on them? Um, no!!!  You would think after all these months I would learn.  But often times I bring stuff home, store it and then the first time the temperature spikes above 60, I start tearing into it!  And this time of the year, those days are rare! 

I did find a picture of the little chair...but the desk was used to prop up the large wood windows I bought so it didn't get in the family photo!!!

So again, it is time to close your eyes and "imagine."  For anyone over the age of 40, it's not going to be hard. More than likely, it was the kind of desk you had during your elementary years.  Beige formica top, grey metal base and an open shelf for a little plastic pencil box and books. 

After both got a good scrubbing, I used "automotive primer" on all the metal.  Kilz works well too, but I usually use "automotive" primer on metal.  I find it just "bonds" better.  I didn't prime the plastic on the seat or the top of the desk.

For the desk top, I used chalkboard paint.  Then I sprayed the base with an awesome "teal" color.

For the chair I used a red "plastic" spray paint on the seat.  You can buy it at Lowe's and it is specifically formulated for painting plastic.  I think any spray paint would probably work but since I needed to buy paint for this project, I went with a paint specifically for plastic. I sprayed the legs with a bright white.

Cute!  Perfect for a child's room!  

Both of these will be in my booth! (The desk sold in ONE day!)  Sometimes I wish I still had young kids so I could do cute little projects like this specific to their decor!  

Then I remember that when I had young kids I didn't have time for cute little projects like this!  

Mid-century furniture treasures

I love mid century pieces.  

I started collecting them on a small scale before the "mid-century craze" blew up! Quite by accident I might add.  I picked up my first little "lamp table" at the apartments one day and started to pitch it in the back of the truck to take to the dumpster.  It was pretty nasty but I realized it was a nice sturdy table...no wobbles...and I strongly suspected it was oak and walnut (it is!). So I brought it home and refinished it and started doing a little research.  Lane Acclaim...late 50s, early 60s.

It was my first piece and I have been in love with the mid century pieces since!

I have been able to pick up a few Lane Acclaim tables for a decent price here and there. Now there is no way I could pay the prices most people are asking.  

My Lane tables are one of my favorite things....

These are just two of the many I have. I absolutely love the clean lines and beautiful design of these tables. They are as sturdy as the day they were built 50+ years ago. And the walnut?  Just wow! 

They are great pieces to refinish IF you do it right.  Most pieces pre-mid 1960s have a varnish finish. Varnish tends to "muddy" over time and of course they have had decades of wear and tear, so you really do have to "refinish" them.  Not hard if you use the right stuff.  I absolutely love the Formby's products...especially the furniture refinisher. Basically it just melts the old varnish off and leaves the wood clean and hydrated. After I have stripped ALL the old varnish, I give it a mineral spirit "wash" and then apply 3-4 coats of the Formby's tung oil.  You can use REAL tung oil, but honestly, that is not something a "novice" DIYer wants to tackle! Most "oils" sold in stores, whether it is Danish, Teak or Tung, are basically the same chemical makeup.  But they all provide a beautiful and durable finish that is easy to apply, super easy to maintain and more importantly for me (and anyone who has kids or pets), crazy easy to touch up or repair scratches and dings! 

Poly?  Don't even get it close to these pieces...nothing upsets me more than to see a beautiful vintage piece of furniture slathered in poly. Grrrrrr......

I have 7 of these little tables...one I found in an apartment, the others I never paid more than $40 for...carefully restored they sell for hundreds...EACH!

Months ago, I posted about this little tv cabinet I bought at an auction for $1 and refinished. Cosmetically it was in pretty bad shape...but structurally perfect! Solid walnut top and really nifty sliding doors.

smallcredenza2_l.jpg

I never could find out anything about it. Usually I can google a description and find out what something is...origin, style, date, etc. But I never could on this piece.  

Recently I stumbled across what the doors on this piece are called...."tambour" doors.  

Specifically, this piece is described as a "Cabinet or side table by John Kapel for Glenn of California."  

There were a few minor differences between this cabinet and mine, but there is no doubt they are by the same designer and manufacturer.

I found this piece on firstdibs.com.  And just so you will understand that it is worth the time to scrounge around at auctions and garage sales...they list this piece at $2200.00!!!!!!

Now I'm not naive...I know that I could NEVER sell this piece for that price...but it does tell me that it is a very desirable, unique vintage piece...and my time and effort to refinish it was worth it!

Same with this coffee table I started refinishing this weekend....

I bought this table at an auction as well....for $22! As you can see, cosmetically it is rough...but structurally it is perfect. I didn't know exactly what it was, but I knew it was "mid-century" and walnut and I loved the style. When I brought it home, I found the "Drexel Declaration" stamp on the bottom.  Again, highly desirable mid-century piece...one that will be worth 20 times or more than what I paid for it after I refinish it.  I will make sure to post before and after pictures when I am done!

Again, I don't have any intention of selling this piece.  So the "profit value" isn't what motivates me...it is the confirmation that my time and efforts to hunt down and carefully restore these pieces are valued!

I found two of these chairs on Craigslist for $40 each....

IMG_9446.JPG

To date, I have only refinished one of them...someday I'll get to the other!  While I normally wouldn't pay $40 for a chair, they are mid-century and solid walnut.  And the caning was in mint condition which is rare on older pieces! So in my book, as a lover and collector of mid-century pieces, they were worth every dime and worth the time and effort to restore them! 

Whether your decor taste is mid-century, shaby chic, farmhouse, deco....it is out there. If you are patient and take the time to scrounge Craigslist, garage sales, thrift stores and auctions, and have the ability to put a little time and effort into the pieces, you can create beautiful pieces that will become timeless treasures in your home!

Not your plain ole' high chair!!!

This is one of my favorite projects for so many reason.  

First, I love doing "kid's" stuff...chairs, desks, dressers...anything kids would love!  

Second, it was free.  Well, the CHAIR was free...the materials and time were a little excessive!  But I love the way it turned out so it was worth it! Truthfully, if I paid myself by the hour on the items I repurpose/reupholster/refinish and then sell, I would make about $1.32 an hour...not sure I would even clear that on this chair!

This was another "abandoned" piece I found at my apartments. 

And it was N.A.S.T.Y!

IMG_1179.JPG

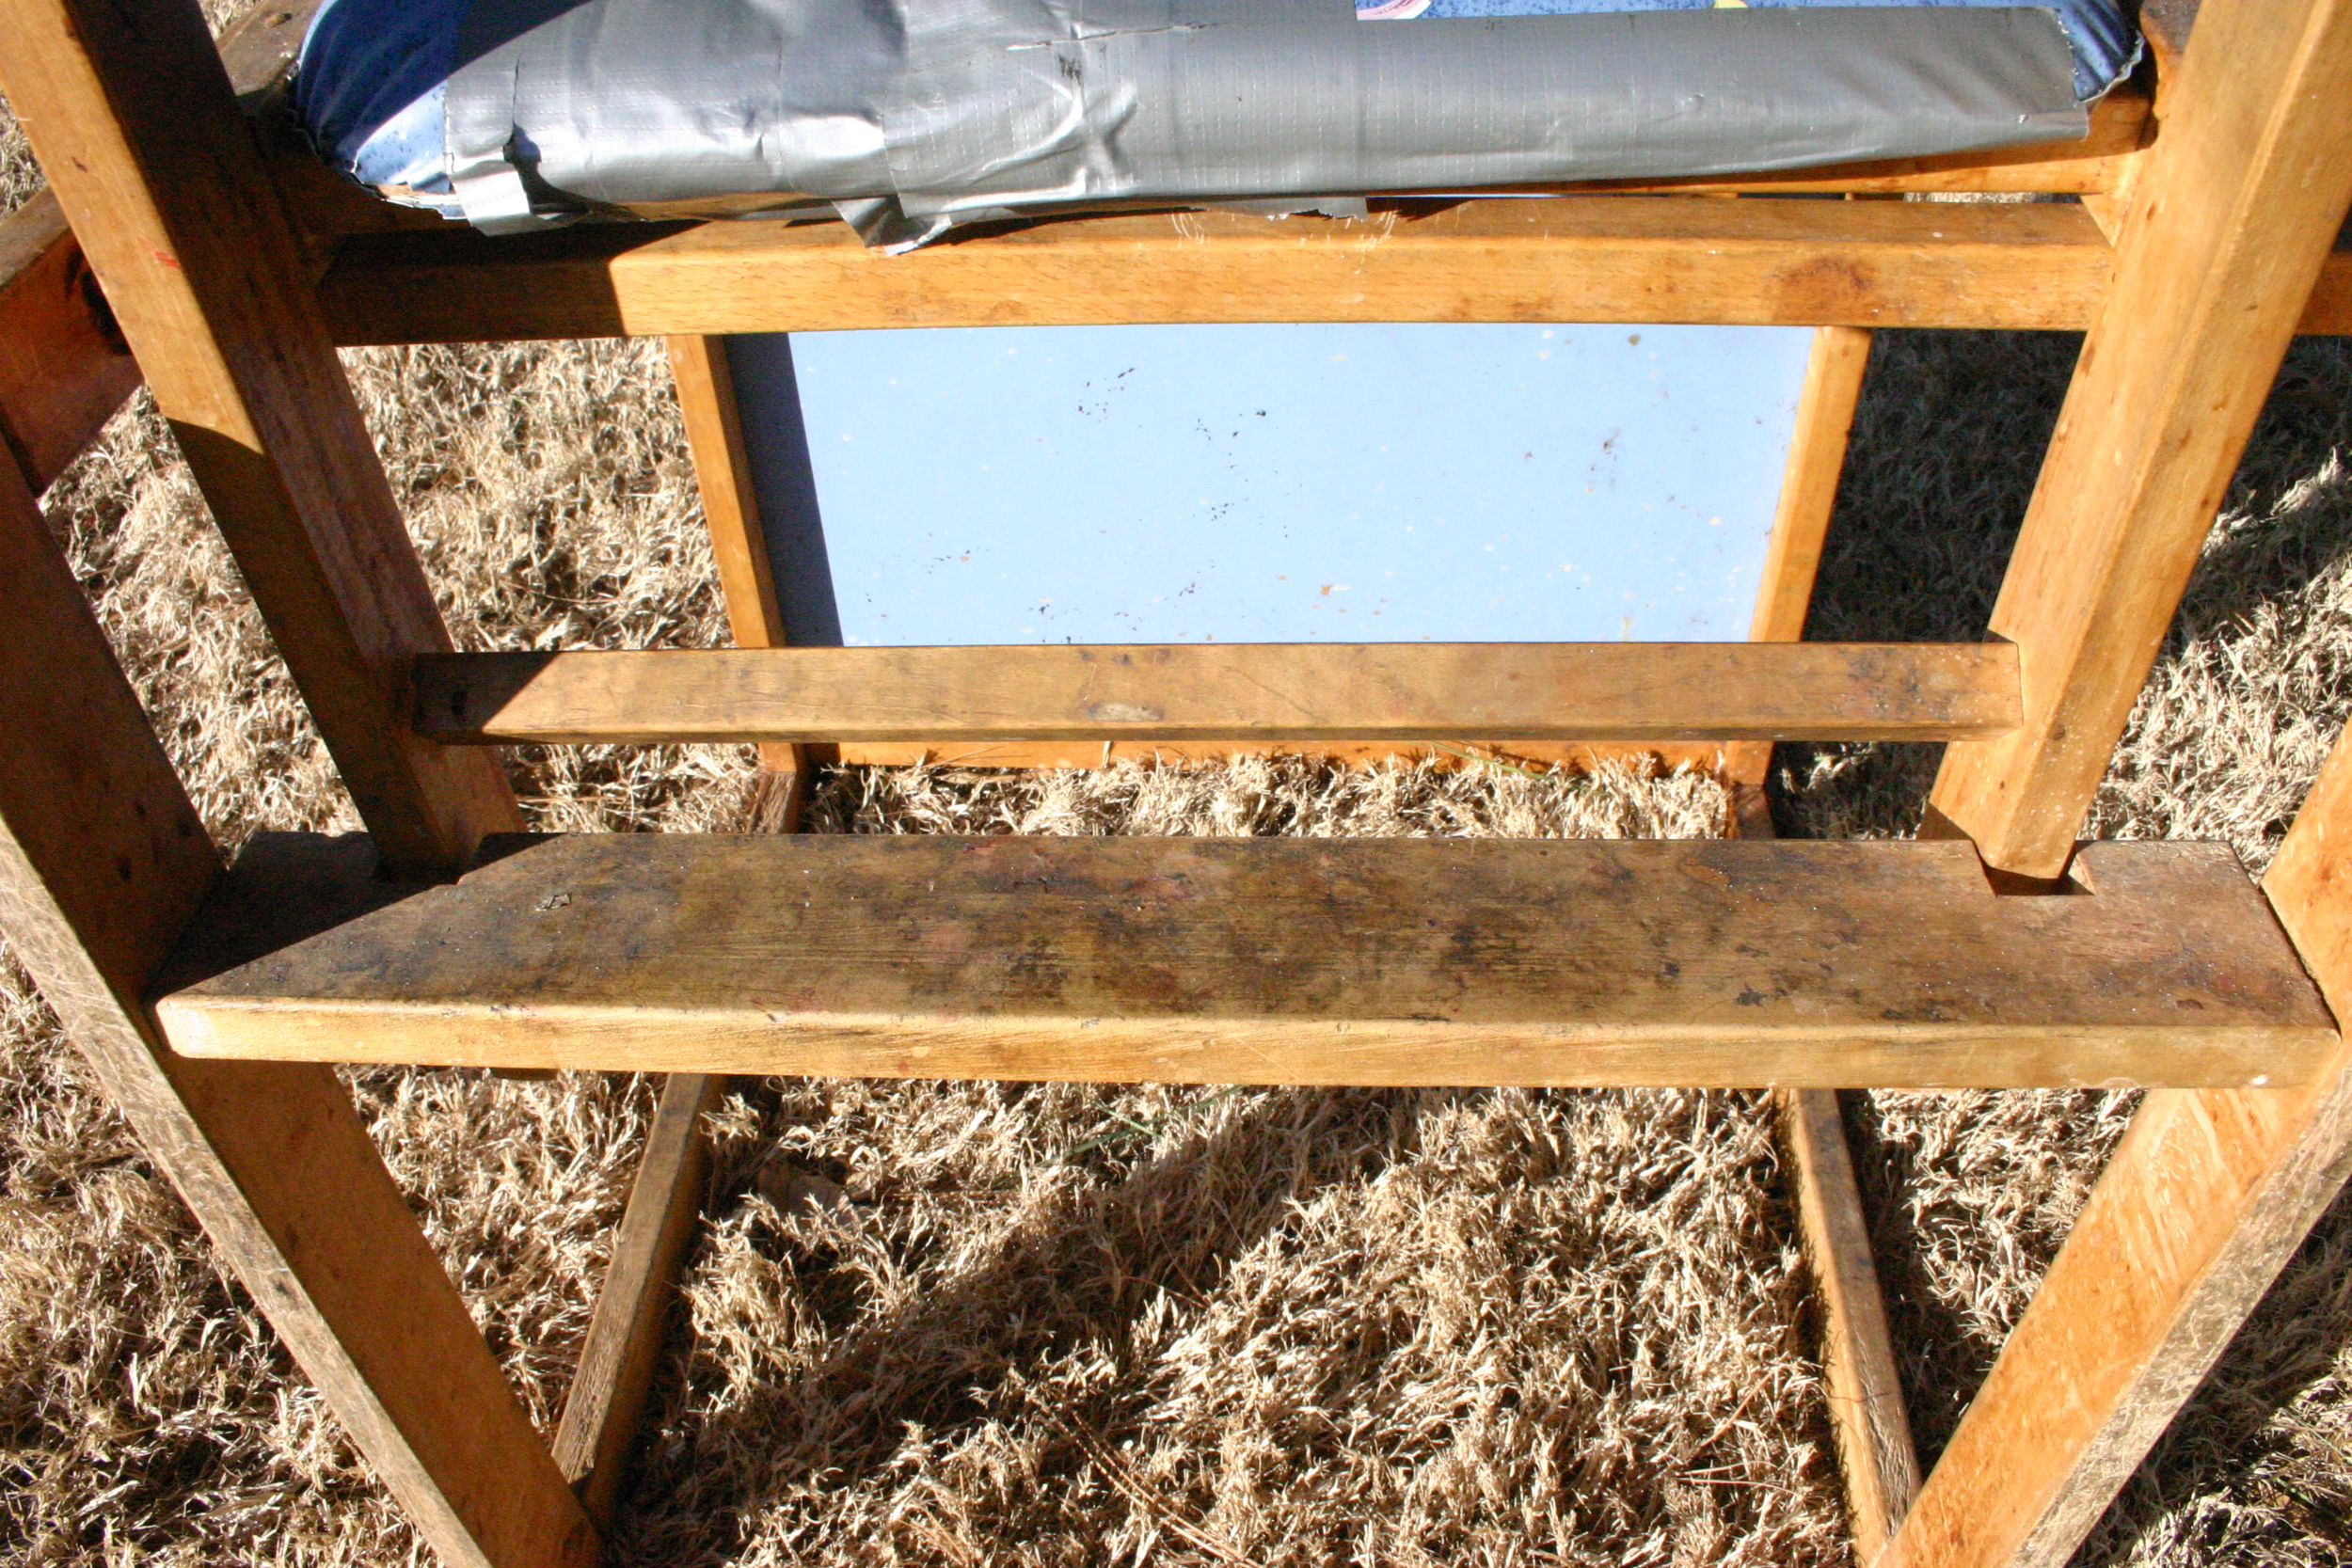
Every square inch was covered in nasty gunk!!!  But other than the tear in the seat (Duck tape? Seriously?) it was structurally sound. And super neat.... the top of the chair lifts off the base...and the base can be flipped over and used as a desk with a dry-erase top...nifty little thing.

Since the tray was missing and it probably is no longer considered "high chair safe" I decided to spruce it up and make it into a little child's booster chair!  Definitely not something you would want to put your toddler in and leave unattended, but sturdy enough for a young child! 

First I removed the seat and back and the old tray brackets. 

Then I had to clean it!  I put it in the tub and saturated it with straight ammonia....

The nastiness just melted off.  I can not tell you how disgustingly filthy this thing was and I am sick that someone would put their child in it...just gross.

After scrubbing it with ammonia and steal wool, I let it dry thoroughly and then gave it the ole' KSTP treatment...Kilz, sand, tack cloth and paint.  

I decided to spice the frame up a bit with bright red paint. I used a black and white damask with red piping on the cushions. The seat was pretty thin so I added a little foam padding before recovering it. 

I painted the dry erase board on the base with chalkboard paint! I'm kind of addicted to that stuff!

Just darling.  I just love anything that is "unique."

And while it really isn't safe to use as a high chair, it would make a perfect "kitchen helper."

The Birdies on a light fixture or lamp shade!

I received several positive comments about the little bird pillows featured here!  They really are darling.  I took the pillows I featured to my booth and then made two more for my den. 

I also painted the bird silhouettes on my laundry room wall...featured here. ( I would like to add...this laundry room reveal has been "pinned" and featured a BUNCH!!!  Awesome!)

When I spotted this little light fixture on clearance at Lowe's, I just knew it would be perfect for the bird silhouettes!  Simple metal base and a linen shade. The metal was "antique bronze"... not my favorite but an easy fix! (Kind of makes me wish I hadn't already set my heart on the fixture I already installed in the laundry room! )

I painted the base black. Since it is metal I first sprayed it with the auto primer and then two coats of gloss black.

If you can't easily remove the shade, make sure you tape it off REAL well! 

Then the tricky part....painting the birds on the shade.

This post gives you a step by step tutorial on painting on fabric. As I mentioned, if you screw up or get this paint on the fabric, it is NOT coming off.  Painting on a round shade is NOT easy.  So get comfy and take your time.  I basically used the same exact process I used to paint on the fabric for the pillows!

Somehow, by the grace of God, I managed to paint the silhouettes without messing it up!

I painted a silhouette on each side of the shade.  When I hung it in my booth, you can see the birds from both sides...AWESOME!!

Dressing up a basic fixture or updating light fixtures is NOT hard.  Often it costs way less than going out and buying new fixtures.  Here I featured exterior lights I purchased at a garage sale for $5.00...new glass, a little elbow grease and a little paint...as good, or better, than new!!  

Don't stop at light fixtures...updating old lamps and paddle fans can give new life to out-dated or boring fixtures! Check out how easy a little "make-over" can be here!

And if you don't know how to take down an old fixture or install a new one, just check out my tutorial here.  It is not hard and YOU CAN DO IT!!!!

A little bedside table update....

Again, another pathetic piece of furniture abandoned. Left behind to be pitched into the dumpster....

You can usually tell if a piece of furniture is quality just by picking it up...sturdy and heavy.  When I started looking for markings I found that this is a Lexington, which is a pretty decent quality manufacturer. 

Quality, but seriously abused....

While this may look like a major project, it really wasn't so bad.  Some serious scrubbing, but structurally it was in fine shape.  

After I gave it a good scrubbing and cleaned it up, I sanded the top, sprayed it with Kilz and a pretty blue paint and then plaster painted the base. 

The original paint was high gloss, so when I began to sand the plaster paint, it "flaked" a bit.  This piece has more of a chippy look than what I normally get with plaster paint. 

But I kind of like the look.....

I'm always pleased when I can salvage a solid piece of furniture and save it from the landfill!  This piece was destined for the dumpster but now will have a new and long life with someone who will love it's classic style!