Piece by piece...

I had a friend on Facebook ask where she could find much of my decor because we share a style.

Funny…as I walk around this house I see so many pieces I have cobbled together over the years. Pieces I bought at auctions and refinished. Some at flea markets. Some I bought new and tired of over time so I gave them a little facelift. Pieces I inherited. ( I am actually kind of shocked at how many pieces there are and how little I paid for them originally!)

Every room in this house has pieces I have refinished, refurbished or rehabbed.

My bedroom….

Twenty years ago I bought an entire bedroom set…bed, dresser, highboy and two night stands. Paid a small fortune for the matchy-matchy set so I couldn’t bring myself to get rid of it. Over the years I finally gave up the bed and dresser and the highboy and nightstands have had little facelifts. The furniture and our master bedroom got a full makeover HERE.

Before….

After….

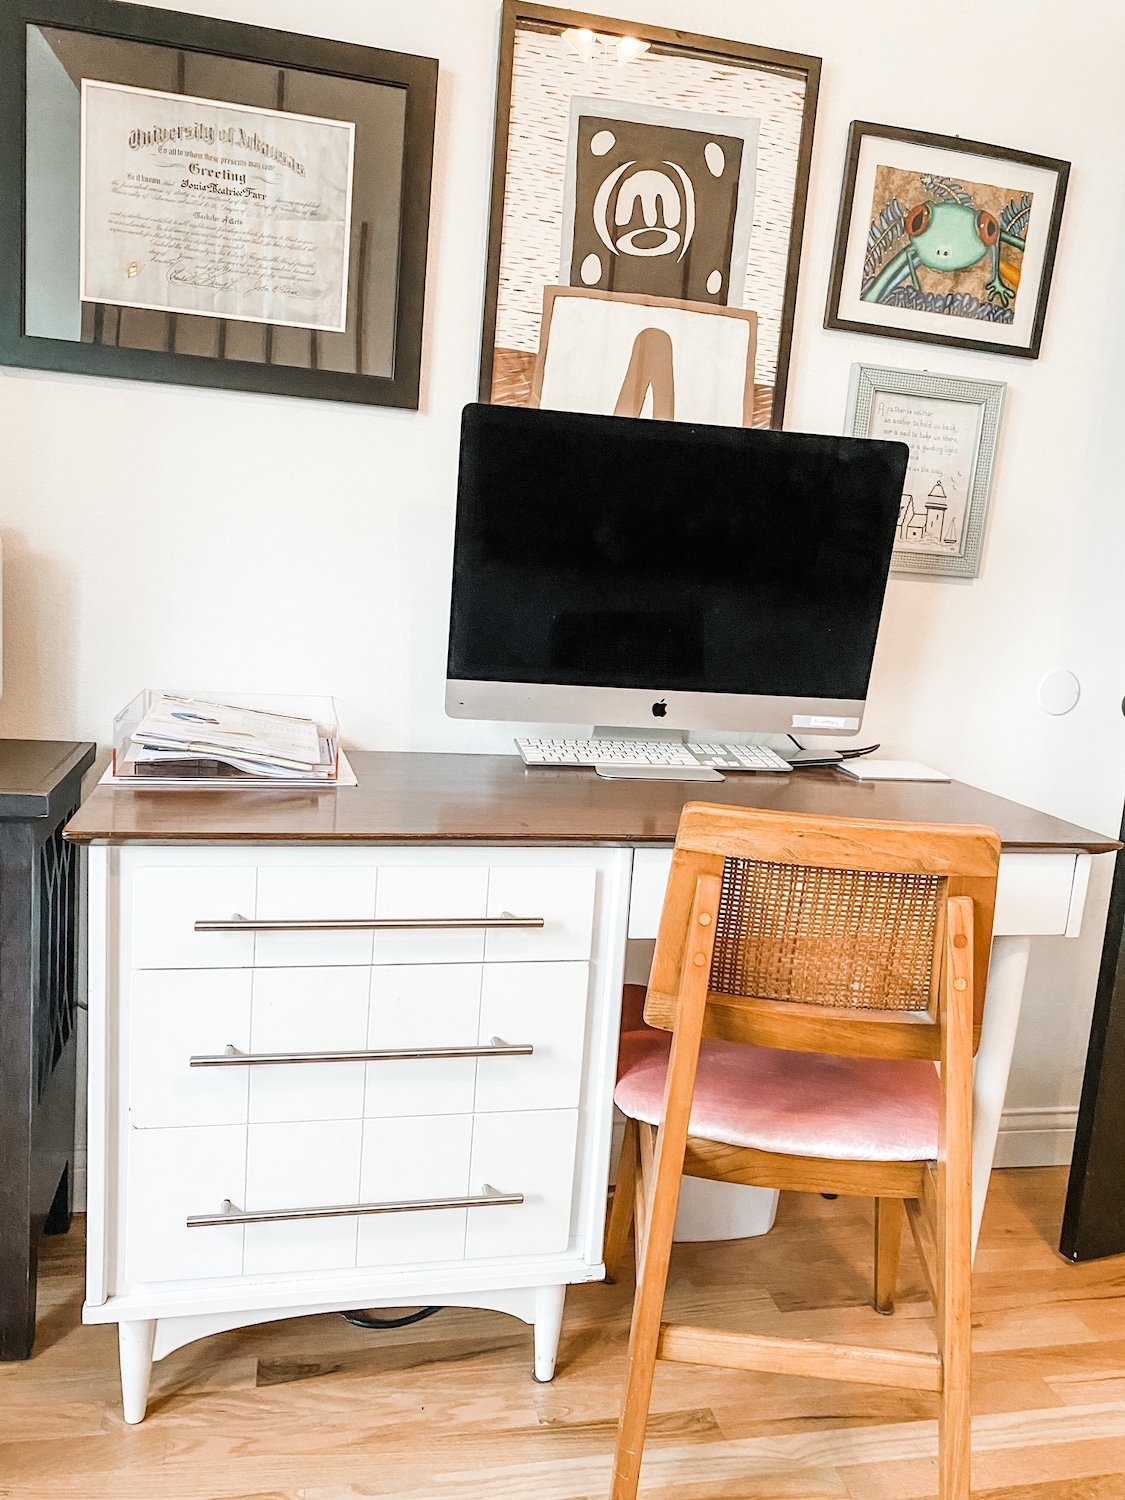
My office…

I bought this desk at a junk shop YEARS ago…I think I paid $25 for it.

Still love it although it could use a little refresh!

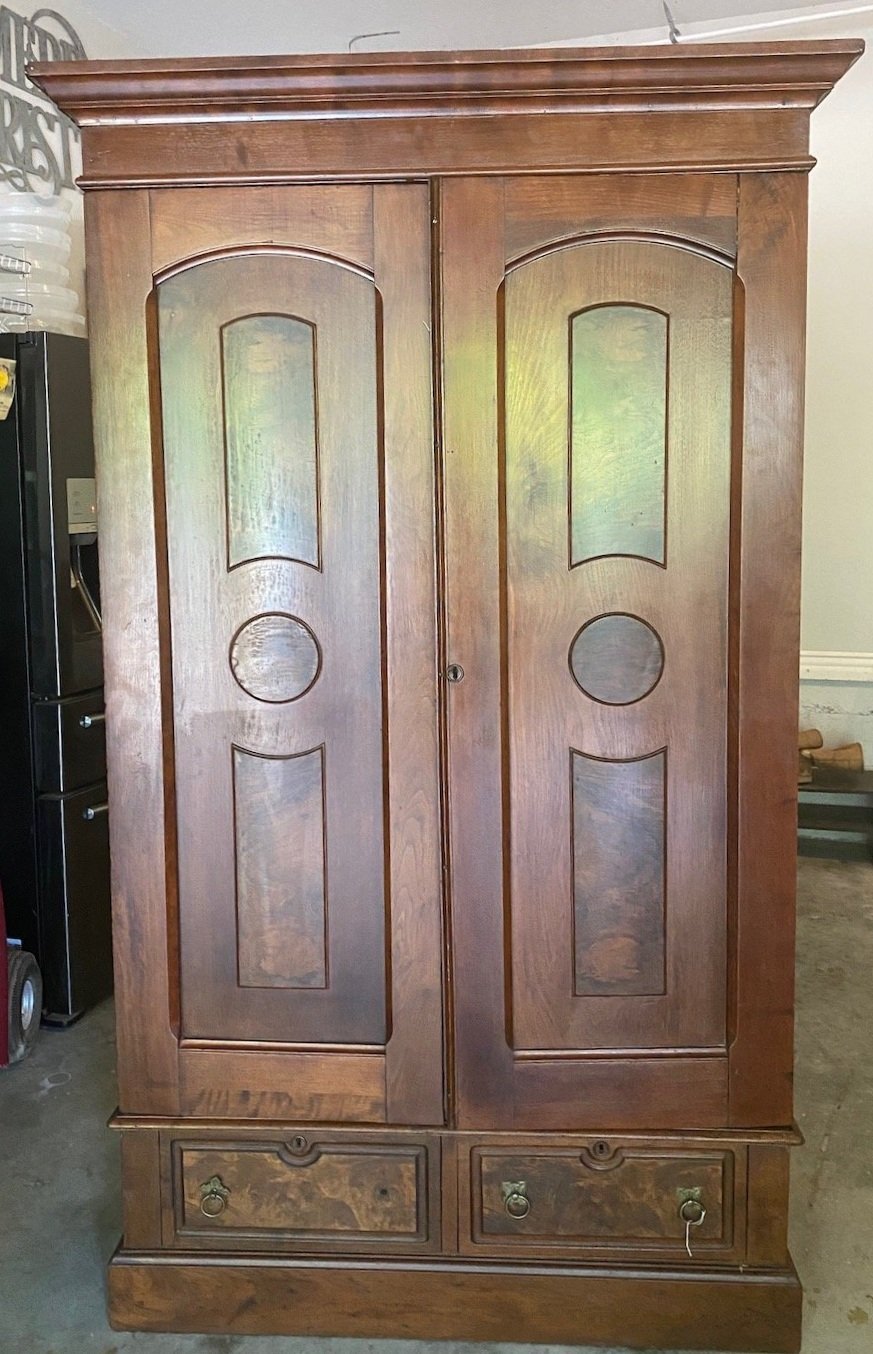
The china display cabinet in the dining room. This is a prime example of a piece that is not my professed style but I absolutely love it all the same…LOVE!

I had a vision in my mind’s eye of what I wanted and I knew this piece could be exactly what I wanted with a little time and effort….

It took a bit more time and effort than I anticipated but it really is one of my favorite pieces.

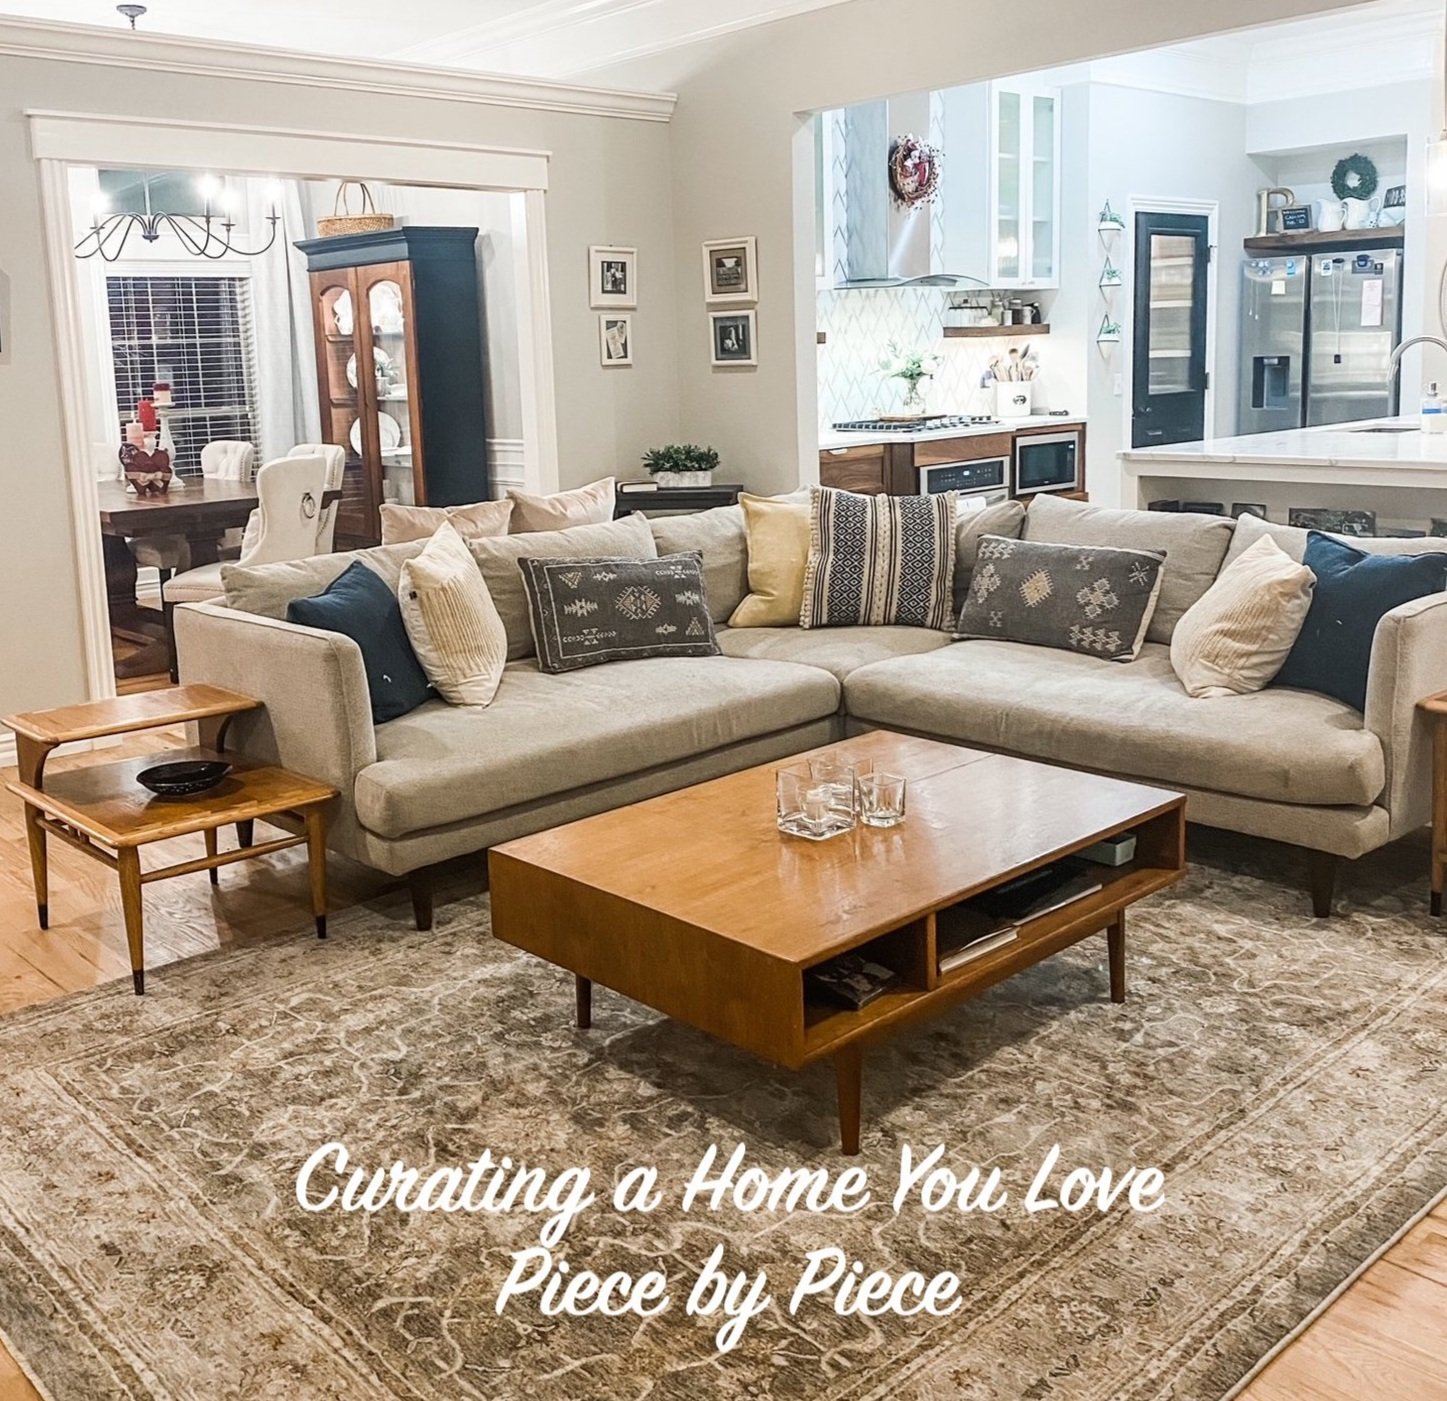
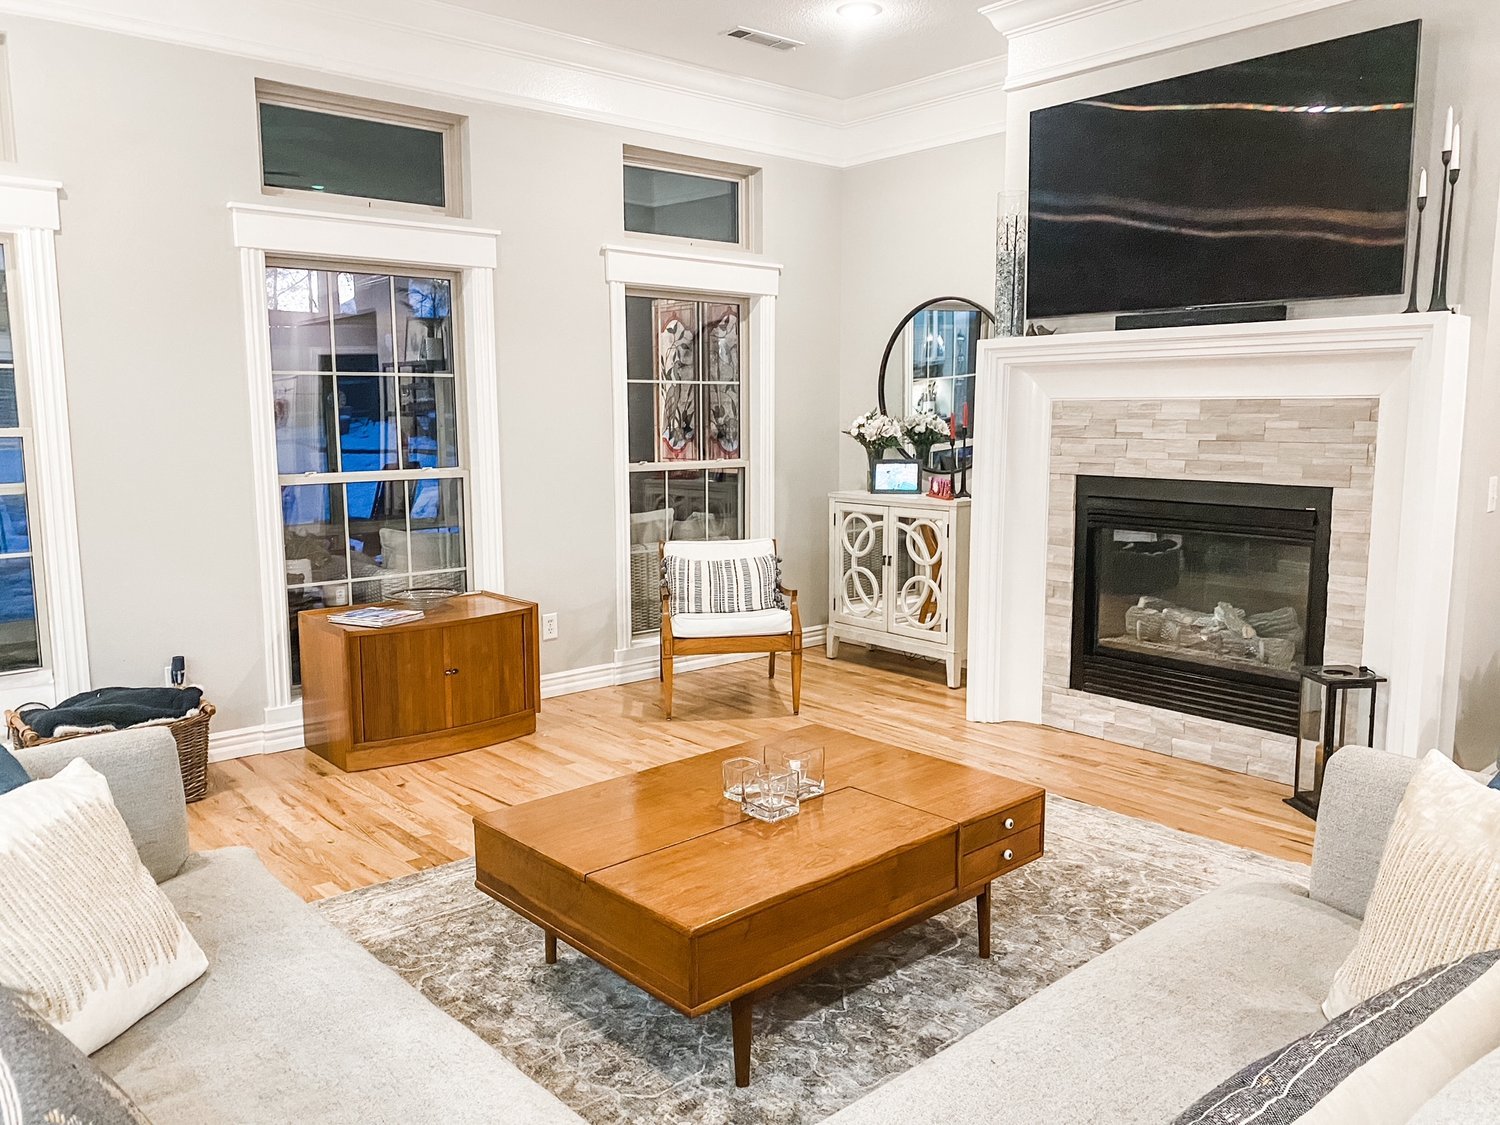
I have several pieces in the living room I have rehabbed over the years.

This AMAZING coffee table I picked up at an auction for $22!

I sometimes wish I had a round coffee table but I love this piece so much I just can’t bring myself to part with it!

Several Lane Acclaim tables I have picked up here and there and refinished.

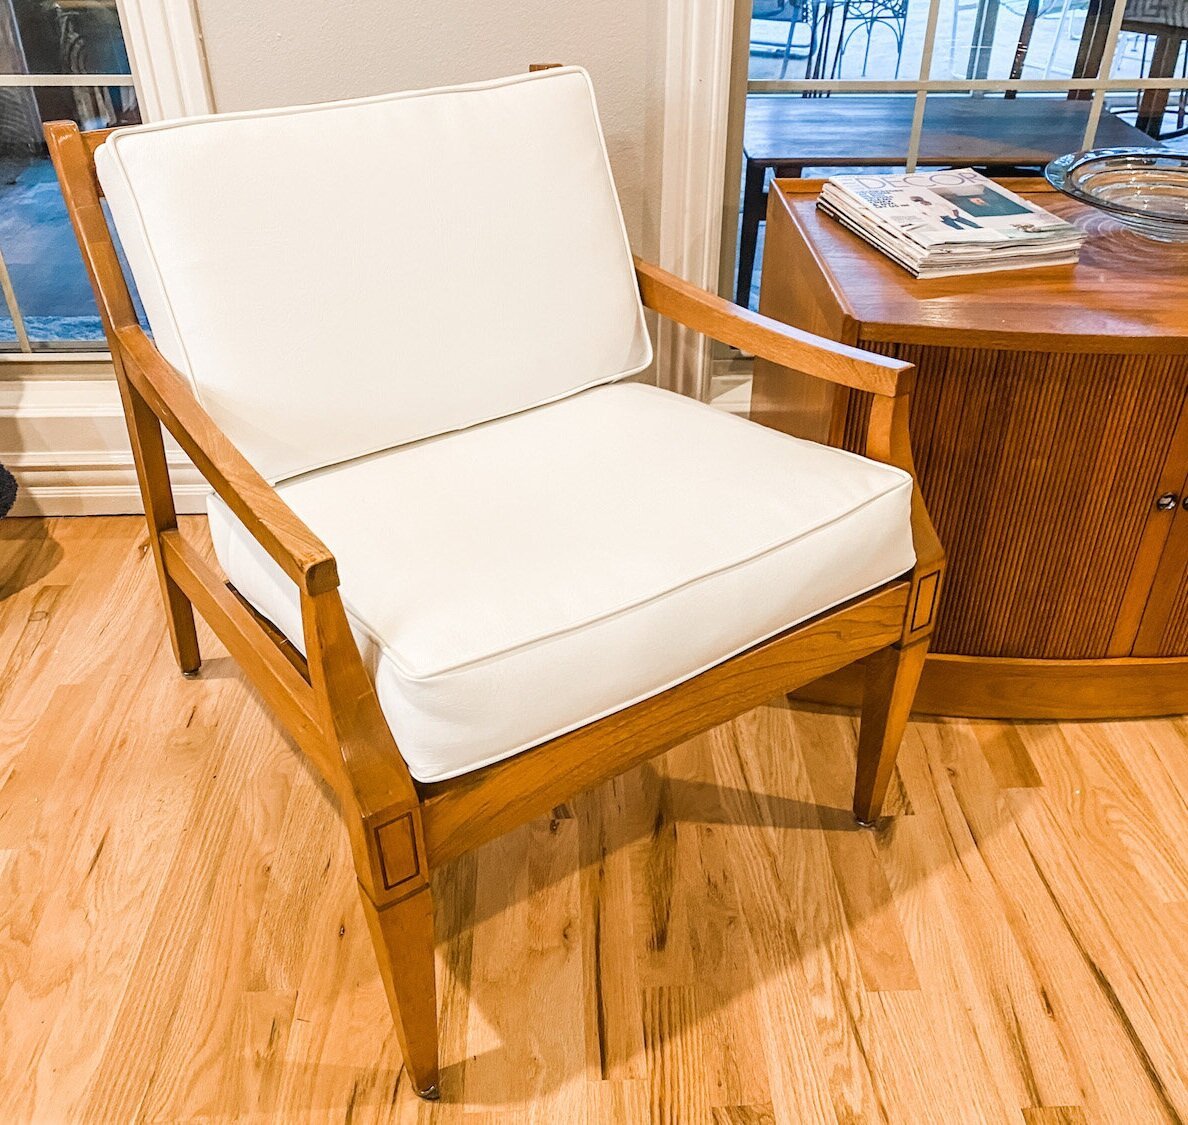
My grandmother’s little mid century chair has had two little makeovers. The teal chair is one I bought off Marketplace years ago and reupholstered….

My breakfast nook has several pieces as well.

The table….

The little china cabinet was a fun and relatively easy project….

They seem to work well together after their little facelifts….

There are so many more pieces I have curated and rehabbed over the years. Side tables, benches, chairs, dressers…every room has pieces I have refinished, painted or reupholstered.

It took years for me to collect all these pieces, bring them back to life and create a home I love with pieces that have purpose and meaning.

Most of the links are to the original rehabs where I share what I did…unfortunately I am NOT a good teacher so often I direct you to search the internet for good tutorials on how to repair, refinish and paint pieces. Find a tutorial that makes sense to you and begin curating your home one piece at a time.

It doesn’t happen over night! And it seems to be never ending…

The dining room wainscoting reveal...

As I mention HERE when I was looking for inspiration for my dining room, I like to keep a list of projects I want to complete so I can check them off as I go.

CHECK!

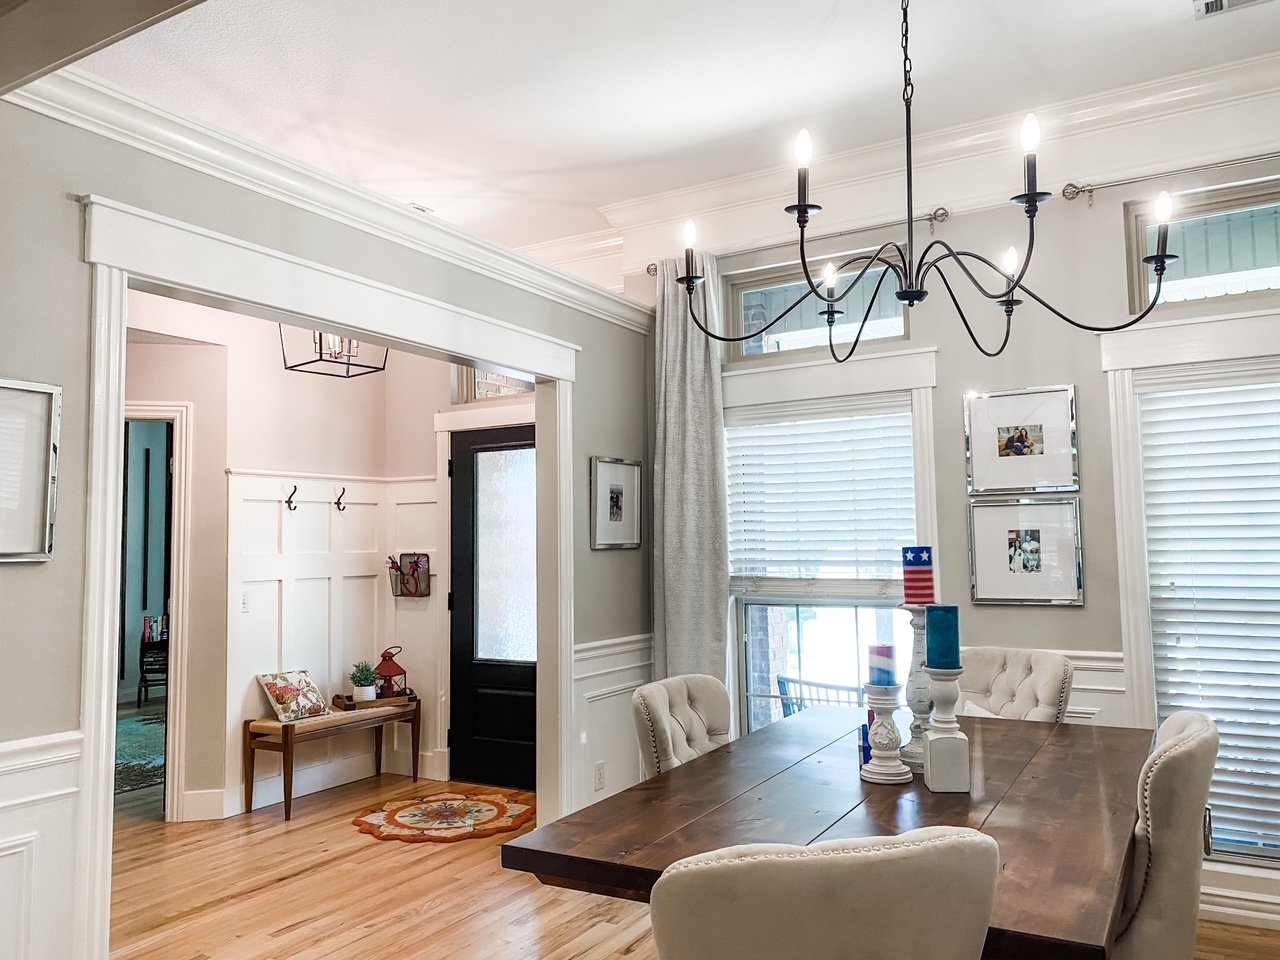
The dining room wainscoting is done.

Not sure it is really even noticeable, but to me the room looks much more “finished.”

BEFORE

AFTER

Super simple project with simple but lovely results….

The entire space is a far cry from where we started two years ago….

So another simple project checked off the list.

If you will remember, I followed Timisha’s tutorial for this molding…she really does a great job of breaking down the process! She is one of the reasons I don’t do a lot of detailed tutorials…why reinvent the wheel when I can just link you to one…lol!

I still have a few more projects I would like to complete but OH MY GOSH it is stinking hot…with NO relief in sight.

Sooooo…I am doing what I always do in the heat of the summer. I am hibernating. Well, at least after noon. Good thing I get up early…I can cram my entire day into the morning hours!

Dining room wainscoting...

I keep thinking I have no more “major” projects to complete around this house…but inevitably I find something I want to do.

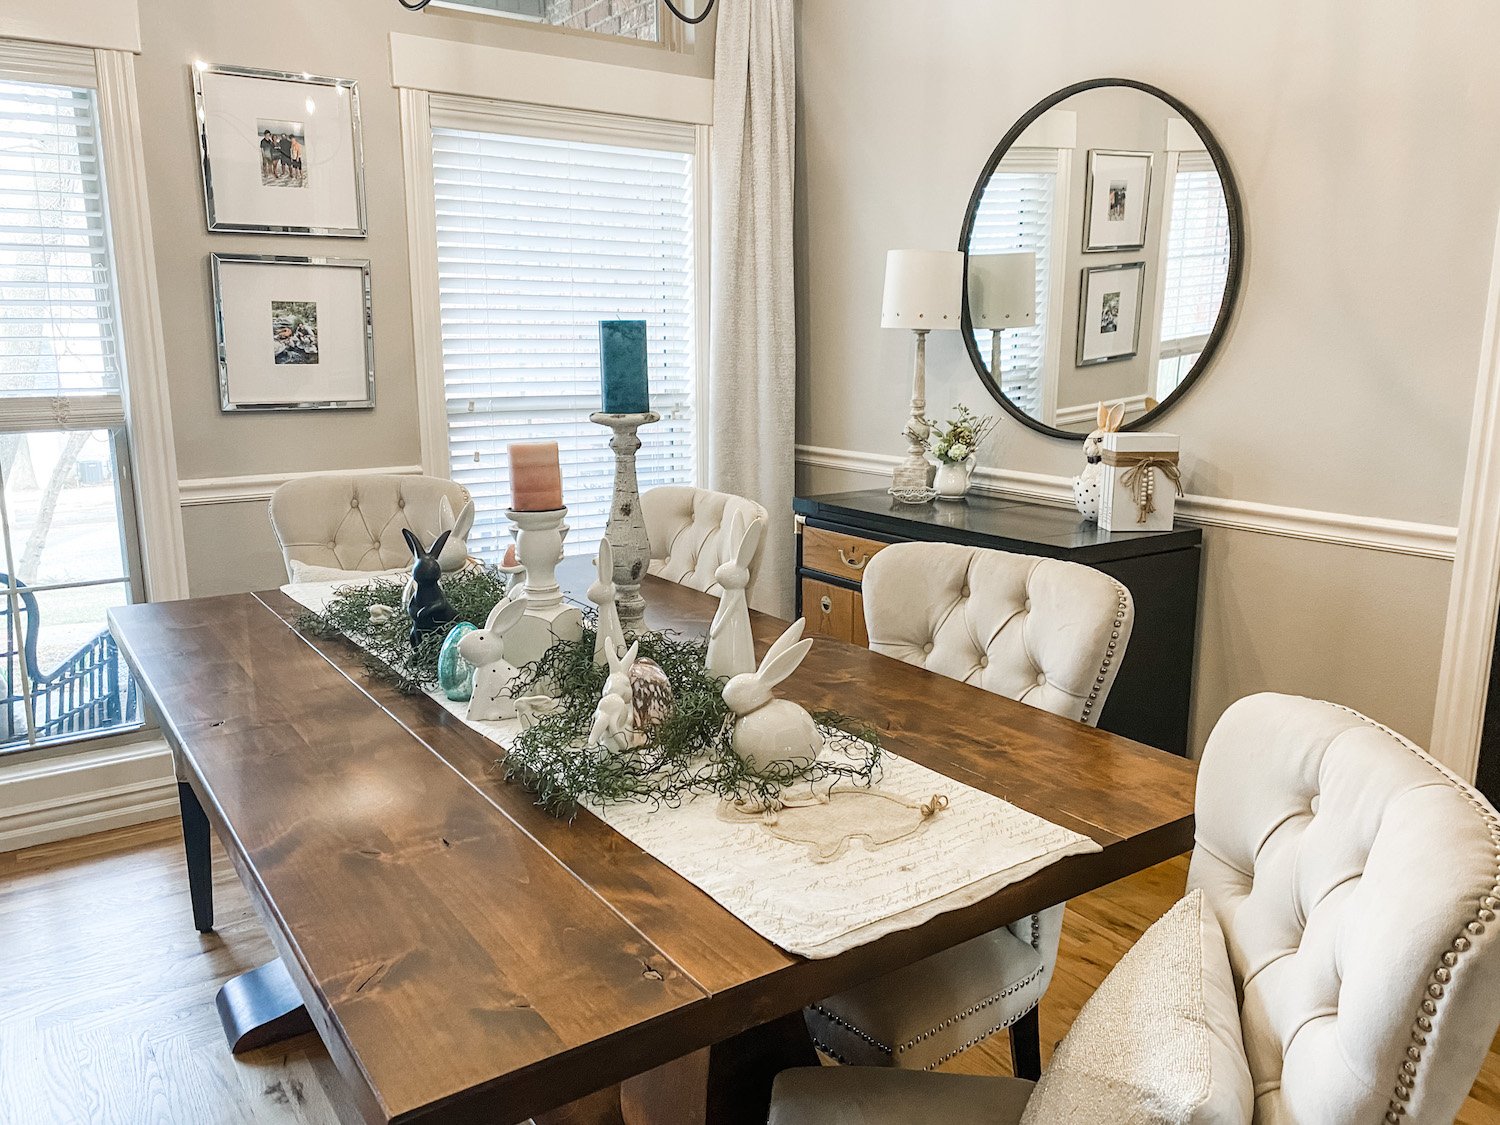
The dining room…a tad formalish but we actually use the room more than I thought we would for casual dining.

Like much of this house it has evolved over the last few years….the first Christmas featuring our new tablecurtainsthe new buffet….all relatively minor.

When we first bought the house the formal dining room was pretty blah…

Right off the entry…first thing you see when you enter the house.

This is the Christmas decor…LOVE! I love decorating this space for holidays and seasons!

As I have shared before, I replaced the arched transoms with rectangular ones, removed all the crown above the doors and windows and changed the light fixtures…all in an attempt to “detraditionalize” the space. It had chair rail and it was obvious it had wallpaper below the chair rail at one time. Before we painted, I had the painter repair some damage from where the wallpaper had been removed and add texture. Then we painted.

For months I have wanted to add wainscoting or SOMETHING to jazz up the space a tad. The only problem I have is that most of the wainscoting inspiration I can find is either really traditional/formal or casual “farmhousey” (like board and batten.) While I have made some changes to detraditionalize the entire space, I don’t want to go super casual. So not formal but not casual.

Don’t get me wrong…I like board and batten wainscoting.

I added it in the breakfast room

….and entry

…and I love it.

But it just seems a tad too “casual” for a formal dining space.

So…what to do, what to do.

I did what I always do when I am looking for inspiration…cruised Pinterest and the blogisphere.

There are a few issues with this room that will influence what I can do. First, the walls do not go all the way to the ceiling…so in my opinion, I need to keep the wall color above the existing chair rail.

Second, the existing chair rail. I really don’t want to remove it because then I have to do a bunch of sheetrock repair and truthfully, I think I can incorporate it into any design I pick…at least the height of it incase I find another trim i like better.

I know I don’t want to do any picture molding above the existing chair rail…kind of formalish.

I realize I have elements in this room that make it more “formal.” But I want to tone it down a bit.

So far my favorite look is this….

Timisha has a great tutorial HERE for this look.

Easy, relatively inexpensive…kinda formal but not so much that you feel like you have to set out the fine china.

Perfect.

Hopefully next week I can share the finished project!!!

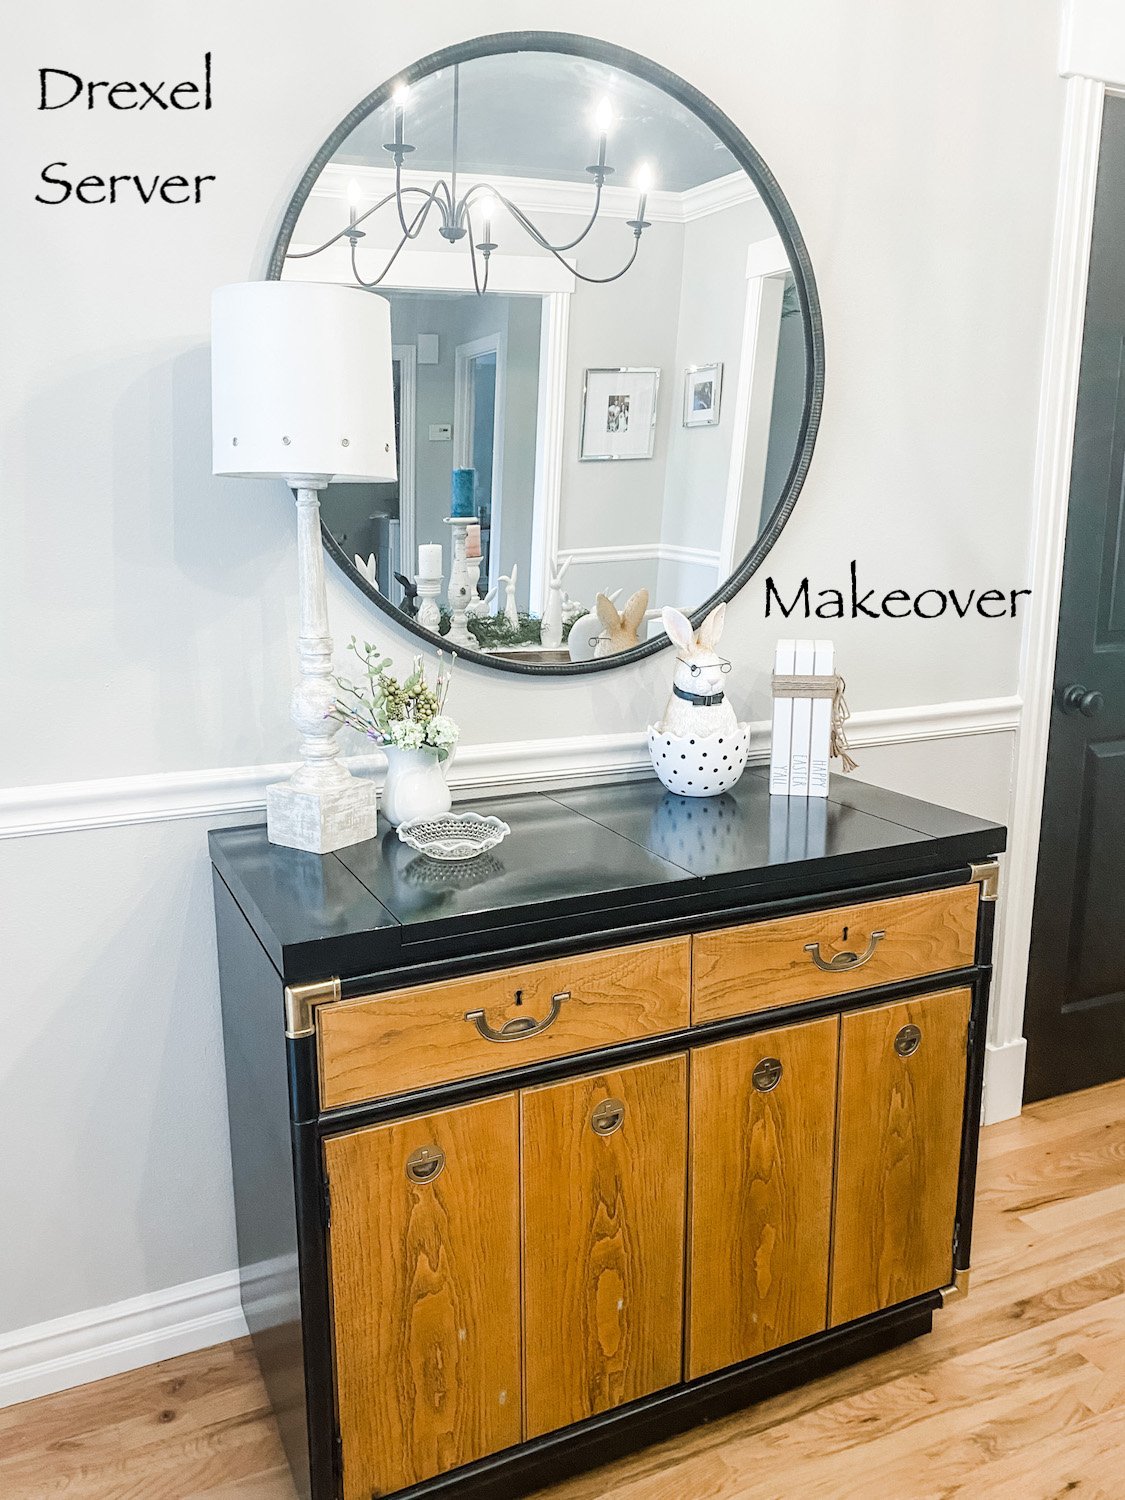
The "new" Drexel server....

I shared my plan for this wonderful vintage piece HERE….

I know purists cringe when people even talk about painting vintage pieces.

This is a prime example of “doing what you love.” If a piece will be more loved and treasured in a different state then go for it.

I painted the first one I found years ago and have had it in my dining/breakfast room…

…I recently swapped it out for the china hutch (featured HERE) and sold it.

Now this piece, a Drexel Accolade, has some value as is….if you do a little research you will find they sell for hundreds. But for me “hundreds” is not a value that will keep me from giving a piece a little makeover. If we were talking tens of thousands, yeah, no.

I also have a Drexel nightstand I refinished and shared HERE.

I planned to sell this piece after it’s makeover but I have moved it into my dining room and now I am kind of liking it…hum…guess we will see.

So…what did I do to give this thing a little more appeal?

First, I removed all the old hardware and brightened it up.

The hardware on these pieces are solid brass but after a few decades of neglect it is hard to tell. You can tell if something is solid brass with a magnet. A magnet WILL NOT stick to solid brass.

If the hardware is solid brass, the only way I have found to really brighten it up and get the decades of grime off is with Brasso and SOS pads.

Coat each piece with Brasso. I use a little chip brush to coat the pieces. After that sits for awhile, take an SOS pad and scrub away. You may need to repeat this process a time or two. I also use an old toothbrush to get in all the nooks and crannies.

After all the pieces are really clean, I scrub them with “Never Dull.” It seems to get the last layer of grunge off and gives them a little bit more “brightness.”

Not the easiest or fastest way to clean brass hardware but I just don’t think you can beat beautiful brass hardware.

Now, if the hardware is NOT brass and you want to spruce it up (without the cost of replacing) you can always give it a good scrubbing, prime it with metal primer and then paint it with spray paint. (TIP: put the screws back into the screw holes so that you don’t get paint in the threads.)

I shared another brass hardware restoration project HERE.

So, the hardware is done. If you find a Drexel piece and it is missing any of it’s original hardware, you can find replacements on Ebay…but be prepared to pay dearly for it! Each pull can range from $30 to $110 EACH!!!

I decided to strip and oil the drawer and door fronts. On the last Drexel makeovers (the bedside table and server) I painted the entire piece. This time I decided to shake things up a bit.

While I like wood grain, I am not a huge fan of oak. No biggy since, again, my original plan was to sell this piece. To highlight the pretty wood grain, I stripped the drawer fronts and doors using my trusty 1/2 and 1/2 mixture. 1/2 acetone, 1/2 lacquer thinner. HERE I posted a pretty lengthy tutorial on how to use this mixture to strip even the most stubborn finishes!

After stripping off the old finish I gave the drawers and doors a little mineral spirit wash, lightly sanded, wiped with tack cloth, then applied 3 coats of tung oil finish…my current favorite being Waterlox.

After that had dried and cured well, I taped and papered the doors and began prepping the cabinet for paint. (I removed the drawers to strip and oil them!)

I didn’t need to paint the inside of the cabinet so I taped that off, along with the black laminate under the flip top. I primed with Bullseye primer, then sanded smooth with 220 grit paper and wiped it all down with tack cloth.

I decided to paint the cabinet with high gloss black lacquer spray paint. I am obsessed with the high glass finish on these pieces. I just think it really makes a huge impact, especially with the bright brass hardware.

(You may notice I am all decked out for Easter…that is my new thing…decorating for each holiday/season. Next up will be Memorial Day/4th…patriotic stuff…then “summery”…then fall…then Christmas…then Valentine’s and back to Easter. See what happens when you “retire.”)

The trick to a flawless spray paint finish is LIGHT COATS…lightly spray, let it dry, spray again. It may take 3-4-5 coats but it dries quickly and in the end you will have a beautiful finish. If you go heavy handed you will have drips and runs and will be hugely disappointed!!!

Also pay attention to the temperatures and humidity. If it is too hot or too cold, or if the humidity is really high, you may have issues!

HERE you will find some additional tips on how to property paint furniture…very helpful!

After the paint had properly cured (gave it a good day or two) I replaced the hardware and OH. MY. GOSH!!! I seriously love this piece. Even though I am not a huge oak fan I am really loving it!!!

So the past few weeks I have been tackling a MAMMOTH project. Maybe next week I can share it. Hint, in entails A LOT of the thing I hate most….but man will it be worth it…I think…I hope….

Board and Batten in the breakfast room...

This is a simple project I have wanted to complete from day one.

Board and batten in the breakfast room.

As I have said before, there are TONS of board and batten designs and tutorials on the webisphere. Watch videos, read blogs, search Pinterest…find a design you love and a tutorial that makes the most sense to you.

So here is a little before and after.

Before….

Not totally offensive but lacks a little “character.”

After….

Simple project for me since I have done this a time or two. (Check out the guest bath, the entry in the Lankford house and the Bogey house. )

You might notice another little change…the china hutch.

Originally I had the awesome mid century Drexel buffet but I thought I would change it up a bit. I read somewhere china hutches are making a comeback. I can see why…pretty and functional.

Eventually I would like to add some art on each side of the hutch…maybe some botanicals.

My original plan for this piece was to repair it, paint it and sell it but honestly, I kind of like the look in this room. I FINALLY have a place to display some of my heirloom china that has been boxed up and in storage for a year and a half!

Before…

After….

Next week I will share the steps I took to give this piece a little facelift! Not difficult and as you can see it made a HUGE difference!

Until then….

A little stool project and a time to be thankful!

I spend several days preparing for our family holiday dinner...shopping, baking, cleaning...the usual. 

This year I added another little project to my long list of "to dos!"

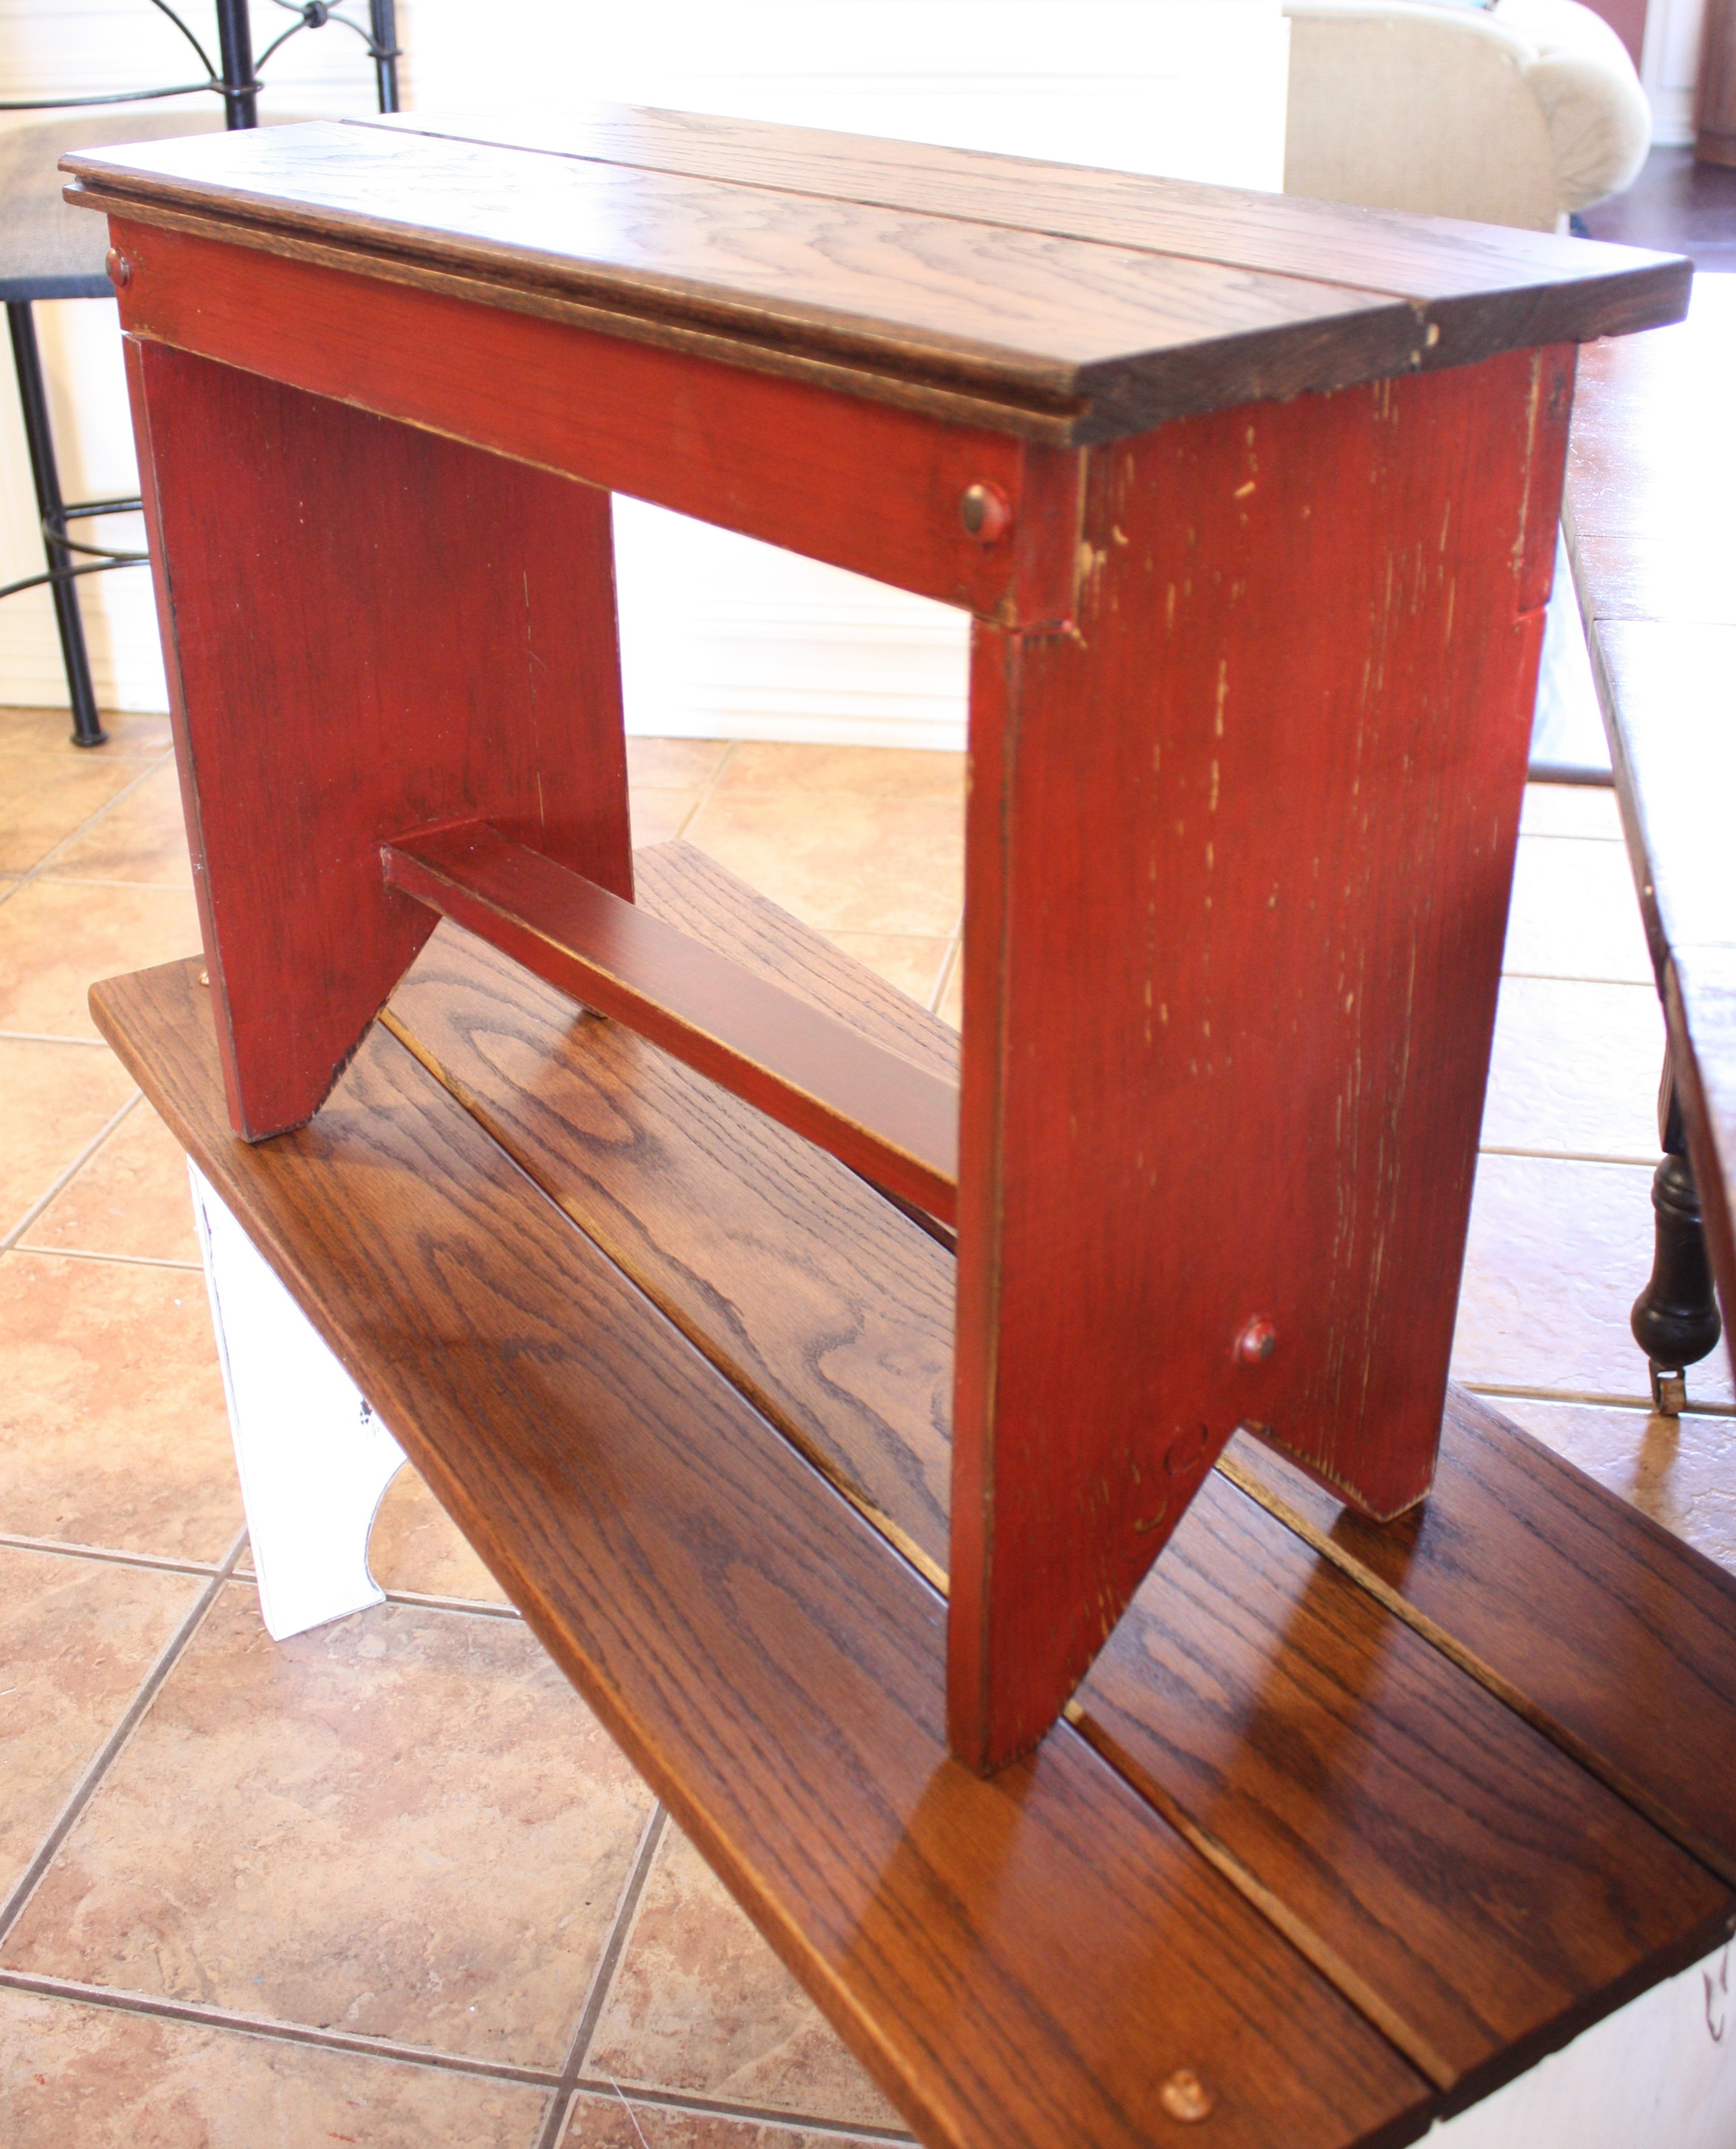
A cute little bench to add additional seating to my Thanksgiving table.

Since we have the bar and rarely use the table, it usually sits against the wall in the dining room with only two chairs. For the holiday dinner, I pull it out and add the leaves. This year I have several sets of chairs in the garage waiting to go to the booth, so I pulled one set in. I like the red, but I didn't like all four of them....

...just "too much" for a smallish table.

I decided I wanted a bench. I searched around a few flea markets, but could never find anything that was just right. 

Even though they weren't the perfect size, I took note of how each was constructed and decided to build what I wanted so I would have the perfect width and height! 

Just one of the MANY things I am thankful for, year round. The ability to make what I need...

I wanted a bench that would fit under the table when not in use so I went with 36" wide. I wanted the same height as a normal dining room chair so I went with 18" tall. The depth of the bench was determined by the material I had for the top...solid oak planking I used on these tables here and here! Although I am not a huge fan of oak, I had a few pieces and it is solid and sturdy and perfect for a bench. Since I plan on selling these little benches after the holiday, it was perfect!

I used stock pine boards for the base since I knew I would be painting it!

The first thing I did was draw out the bench so I knew exactly what materials I would need, how I would construct it and what my cuts had to be. Again, nothing fancy...just paper and pencil! 

(Two buttons looked like a "sad face" so I ended up only adding one...lol!)

Keep in mind that most stock material will actually be LESS than the stated board size...for example a 1 x 4" will actually be 3/4" x 3 1/2". Make sure you take that into consideration when drawing out your "plan." 

The width of the material I used for the legs was a true 12" since I originally planned to use "craft board" as the top. Since I was using the oak planking I had on hand, three pieces of planked together ended up being 15" wide...perfect! So I used the 1 x 12 for the legs!

I ended up with enough "scrap" material to build a smaller bench as well! No need to waste good wood!

I used my chop saw to cut the lengths I needed and a skill saw to cut out the detail on the legs...nothing fancy!

After cutting and assembling all the pieces, I stained the top and base. Even though I was going to paint the base, I knew I would be doing a "distress" treatment on it and wanted the wood that showed through to be darker than natural pine. I did not sand the boards or fill the knots before I painted them so the grain really came out when I "distressed" the painted wood!

I used glue and my trim nailer to assemble everything. I ended up adding little wood "buttons" on the joints. Super easy. Measure and mark were you want the buttons, drill a hole with a tiny drill bit, then use a 1/2" paddle bit to make a 1/8" deep hole on top of the tiny hole. Put a sheetrock screw into the tiny hole, put a dab of glue on top of that, then insert the "button." Since I already secured the joints with glue and trim nails, the screws just add a little bit of stability and the buttons are purely decorative! Not a "have to" but they give the joints a little extra "pop." 

I didn't attach the tops until after I chalk painted and distressed the bases.

I painted the larger bench I will be using at the table my got-to "off white" and I painted the smaller bench red. After I painted and distressed them both, I wiped the red one down with walnut stain...it deepened the color of the wood showing through the "distressing" and darkened the red a bit. 

After the bases were painted and distressed, I attached the tops, again using glue and trim nails. I added a couple of oak buttons to the top of the larger bench just to give it a tiny bit more flare. After they were all assembled, I sprayed them both with poly. Again, I don't wax chalk paint...I like the durability of the clear coat!

IMG_7434.JPG

Perfect.....

I planned to make a really cute little center piece for the table this year. I even went out and knocked pine cones out of my pine trees...goodness knows I have plenty!

I wanted a few additional "fallish" things to add to my pine cones....maybe some reddish berry garland or rusty red flowers to tie the red in. But when I went to the craft store Tuesday, the only "fall" things left were a few ratty scarecrow. Curses! Made me want to drop kick a Christmas ornament across the store. Seriously people, can we not get through Thanksgiving before we drown ourselves in Christmas stuff!

Whatever. I am thankful I have the centerpiece I have!

For me, being "thankful" is not just a one day deal. It is something I TRY to do every day...it is what gets me through the tough days and what I have found makes my life so much happier!

If we would focus on what we are thankful for EVERY day, our lives would be so much easier. I tell my kids often...some days you just have to get up and put one foot in front of the other and force yourself to really focus on what you are thankful for! A beautiful blue sky. The blazing reds of the fall maples. The smell of a neighbors fireplace. Your home. Your family. Your God.

When we focus on the positives, even if we have to force ourselves, there is no room in our brains for negatives. Have you noticed that dwelling on the negatives seem to wear you out whereas focusing on the positives in your life lift you up and give you energy. Yep...that's the power of positive thinking! 

This week is the week we share one day of "thanks" with our friends and family!

This week, really focus on what you are thankful for...and then try to keep those positive thoughts in your head every day, all year!

When you find yourself immersed in your own private pity party, force yourself to focus on the positive.

Being happy, being thankful, loving the life you have...it is a choice. No matter what your circumstances are in life, there is ALWAYS something to be thankful for...find it, embrace it, dwell on it.