Another Christmas....

Ever year I feature my Christmas decor…every year I think not much has changed.

But it does change…a tad here and there.

Last year I shared a few little changes…same this year…a few things here and there.

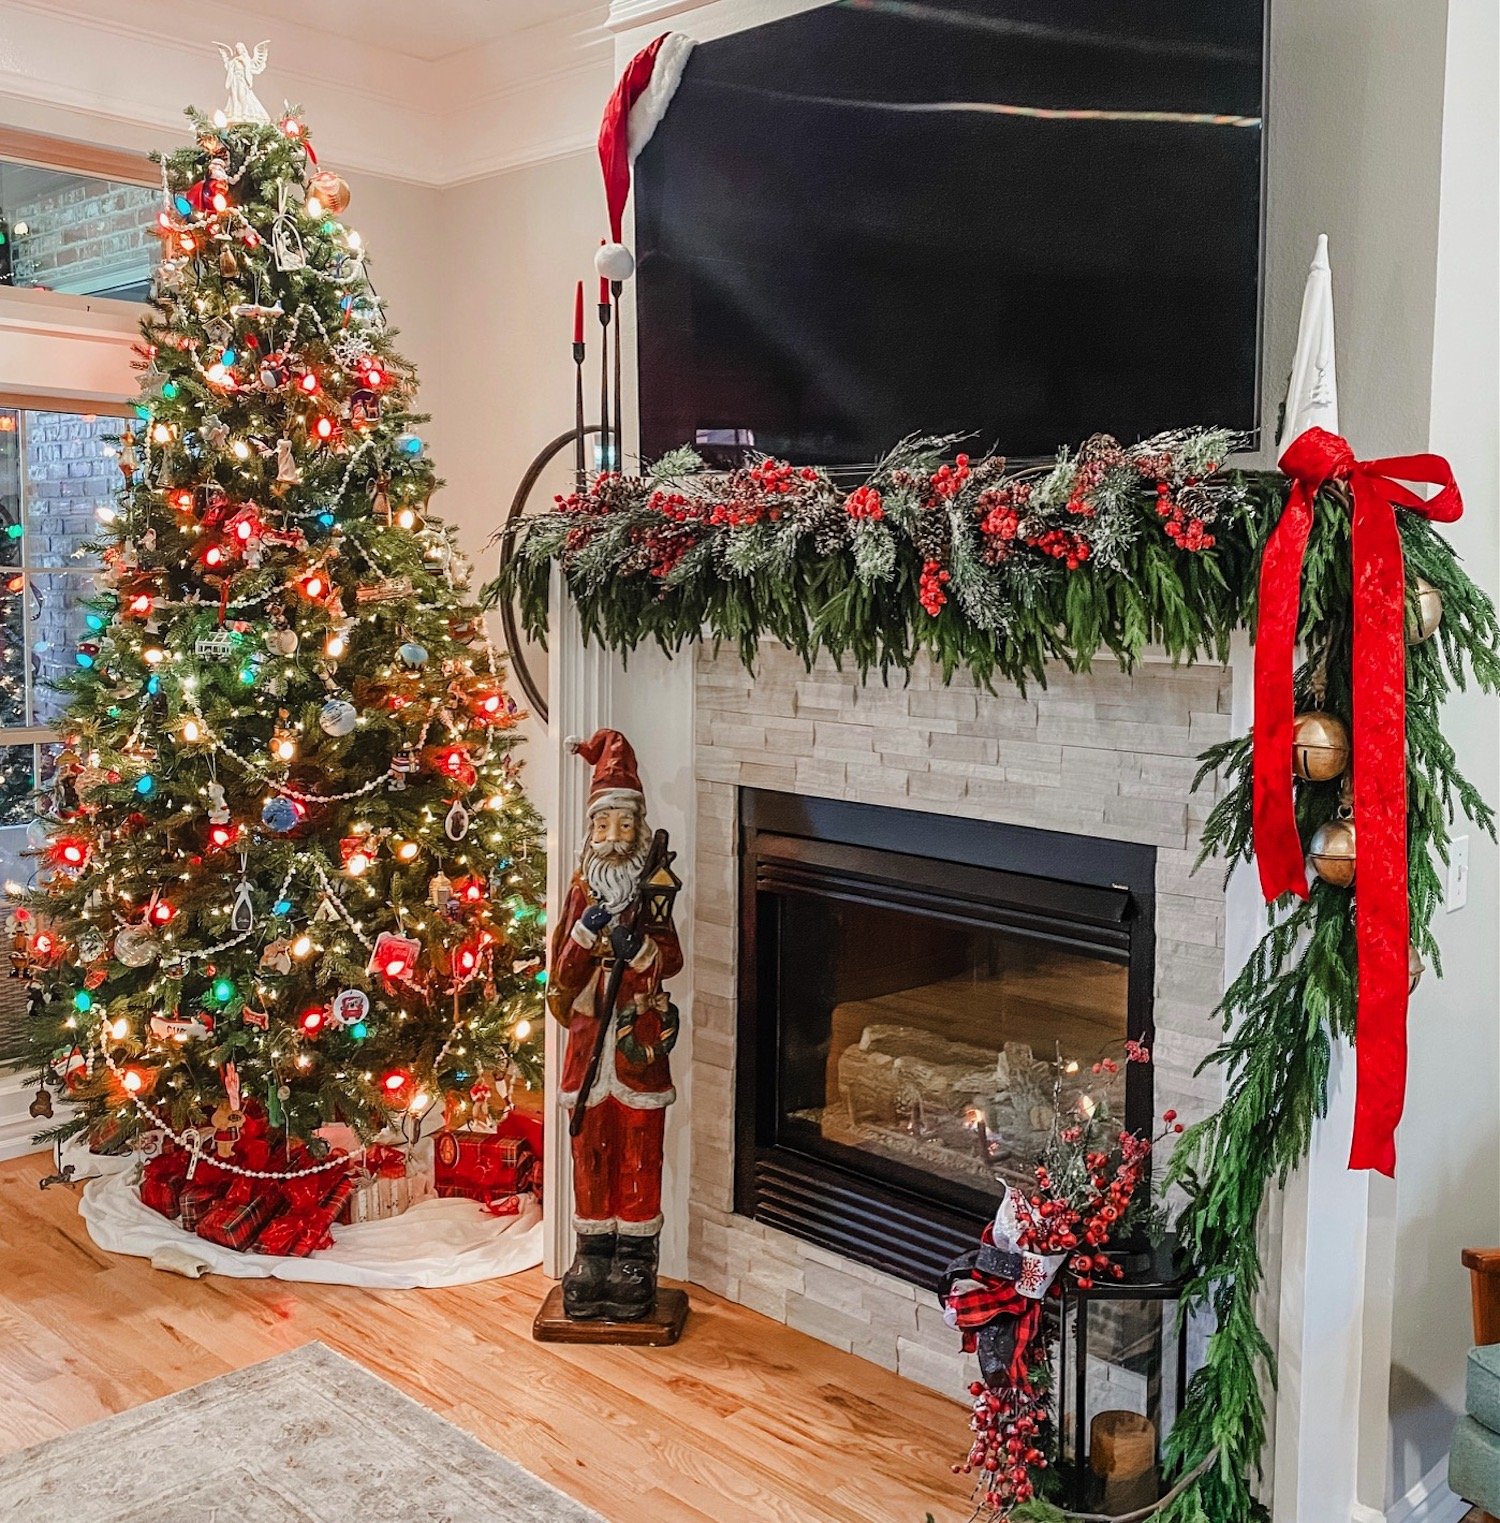
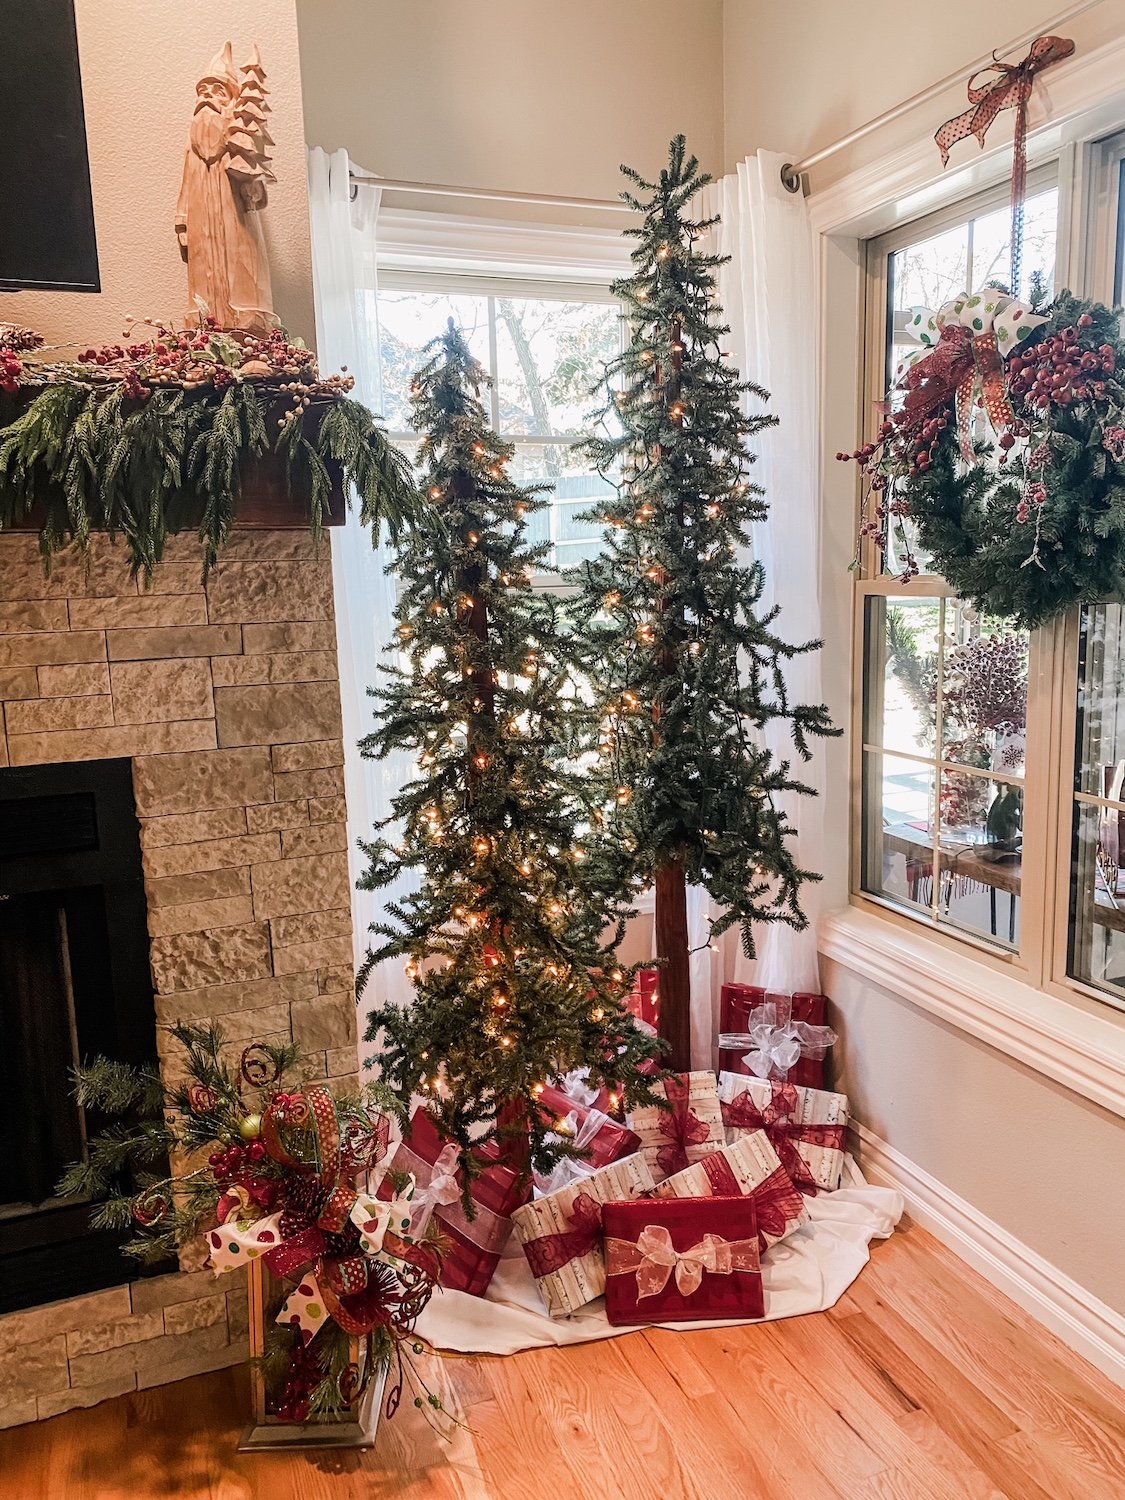
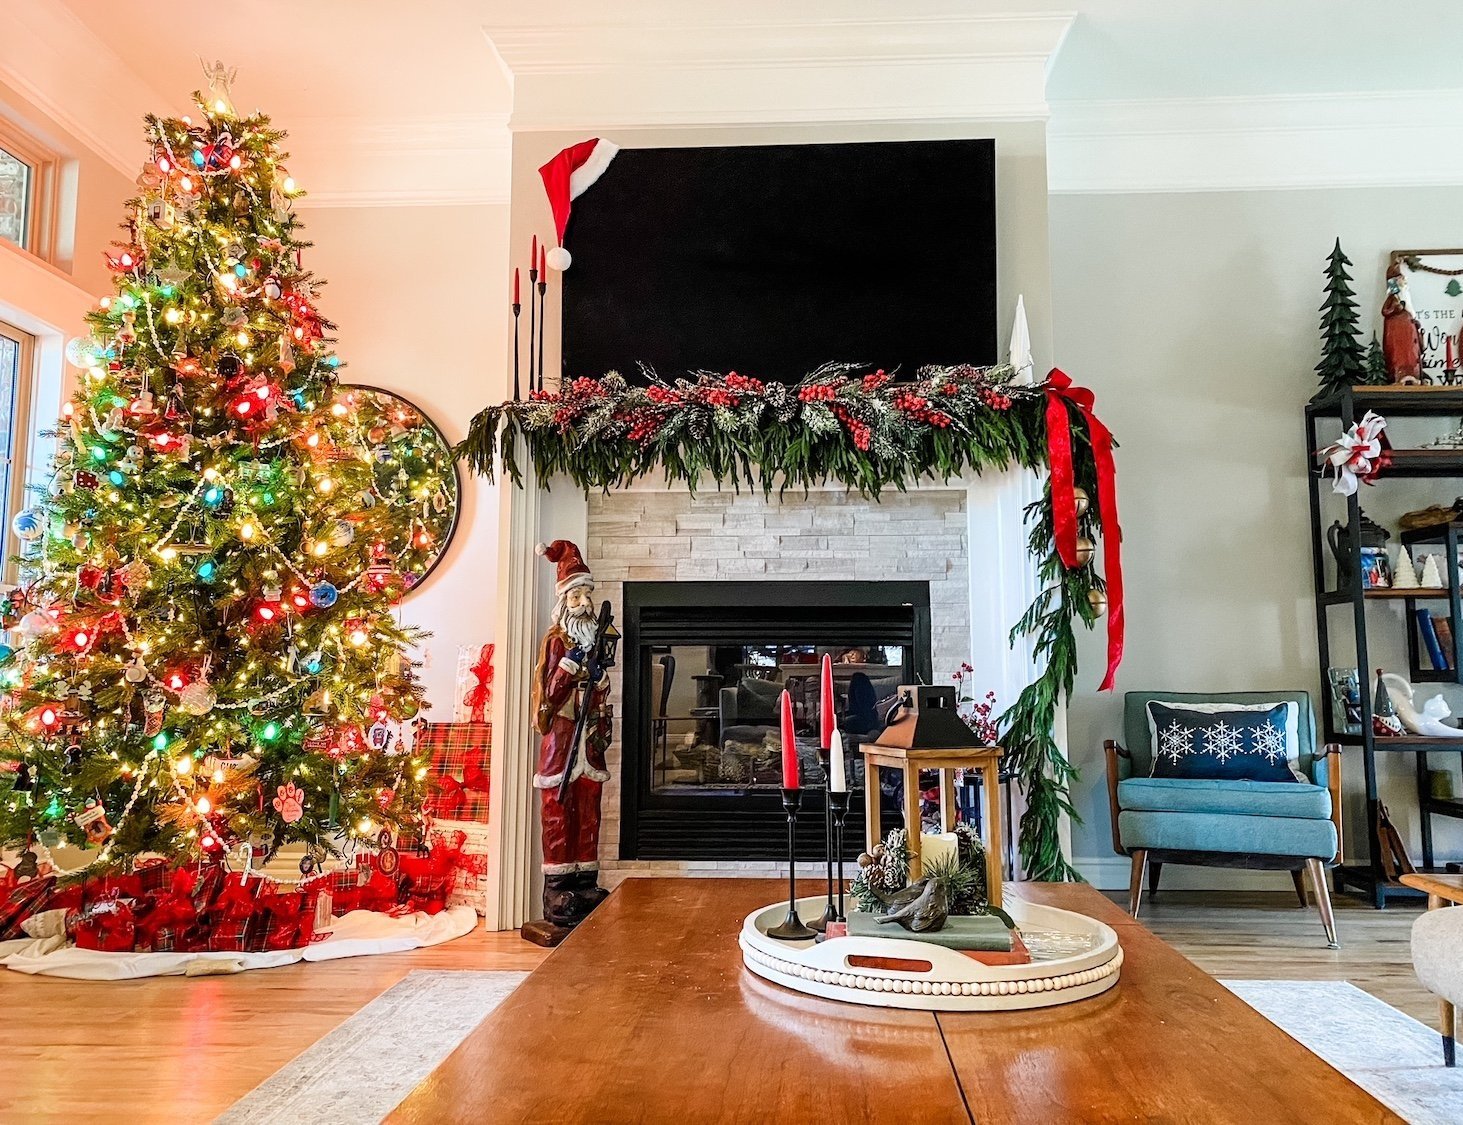
So what did I change this year? Probably the biggest change is the mantel decor….

Last year THIS soft touch garland was ALL the rage…everyone wanted it. Which is why it was sold out and on Ebay for mega bucks. So I waited until after Christmas and bought it when it was back in stock. Problem was, I forgot I bought it, several times, and by the time I brought down all my Christmas decor I had 10 strands of it along with three soft touch wreaths I have NO idea what to do with!

No biggy…while it is a beautiful garland, you really have to layer it to get a good thickness. On my living room mantel I have 4 5’ strands and 1 15’ strand.

In the den I layered 5 5’ strands….

I used Command hooks about every 1-1 1'/2’ and floral wire to secure it.

I added a red velvet ribbon and these awesome bells….

I would love to link to the bells but as usual I have NO idea where I got them. I know I ordered them but from where? Not a clue!

Last year I layered the berry picks on the mantel…this year I layered them on top of the garland…just plain ole’ picks you can get at Hobby Lobby…four on each mantel.

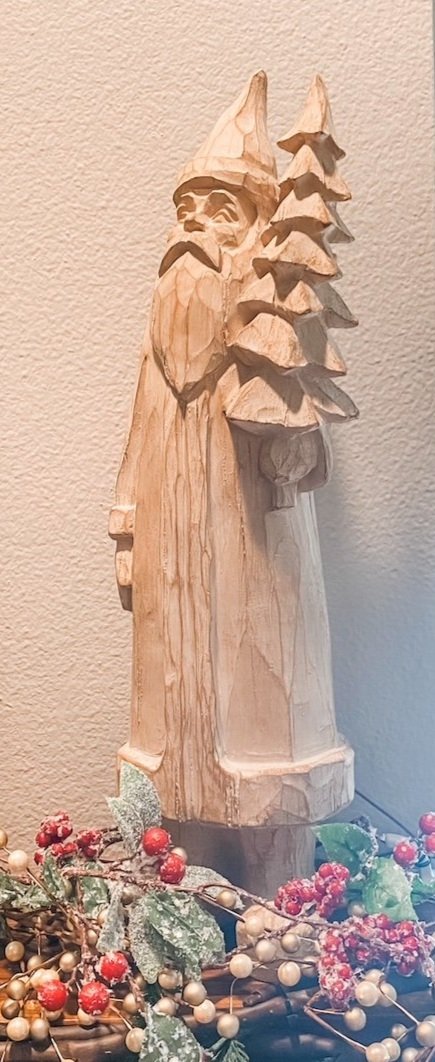
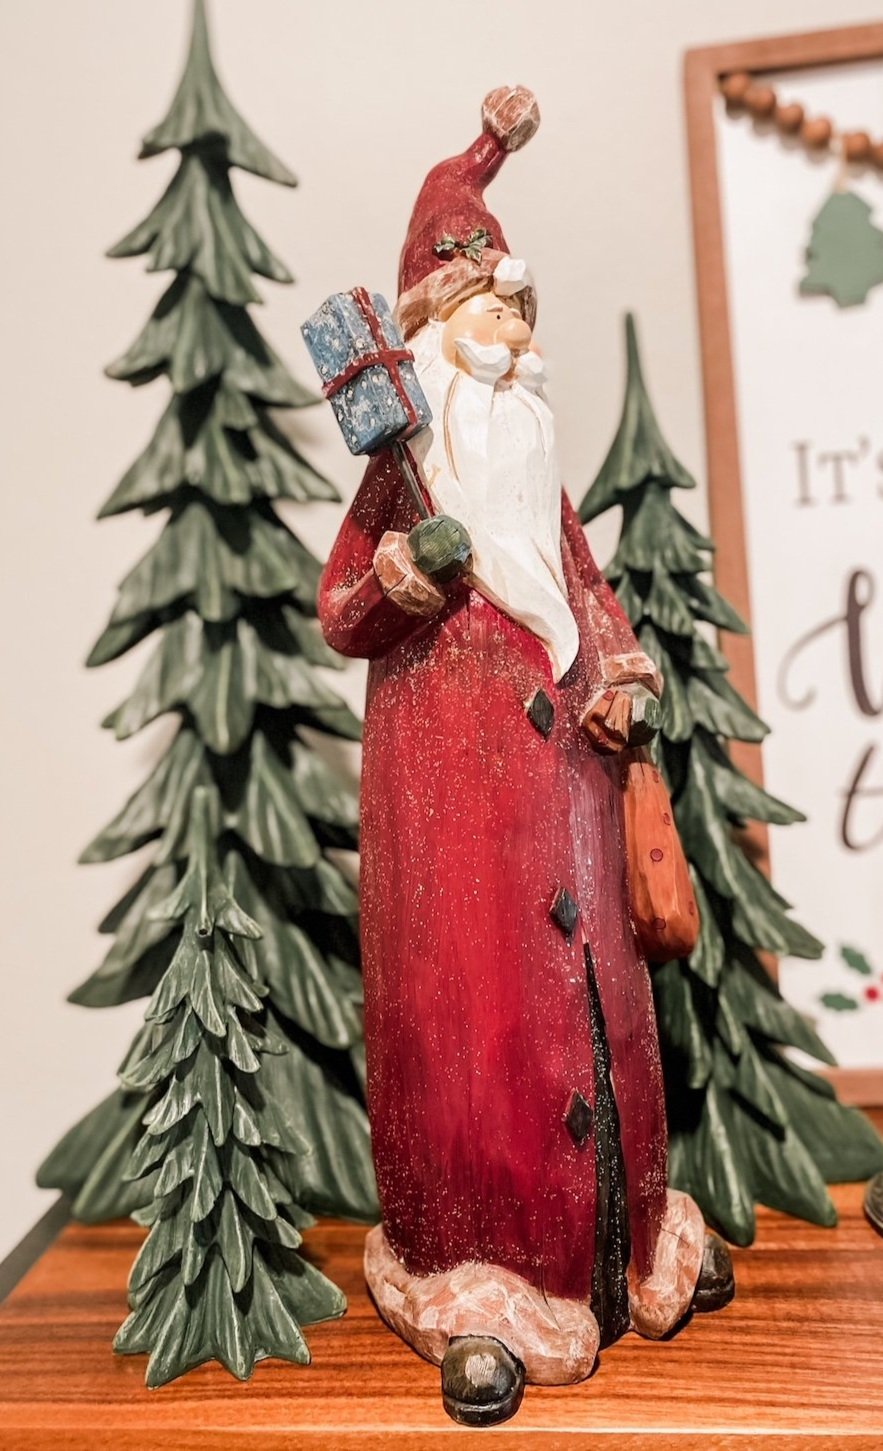
Another new addition is this wood Santa….

I know WHO influenced me to buy it but have no idea WHERE he came from. I follow a couple of great ladies on Instagram…Deb and Danelle…and as influencers go they get me every time. Their style isn’t necessarily my style but they feature elements I love. Truthfully I think that is where the bell inspiration came from!

What drew me to this Santa was his “girth.” He’a skinny.

Okay, so here is the deal…ALL my Santas are skinny. I have NO idea what that is all about but it seems like every time I am drawn to a Santa he is on the anorexic side.

I kid you not.

Another element I added to my decor this year are the cabinets wreaths….

For several years I have wanted to add “mini” wreaths to my upper cabinets. I finally found am inspiration for what I wanted, but honestly, when I put it all together they came out a hair too big. Hardly “mini.”

So be it…maybe next year I’ll try again…for this year it is what it is….

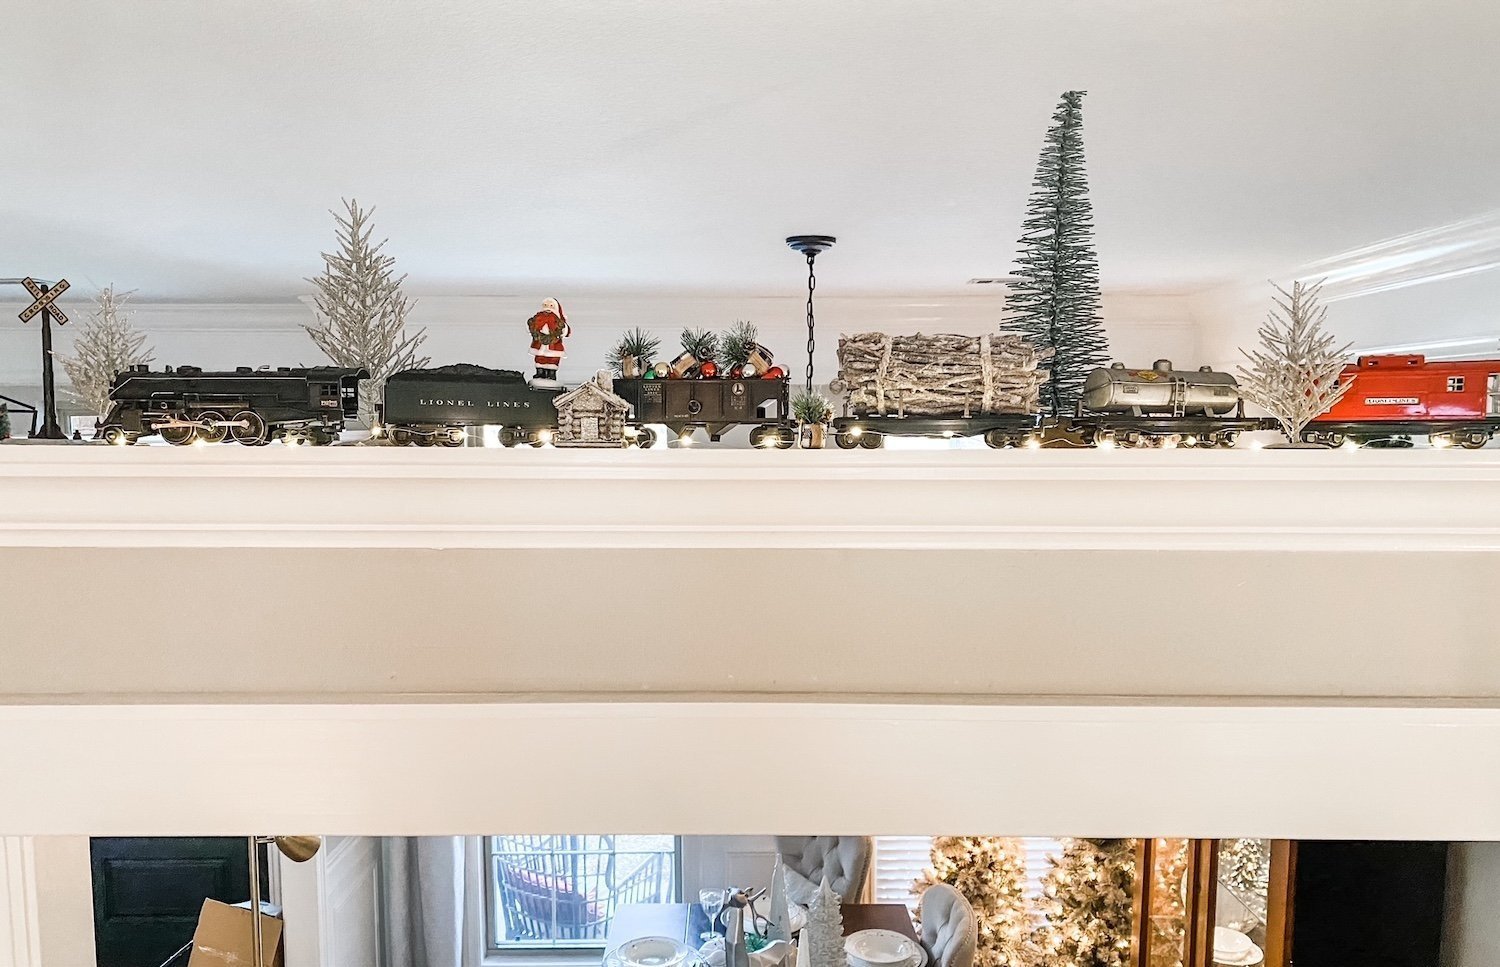
The precious train!

This train was a gift from Brian’s grandfather to his dad in the 40’s…it was used then. Last year we displayed it above the dining room. This year we got it up and running and put it around the tree in the office.

We didn’t put it around the main tree in the living room because 1) too many gifts under that tree and 2) the SLIGHTEST bump derails it and the living room is a high traffic area.

Not sure Callum is really old enough to appreciate it but I sure love it!!!!

And now the pièce de résistance…the final tree in my life long dream of having a tree in every room!!!

For years I swore if I had the time AND the money, I would put a tree in every room of my house. Last year the goal was complete.

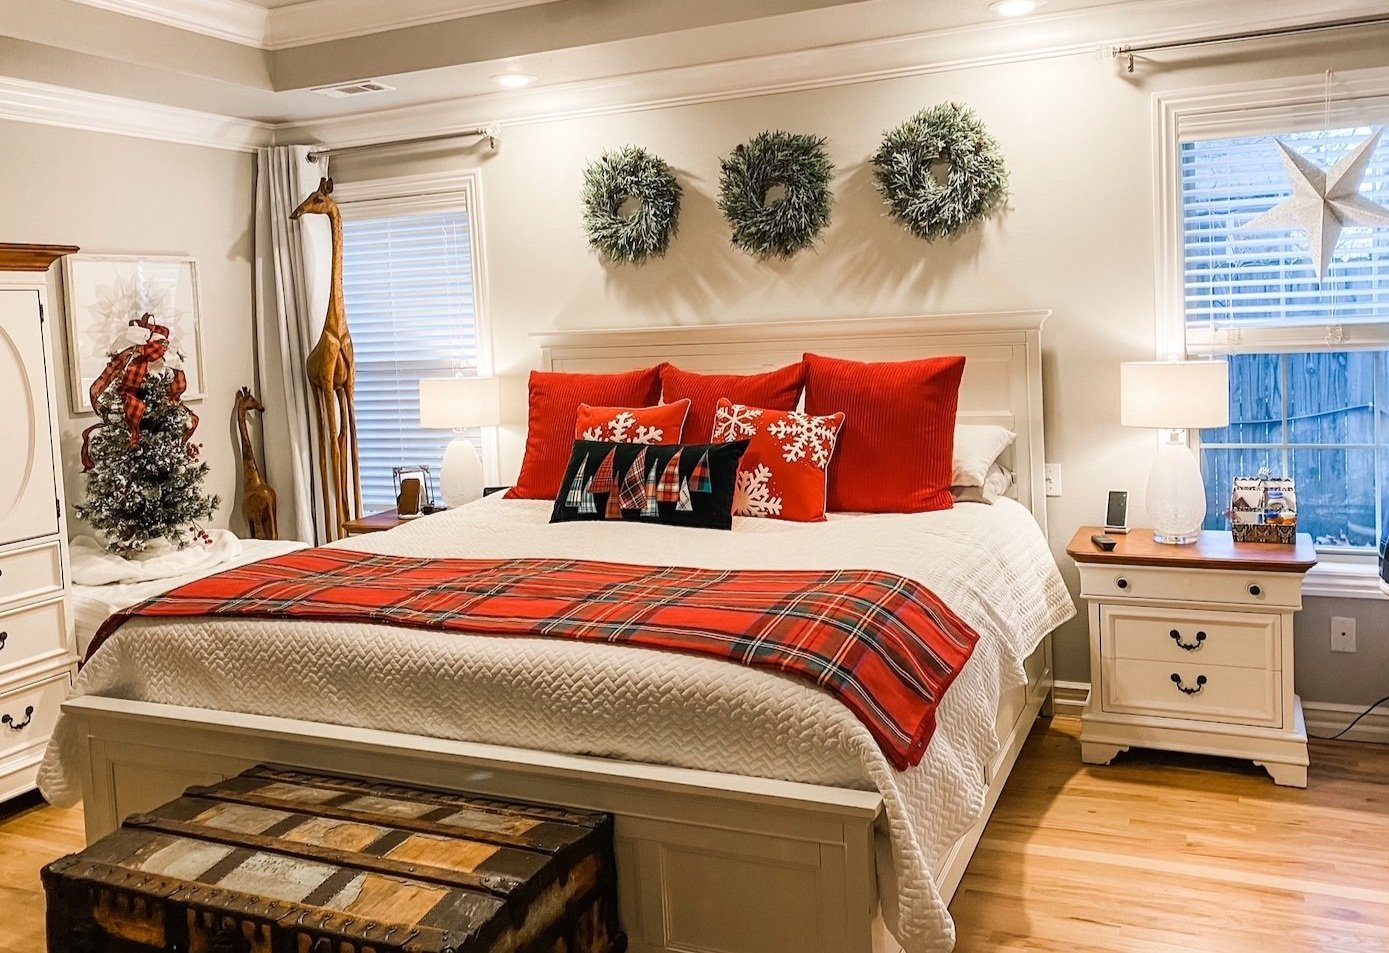
The master bedroom tree!

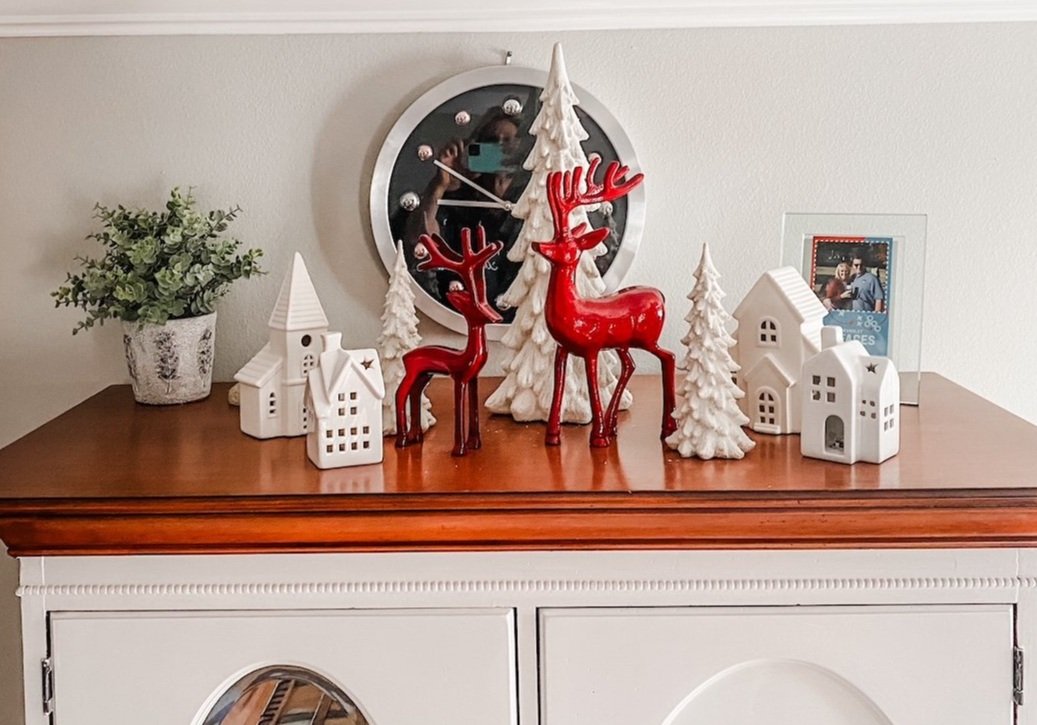
I added a few little knick knacks on the highboy. Just a few little things from Home Goods…nothing fancy.

The office….

The wreath is new…a tad over powering. Again, I tend to “go big” and then I’m not so thrilled with the result. Meh…next year I’ll change it!

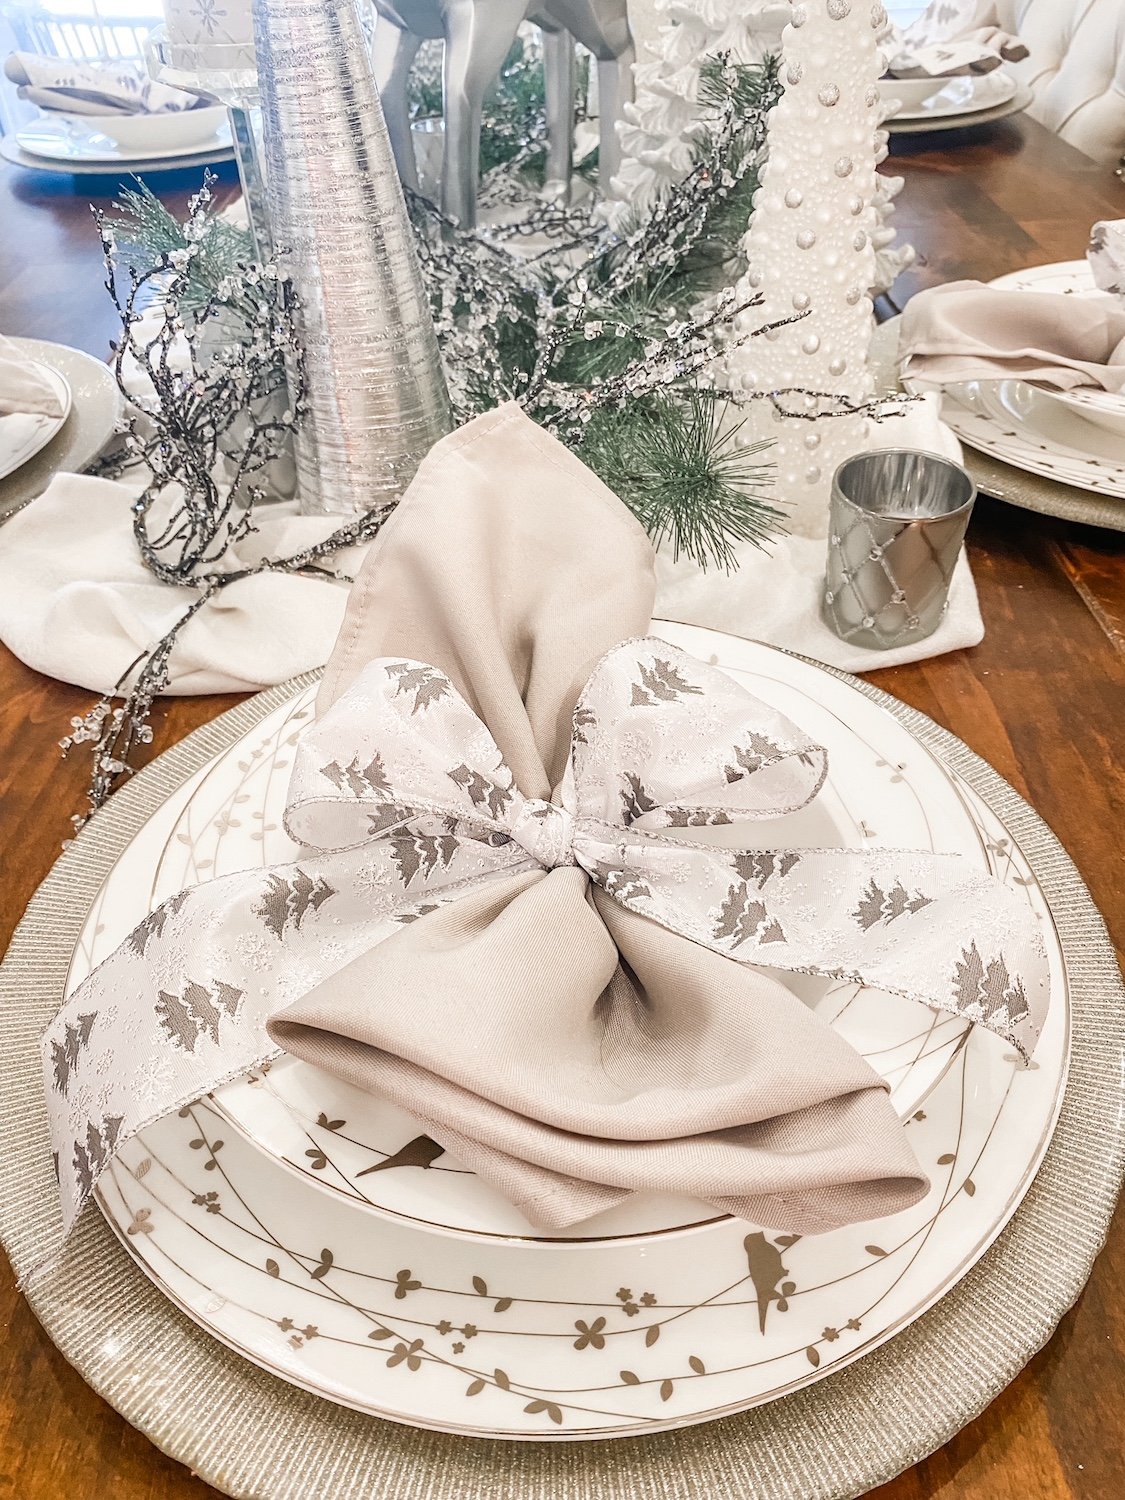
The dining room….

This is always one of my favorite rooms to decorate.. I love the neutrals even though I am drawn to all the vibrant holiday colors in the other rooms.

I like to keep the place settings out even though we don’t usually use these dishes because they have to be hand washed. Simple but elegant.

The sunroom….

I have shared this room before. It is my “Stewart plaid” room in honor of my “Stewart family.” Love it and I am always looking for more Stewart plaid elements to put in here. This year my sweet friend Carrie brought me this precious decoration from Italy!

The den…

The breakfast room….

Not all the trees have decorations…some just have lights. That’s okay. They are still pretty and the four that are decorated take enough time!

The entry…

Little has changed here…added some little wooden trees and a Christmas sign on the trim…another PJ pillow. Love the view into the office!

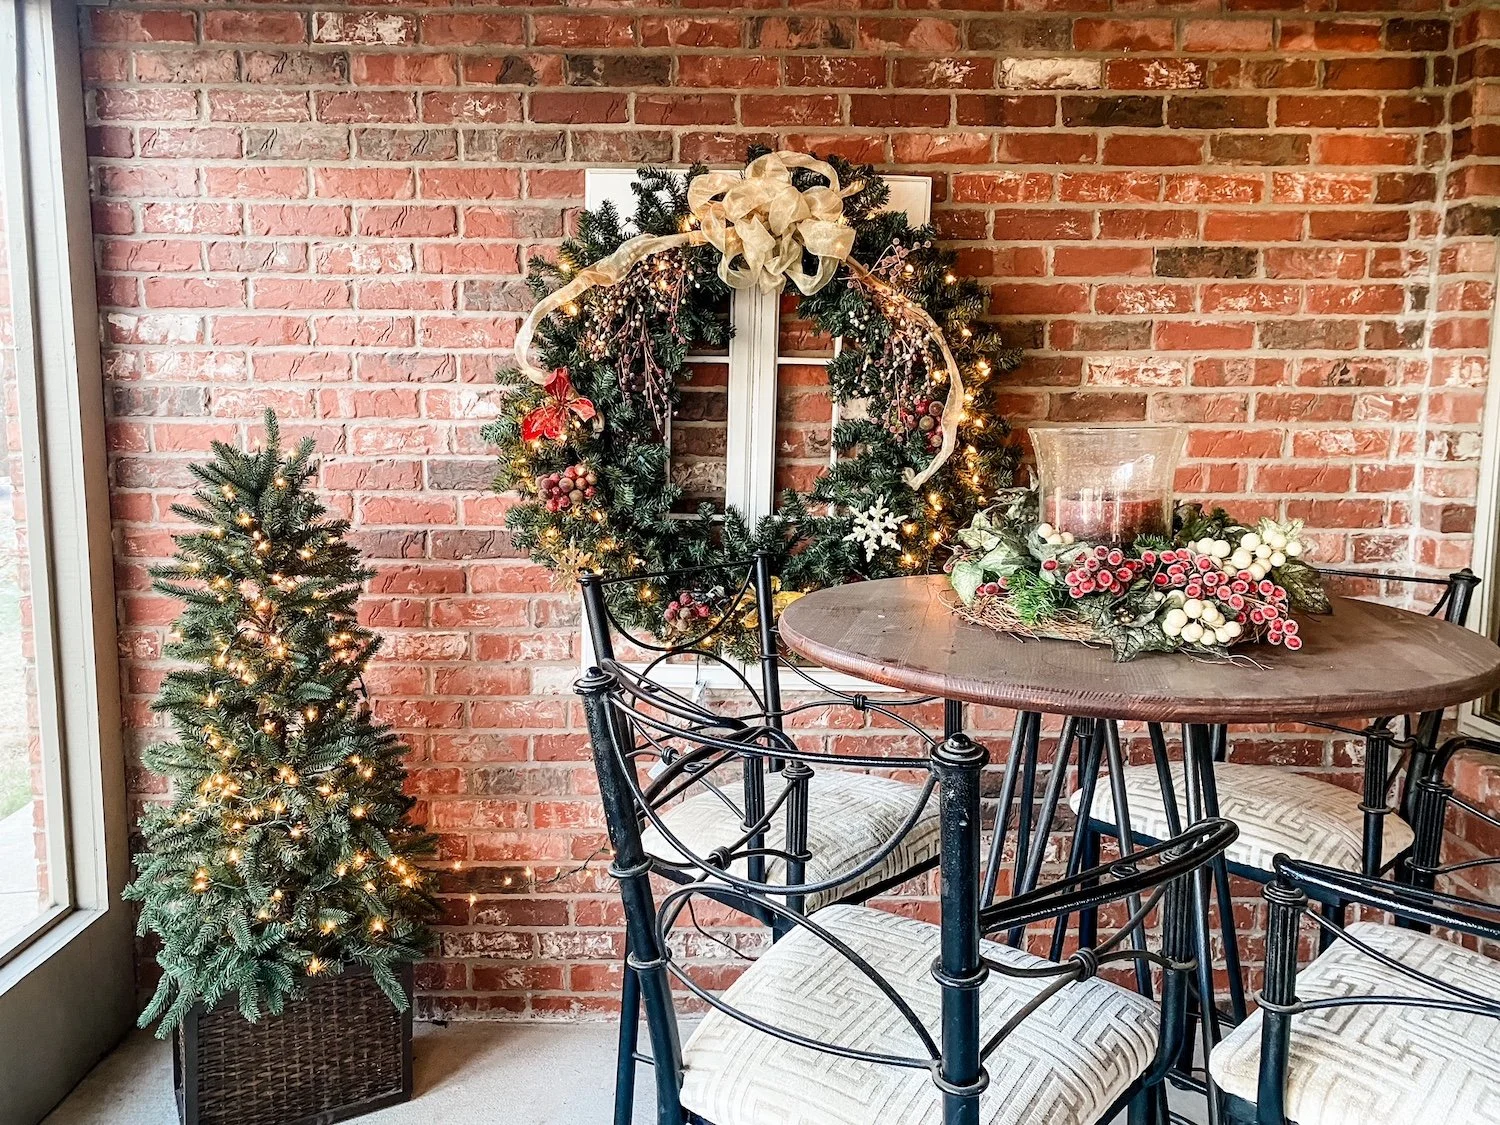
The screened porch….

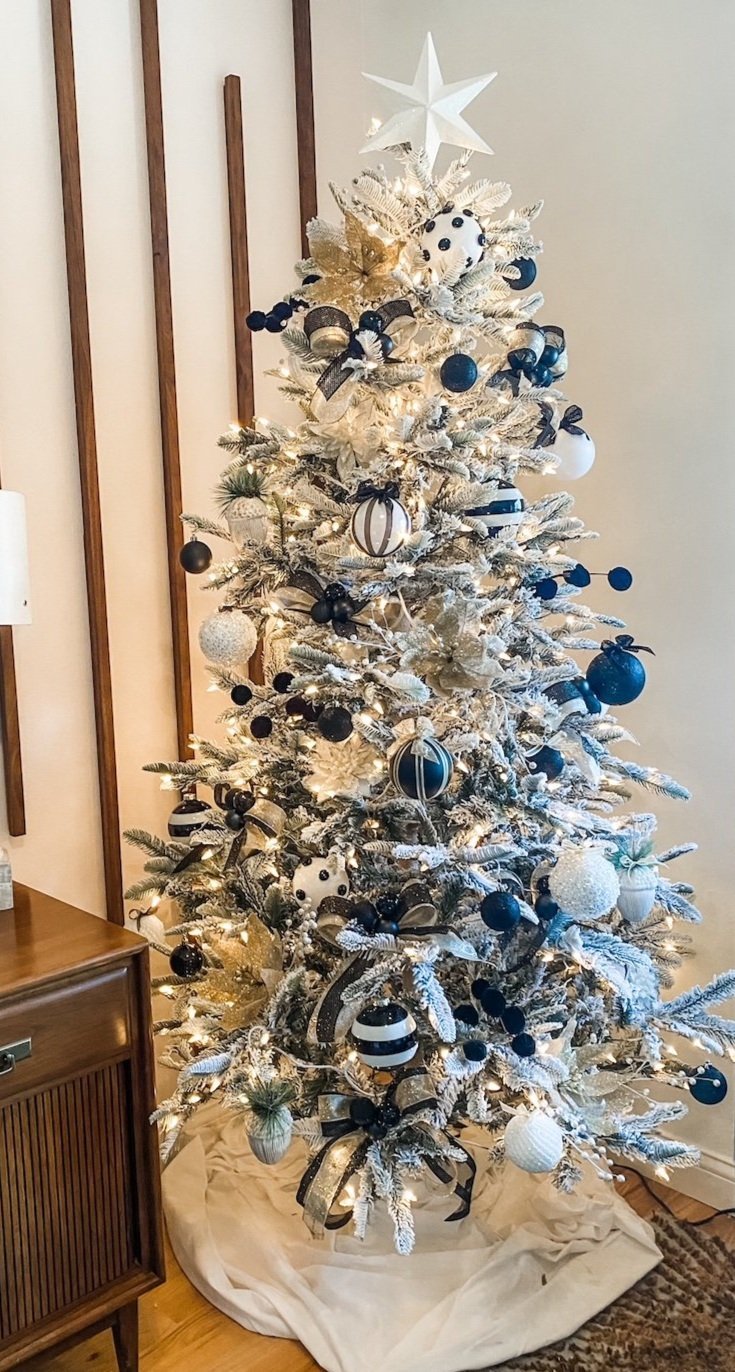
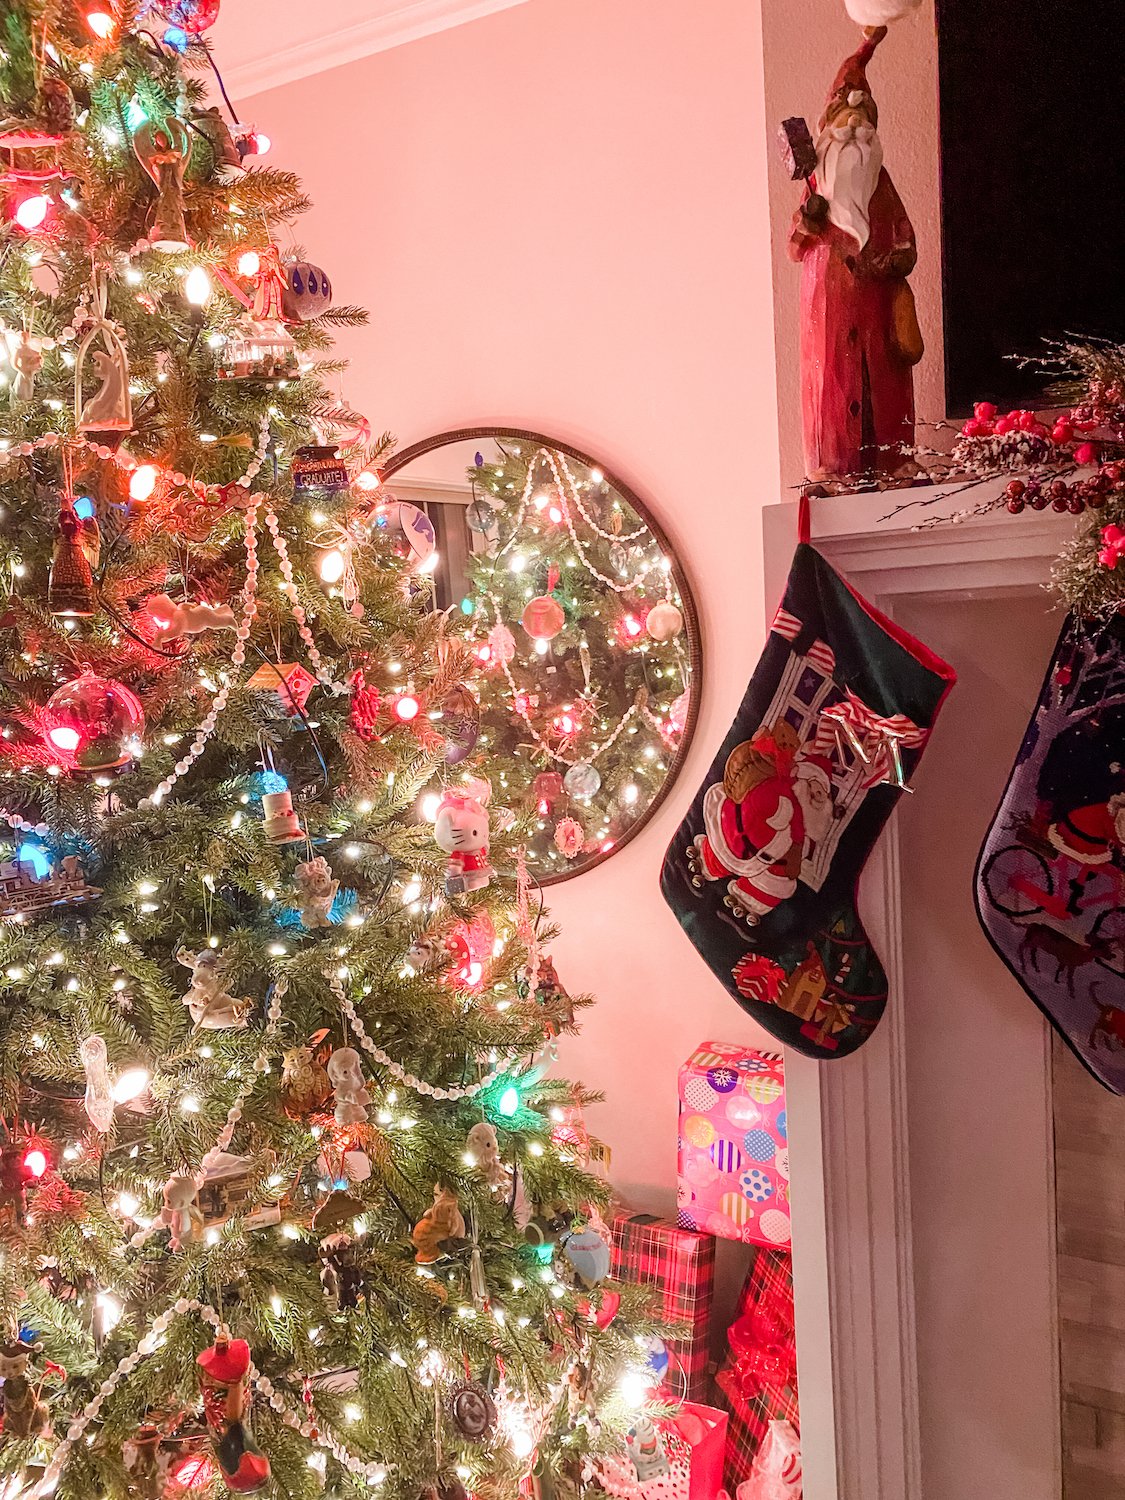
And of course the main tree in the living room….

All these trees are connected to remotes (THIS is one I use and LOVE) and are turned on every day. I don’t even want to tell you what my electric bill is for the month of December. Suffice it to say it is cheaper to cool this 3500 s.f. house than to light it up…lol!!!

But I love it and as long as I am physically able to do it, I will. Then I may hire it done!

I love this holiday and it seems that year after year I do indeed add something new. I hope something I did will inspire you to add a little more to your home.

Getting ready for the holidays!

It’s been a minute.

I really haven’t had too much going on project-wise…little to share. I guess I could have shared the new water line I ran from my seasonal meter out front to the back yard. Or maybe the repairs I made to a neighbor’s kitchen island or garbage disposal. Could have shared the cute cupcakes the little girl next door and I made and delivered to our neighbors.

I could share the Alaskan cruise we went on in September. I’m not a travel blogger…just go! I promise you won’t be disappointed.

But seriously, no major projects. I have a few in the thinking/planning stage I will share in the coming months. One will be a room makeover for a very special “delivery” coming in May! Stay tuned!

So for now I will just share what is coming this weekend….CHRISTMAS!!!!!!

Yep…for the first time ever I am actually doing a little Christmas decorating BEFORE Thanksgiving!

Why? Well, it has been a lifelong dream to have a tree in every room of my house…and last year I finally achieved that dream.

It started with the “black and white” Christmas tree I put up in the office….I share that HERE.

This year we are going to set up the vintage train set around this tree.

Callum, our youngest grandson, will be 10 months old and he will LOVE it! This is the train set Brian’s grandfather gave his dad when he was a little boy…so Callum will be the 4th generation to enjoy!

The Stewart plaid tree is one I added to the sunroom two years ago…..I shared it HERE!

And for the first time ever, I decorated the master bedroom for the holidays….

What I didn’t share is the large red and white tree I added to this room later in the season.

So with these new additions, as well as ALL the Christmas decor through out the house, I just don’t think I can get it all done the weekend after Thanksgiving….the main tree in the living room takes an entire day!

So for the first time ever I am breaking my hard fast cardinal rule of NO CHRISTMAS BEFORE THANKSGIVING! I love fall decor and I really want to enjoy it for as long as I can. So I have decided to decorate the office, master bedroom and sunroom for Christmas since those rooms don’t have a lot of fall decor!

So stay tuned…at some point in the next few weeks I will share all the holiday decor….again. Little changes from year to year but it is my hope that something I do, and have done for years, may catch your eye and give you a little “Christmas inspiration!”

Happy Thanksgiving!

Christmas! It really is the most wonderful time of the year!

I almost didn’t do a Christmas post this year because I thought not much has changed.

But every year I add more and more to this house.

A few weeks ago I shared the new “black and white” tree in my office (I shared the accent wall and office makeover HERE)….

I love this tree and this year I wrapped all our Christmas eve gifts (shhhh…it’s pajamas) with white paper and black and gold ribbons to match the tree….LOVE!

Next year this tree will play an important role because we added a VERY special element to our Christmas decor.

In the 40s, Brian’s grandad (his Papa) gave his dad a used cast iron train set for Christmas. Brian remembers it going around his Papa and Grammy’s Christmas tree every year.

This year Brian got it from his dad. It is magnificent!

This year we are displaying it above the dining room with some miniature Christmas knick knacks and little fairy lights.

We can’t put it around the main tree in our living room because of all the gifts but next year we will put it around the tree in the office.

Why….because next year we will have a 10 month old grandson who will absolutely love it…it goes around the tracks and even blows steam!

When I began to look around I realized how much has indeed changed because of all the little projects I have completed this past year.

The dining room…I added wainscoting and the china display cabinet and that changed everything up a tad!

No major projects in the entry this year but I added a tartan holiday rug from Ruggable!

So far I really love this rug and am considering getting one for the living room!

The breakfast room…this year I added the board and batten and a new china hutch….

It didn’t change up things too terribly much…just added a few touches to the hutch, moved the tree that use to be in the corner onto the screened porch and replaced it with the tree that was in the office last year!

My master bedroom….

I’ve never decorated the master bedroom for the holidays but this year was kind of a fluke. I ordered a ton of stuff for the guest room earlier this year. My oldest son is currently staying with us while he gets his pilot license so there is really no reason to deck it for the holiday. So I decided to use all the holiday froo-froo for my bedroom.

I LOVE IT!!!

The green pillow with the Christmas trees is one I made with the scraps from THIS never ending quilt project. (To date I have made 8 quilts, two pillow covers and one throw pillow)

My friend brought me this amazing star from Germany…I can’t wait to add a light to it!

The little tree is the one I had in the guest room last year. Next year when the big dog kennel is finally gone I am going to put up a bigger tree. Similar to the one in the office…only red and white! (I am slowly working my way to my dream of having a Christmas tree in every room!!!)

Decorating this room was a no brainer since, like the guest bath and office, you see it from the entry….

Not sure why it took me three years to do it!

The living room…earlier this year I changed out the fireplace surround. It didn’t make a huge difference, but this year I decided to add garland to the fireplace mantels. I desperately wanted the soft touch Norfolk pine that is all the rage but by the time I knew I wanted it, it was all sold out.

I have to be careful about the height and placement of any mantel decor because of the televisions (one of the few “design concessions” I gave Brian) .So I settled for some pretty frosted berry picks…four laid out in a row. I added them to the living room and den fireplace mantels.

I left the mirror in the living room and I love how it reflects the tree!

Truthfully, I think I like the color and texture of the picks on the mantels better than I would plain green garland.

Great example of doing what you love rather than what Pinterest tells you to do!

So simple and so pretty.

Last year I shared how to make these little door signs…still think they are cute as a bugs ear! (the one on the left really is my wrapping room)

I did change all the other door wreaths. It really isn’t hard. Candle wreaths with a little ribbon…simple and inexpensive but very pretty throughout the house!

The kitchen…the only change in there this year was the pantry. Humungus difference for me for holiday baking but didn’t change the holiday decor!

I didn’t change much in the “Stewart plaid” all season room. I found this darling Stewart plaid top hat topper in a Christmas shop in Breckenridge and had to have it!

Little has changed outside…I did finish a TON of projects this year but nothing that really affects decorating for the holidays! (Check out the outdoor swing pergola I featured HERE)

I scattered a few things in my laundry room…nothing earth shattering.

So, while there doesn’t seem to be a lot of changes, additions and tweeks, there are.

I hope you and your family have a WONDERFUL holiday!!!!

Cute Christmas door hangers...

Last week I was looking back at some old posts and realized I had never shared THESE cute door hangers I promised to share A YEAR AGO…

Most of my doors have the little candle wreaths but I thought these would be fun and different on the two spare room doors. (This one is my gift wrapping room!) Mix things up a bit!

Super simple to make…

I bought two little wood signs at Hobby Lobby…

I made some little “sprays” using materials leftover from some holidays sprays I made for my lanterns. I just bunched them together and secured them with a pipe cleaner and floral tape.

I drilled a hole in the top of the little wooden sign….

…then I just stuck the “spray” into the hole and secured it with hot glue.

Then I made a “funky bow” using the tutorial linked in THIS post and attached it to the spray.

Presto, bingo, cute little door signs!

A simple way to dress up the cute little signs and a great way to do something other than the expected “holiday wreath.”

This week we enjoyed a quiet Thanksgiving and a busy few days of decorating for Christmas. Not much has changed from last year so you can check out THIS post to get an idea of what is where. I did add a few trees…one in the all-season room and one in the den but nothing earth shattering. The all-season room got a “Stewart plaid” treatment…seems to be all the rage for the “in” plaid this year…but I am a true “Stewart” so it has more meaning. I want to add some lanterns and a few other little things so I may share that room in a few weeks.

Next week I will share my new “projectS.” Stay tuned!!! Exciting stuff!

A new storage project and Christmas 2019!

It has been a minute since I shared a home project…just too much going on the last few months to do anything other than what HAS to be done around here!

But I saw this little storage idea HERE and knew it was exactly what I need in my guest bathroom!

I had to build a little Christmas gift but I can’t share that just yet since it is suppose to be a surprise. But while I had the saw and nail gun out I decided to take time to build this little storage unit.

I keep plenty of spare toilet paper under the vanity but it is out of reach if you have already sat down. So for years I kept spare rolls in a basket on the floor next to the potty but I just didn’t think it was a sanitary place to store paper. So I set up a little wickerish box…paper inside, magazines on top.

So here’s my opinion about reading materials in a bathroom. First, I don’t want guests hanging out long enough to read an article in the guest bathroom…seriously, do that in your own bathroom. Second, if you have to sit there long enough to read an article, add fiber to your diet.

I needed something to set a little Christmas tree in so the little box got “repurposed.”

Anywho, I saw this little storage idea and thought “HEY! I can do that!”

I constructed mine a tad differently than Barb, but the concept is the same…and as I always suggest, use the tutorial that makes sense to YOU!

Either way, SUPER simple build! Something you could do with a miter saw and box. hammer and screw driver if you don’t have fancy power tools!

The first thing I did was use a stud finder to locate the studs then I cut into the sheet rock to measure the exact distance between studs…

…15”. Most wall studs are 16” on center so they SHOULD be 15” apart, but you never know so it is better to be safe than sorry! Just measure the distance between the studs and make your box a smidge narrower than that…or do as Barb did and “fur out” the studs to make a box a specific width.

I laid out the TP hanger (THIS is the one I used) and the spare rolls to see how tall I wanted the entire box to be…17” seemed to be perfect.

One suggestion…make sure the bar on the holder you choose “pivets”…you want the bar the paper will sit on to swing freely so you can swing it out of the box to put the paper on!

I used 1x4 (actually 3/4” x 3 1/2”) pine boards and 1/4’ luan to build the box. I cut the width pieces about 14 3/4” to give myself a little wiggle room between the studs. Basically I made a 14 3/4” x 18 1/2” box (outside measurements), then backed it with luan, cut to fit. I used wood glue and brad nails…ALWAYS glue your joints…trust me, the nails just hold everything together until the glue dries!

I used “door stop” for the face trim…it is 1/4” thick and 1 1/2’ wide and has a very simple profile! I used it when I installed the glass on my laundry room door…simple and beautiful!

After the box was constructed, I puttied the holes and caulked the joints, primed it with Bullseye primer, sanded it smooth, then wiped it down with a tack cloth.

I used the backside of the box as the “template” to mark the sheetrock, making sure it was level with a small 6” level (don’t assume your studs are level). I used a sheetrock knife to cut the sheetrock.

To install, I slipped the box between the studs, making sure the trim sat flush on the sheetrock. I drilled four 1/4 “holes approximately 3/8” deep on the inside of the box (2 on each side) and used 1 1/2” sheetrock screws to attach the box to the studs. Then I used wood putty to fill those holes and sanded it smooth after it dried.

All my trim is oil based “Swiss Coffee” (and of course I have spare paint on hand) so I painted the box with the trim paint. Again, ALWAYS use an additive when brushing or rolling paint on wood…in this case Penetrol since I am using an oil based paint. Two coats!

After the paint dried well I installed the TP holder and stocked it with spare paper.

Too stinking cute and perfect for storing extra paper and even a little “air freshener.”

Christmas is next week and so little changes from year to year it seems almost redundant to share my Christmas decor. But I will leave you with a few pictures of our cozy holiday home…

I hope you and yours have A VERY MERRY CHRISTMAS!!!

Christmas pillows....

For me, it is way too early to start decorating for Christmas but never too early to start thinking about it.

I love fall…so I want fall to stick around as long as possible. Christmas decorating doesn’t start until the Friday after Thanksgiving.

As much Christmas crud as I have, I hesitate to even THINK about adding anything new…but every year I find something I want to add. This year it is pillows.

I made Christmas pillows a few years ago and they turned out pretty cute! And of course every year I find a few during the season I like. (I searched “pillows” on my site…wow, I have feature pillows A LOT!)

A few years ago I started buying cashmere scarfs on Ebay to decorate with…they are cute, durable and inexpensive. (I have even bought a few to actually wear!) They make super cute table runners, buntings and pillows.

I bought a black and grey buffalo check this year to use as a table runner for my fall decor.

I am concerned that buffalo check will be a lot like chevron was 3-4 years ago….a super cute fad that lasted only a season or two. If that is the case I certainly don’t want to spend a lot of money on it. HERE I talk about decorating with traditional vs fad elements .

I found a red and black buffalo check and a red plaid I think will make cute Christmas pillows.

I ordered 12x20 pillow inserts from Amazon. THESE are the forms I ordered.

As much as I love real down pillows, I have found that some tend to “smell”…these are down alternative and I’m pretty happy with them straight out of the package. Keep in mind, they ship SUPER flat but once you open them and allow them to “breathe” they fluff up nicely.

Fortunately the scarves are 12” wide so I only had to cut the 20” length.

As I have mentioned in other pillow tutorials, I always cut my covers the same size as my pillow forms…in this case 12 x 20”. Then when I sew the 1/4”-1/2” seams, the covers are a tad smaller than the actual forms…but that makes my pillows fluffier. Personal preference I guess.

The scarves have fringe on each end so I cut my cover lengths from the ends…allowing me to have the fringe on the end of the pillow.

I always add zippers to my pillow covers…mainly so I can reuse the forms when I tire of the covers. Or if the covers get dirty, I can easily take them off the forms and wash them. I don’t wash the forms but I do “fluff” and “sanitize” them by tossing them in a hot dryer for 30-45 minutes. If they get so dirty they need to be washed I toss them. I have found that real down forms kinda smell after they have been washed and alternative down tends to ball up…so they are pretty toast if they have to be washed.

There are a bazillion video tutorials on how to sew hidden zippers…find one that makes sense to you if you decide to add a zipper to your cover! No sense in me “reinventing the wheel.” If you don’t want a zipper, just leave an opening and do a blind stitch…again, find a tutorial for making pillows that makes sense to YOU!

The pillows turned out super cute. I got 2 12”x20”s and 1 12”x24” out of two scarves. So six total. Probably less than $7 a pillow.

When it is time to decorate for Christmas I will scatter them around on chairs and couches…

…until then they get bagged up and stuffed into the laundry cubby!

I may end up ordering another scarf as a runner for my Christmas table. Too cute…too cheap!