ANOTHER KITCHEN MAKEOVER....

I did a “mini-makeover” a couple of years ago when I installed a new microwave and stove…

….and last year I finally added a new matching dishwasher.

I also did a little makeover on the dining room last year and I LOVE IT!

I sat on my hands long enough that the “white painted cabinet” craze is slowly dying off. Fortunately I don’t have the dreaded “honey oak” cabinets and still like my cabinets…and truthfully I loved the granite tops when I first installed them.

But for years I have been on a quest for “lighter and brighter” without painting the cabinets.

Two years ago I replaced the black bar top with white quartz…and I have coveted white quartz counter tops since!

I LOVE IT!!! I have Google and Pinterest searched enough to know that I would love white quartz tops with the “paprika cherry” stain cabinets and a travertine backsplash.

To give myself a “visual,” I bought some white shelf liner and white duct tape and covered one entire side of my kitchen with it…just to make sure I would like a “white” counter top.

I LOVE IT!!!

The “visual” really sealed the deal for me.

For several days I debated on whether I should get tops that have “veining” in them or just plain white. I even contemplated going back to the shop and picking up a few samples of quartz with some movement (the unique pattern of patterns that flow through the piece of stone) in them.

I decided the travertine has plenty of movement and “veining” and really needs to stand alone…I ‘m concerned that any “movement” in the quartz would “compete” with the travertine and make it all too “busy.”

This is my personal preference…either “movement” in the backsplash or top…but not both! I know people do both, but again, personal preference.

So white it is.

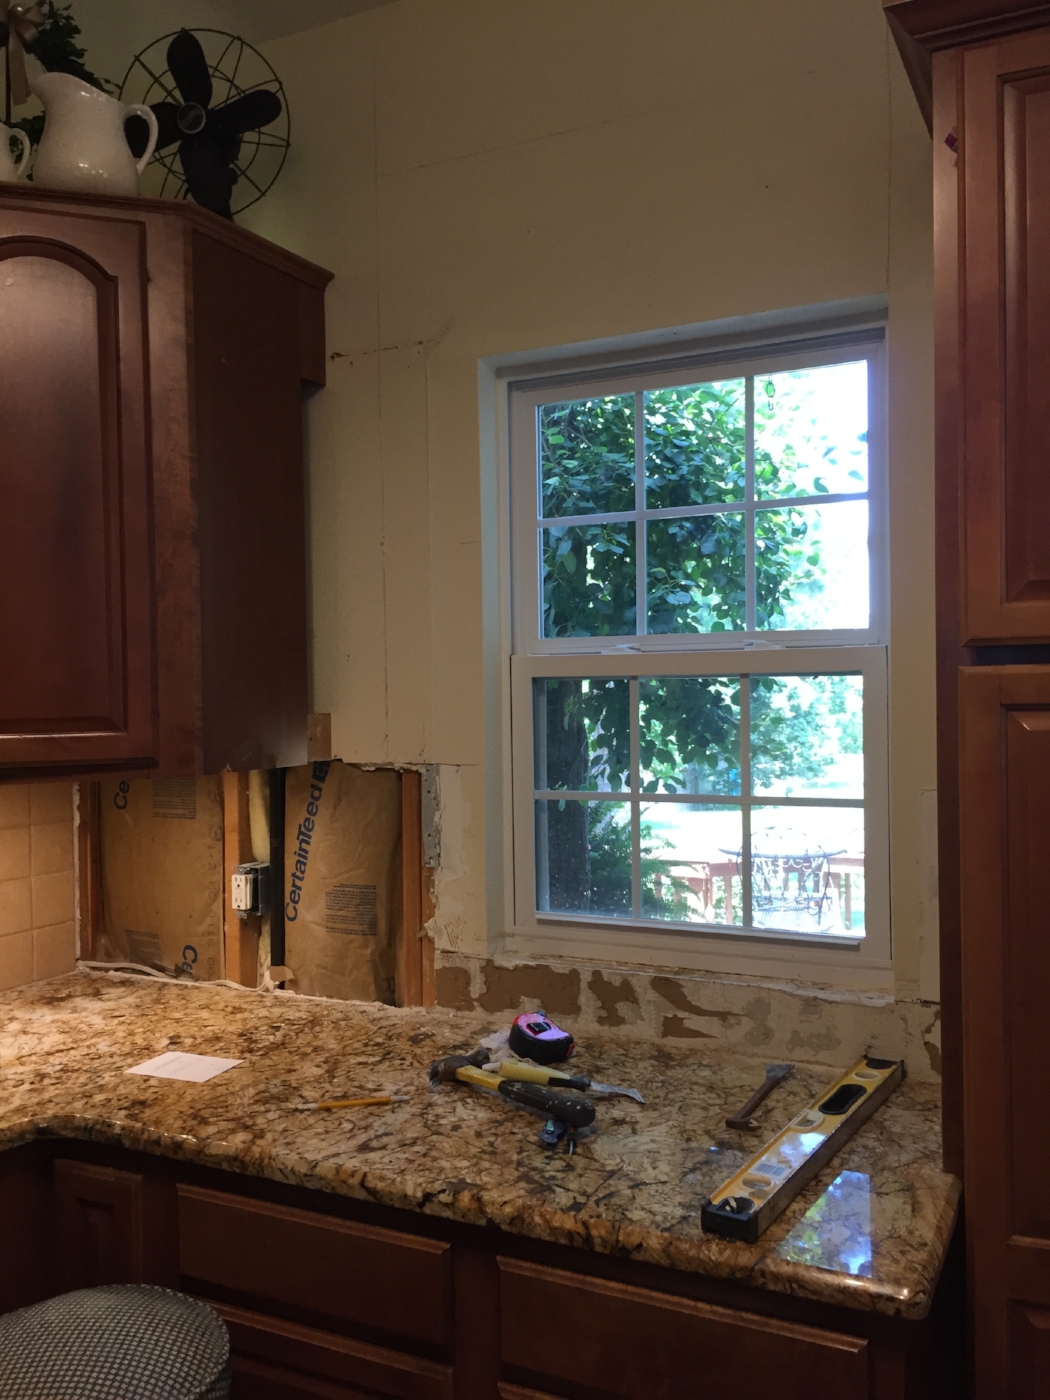
They measured and templated this week…

… and the new tops should be installed in next weeks!

I ordered a new black stainless single bowl sink! I would love to have a new black stainless faucet but, HOLY COW, those puppies are expensive so I may wait on that luxury!

I can’t wait to share!

Grouting the live edge pebble tile backsplash....

Last week I shared the installation of my "live edge pebble tile" backsplash. This week I will continue that little tutorial...specifically the grouting and caulking!

Remove all your spacers and clean off any excess mastic that might have squished out or is on the face of the tile. Run a piece of tape along the counter, slipping it a tad under the tile.

It is important that you NOT get a lot (if any) grout in the space between your counter and the backsplash...again, you will run a small bead of caulk in that space when the grout is dry...caulk is flexible...grout is not. If you barely slip the tape under the tiles, it will pull out any grout that might slip in that gap when you pull up the tape.

Grouting is not hard! Quick tip...in general SANDED grout is for floors with larger grout lines...UNSANDED grout is for backsplashes and small tiles. Here is a good outline of the difference between the two...but as always I would suggest going with the manufacture recommendation for your specific tile or the advice of a PROFESSIONAL (not the kid at Lowes!)

In this case I used sanded grout. Why? Well, because that is what I had on hand and there are some pretty substantial gaps between the pebbles and it is in a wet area. But if you have small, uniform spaces between the backsplash tile or a tile that would scratch easily, I would go with unsanded grout.

Mix your grout the consistency of say, really thick peanut butter.

TIP: A little water goes a long way with grout so add a little water at a time and mix well. I used my shop spatula. I never dump ALL the grout in...save some in case you add too much water...otherwise you will have to go get more grout...trust me, been there, done that. 

Use a grout float to mash the grout between the pebbles/tiles, then wipe off the excess with the float. Make sure you fill the gaps well. I even use my fingers to mash in the grout in hard to reach areas. Again, TRY to avoid getting grout in the gap between the tile and the counter! Fear not...if you get grout in this gap it will pull out when you pull the tape up while the grout is still wet!

After you have filled all the gaps well and removed the excess with your float, use a tile sponge to gently wipe the pebbles/tiles. DO NOT use a plain ole' kitchen sponge...they "shed" and you will get little flecks of sponge in your grout...from experience. Buy a sponge specifically for this purpose.

TIP: I set aside a "gloob" of wet grout just in case I need to go back and fill in little spots here and there...just smash it in the gap, then wipe it with the sponge. 

On your first wipe, your goal is to get rid of the excess grout on the tiles...if you "gouge" the grout between the tiles just smash some more in and wipe.

After all the excess is removed, peal up the tape...it should remove any grout from the gap between the tile and counter. I take a utility knife or toothpick and "flick out" any that is still lurking. Then wipe again with your sponge!

I have found that using a "swirling" motion tends to "buff" the grout and give it a smother, more uniform finish.

Wipe well, let it sit for about 30 minutes, then go back and wipe again...keeping your sponge clean. You will want to do this repeatedly, every 30 minutes or so, until there is no more "grout film" on the pebbles/tile. 

I personally think grouting is one of the things that sets a “professional look” install apart from a “DIY” job…so take your time with this process. You want the grout to be uniform, smooth and even with or just a hair below the edge of the pebbles/tiles. You don’t want it on the face of the tile. Again, it never hurts to go back and add wet grout, then wipe again. Once the grout is dried and set, it’s a little tough to make adjustments…so take your time and do it right!

TIP: Just from past experience...don't rise your sponge in the sink...not saying it WILL clog your sink, just saying. Use a bucket, changing the water often!

After you have finished removing all the excess grout and the pebbles/tiles are sparkling clean, and you are happy with the grout lines, let it dry overnight.

After the grout has dried, put down another fresh line of tape to protect the counters and coat everything with the "impregnator sealer" (if you have natural stone) Brush on, let it dry for about 5 minutes, then wipe with a clean cloth. That will seal both the stones and the grout. Or apply a grout sealer (per the directions) if your tile is ceramic or porcelain. Let that dry well.

Then caulk...here I give you a pretty decent tutorial on caulking! Super important so make sure you do this one final step! 

Again, silicone caulk can be tricky for a novice and really not necessary in this area. I am a pretty proficient caulker, but if you are a novice I would suggest using this tape trick.

CAREFULLY tape both the tile and the counter...only leaving the "gap" exposed.

Apply the caulk, smooth away all the excess with your finger, pull the tape, and then smooth again with a clean, damp finger...you SHOULD get a nice smooth grout line.

I used white grout so I used white caulk. Most grouts have a matching caulk and you want your caulk to match your grout...worth the small investment.

And presto-bingo...a live edge pebble backsplash!

I LOVE it!

I know not everyone will love the "natural" look of a live edge backsplash...so many seem to prefer the structure of a "straight line" application. But as I look around my house I realize I really gravitate to a "natural" and random flow....

The dry stack fireplace tile....

The "randomness" of the tile kitchen backsplash...

Maybe it is all a part of my "go with the flow" attitude! I would like to think that in a world of structure and symmetry we all need a little randomness in our lives!

My son said it looks very "Coloradoish!" BINGO! That is exactly what it kind of reminds me of!

We leave next week for our annual fall trip out west! I finally get to check “a float trip down the Black Canyon" off my bucket list...we have a guided fishing trip scheduled! And then we will do our annual guided trip on the Colorado River with Cutthroat Anglers. This is a trip I look forward to every year!

I'll break out all the fall decor before we leave so I will be ready to kick back and enjoy the fall season when we get home! Hopefully the summer heat will have gone away and I will be able to pack up the shorts and flip flops for the year.

The calm AFTER the storm....

We have all heard the expression "the calm before the storm." For DIYers, we live for the calm AFTER the storm.

Before the storm we are searching non-stop for "inspiration," driving all over town or burning up our computers looking for materials... measuring, planning, pondering, stressing. 

Then the day comes...the dreaded "demo day!"

Unless you have the luxury of starting from scratch there is always a little bit of "demo."

As you probably know I have spent the better part of three years "sitting on my hands," doing everything in my power to NOT paint my kitchen cabinets. I just know that someday in the future the "white cabinet craze" will come to an end and I will be stuck with painted cabinets.

SOOOO...in that quest, I have "reset" my entire kitchen, built open shelving, installed glass doors...and now? Well, after much measuring, planning, pondering and stressing, I have decided to take two more steps to a "lighter, brighter" kitchen WITHOUT painting the cabinets. 

Hence, the "storm." 

This is my kitchen shortly after the "reset".... "at peace." 

I decided to install a lighter backsplash. It is time. The tile has been there for 17 years. Truthfully, itwas still the right style, just not the right color....everything was so "orange." 

I went online and searched for some inspiration...I was pretty sure I wanted travertine but I wasn't sure what style...subway, tumbled, split-face...just so many options. One of the problems I ran into is that "painted cabinet craze." It seems so many kitchens that feature travertine backsplashes also have painted cabinets...mine are stained. 

But I found a few "inspirations" that allowed me to see what the different types of tile would look like...again, I put the pictures in my "inspiration file" and didn't bother to save a "link." So my sincerest apologies if this is your kitchen or picture and I do not give you proper credit...just know that imitation is indeed the sincerest form of flattery! 

These are just of a few of the MANY photos I put in my "inspiration" file.

So off to the tile stores I went. Honestly, I have been looking for new tile since I installed new granite over four years ago...to no avail. I finally found one I  loved! I brought home a sample...looked good. Played with it in different lights...all good. So I ordered it!

Here is one small problem with even the simplest change around here. If I am going to install a new backsplash, now would be the time to install the larger window I've kinda been wanting. Bigger window, more light... "lighter and brighter." Right?

But do I want one that raises up like the existing window...or maybe one that slides to the side and has a screen that slides so I can hand stuff out to Brian while he grills.

Hum....so off to the window store. Remember, I DO NOT like to shop...so "shopping" for new windows and tile for a kitchen I know I will have to live with for MANY years is not really what I call "fun." 

Finally settled on a larger sliding window and a travertine tile and after everything was ordered I started the dreaded "demo." 

First, I removed the 9" cabinet to the left of the window. Honestly, the only thing in that cabinet were long expired cold medications and eye glasses my 28 year old son wore when he was 14! The cabinet didn't go to waste...I removed the door, painted it to match the laundry room cabinets and installed it between the two cabinets above the washer and dryer!

I can still tile, so I started removing the old tile...which means removing the sheetrock because, well, you ARE going to tear up your sheetrock when you remove ceramic tile. No way around it.

Now this is when I admit that I am no longer super woman. When I changed out this window the last time (no, this is not the first time I have changed out this window!) I did all the work myself, except the siding (I don't do siding). I removed the old window, framed in the opening for the new window and installed it. 

But that was a few years ago and this time I decided the cost to reframe and install the window was equivalent to what I would spend at the chiropractor. So I hired it done!

After tearing up one wall of tile and sheetrock, I decided to do a little research about tiling over tile.

Now I am one who NEVER paints over paper, or papers over paper, or tiles over tile. I'm a firm believer in removing the old before installing the new. But after a lot of research and talking with a few "experts" I determined that there is no reason I could not tile over the existing backspash...it was sturdy, the tiles were all firmly attached to the wall and I didn't have any mold or mildew issues. So rather than remove ALL the tile around the entire kitchen and then have to replace ALL the sheetrock, I broke my cardinal rule and tiled over the existing tile on two walls.

After a day of window installation and several days of tiling, grouting, sheetrock repair, trimming, painting and cleaning, this is what I ended up with!

I also took the opportunity to add two more glass front doors. I had added several when I did the original "reset" a year ago, and I loved them. So I ordered two maple doors for the cabinets on both sides of the refrigerator, stained them to match the existing cabinets and added reeded glass...love!

My next big goal for this kitchen are new appliances...but as I have said before I can't bring myself to buy new when the old still works just fine...so someday! Honestly, it is a good thing I didn't do it a few years ago when I got a bug for stainless...because now I love the "black stainless." See...it's a good thing I didn't follow the fad then!

For now I am enjoying the "lighter and brighter" of the new backsplash and larger window!