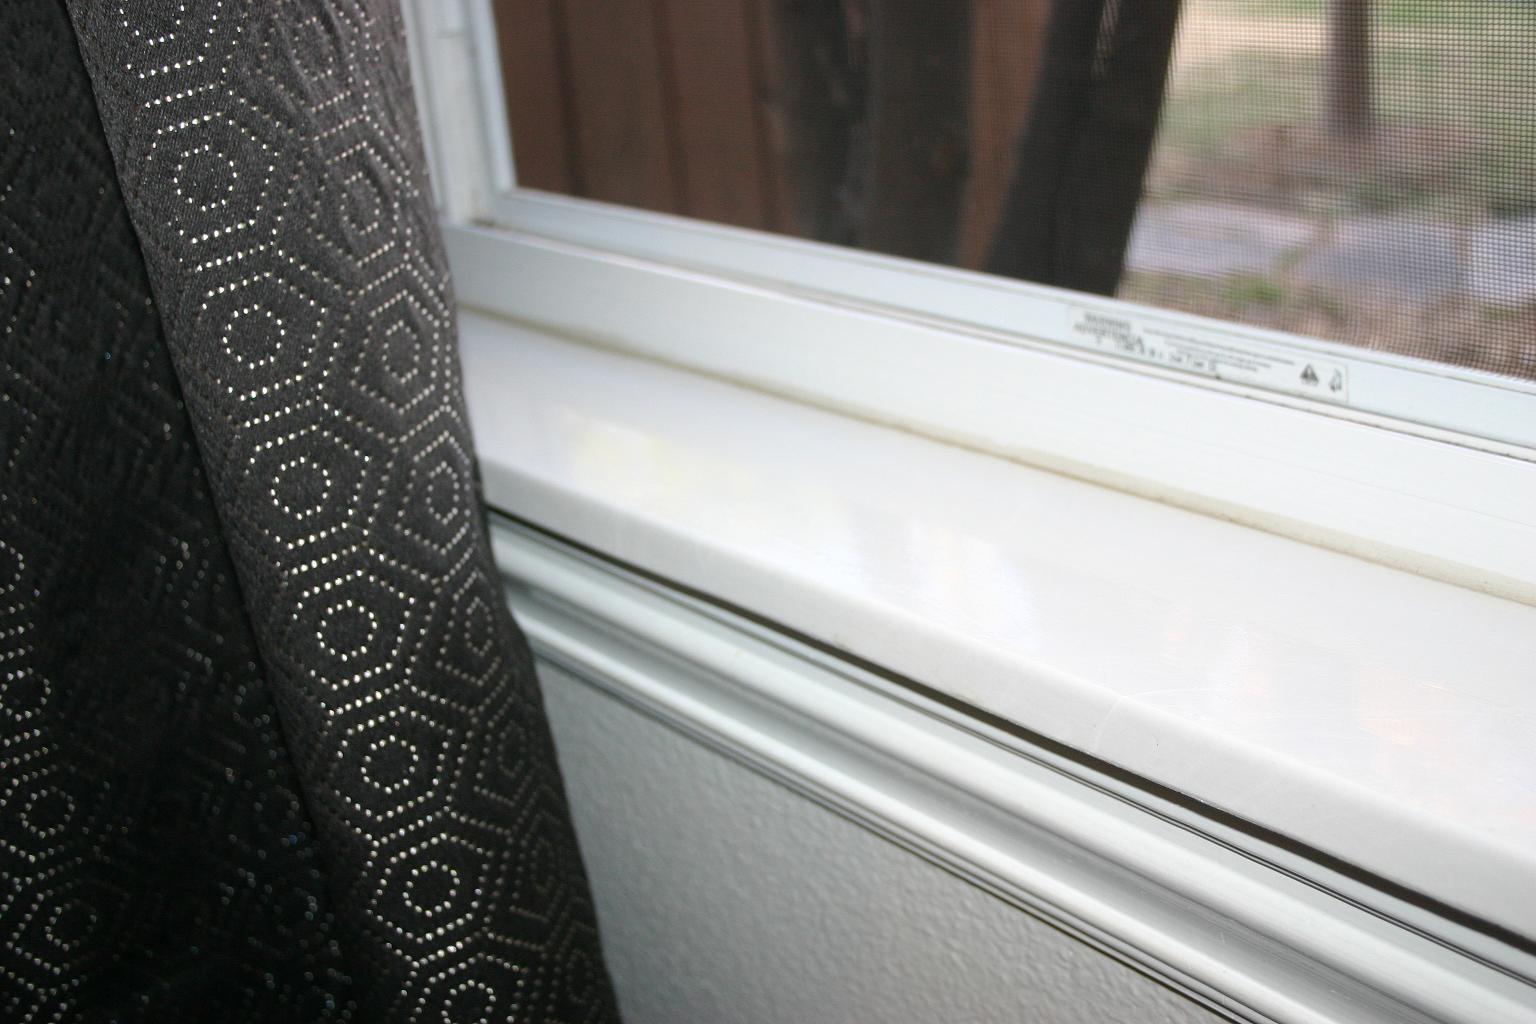
Window sills....
I've been working hard the last few days on my little garden shed...want to paint the shutters, but if I paint the shutters, I have to paint the door, but the door is rotten so it needs to be rebuilt, and while I'm doing that I might as well...blah, blah, blah. NEVER ending. But I'm almost done and I will share soon!
In the mean time, I wanted to share a SIMPLE project...
Marble window sills (or any solid surface material for that matter!) Have you ever noticed the nasty black crud (i.e. mildew) on your window sills...or how the paint flakes and chips, especially after they get rained on a time or two.
Easy solution!!! Cultured marble window sills. Such an easy, inexpensive solution. Now honestly, if you had to do them ALL at once, it would be a tad expensive. But start with one or two...maybe the few that get left open the most in the spring (oops!) and over time replace all your sills with marble. I usually pay around $25 per sill.
It really is simple! Take a VERY sharp utility knife and carefully "score" (cut through) all the caulk around the existing sill. Basically between the existing window sill and the window, wall and trim. Then take a flat tool (a chisel, flat screw driver, metal putty knife) and use a hammer to tap it between the sill and the trim under the sill. Your objective is to lift the sill up...so however you can do that carefully....it doesn't matter if you scar up the sill, but you don't want to make too big a mess of the wall or trim. Once you have the sill off take it to a culture marble manufacturer (easy to find in your phone book) and they can use it as a template for your new marble sill. I usually get "white on white"...will match any white trim color.
If you are going to do more than one, make sure you number or somehow label your pieces so you will know what goes where! You may THINK all your windows are 3' wide...trust me, there is a good chance there is a hair difference!
To install your new marble sill, first "dry fit" it to make sure it fits properly! You can make minor adjustments with sandpaper and even a skill/jig/tile saw IF you know what you are doing and feel comfortable doing so (cultured marble is NOT difficult to cut) If you can't make the adjustments yourself, mark where the cuts need to be on the marble with a permanent marker and take it back to the marble shop.
You will probably have a small gap (1/8" +/-) all the way around...that's okay, you will fill that in with caulk. If it fits properly, just put a good thick "squiggly" of silicone caulk on the framing board the sill will sit on, install the sill and press firmly. (If there is a gap between the actual window and "framing sill" you will want to run a nice heavy bead of silicone caulk to prevent air from getting in. If the gap between the window and framing sill is BIG, you might consider stuffing it with insulation before installing your new sill!)
Now, here is the tricky part...you really should use silicone caulk to fill the gaps...and that stuff is NOT for the novice. A 100% silicone will not clean up with water AND most are not paintable. So if you are not a GREAT caulker, I would suggest using a "painter's caulk." Easy clean up and you don't have to worry about it if it gets on the wall or trim...because it will hold paint.
Remember my instructions about caulk...cut the tip small and at a 45 degree angle, with a very sharp razor blade. When you caulk a gap, squeeze the gun trigger gently and keep it moving along the gap. The deeper and wider the gap, the slower you will want to move the gun....the narrower or shallower the gap, the faster. Again, it is a learned art....practice does make perfect. But caulking is a necessity with MOST DIY projects!!!
If you are really afraid you are going to make a big mess, take the time to tape off the area...run masking/paint tape along both sides of the "gap"...caulk...wipe with your finger...immediately pull up tape!!! If you are going to attempt using silicone caulk, I would highly recommend doing this!!! Keep mineral spirits handy for clean up!
After you run a bead of caulk, take your finger and run it along the caulk/gap. You want a nice, smooth "line."
Caulk between the sill and the window/wall/trim...all the way around. If you are using painter's caulk, it will easily clean up with water...silicone caulk cleans up with mineral spirits.
The entire process really isn't that difficult...and in the end you have a beautiful window sill that will never rot or chip, is super easy to clean and is very forgiving when you leave the window open during a thunderstorm!
BTW, if you are having a new solid surface installed in your kitchen or bathrooms I would highly recommend having the installer cut and install a new sill for any windows from the solid surface you are using...I had my granite installer cut a window sill for my kitchen window! Looks beautiful and no more worries when I forget to shut the window before it rains!


