Another fireplace makeover....

It is time.

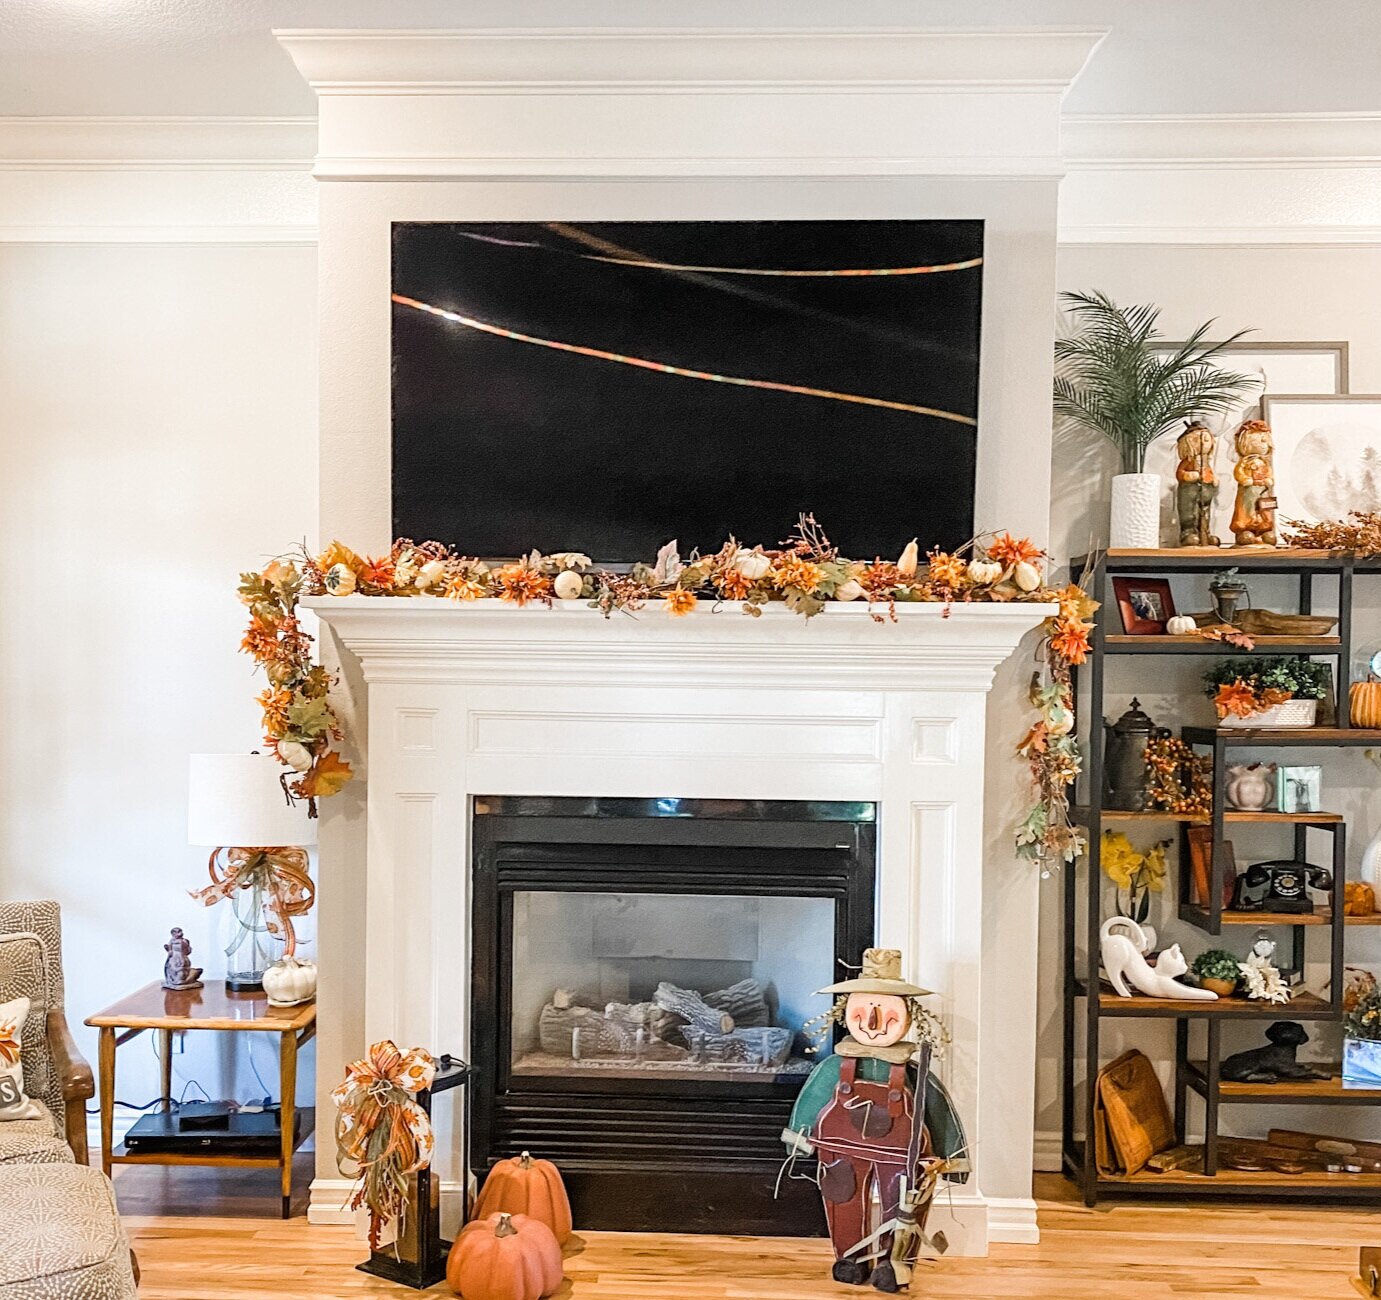
Time to give the fireplace in the living room a little facelift.

Like the fireplace in the den, I have known from day one the living room fireplace would someday get a little makeover.

Its not totally offensive…it’s just…well…I just don’t like it much.

(I didn’t have to tear out what is there to get a good visual like I did in the den).

So the first thing I did was “find my inspiration.”

I did what I usually do…scoured Pinterest and the webisphere and dropped pictures I liked into a computer file….

In it are pictures of fireplaces that have at least one element I like.

I would post all the pictures of individual ones that really struck my fancy but again, I am HORRIBLE at keeping the original source to link back to…but this is my inspiration file.

This is one I like best…

SOURCE

You may notice this is a “stone” fireplace surround…but I think I can make something similar out of trim and paint it.

One thing I know for certain…I want “more formal” than the rock and walnut mantel I put in the den but less that the formal froo-froo in more formal living rooms. Simple but with a little class.

The den, kitchen and living room are all “open space.” The den is our “casual” space and the living room is the more “formal” space…and since you can see both fireplaces from just about any spot in all the rooms, it is important that they be different to reflect their individual purposes but not clash.

Does that make any sense at all?

So, I found my inspiration…or at least 20-30 I can combine to get the look I want.

The next step is to “make a plan.”

To do that, I measured the space (wall width and height, floor to bottom of TV, firebox) and drew it out on graph paper. That way I know exactly what my measurements are.

Again, most of the “inspiration” pieces I like were stone…but those are super expensive and I really think I can achieve a similar look with wood trim.

I haven’t yet decided on what tile I want between the fire box and surround. Or if I even want tile at all…I like the solid look. I think I may have to wait til I get the surround up to get a good visual.

This is definitely one of those “fly by the seat of your pants” deals.

Again, I know I do not want a hearth. This is a gas log firebox enclosed in glass….so no “need.” There isn’t one now so I know we can live without it. Since I went with the stone and natural wood in the den I’m pretty sure I am going to stick with painted.

So…inspirations in hand…check. Measurements taken…check. Set plan…well that is still a work in progress. I ordered the large concave (cove) crown and I will take a piece of that and build around it to find a look I like. I believe this is what they call a “fluid” plan.

This week the ladies in the neighborhood are building a deck. MAJOR chore…but by goshy we are getting it done! It is part of my “give what you have” plan for my life. I get to share a skill set, the ladies are learning something new and the fellowship is wonderful. So far, so good!

Hopefully next week I can get started on the fireplace!

The fireplace project...taking it to base neutral!

As I mentioned when I first shared the den, one of my “eventual projects” was to reface the fireplace.

image-asset.jpg

But as I have said before, often “what is there” blinds us to “what can be.” So the absolute best thing you can do with any mentally blocked project is to take it to “base neutral.” Whether it be a room, a dresser, a fireplace….take out what you don’t want or paint it all white…and start with a blank slate.

After months of being mentally blocked, I took a hammer and crow bar and took it to “base neutral.”

IMG_2004.JPG

I love that this house has two fireplaces…and the one in the living room is fine ….for the time being….

IMG_2007.jpg

(Yes, fall puked in my house!)

But the den is a “less formal” space and I really want something less formal looking…like stone and a big beefy wood mantel.

I’ve dropped a few “inspirations” into a computer file…

Screen Shot 2021-09-27 at 2.49.47 PM.png

…and I have found several looks I like on Pinterest.

I like the look of stone or brick to the ceiling but that would entail removing the crown, which would then mean I would have to paint the ceilings throughout the entire space…kitchen, den and breakfast room. And that is just not a project I want to even think about at this time.

My plan is brick or stacked rock and a big beefy wood mantel…preferably walnut. I have been researching the Airstone product (sold at Lowes) and if I go with the stone look, I may give it a shot. But I also like the brick look so I am looking at brick tile as well….

That’s the plan…I think…maybe…

I don’t know. What I do know is it will be much easier for me to visualize what can be now that what was is gone.

I better get to visualizing because as you can see, I will need both mantels for stockings in about two months!!!

static1.squarespace.png

The den makeover reveal...

Honestly, on the surface it doesn't look like much of a reveal.

I had plans...BIG plans. New couch and rug, paint, new flooring, fireplace makeover...teal, greys, whites. 

I found my inspiration, made a plan and started the plan.

When it was all said and done, it really doesn't look like I have changed much. My back and checking account say otherwise!!!!

Two huge projects did get completed. I painted and refaced the fireplace with travertine tile...

....and installed new wood flooring!

A little TIP for wood or laminate flooring. This is an "engineered wood flooring" you glue down. The transition pieces for this flooring were about $50 for a 6' stick, and I need three pieces! I went to Lowes and found unfinished transition pieces for around $15 a stick and stained them to match the flooring. Much cheaper! When I did my master bedroom floors in laminate, I did the same with the existing transition pieces...just gel stained them to match the new flooring!

Those two projects alone made a world of difference!

I did what I always do when looking for the perfect paint color ...I painted two samples on the wall and looked at it...for weeks.

But when it came right down to it, even with the new flooring, I really love the original color. This is my "fall room." Fall is my favorite time of the year and I just love the colors associated with the season...burnt reds, oranges, yellows, etc! 

So off to Sherwin Williams I went to see if they could mix a 15 year old color. God bless 'em...they mixed it right up. I painted over the "test patches" and gave the entire wall a fresh coat of the same exact original color.

I did infuse a few splashes of "teal" here and there. It all started with these little birdies I picked up at Midtown several months ago...

I THOUGHT I would like this table in teal...

Boy was I wrong....I really disliked it so when I cleared out the furniture to install the flooring, it went straight to the garage for another makeover...

I originally painted these candle sticks teal...nope, not happening. So again, back to the garage for a second makeover. 

I did paint this lamp a soft "teal." 

It's not really "my style" but it is different and I like that. And the shade is actually brass with a black exterior. I got a great deal on it at a design studio auction. It had the original $450 price tag on it. A little pricey even for a heavy brass lamp...but for my $15 bid it was worth it! Believe it or not, you can paint brass!! A little metal primer and a little spray paint!

After dinner with my super awesome girlfriends, we made our usual TJMaxx run! I found these awesome pillows and decided they will look perfect on the grey couch I want to eventually get for this room...eventually...someday.

Not sure they are "all that" on the old yellow couch, but they will inspire me to eventually "transition" this room into the vision I had in the beginning...greys, teal, whites. For now, I will leave the original pillows...they have a little bit of teal in them...just for the sake of the ratty old couch!

Not all "makeovers" happen over night. Sometimes, you have to take your time and do what your back and budget allow. 

So yes, I still want to buy a new couch...and a new rug...a few new club chairs. 

In time. For now, I will just enjoy the new floors and the "new" fireplace!

I party with Remodelaholic

Christmas home tour....

I noticed many bloggers featured their Holiday Home Tours earlier this month. I've been a bit slow getting around to it for a number of reasons.

First, the dog ate my card reader. Seriously. She ate it. And I read somewhere that you should never hook your digital camera directly to your computer because it could get "infected" with any bugs or viruses that might be lurking in your computer. So I always use a card reader to get my pictures. 

Second, I have been "playing" with the camera. I am notorious for taking "not so hot" photographs. Primarily because I was afraid to use anything but the "auto" setting which makes it difficult to get decent interior photos. Last week I decided to step outside my comfort zone (reasons explained here) and start playing with the camera settings in the manual mode. SHOCK! I was able to take some half way decent interior shots without blowing out the room and subjects with a flash! In the past I had to wait until the light was "just right" in a room or move pieces around or live with cruddy "flash" photos. 

I still honestly have no idea what I am doing "setting wise." But I feel better about turning dials and experimenting. At some point I will take a photography class and actually learn how to use a DSLR camera! Funny thing...I am not a newbie. I have had a digital camera for ten years...I just never used the manual settings and I was terribly limited in the quality of photos I could take.

So today I am going to share a few holiday shots of my house. I still have to be careful about when I take the pictures because I have a lot of windows and the sun can cast some pretty harsh shadows during the day! And they still aren't the best photos...but they are a tad better....

Welcome....

I always try to do a little something during the season around the front. I stick a little lighted Christmas tree in one of the flower pots and then a few wreaths and garland here and there. It is tough to see my Santa and pine forest in the arch window but he is well lit at night!

The living room...

...the BIG feature of course is always the tree! 

I made several Christmas pillows this year...you can see the post here!

Decorating can be as simple as sticking a few sprigs of berries or floral in vases or urns!

I absolutely LOVE the look of garland and ribbon down a bannister, but several years ago I decided I had to make holiday decorating a little easier on myself so I made 6 identical wreaths and tie them to the bannister! Simple but pretty!

For both Thanksgiving and Christmas I buy the little "candle wreaths" and tie festive ribbon on them and hang them on the doors throughout the downstairs. It is an inexpensive way to dress up the doors and I don't feel guilty about buying "fad" colors or styles because they are pretty cheap.

I have a thing for skinny Santas...I don't think it is intentional, but it just seems that all my Santas are a bit on the thin side...

This year I took the gold shades off the dining room chandelier...I like the "brightness" of the lights.The fixture really is simple to decorate. I just wrap a little plain garland around the fixture then stick a few sprigs of red and white berries here and there...a few crystal doo-dads from last years clearance...pretty! 

When my oldest daughter was a baby, my grandmother made her this Raggedy Andy and Ann. With my girls "grown" I really had no way to display them so a few years ago I made little pilgrim outfits for Thanksgiving and Santa outfits for Christmas. Now they get to hang out during the entire Holiday season!

The den during the day...

...and at night! Very cozy especially when it is cold enough for a fire!

Several years ago I decided to dress up the windows in the den...again, wreaths and festive ribbon! Simple.

Another skinny Santa by the fireplace...

I keep the holiday decorating in the kitchen to a minimum. Mainly because I have limited counter space and I don't want to clutter up what space I have. In the last few years I started adding little simple elements to the top of the cabinets...like Lord/Sir ? (Still no name!) 

Just a few little touches here and there can make a difference. I found a Christmasy apron at Hancock's Fabric this year. Holiday salt and pepper shakers, a penguin soap dispenser (you can't see it!), leftover ornaments in glass bowls and serving pieces, wreaths, my Southern Living cookbooks, and again, a few sprigs of holiday floral stuck here and there! Just a few things I think are pretty and festive.

Not much changes from year to year. As I have said before, I stick with the traditional and add just a few little elements here and there every year. But honestly, little changes. My basic rule is if I haven't displayed it or used it in the last two years, it gets donated...and I try not to spend too much time and money on the "fads." One thing about holiday decorating...if you stick with traditional, you probably won't go wrong. "Fads" are good in moderation as long as you don't bust your decorating budget. 

I don't mind hanging a few inexpensive peacock blue and neon green wreaths, but let's be honest...when it comes to Christmas, Santas and snowmen, green garland and pine trees and red, gold or silver colors, will probably never go out of "style!"

Have a VERY merry Christmas!


Little house projects...

When you get your miter saws this year, let me know and we will start on the bookcases and fireplace surrounds.  I built all these over the years and have NO doubt you can whip one up in a matter of days....lol!  Just kidding...I would never expect the average person to tackle this size of a project...but my point is, if I can do THIS, you CAN do the smaller, simpler projects! 

And I will let you in on a little secret...when I had to do the "inside corners" of the large crown molding on the den fireplace, I went over to a house being built down the street and paid the trim guy to do it.  I know there is a trick to cutting inside corners on crown molding...something about backwards, upside down, stand on you head...but I haven't ever gotten the hang of it.  Outside miter cuts on crown...no problem.  So when I do the tutorial on building up your door trim, not a problem.  But maybe we can get a "guest"  to help us learn the art of cutting inside corners on crown molding!  Or better yet, I'll just teach you how to build those cool little corner doodads that look so classy!

In the next few days, I will post some pictures of my staircase...stripped the carpet and put in new treads and risers...seriously, it isn't THAT hard.  And when you get your new tools, you CAN do it.  I will also posts pictures of my master bath...with just a teeny effort, you can completely change the look of your bathroom.   And I promise to show you before and afters on my kitchen under counter lighting...seriously, you can't imagine the difference it makes in your kitchen!  

Until then....

My den...I painted this wall 12 years ago when I built this room...perfect example of "paint it a color you love and you will always love it!"  It is true!  I've never had any desire to change this color!   Now the TV stand...that's another story and a project I look forward to doing in the VERY near future...just have to find a piece that speaks to me...


IMG_5015.JPG

I built these built-in bookcases in my living room when the house was under construction.  Originally, there were just two walls with weird windows.  Had NO idea how to place furniture or decorate around them so I did the next best thing...just built some bookcases around them! Perfect spot for the Christmas tree, and I love decorating the arch window in the fall and at Christmas!

IMG_5021.JPG

Can you tell I read...A LOT...these are just a few!     

IMG_5025.JPG

Someday I MIGHT get around to putting up curtains...they are all the decorating rage. For now, I just enjoy waking up to the view...and the sun, if it is up before me...rare!