Another pantry makeover....
There was a time when I loved DIY projects and was constantly working on something…everything from room makeovers to furniture rehab.
Unfortunately the time came when my back and fingers just couldn’t take the daily beating. And truthfully I’ve pretty much done everything to this house that can be done. Except the yard…I’m still out there designing and planting and digging…when it is not 100+ out!
One of my favorite DIY projects are pantry makeovers and those I can’t resist.
HERE I shared my pantry.
HERE I shared the pantry I revamped for my son and daughter in law.
Some serious reconfigurations can make a huge difference in the functionality of the space.
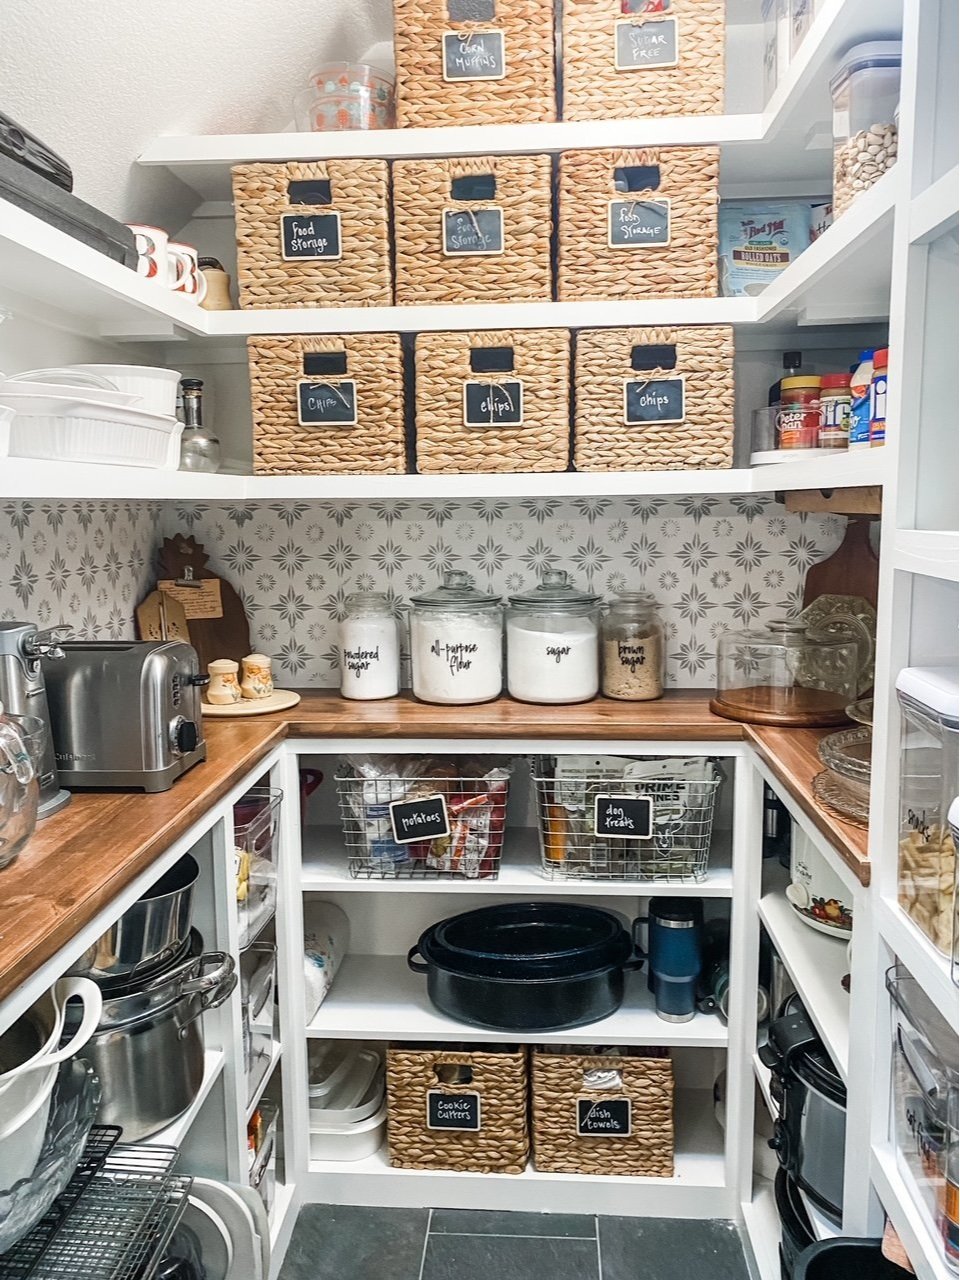
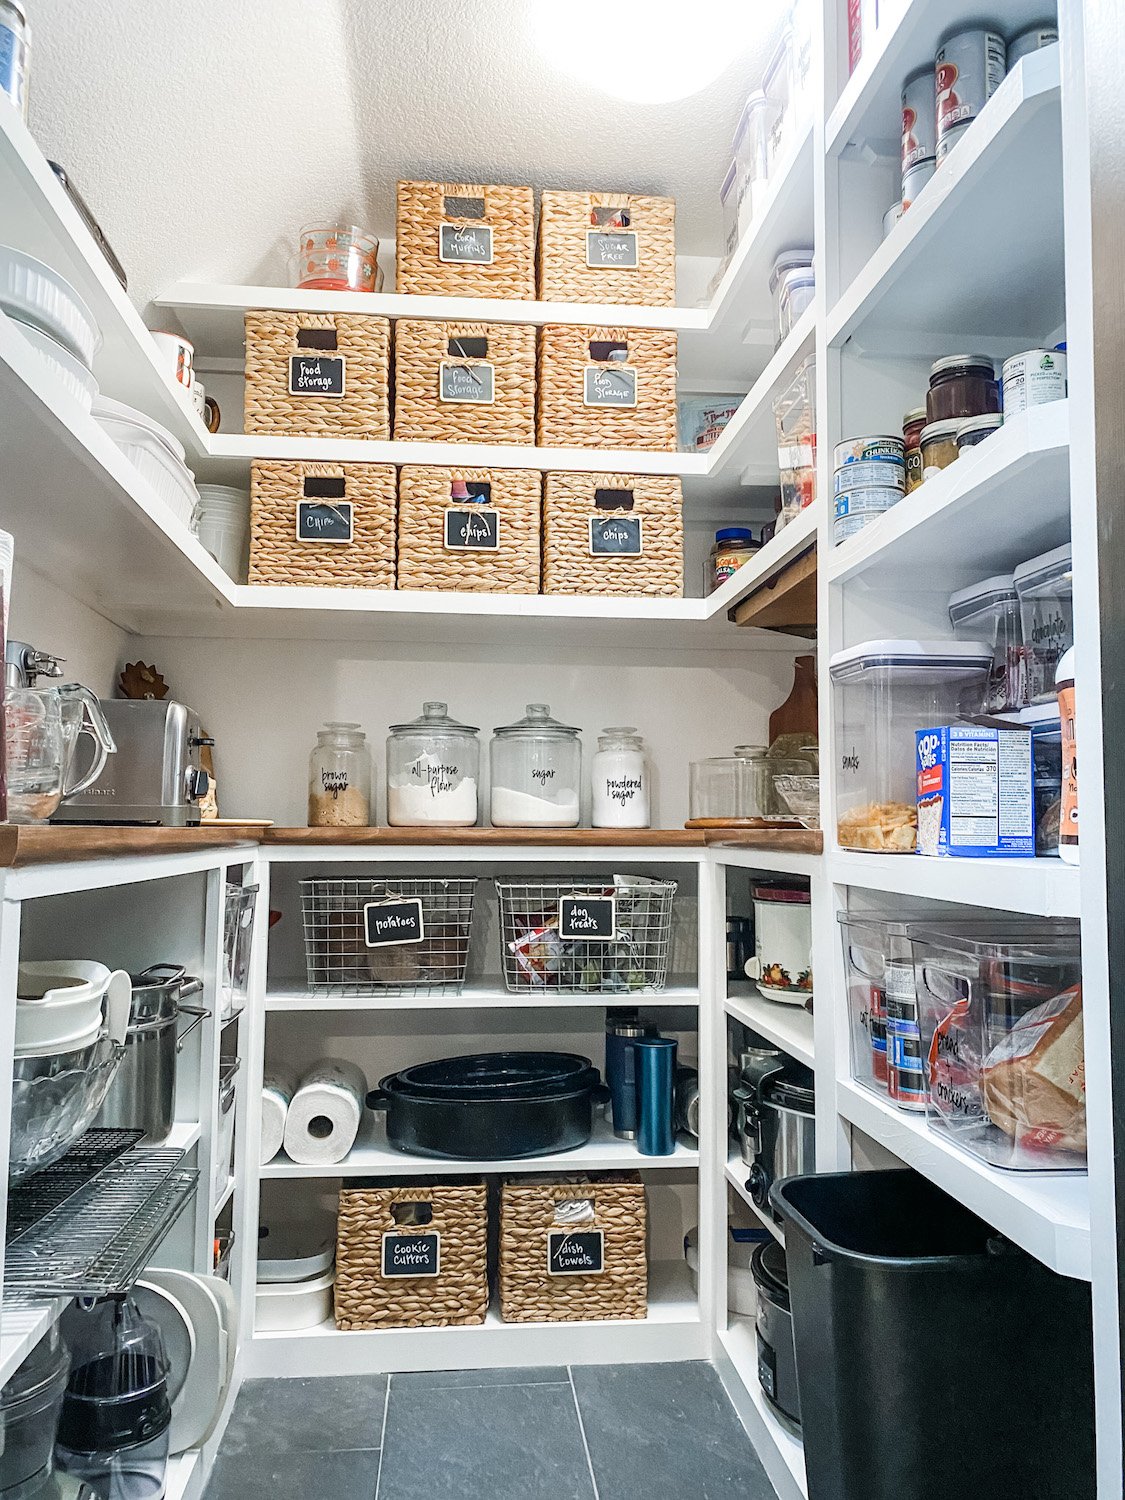
My stepson and daughter in law have talked about giving their walk in pantry a makeover for years…actually since they bought the house.
Over time, it became a disorganized disaster….


The shelving was the typical “builder grade” shelving…bull-nosed MDF spaced a good 16-18” apart which leaves a ton of wasted space. Few pantry items need more than 14” head room and a great majority of it just need 10-12”. Just by reconfiguring the shelf layout you can often gain at least 2-3 additional shelves.
Okay in all fairness and in her defense she has a very rambunctious 17 month old and a 2 week old, 5 week premature baby.
So she is a little preoccupied.
Which is all the more reason to get this space in order. With a growing family, having an organized pantry is just a must.
So when they announced a few weeks ago that they were finally ready to get serious about revamping their pantry I jumped on the opportunity to go to work!!!!
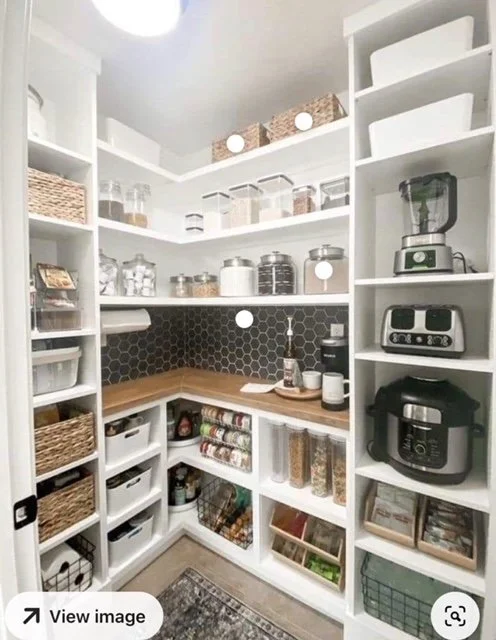
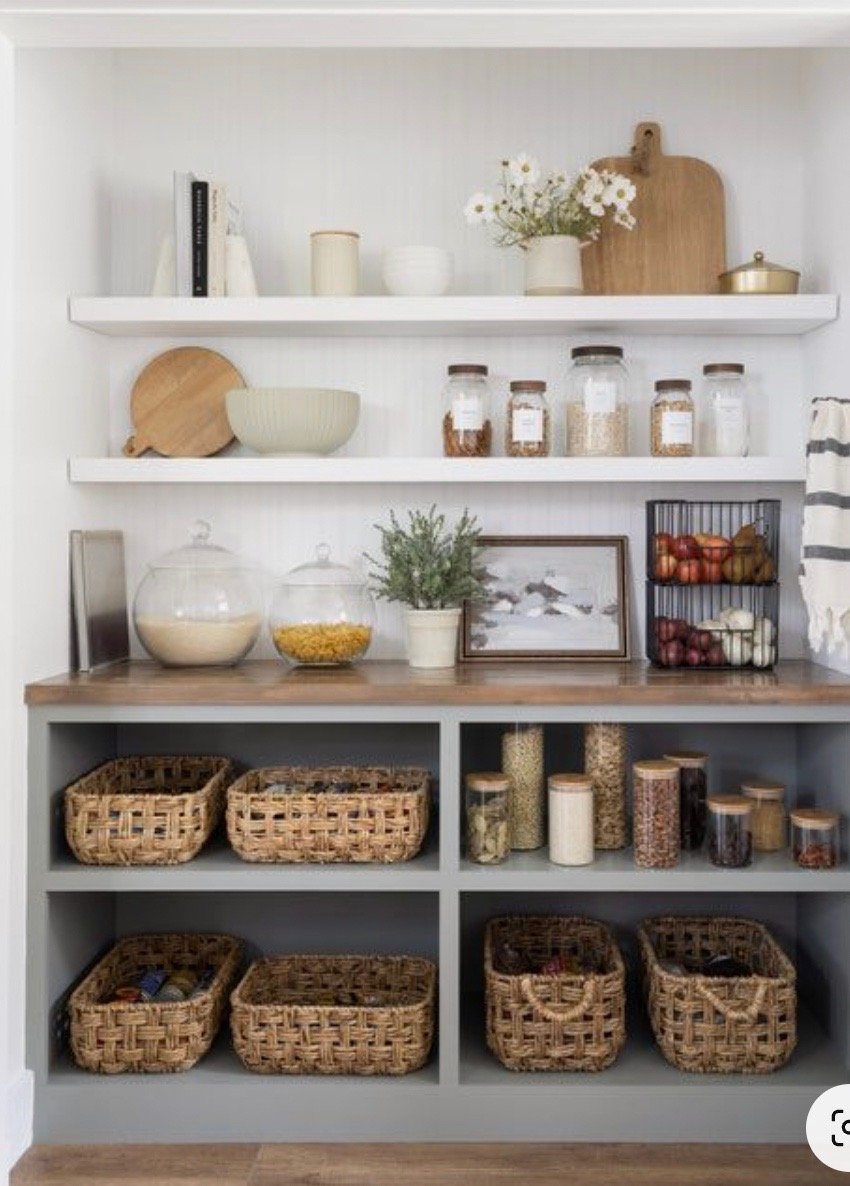
First things first…find your inspiration. I did what I always do…searched “pantry” on Pinterest. Here are a few that caught my eye…. (again, no links…I cut and paste pictures and put them in an “inspiration” folder on my computer.)

Of course it all had to be approved by the home owner. (I hate it when other people think they should have an opinion…lol!)
Fortunately, she liked many of the same looks I liked.
The most appealing thing in all the inspiration photos is the appliance tower. LOVE!
She loves the counter top look with natural wood tops. She loves the look of the floating shelves in the last picture…but she wants natural wood shelving and will paint the base black. I think it will look awesome!
So time to roll up my sleeves and go to work.
First up…take measurements and make a plan….

My plan is to make the cabinet and shelving across from the door “pretty.” This is where she would like a black base cabinet and natural wood floating shelves. They always have the door to the pantry open so we think it would be perfect to make it aesthetically appealing….pretty.
The shelving and the cabinets to the left will be “utilitarian.” A place for all their “food stuffs.” And then of course the coveted appliance tower to the left of the door. Since they have 10’ ceilings we were able to add a ton of shelving space just by reconfiguring the spacing of the shelving.
While this paper plan may make absolutely NO sense to anyone but me, it is what I need to figure out how I can reconfigure the space and what materials I will need.
After I got plan approval from my daughter in law, Brian and I went to Lowes and bought all the materials and had my son precut all the plywood for shelving and base cabinets with his table saw.
The construction of the shelving and bases will be very similar to what Lindsay did in her pantry space. She has a great tutorial for building everything so again, I am not going to reinvent the wheel. As I always say, find a tutorial that makes sense to you and use it.
Day 1….demo!!! I had my DIL empty the entire pantry and my stepson and I went to town with sledge hammers and crowbars and took out everything from top to bottom!
When you remove the existing shelving you may find sheetrock damage and you will notice that you have “lines” where the existing trim (shelf supports) was…primarily because the trim was caulked then the walls are painted…and the walls behind the trim are raw. So you will need to skim those areas with sheetrock mud, sand smooth, then spray with canned wall texture. If you don’t do this, you WILL see the lines where the old shelving was…so do it right… fix the walls, then repaint the walls before installing the new shelving.
TIP: If I am going to paint the shelving I usually paint the walls and shelves the same color…it makes it easier to paint the shelving without having to tape everything off. I use a different grade on the cabinets and shelving vs. the walls, but the same color.
I always prime and sand all the new wood before I cut and intall it…that way I don’t have to do major sanding in the house.
Right now I am still priming, cutting and installing so we have a few more days of work!


Hopefully I will have a big reveal in a week or so!!!!