Laundry room floor tile reveal....
One of the first rooms I shared in our home is the laundry room….I absolutely love it.
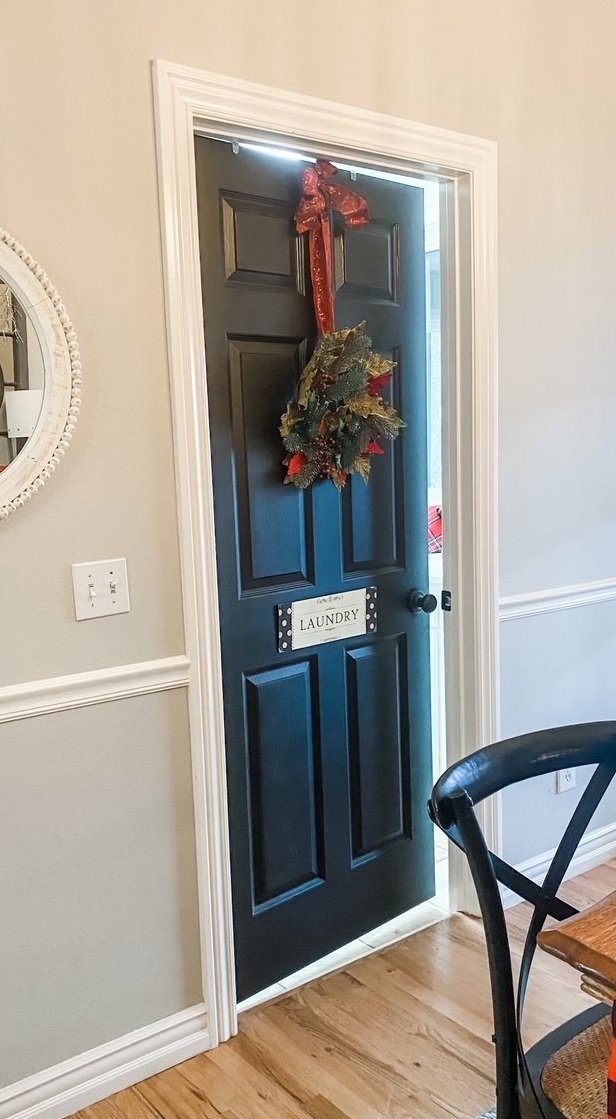
I love the storage…I love the window…I love the coffee bar. I just love this space.

I’m sure when I had a house full of kids and piles of laundry I wouldn’t have loved it as much but with just the two of us it is relatively easy to keep it in order.
I love it so much that I really haven’t minded the outdated floor tile!
Much.
Truth is, the stuff kind of gives me the willies. I know this tile is the original tile from 1998 because it is identical to the tile I personally installed in the apartments I built in 1998, 1999, 2000, and 2001. Yes, personally…THOUSANDS of square feet of this stuff. And then for over 20 years I had to scrub it and repair it and look at it covered in nastiness…auuuuggghhhh!
So yes, while I love the space, the floor tile did kinda make me growl occasionally. I knew I eventually wanted to replace it. I think the last time I shared this room I showed you the flooring issue that would need to be dealt with after removing a portion of a wall.
Let’s be honest…it’s just plain ugly.


But oh the work. Tearing out old tile is NOT for the faint of heart or weak in the back.
When we demoed the master bath in my last house we busted up the old floor tile. I have never been one to paint over wallpaper or tile over tile. Take it out and start fresh.
I have only “tiled over tile” one time and it was on a backsplash in a kitchen. Never a floor.
Busting out the old floor tile just didn’t seem like something I wanted to tackle. Tasha at Kaleidoscope Living recently updated one of her girl’s bathrooms and actually tiled over existing tile in a shower.
Hum….dare I?
Yes, I dared. After a TON of additional research. I googled “tiling over existing tile” and read every article and watched every video I could find on the subject. The general consensus was that it is certainly doable as long as the tile you are tiling over is solid.
Mine was.
One thing I could not get a firm consensus on is whether to prime the existing tile. Some articles and videos said prime, others didn’t even mention it.
I decided it couldn’t hurt and might even help…so I primed. I used this product…

… and after a whole three weeks of walking on the new tile I can attest that it works (three weeks people…this is not an endorsement for longevity!!!)
I will say it went on VERY easily…just rolled it on with a paint roller. It also dries quickly and has a low odor. It has kind of a “gritty” feel to it and I felt confident it would give a good base to the new thin set and tile.
Choosing the tile….I did what I always do. I went on Pinterest and looked for “inspiration.” (This is important because sometimes I THINK I want one thing but when I see it in other's spaces I realize I really don’t like it.)
Then I went to the tile store, picked up 4-5 samples, brought them home, laid them on the floor and easily made my decision. This is important when choosing ANY element in a room…tile, paint, curtains…because the lighting in your room may alter what you see in the store.
Here you can see I first moved out the washer and drier, removed the base trim, tiled, grouted, reset and painted the trim, them moved the washer and dryer back and proceeded with the rest of the floor. Much easier than trying to wrangle two big appliances into another room!

I love the new tile!!! Now I don’t growl at the floor anymore!


I did small grout lines (I think that is the “in” thing now and so much more practical) and dark grout. It will make it easier to keep the floor “clean looking.” Except dark floors show fuzzies which is common in a laundry room…but oh well.
Tiling, whether it be a floor or a backsplash, is not a terribly difficult DIY project. A wet saw is a must so if you don’t have one, borrow one or rent one. Watch TONS of how-to videos and make sure you follow EVERY manufacturer’s instructions, even if it doesn’t make sense.
Personally I would leave wet areas like tubs and showers to the professionals. There are special “water proofing” products and techniques that will prevent future leaks…and trust me you don’t want water issues around a tub or shower. If you feel like you want to tackle a tub or shower area, make sure you do a TON of research!
TIPS!!! Pay attention to transitions between the new tile and other flooring and the bottom of the doors. Will adding an additional 3/8” make you have to cut down a door or add a transition piece?
Neither is difficult but you need to plan! I was fortunate in this space. Adding the additional tile did not affect those things. The existing tile actually sat a good 1” below the wood floors in the breakfast room and the new tile butted up to the existing transition piece nicely.

I always carefully remove the existing base trim, repair if necessary, prime and then reinstall it on top of the new tile after I have grouted. Some people add base shoe. If that is the plan make sure it will work with the existing trim BEFORE you install the tile.
I use an oscillating saw (or you can use a special trim saw like THIS one) to cut the casing around the doors at the floor. I lay the new tile down on the floor and use it as a guide to cut the trim. Do this BEFORE you start tiling because it will make a mess and you will want to vacuum or sweep well after cutting the trim. Then when you are installing the new tile you can just slip it under the casing and not have to worry about making tedious cuts!
Which reminds me…always do all your prep work (removing trim, cutting casings, etc) and then vacuum and clean the floors well before starting. I also keep a little hand broom handy just incase I need to sweep a bit while installing. DON’T TILE OVER CRUD!!!!
Remove any doors that swing into the space you are tiling…makes it sooooo much easier to move around!
Prime…I know I could not find a consensus on whether to prime, but I am going to say one should error on the side of caution. I don’t think it is necessary if you are tiling over concrete, but definitely over existing tile.
And again, ALWAYS make sure the floor you are laying it on is sound and solid. If it is not, fix it! DO NOT lay ceramic tile on a wonky floor.
If you are laying on a wood subfloor, I personally would lay down durrock, tape and mud the joints (with a mesh tape and thin set) and add the water proofing products (something like THIS). Again, maybe overkill but better safe than sorry!
Research what size trowel to use with the tile you are installing. It matters!
Research whether to use thin set or mastic with your new tile. My personal rule of thumb is regardless of the size of the tile, I always use thin set on the floor. I only use mastic on wall tiles (like backsplashes) and only if they are small tiles. If you are tiling around a fireplace, make sure the thin set or mastic you are using will withstand heat!
These are just a few of my personal tips. Before you tackle a DIY tile job, or ANY DIY project, do a TON of research online. Read articles, watch videos. Don’t rely on the kid at Lowes manning the flooring desk to give you advice.
So, another little project in the books. The old tile is still in my pantry and in the spare bathroom…maybe someday I will tackle those areas.
But for now, I am just going to enjoy my laundry room floor. It is pretty and makes me happy!
This week I begin tackling my home office. Stay tuned, it’s gonna be fun!

