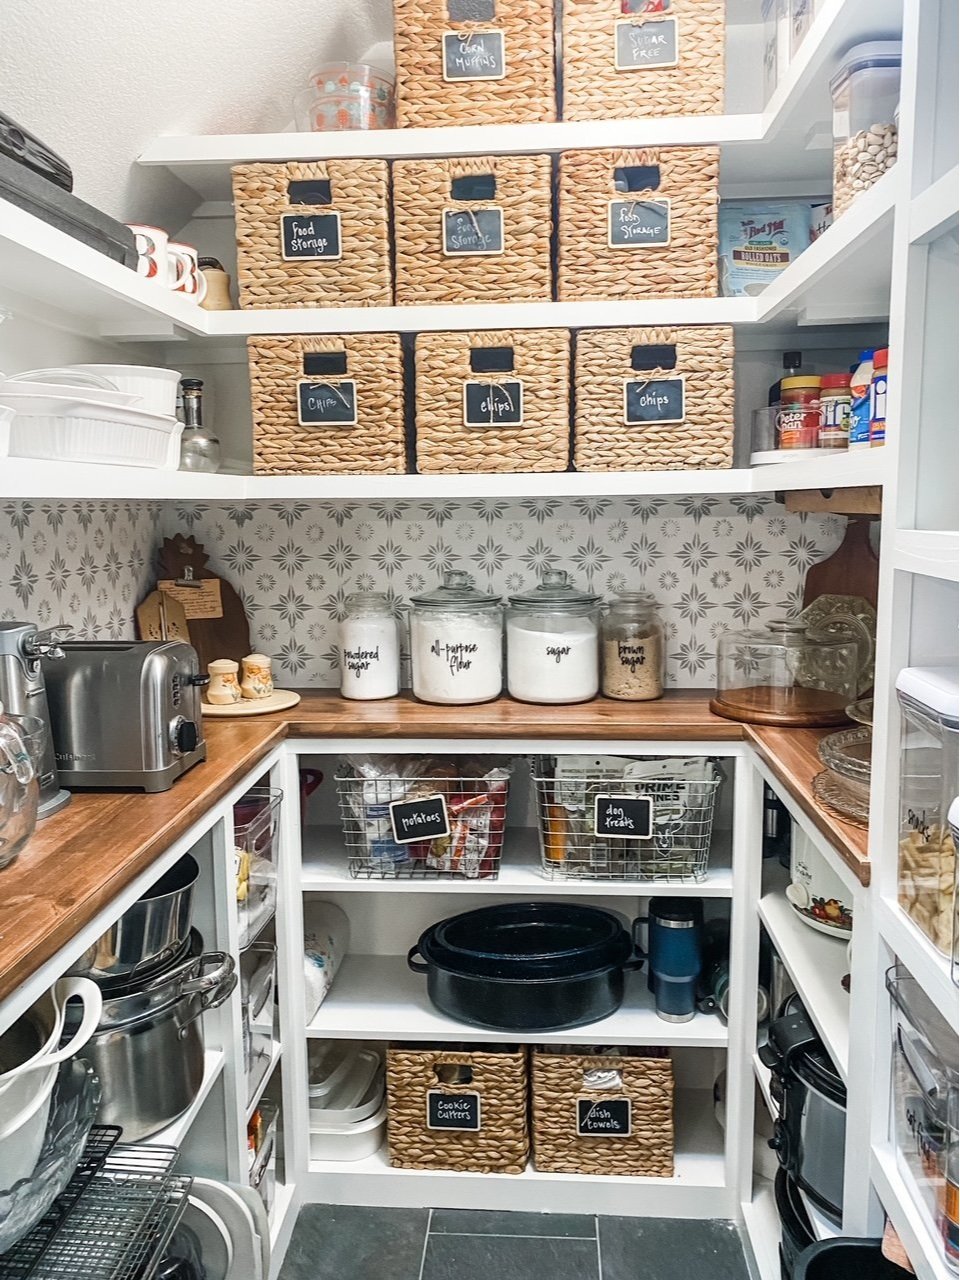
A stencil backsplash...
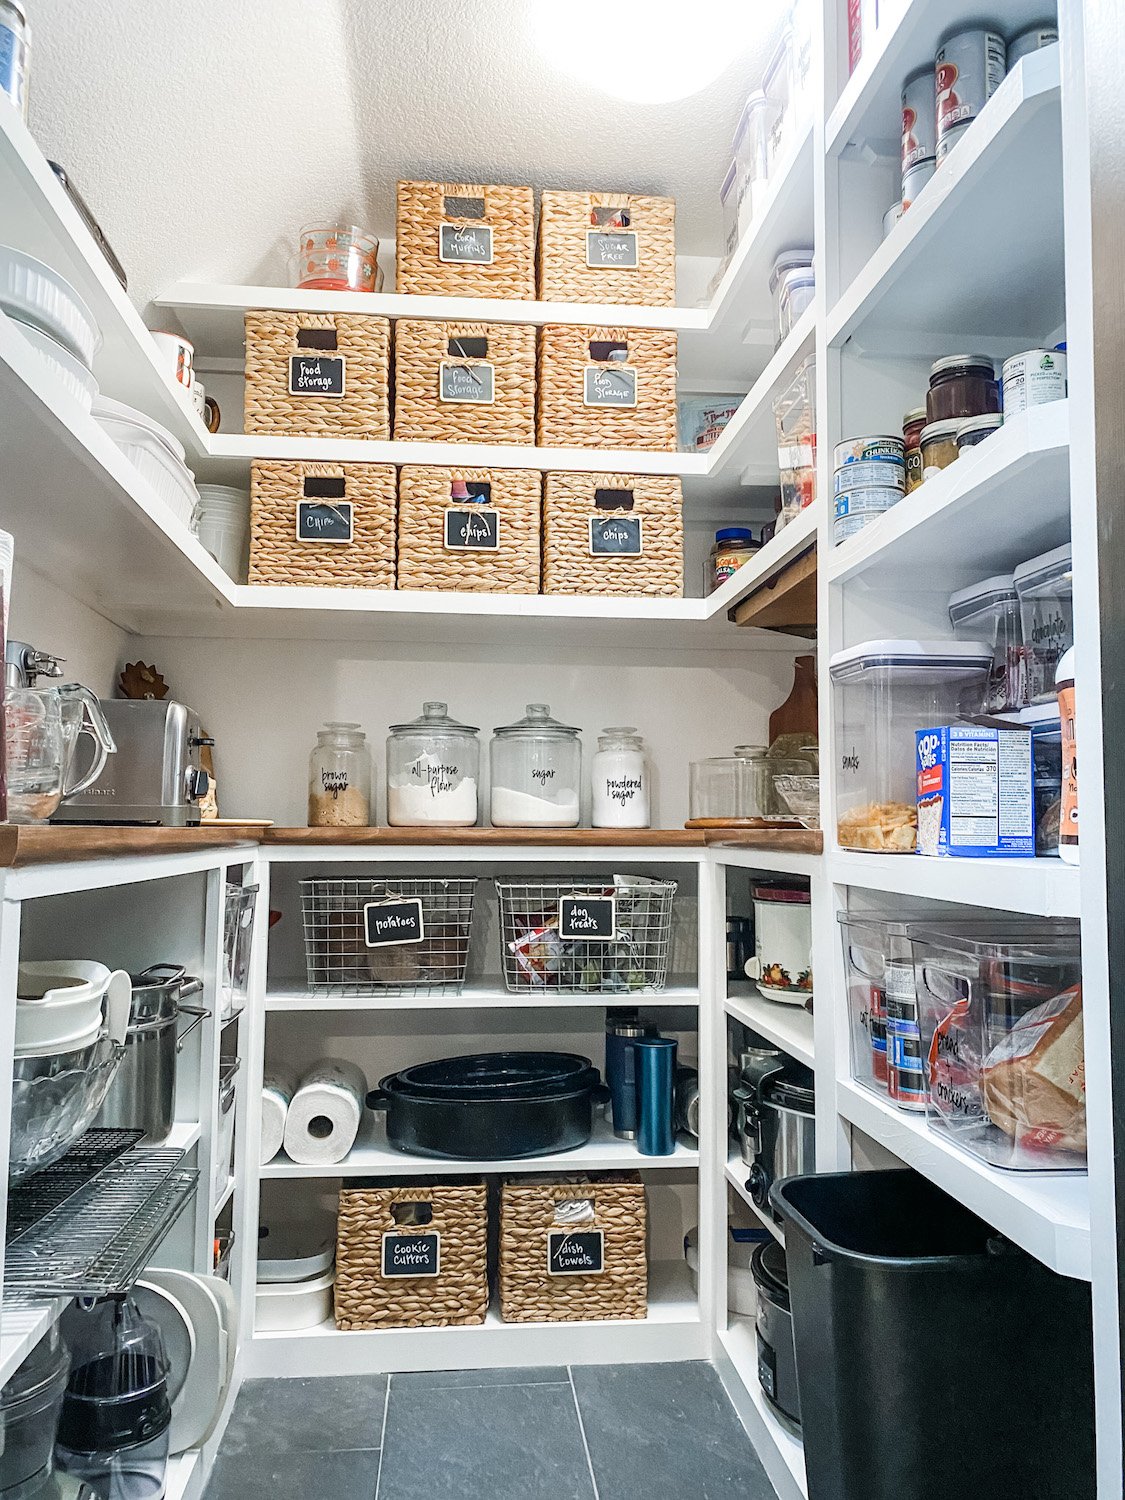
A few weeks ago I shared my new kitchen pantry. I absolutely love how this space looks and functions.
I doubt too many people will ever see my pantry, but I want spaces I use all the time to be functional AND pretty. Like my laundry room…another space I doubt too many people will see…but I really believe if you make normally mundane or “functional” spaces pretty you are more likely to enjoy the function they serve (like the dreaded laundry chore) and keep them clean and organized. Maybe it’s just me…but the more I love something, the more I am likely to take care of it!
So I remodeled my pantry! LOVE!!!
I knew when I was done that I would eventually add some kind of backsplash around the countertop. I normally would advocate for tile or other hard surface around a kitchen backsplash but this area gets no food prep so it doesn’t really need to be that durable.
I just didn’t know what I wanted. Something simple. Something easy to install. Something that would be easy to change when the bug hit.
Stencils.
My blog friend Cristina used a stencil in your guest bath makeover. I LOVE it…so easy and inexpensive but really finishes off a space.
So I decided to give it a shot.
THIS is the stencil I choose. Not too busy or fussy.
Next head banging decision…color.
I had some green paint I used in the laundry room…I had some black paint from my front door. I mixed the two together and got a greenish/grey…PERFECT!
Again, there are hundreds of stencil tutorials out there…again, find one that makes sense to you. It is a seriously simple project…and if you make a mistake you can take a wet rag and wipe it off (from experience!).
In the end I have a nice “tile look” backsplash that will be super easy to paint over when I no longer want it.
It took all of MAYBE two hours to do and cost me $12 for the stencil. If you need paint as well, I would suggest getting one of the sample pots of paint or even a couple of little bottles of craft paints. It does not take a lot of paint!!!
There were a couple of spots where I got paint where it shouldn’t be…that is where leftover wall paint came in handy. I just took a little craft brush and spare paint and did a little touch up!
Simple, inexpensive project that packs a punch.
My favorite!


