Entry and stairway makeover reveal....
I started my entry way makeover here when I shared the "demo" of the coat closet! I did not realize this "weekend" project would drag out for TWO MONTHS....but that is pretty much the speed I work at around here these days!
Time flies when you are having fun!
I had intended to post this project last week but Brian had to have shoulder surgery so his care has taken up a bit of my time. (Someone explain to me why a 53 year old man feels the need to bench press 275 pounds...even if he can!)
Truthfully, it is not fun to demo and construct in a house you are living in. I put up plastic when I did the major sanding on the sheetrock...
... but there always seems to be a little spot here and a little spot there that needs just a little bit of sanding...before you know it it looks like a dust storm has blown through your house!
Truth be told, this "makeover" actually started YEARS ago when I removed all the carpet from my stairs and put down oak treads and risers. I knew the day would come when I would not want to haul a vacuum cleaner up and down the stairs (that day is here!) so I wanted hardwood stairs!
My house had the typical "rough construction" stairs with pine treads and risers, covered in carpet...you can kind of see how they were constructed, and what I discovered when I pulled the carpet, in this picture....
It really was not that difficult to install new treads and risers. The biggest "hum" was finding that the 2 x 12 tread (the horizontal board you step on) lipped over the riser (the vertical board facing each step) by 1/4". To solve for that, I just applied strips of 1/4" board to the bottom of each riser and then faced them with new oak boards, cut to fit. Most home improvement stores carry prefab oak treads. I cut each to the width I needed, stained and sealed them, applied construction mastic and then nailed them into place. I applied one final coat of poly after I had installed them. Obviously I did a good job, since it took me TWO HOURS just to remove TWO of the stinking things!
Since I was installing new travertine tile in the entry, I decided now was the time to also make some changes to the newel post and bottom steps.
As with EVERY project, the first thing I did was "find my inspiration." That was not difficult since I knew from the minute I laid eyes on Cassidy's stairs on Remodelaholics.com that this was what I wanted....
One of the things I really love about her staircase are the colors...the stain and the paint. Sadly THAT little detail is going to have to wait at my house. My staircase was stained to match the living room floors, which are going to be here a tad longer ...and while it isn't "technically" honey-oak, the "butterscotch oak" isn't really my cup of tea these days. But again, it is going to have to wait for now...the thought of taping and staining and painting everything right now is more than my brain can process!
This is one of the important keys to remodeling any space...identifying what you can do (physically and financially) NOW to enhance the space...and patience! I knew I wanted the "openness" of the bottom two steps and a larger newel post. Those are things I needed to do before I installed the %$(@# travertine tile (Honestly, don't ask how much it cost. I have NEVER in my life paid THAT much for tile, but I wanted it and it is a small space...so I splurged!)
While I had intended to post a "tutorial" on this project, I realized it is like many home improvements...a puzzle that will probably differ depending on how your home was constructed and what materials were used.
So let's start at the beginning...what WAS there.
A tight entryway that required us to lift anything over 28" wide over the newel post!
A coat closet that was NEVER used and was basically just a dumping ground for anything and everything! Hardwood flooring...NOT a material one should use by an entry door. Over time wet feet will do a real number on it!
An anemic newel post that pretty much screamed 1999!
So were does one begin a sizable project like this? Again, how do you eat an elephant? One bite at a time!
So the first thing I did was demo the coat closet and remove the smaller built in bookcase...gut wrenching details here.
After the closet was gone I had to deal with moving electrical wires...a major chore for me and I would honestly suggest most call a professional. My electrical professional is my son-in-law, but since they live 2 1/2 hours away, this is another project he talked me through over the phone! After all the electrical was moved and I could move around in the space without whacking my head on dangling switch boxes, I removed the existing baseboards and hardwood flooring.
Easy right? Um, no! First I had to mark and cut a line with my skill saw where the new flooring would meet the existing hardwood. Dust storm number one! Then I had to scrape up all the old flooring and mastic...seriously, I think you could safely attach wings to a plane with that glue!
Next, I tackled the sheetrock repair and texture...hence the tarp to prevent a MAJOR dust storm!
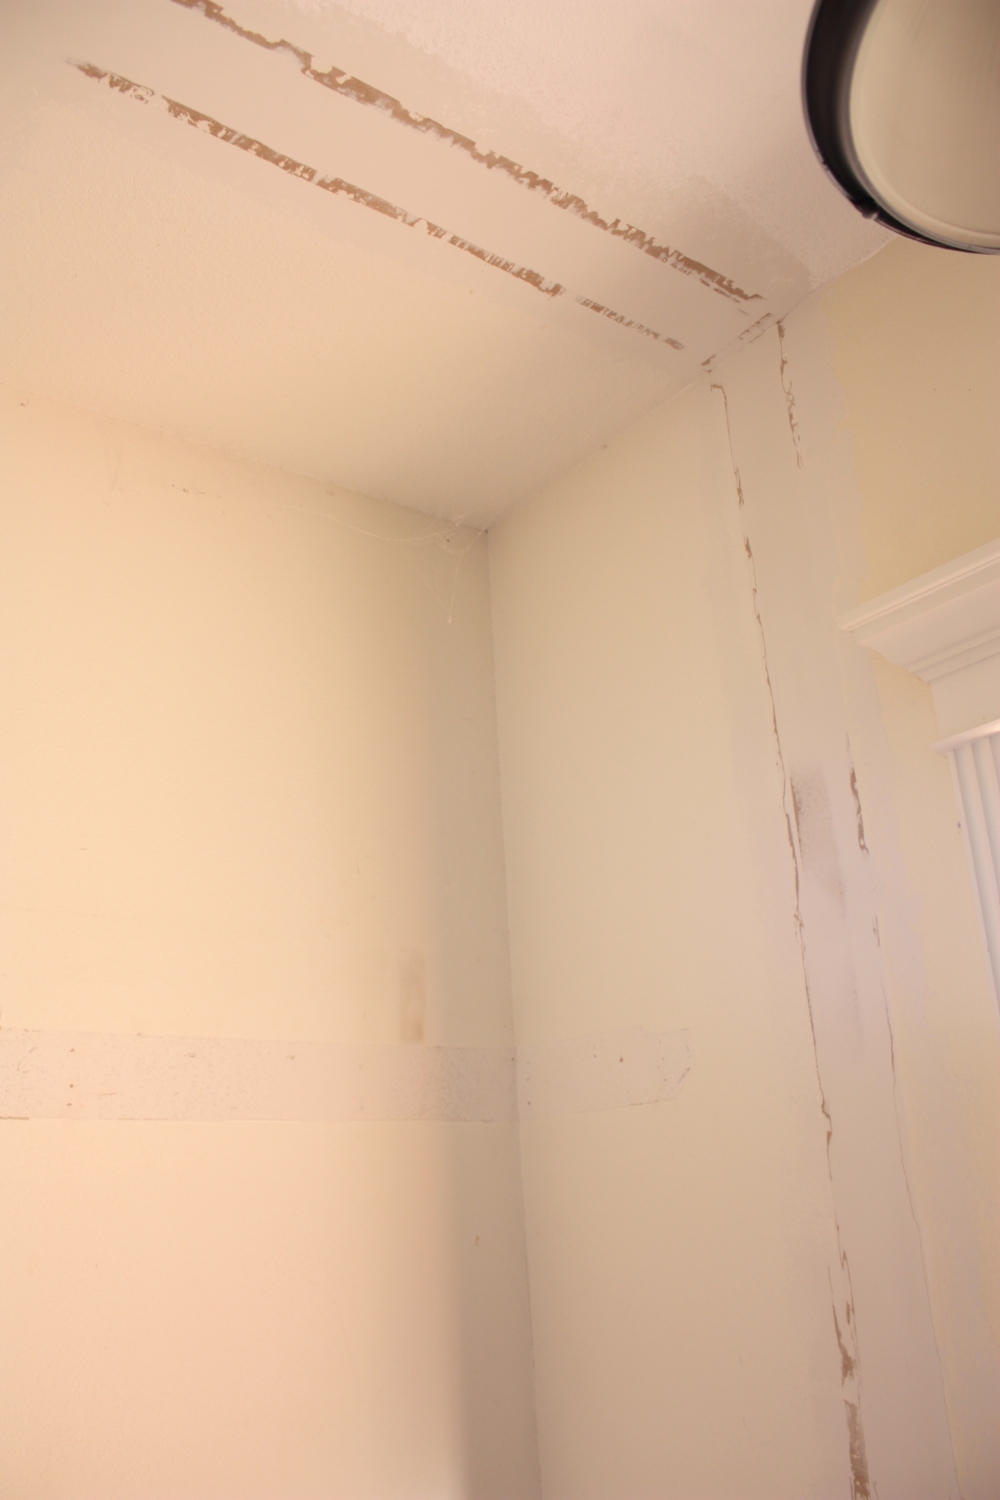
Since I was basically "patching" the sheetrock where I had removed the closet walls, I used this process! I can not stress enough how easy sheetrock repair can be if you follow these steps. Since the area I needed to texture was much larger than just a little patch, I used a "sheetrock hopper" to blow texture on the walls. I actually had a painter friend come over and help me with this step since he is a master at using the hopper and could "blend" the old with the new seamlessly!
Then paint! I can't say it enough...there is a huge plus to knowing the exact formula for your paint. Someday soon I really want to repaint my downstairs....someday! Again, can't wrap my brain around that chore! But knowing exactly what I painted the walls with 8 years ago allowed me to paint the new patched areas and blend it with the "old."
After the walls were repaired, textured and painted, it was time to tackle the BIG project...the staircase. That had to be done before the new tile could be installed because I was moving the existing newel post that sat at the bottom of the stairs and extending the bottom step, which changed the layout of the flooring.
The first challenge...matching the existing stain color (as much as I dislike it!) David, at our local Sherwin Williams, usually does a bang up job of matching existing stain. He did an AWESOME job on my kitchen stain! This time even he struggled. I think the biggest problem is that the original clear coat is poly...and poly "ambers" over time, which deepens the color. I ended up using David's "match" mixed with a premixed stain and final got a decent match. I stained and sealed all the pieces before installing!
The next big head-scratcher for me was figuring the exact angle and method to cut the existing bannister, trim and bottom rails without removing it all. After much hymning and hawing and measuring and drawing, I drug out every power tool in my arsenal and made the cuts! And did a little sanding to get a good tight fit! MAJOR dust storm!
I also had to build a new "base" for the wider bottom step. As I said, it's a "puzzle" and sometimes you just have to measure, figure, plan and execute as you go...when you are meshing new with old it can be a little more challenging than starting from scratch!
Again, I could post a long drawn out tutorial...but honestly Google and youtube are all you need. You will find much better videos and tutorials than I could ever provide.
And this is pretty much how it sat for another week. Why...because the old adage "measure twice, cut once" only works when your brain computes properly at least once...if it computes improperly BOTH times, you will cut your special order materials wrong and have to wait on them after you reorder them!
As soon as my special REorders came in and I was able to finish up the two steps and newel post, I installed my travertine tile. Then...it sat...AGAIN!
Why...well because I couldn't decide whether I wanted to add a little trim detail. I contemplated shiplap...maybe a decorative wainscoting...or maybe board and batten.
In the end, I went with the board and batten. I'm not totally swooning over it, but it is a nice little touch (again, find a GOOD tutorial if you plan on adding this...there are hundreds of great ones out there in blogland!)
Soooo....drumroll......get ready for a lot of pictures!
Okay...you may notice that other than a funky rug and the little walnut table, there isn't any "froo-froo" yet. As I have said before, I don't decorate for poops and giggles..."stuff" has to have some meaning or be something I truly love...and so far I haven't found either for this space!
Eventually I also want to change/add lighting... I'll know it when I see it!
I seriously love the travertine tile. I laid it in a "brick pattern." It is a 12x24 tile so I staggered it 8-16-24". I also sealed it both before grout and after, which in my opinion, is a must for travertine!
I still need to put one more coat of poly on the bottom two steps and the newel post but I am waiting until Matt is gone for a few days so I don't have to worry about anyone going upstairs!
HUGE difference!
While I was making a few entry changes, I thought it was about time to order a new rug for the living room. The old one was only two years old, but with the addition of the new living room chair and post-Cleo-puppy, it was time! I decided to go with simple and neutral this time!
Aside from the wall paint I want to change, and the "butterscotch oak" I would like to restain, and the new hardwood floors I want to install and the new lighting I think would look good in the entry, I'm pretty darn happy with the changes.
One upside to the "dust storms" this project created was it forced me to "purge" ALL my bookcases, even the ones in the den and my room....dust goes EVERYWHERE when you project! I had to pull all the books to clean so I decided it was time to get rid of 30 years of collecting! I saved two collections of my favorite authors (most notably my autographed John Grisham collection...thank you Matt!) and a few of my favorite books, but over 150 hardback books will soon be finding a new home...right now they are packed in egg boxes in my dining room! Now most of my shelves are scantly decorated with antique books, framed photos and a few family heirlooms!
Ahhhhh....room to breathe.....
