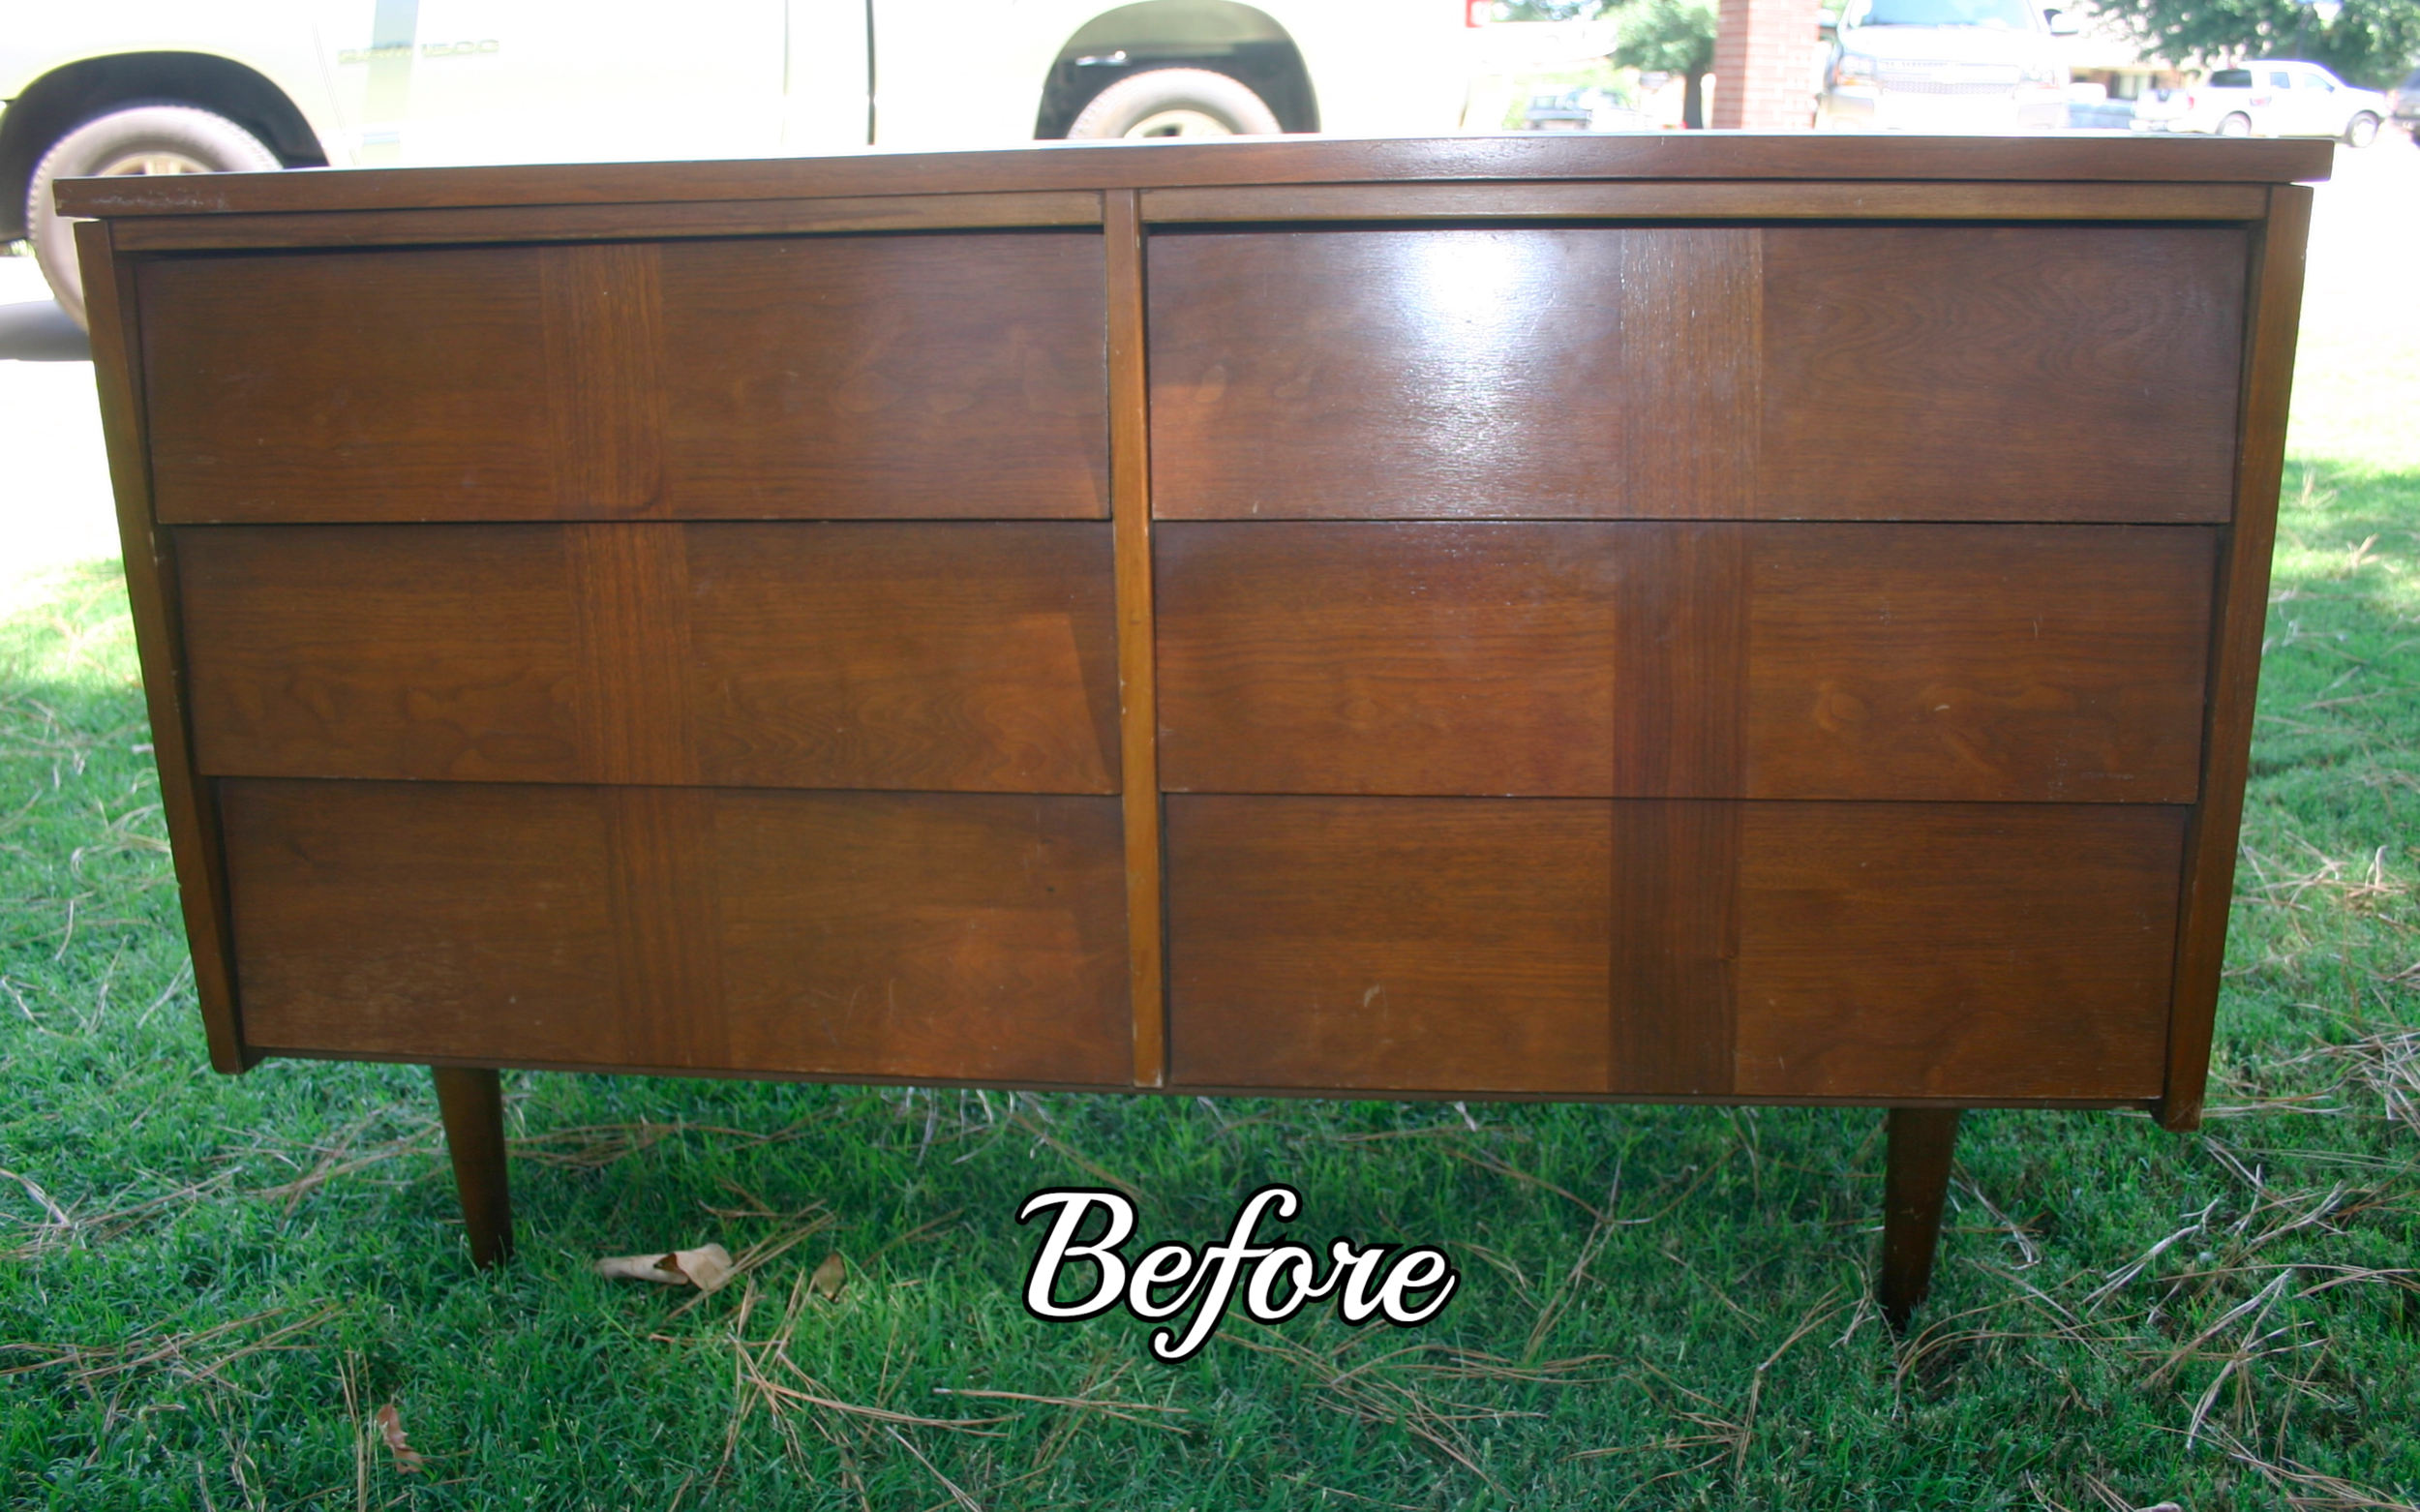
Before and After dresser....

Yesterday Brian and I took off and went trout fishing for the day!  OH MY!  I am sore and sunburned...and I loved every minute of it!  Sometimes you just have to say to heck with the yard work and go have a little fun! Awesome day with my best friend!​

But Saturday was a busy day.  My neighbors came over to show off their new grandson and I found a perfect home for a precious little dresser I have been working on!  Just so happens they NEED a dresser and I NEED to find it a good home.  Done!​

As you can see, it was missing a drawer so I added a shelf...perfect spot for little storage baskets.  I painted the "box" white, the drawers a pretty green and stained the top with my favorite java gel stain.  I originally put little crystal knobs on the drawers, certain it would go to a little girl, but when I found out it was going into a boy's room I changed the knobs to brush nickle...just thought it was more appropriate for a little boy!  And I am going to throw in a cute little cork board I made up and featured earlier!  ​

IMG_8900.JPG

The great thing about these little dressers is the fact that as the little boys grows, the drawers will be easy to paint to match any decor!  ​

Another "trash to treasure"...a piece of furniture destined for the dumpster but given new life and new home with just a little time and attention!  ​

Master closet makeover....

​I'm almost too tired to type...this was a chore but the reward is being able to swipe "master closet" off the dry erase board on the fridge!!!

That and soooo much more storage in my closet.  ​

When both the boys left for college, I basically gutted their rooms.  I decorated with all their "stuff" and organized everything they left in their closets, but the entire room was made-over...new paint, flooring, bedding, window dressings!  Everything.​  And I even had a tad bit of space to store some of MY stuff!

And then they moved home.  And they brought more stuff!​

Anyone who thinks they are going to gain more storage or a hobby or craft room when their kid goes off to college is delusional.  Trust me...first, they leave all their "stuff" and second, they WILL come home!  And that is fine...the rule:  no kids, no spouse, no animals.  As long as they follow THE rule, they still have a room!  ​

So my closet has to stay pretty organized because it is storage central.  I built a large pantry where I keep all my office/business stuff and our personal "coupon stash."  Yes, I am one of those coupon people...but to my credit I only keep what I know my family  will use in the near future.  The rest is donated to the elementary schools!  Last year I donated over $7000 worth of products!  ​

I had a few issues with the closet...first, the flooring.  After 13 years, it was pretty nasty.  And I pretty much hate carpet!  So that had to go.  Second, I have 9' ceilings but all the shelving was standard.  So I basically had a TON of wasted space and plenty of room to add another self all the way around the closet.  I had too much "long" hanging space and not enough "double" hanging space.  Honestly, if I would move all my coats to the coat closet, I probably wouldn't need any long hanging space!  I seriously do not own a dress any more.​  

So here is the before and after...and then I will add some "in between" pictures in the tutorial.....​

Before....​

IMG_8545.JPG
IMG_8547.JPG
IMG_8548.JPG

It wasn't THAT bad...I'm pretty good at cleaning out closets every so often.  My GOAL was to only put back about 1/2 of what I took out.  But honestly, I clean out my closets and donate about twice a year...so there wasn't that much pack-ratted away!  I just needed more shelving and it was due for a good makeover....​

After....​

IMG_8841.JPG
IMG_8842.JPG
IMG_8843.JPG
IMG_8847.JPG
IMG_8845.JPG
IMG_8846.JPG
IMG_8848.JPG

So I have new laminate flooring, 25 l.f. of new shelving, paint,  more hanging space and new lighting.  And a backache, headache and feetache...and I still have a bit of a mess in my office.  But in the long run, I think it is ALL worth it!

I have posted a tutorial here... it will fill you in on exactly what I did!​

Painting light fixtures and paddle fans....

See, I'm not even trying to be clever with my titles anymore...just too much brain work!​

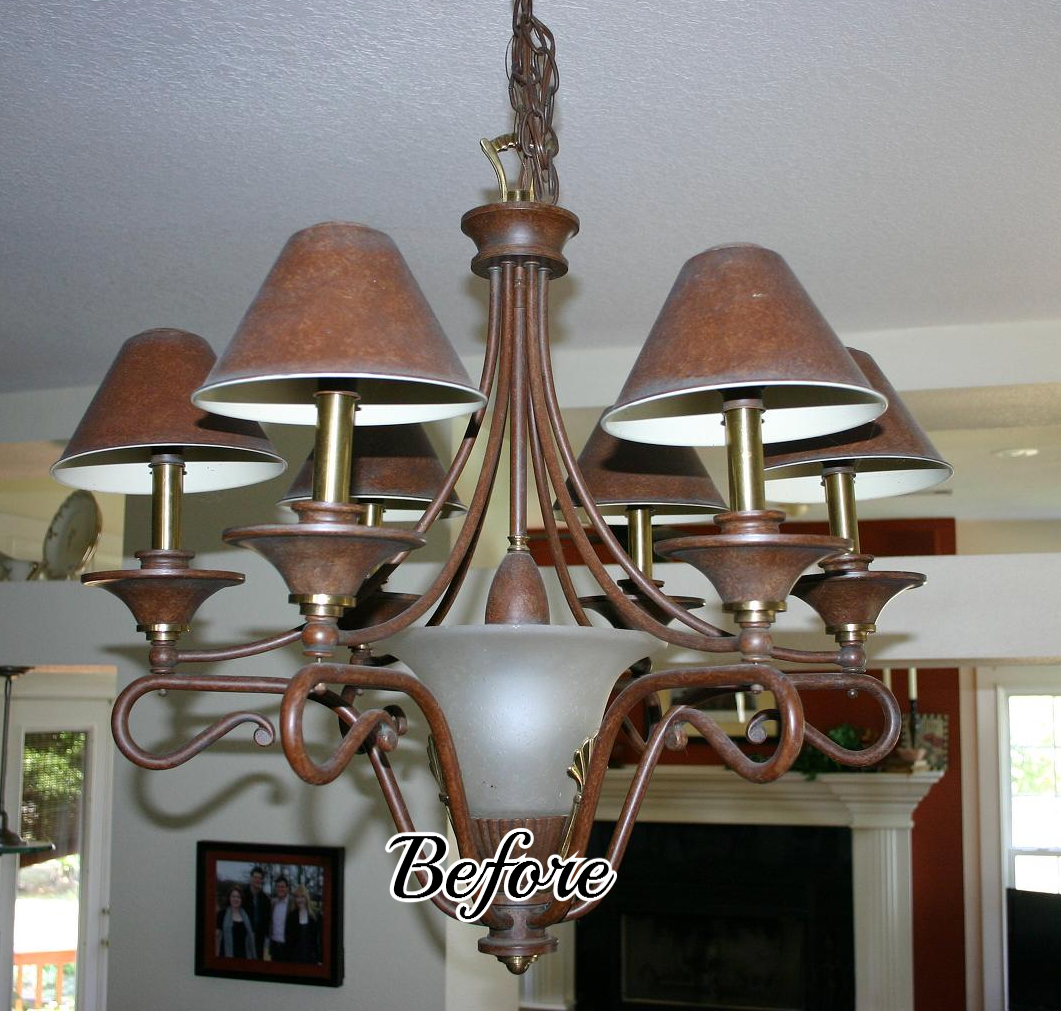
When I bought this house 13 years ago, the "bronzed" look was all the rage...not so much now, or at least not to my taste!  I'm more into light, bright and somewhat "modern" looking! 

But who can afford to change out ALL their light fixtures when the old trends sour.  Not me...so it was time to get "creative."​

Paddle fans and dining chandeliers are probably the two biggest expenses in lighting.  And naturally, those are often the most noticeable!  

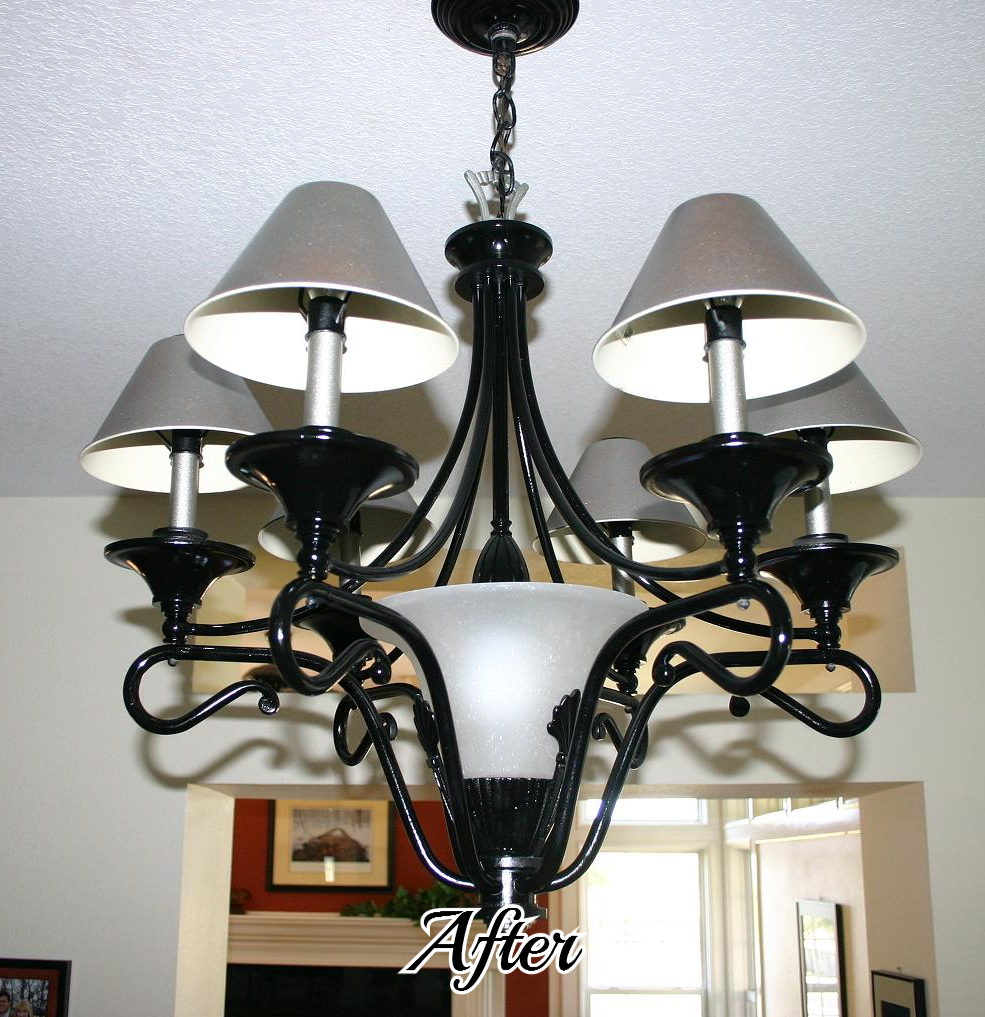
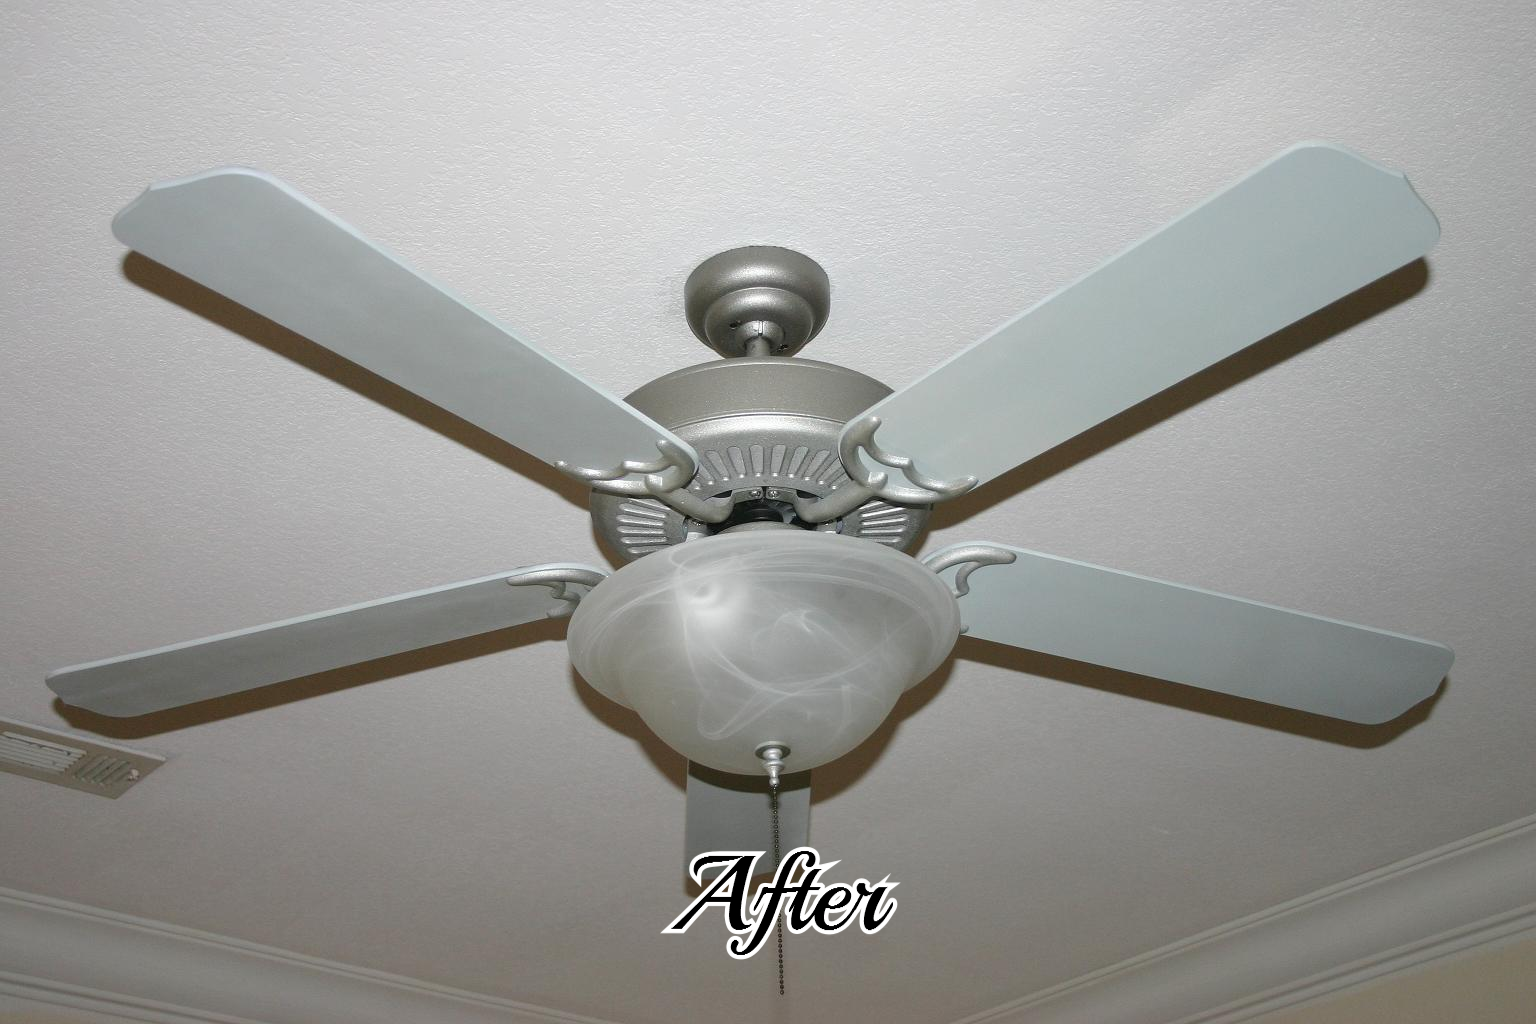
Since I was somewhat tired of the dining room light and the paddle fan in my office (and both would be expensive to replace), I didn't think I could do much damage if I took a can of spray paint to them...what is the worst that can happen...I have an excuse to buy new ones, right? ​

IMG_8223.JPG
IMG_8226.JPG
THE OFFICE AREA (3).JPG
IMG_8149.JPG

As with everything I paint, I first cleaned them and then "primed" them.  On metals, I use a metal primer...or even Kilz!  Just spray it on and then after it dries hit it lightly with 0000 steel wool...and then of course tack cloth it well before painting. (ALWAYS TACK BEFORE PAINTING!)

On the dining room light I used gloss black spray paint and the "brushed nickel" spray paint on the shades.  I used blue/grey spray paint on the fan blades...the same color I used on my dresser... and brushed nickel on the body and hardware of the fan.  I also added a new light globe to the paddle fan, just to update it a tad.

​The trick to painting light fixtures or paddle fans is taking them down and basically taking them apart...once you "disassemble" them, they are easy to paint!  BUT MAKE SURE YOU KEEP ALL THE HARDWARE AND SCREWS!  That is why I have plastic baggies on my materials list.  Any time you take ANYTHING apart, you need to put all the screws and hardware in plastic baggies and make sure you label them!  (Again, just trust me on these things!)  If you have never assembled light fixtures, and you don't feel real comfortable with the thought of getting it all back together, just take LOTS of pictures while you disassemble it.  I did that with my first upholstery job, and it helped a lot!

IMG_8141.JPG

I found that my swing pergola made the perfect spot to hang the fixtures (with a dog leash) while painting...see, you don't need anything "fancy."​

Note, I also used blue tape on both the fixture and the wires coming out of the ceiling to label what wires went where so I would know how to rewire it...AND DON'T FORGET TO TURN OFF THE POWER TO THE FIXTURE BEFORE TAKING IT DOWN OR PUTTING IT BACK UP!!!​

After 2-3 coats of paint on each of the components, I put 1-2 coats of spray on clear coat, just to give it a durable finish that would allow me to dust and clean them periodically! ​

This easy process allows you to be REAL creative!  It would be fun to paint the fan in your kid's room a fun and funky color...maybe with some interesting design element, like a chevron pattern or polka dots!  Just "think outside the box" and remember my motto...YOU CAN DO IT!  If you don't have the most creative mind, do what I do...Google it!  People post pictures of their projects...and no one is going to be offended if you "copy" their creativity!  It really is the greatest form of flattery! ​

I was kind of sick of my bedside table lamps too...and until I can afford the really awesome crystal lamps at TJMaxx, I got a little creative with those too!

IMG_8219.JPG
IMG_8220.JPG

As much as I had tired of this dining room light, it really did turn out great. And it has always been one of my favorite things to decorate during the holidays.  During Christmas it is perfect for the gold shades I painted and the garland and red berries!!  Sometimes, old is good...it just needs a little facelift from time to time!​

IMG_8312.JPG

A new "before and after" by SIS....

Man oh man...what a difference a day...or just a few hours...can make in NW Arkansas.  Beautiful and warm this morning and now it is too cold to even work on my dressers.  Suppose to be in the 40s tomorrow, with a chance of snow...craziness!​

Anywho, since I can't project outside and I really don't want to do what I NEED to do IN the house because of this "spring fever" bug I have, I thought I would share one of Sister Sarah's projects.  As I have mentioned, Sarah (my oldest daughter) likes to "project" but with two active boys it is tough.  I remember (and MISS) those days!!  That time in your life when you want to be in the garage sanding and painting, but while you are doing that your youngest is locking himself in the dryer or taste-testing your sleeping pills (yes, that would be my youngest grandson!) 

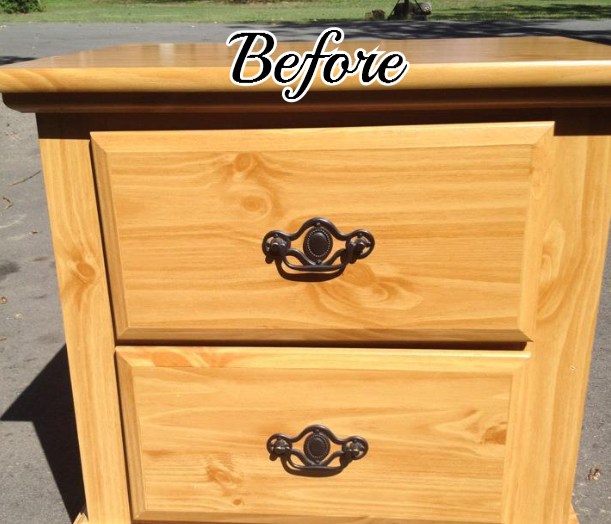
But she does manage to get in a project or two...so I thought I would share this darling little nightstand she did...​

NIGHTSTAND BEFORE.png
NIGHTSTAND AFTER 2.jpg

See how a little Kilz and a little paint can make a world of difference!  ​

Great job Sis!!!​

She also used the gel stain I told you about on her bathroom vanity and wall cabinet (see here)...totally awesome transformation. 

Dressing up an old dresser....

I'm tryin' here! Smarmy comes easy..."witty"...not so much! 

But it dawned on me....I have never posted my dresser makeover! 

I use to have this HUGE hulking dresser in my office/dressing room.  It was a "matchy-matchy" to my bed and highboy...which I love, but the dresser was seriously huge and just seemed to shrink the entire room.  So when I was out digging around for the desk (featured earlier) I found this sweet little dresser and said to myself "Why not!" 

I LOVE the style.....kind of a mid-century modern with walnut veneer.  The top was laminate, so I knew I was going to have to paint the entire thing...and I did.  But later I found a picture online of an identical dresser and they had painted the top and sides, but refinished the wood veneer drawers...GORGEOUS! And you know how I loooove anything wood, especially walnut!  Live and learn...maybe next time! 

As with most of my furniture, I had a piece of glass cut for the top...lets me clean it with Windex! 


IMG_8157.JPG
IMG_8522.JPG