A kitchen makeover and painting a refrigerator...YOU CAN DO IT...and sometimes should!
My friends, Tammy and BR, have lived in their home for over 20 years…and like me they are constantly “projecting.” Tammy is the designer ( a.k.a.instigator,) BR is the muscle and craftsman, and usually I am just an advisor and cheerleader.
A few months ago, they started a HUGE project…remodeling their kitchen.
It is a project they have dreamed about and we have discussed and one their 1990s house desperately needed for years!

This picture was taken after they replaced the head scratching paddle fan over the bar with a thrift store upcycled light fixture. MUCH better but as you can see, there was soooo much more to do.
Remove the funky over-the-cabinet florescent lighting and add can lighting, paint the cabinets, replace dated hardware, a new venthood, new tops and backsplash and replace the ORIGINAL almond stove.
A major list on a tight budget.
During one of our “advisory sessions” (again, my advice and opinions are always free) Tammy mentioned she couldn’t wait for her black refrigerator to go out so they HAD to replace it.
With all the other “must have now” expenses, like replacing the dated almond stove with a stainless, replacing the black refrigerator just wasn’t in the budget. They had already replaced the dishwasher and like most people (including myself) the expense of replacing all our appliances at once is often cost prohibitive.
Light bulb moment.
PAINT IT!!!
I know they have “stainless” spray paint but I seemed to recall a product specifically made for painting refrigerators to look stainless. So I started googling and found this product on Amazon….

The product had good reviews. And like I told Tammy, if it doesn’t turn out great, you can still probably sell the refrigerator on Craiglist for a hundred bucks.
So this is what we started out with…a plain ole’ black refrigerator….

The first thing I did was read ALL the directions but most importantly, the Amazon reviews. The people who have used the product gave some pretty solid advise.
After reading all the reviews, we went to work. I removed the handles (even if you want to paint them, remove them), cleaned the doors thoroughly, and taped off the water dispenser and inside around the rubber gaskets. One of the sagest pieces of advice was to apply THIN coats…so after the first coat this is what it looked like…

While this might not instill confidence in one’s ability to do this, I know how important it is to “trust the process.”
The second coat, a tad better….

By the third coat we were all amazed at how great it looked!
BR did a great job of working Tammy’s list…he removed the over head florescent lighting and capped off the cabinets with crown and installed can lights, painted the cabinets and added new hardware,…

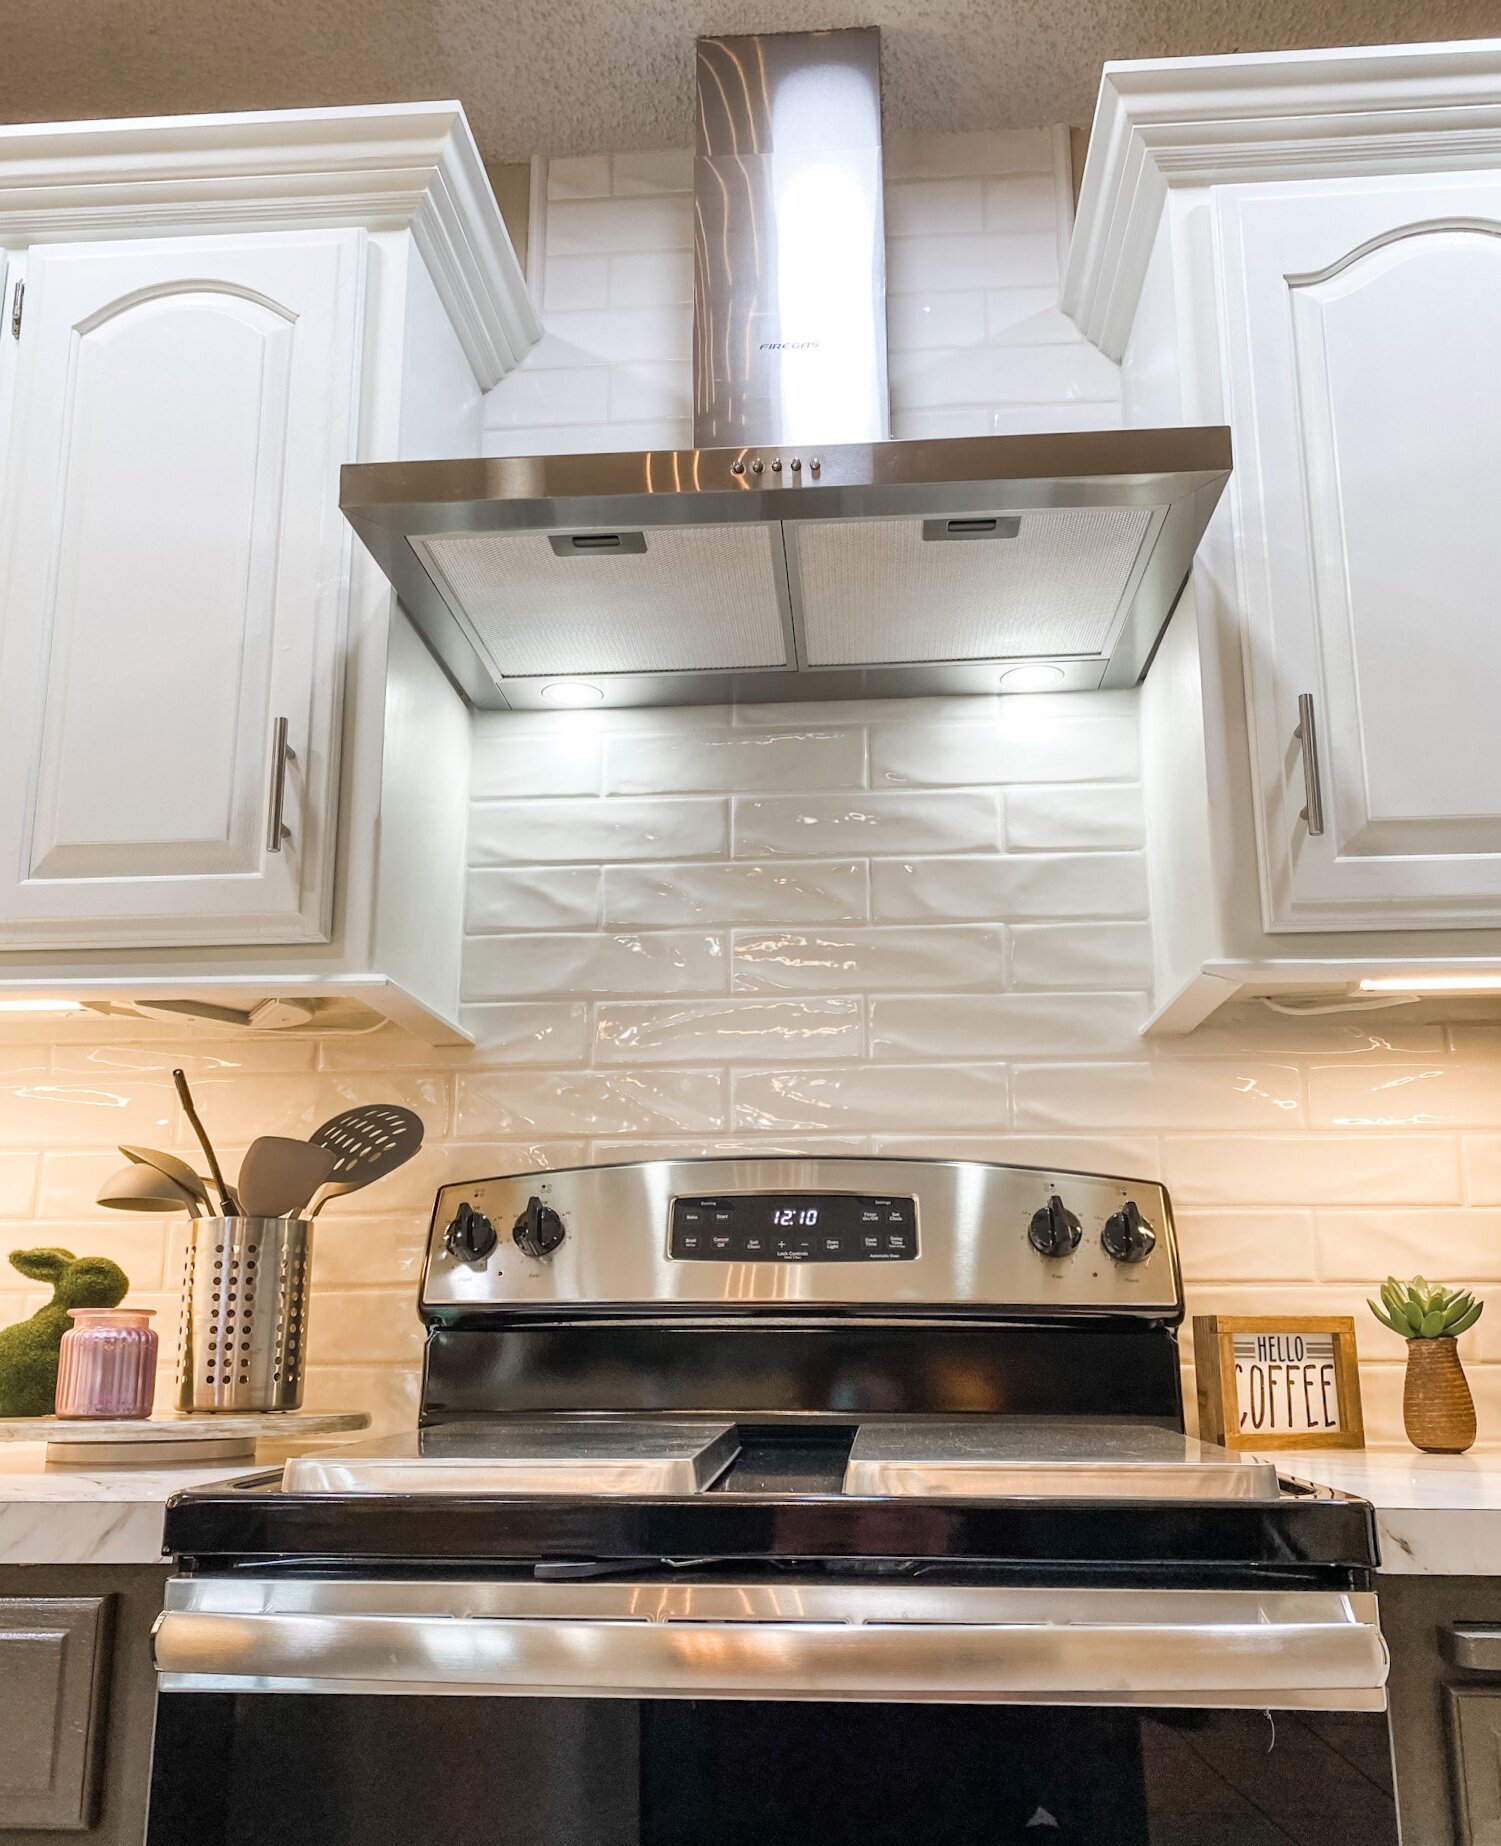
…. removed the old venthood and cabinet above the stove and installed a new stainless vent…
….and removed the old tile backsplash and installed new.


Quartz counter tops were a little bit out of the budget but they were able to achieve a very similar look with new formica.
Beautiful!
Tammy LOVES her new kitchen and fortunately she loves her “new stainless” refrigerator.
Would she be happier with a brand new REAL stainless fridge? Wouldn’t we all!!!! But this is a prime example of changing an element in a room that will stop the growling (and the envy and frustration) until you can afford to do what you really want to do. I have done it over the years with furniture and now I can say I have successfully done it with a refrigerator.
If you don’t love it, CHANGE IT!!!!

