Master bathroom windows...FINALLY!!!

At last!
This isn’t the first master bath reveal and it won’t be the last.
This room is one of those “processes” that will take time, money and a lot of of “humming.”
By that I mean I’m still not sure what i want to do with the cabinets. But I knew from day one I wanted operable windows in this room. Why I didn’t do it when I did the major remodel before we moved in is beyond me.
I had the perfect spot….

On either side of my vanity mirror. This wall is adjacent to the back yard and over looks the flower garden I put in under the humungus oak trees.
I learned in my last home that an operable window in the master bath is a MUST!
It is the mustiest, stuffiest room in the house and there are just times when you need to throw open a window and let the fresh air in!
Adding a window will entail cutting sheetrock, removing brick, framing and in my case moving both plumbing and electrical.
Like every major project, the best way to start is to just start…and in this case that meant cutting two big ole’ holes in the wall.

That was when I discovered the plumbing in the left opening. Okay, no biggy. I can manage that. I didn’t discover the electrical issues in the right window until I removed the insulation a few days before my windows arrived. CURSES!!!!
Again, no biggy for me. Just a few junction boxes, new wiring , relocate a light fixture…. blah, blah, blah. Fortunately I have a few basic skills (and a SIL electrician on speed dial) so I was able to do what needed to be done. But If I were without those skills and planning a “little remodel” like this, I would certainly budget for professionals. If you don’t need them, kudos…but be financially prepared.
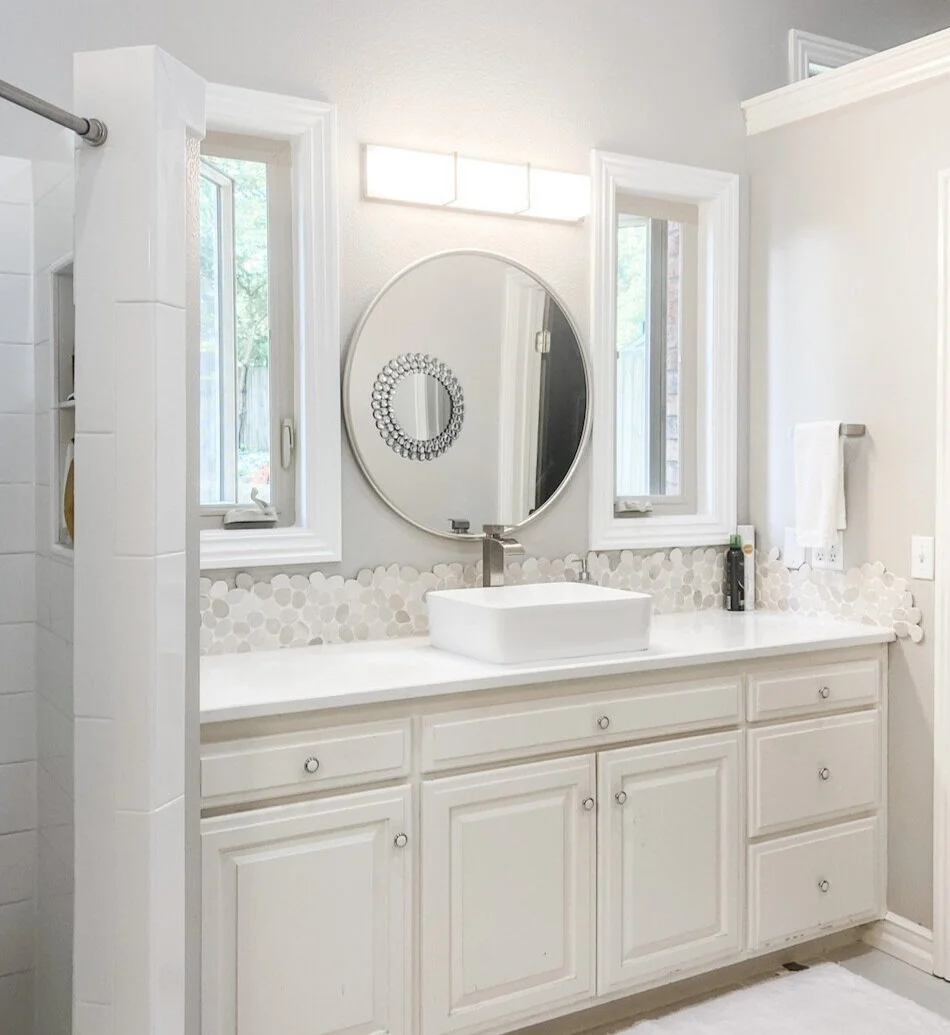

They let in a ton of natural light!!!! (This is with NO lights)

I can not even express how much I love these windows.
I thought adding a window in my laundry room was the best decision I made in this house. Hum…may be a tie! The extra light and ventilation in both is a must!
Even through the screens, I love the view of the back flower garden!


Now on to the next head scratching project. The bathroom cabinets. It may be difficult to tell in the photos but they are kind of a blah off-white.
I have contemplated refacing the fronts and replacing the doors and finishing it all in a light stain. I like the “concept” but when I searched Pinterest I kind of don’t care much for the look.
This is just a few examples of a bazillion I have put in my “inspiration” file….

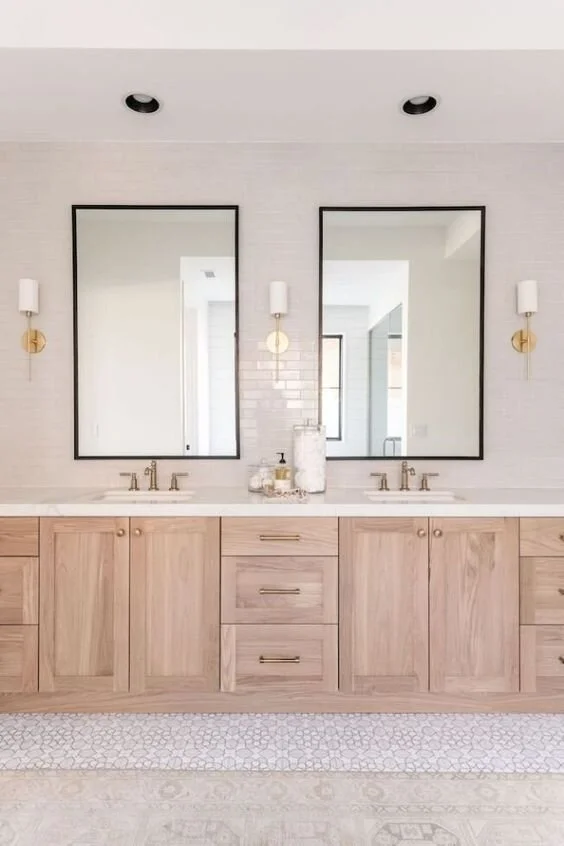
I like, but I don’t love.
I kind of like the look of a color…


Again, liking but not sure I am loving. (And again I can not give proper credit because I stole them from Pinterest and dropped them in my inspiration file…my sincerest apologies!!!)
As much as I dislike the thought of the “sterile” look of all white in this bathroom, I think in reality I would really like it.
So right now I am leaning towards painting the cabinets a brighter white and definitely replacing the hardware.
That is the nice thing about paint… if I eventually find a color that really trips my trigger, it’s just another gallon of paint, a couple of hours of time and a back ache.
Until next week…

