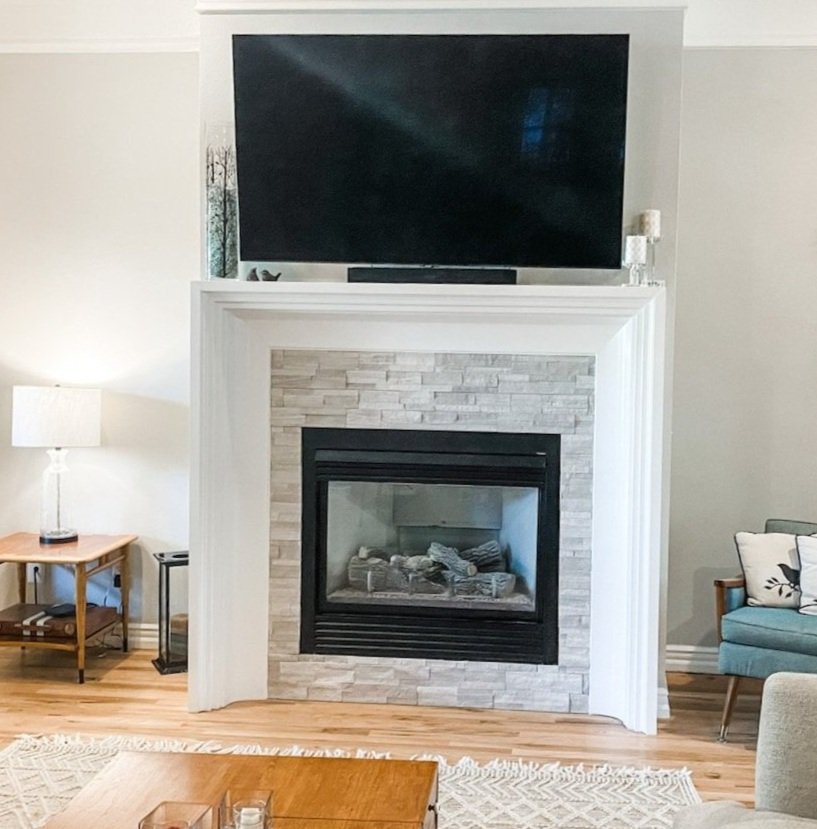
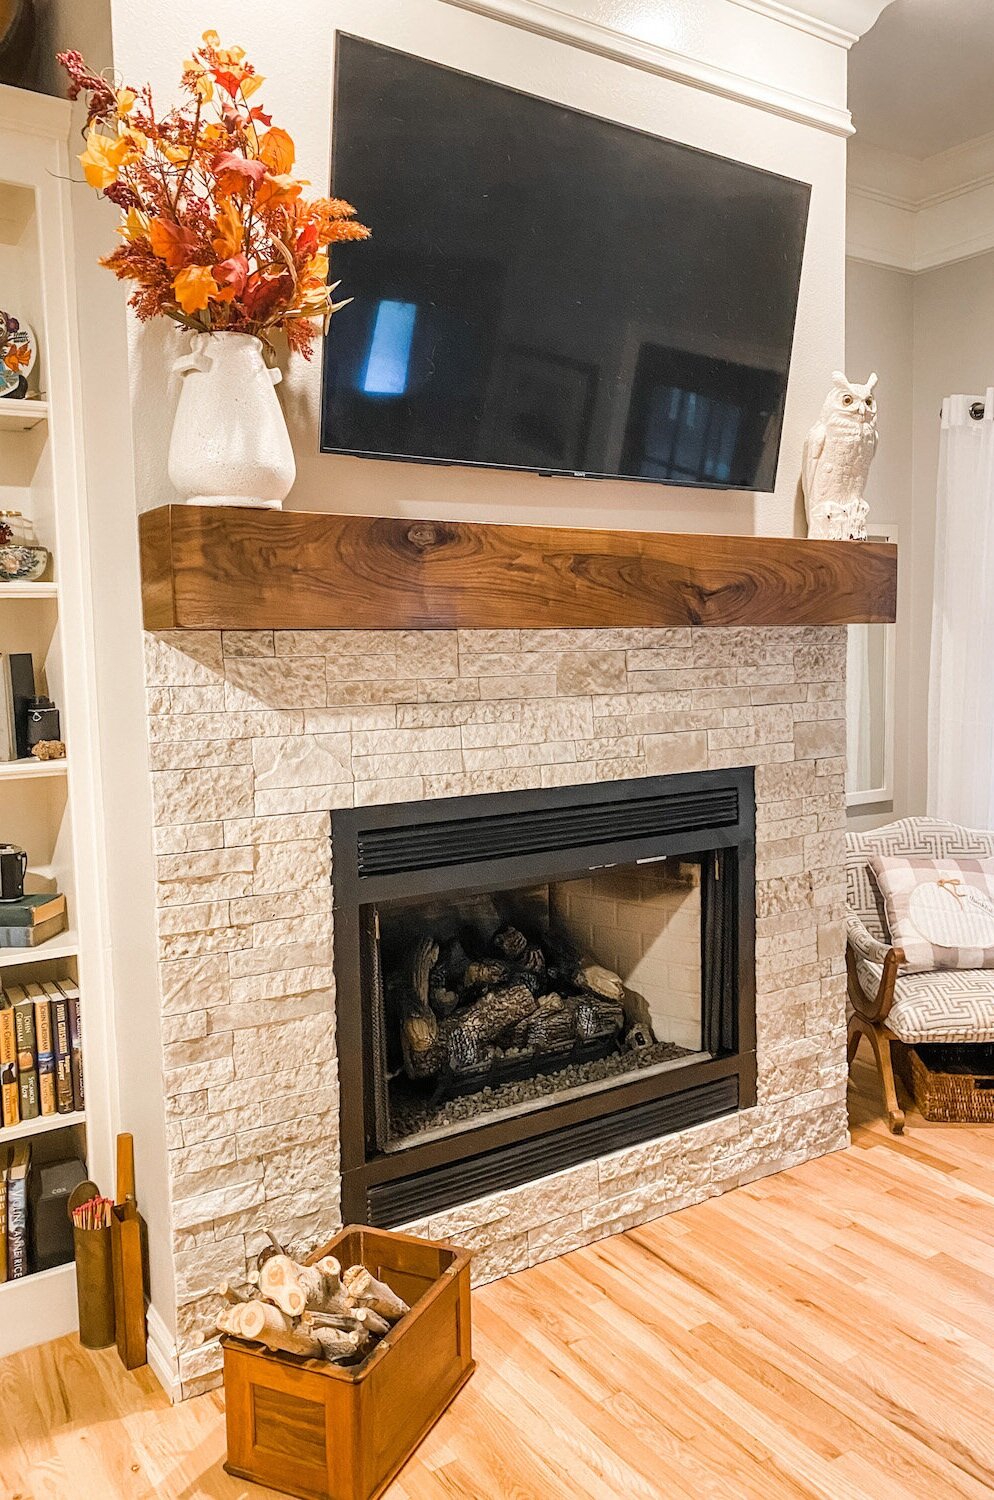
The living room fireplace reveal....
I have known from day one that I wanted to give each of the fireplaces a little makeover.
HERE I shared the den fireplace….
Now it was time for the living room fireplace.
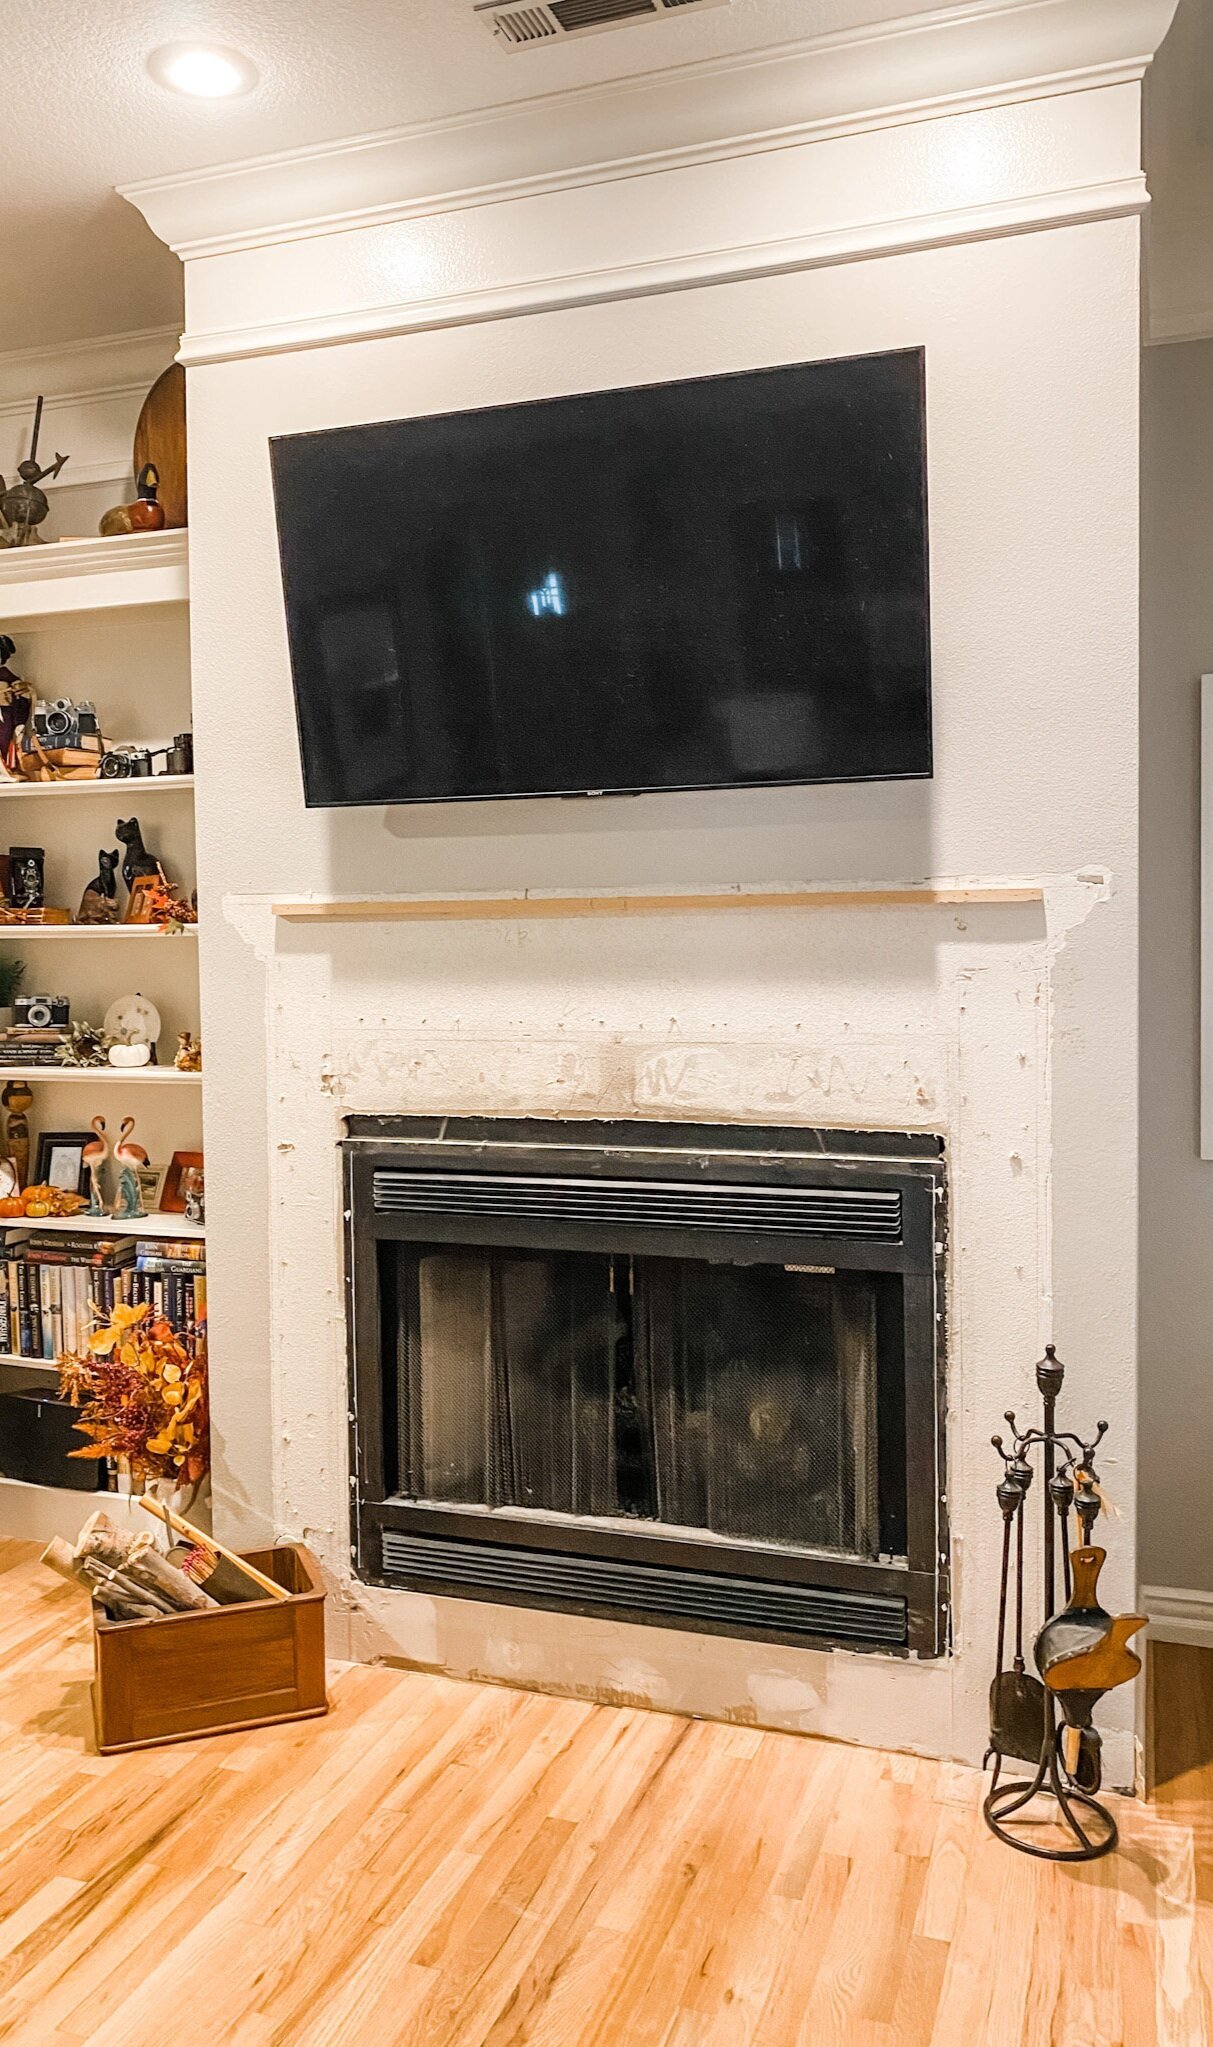
The original fireplace wasn’t totally offensive. It just wasn’t “my thing.” Whatever that is! A little dated…just blah.
My original plan was something like this…
I really loved this “cove molding” look but this surround is stone…and SUPER expensive. I decided to try to recreate the look with wood.
First thing I had to find was the “cove crown.”
I found it HERE. The only issue I had with it was the fact that it is a “polyurethane” material…basically styrofoam with a plasticish shell…hum. I did some research and it is SUPPOSE to withstand heat up to 200 degrees. That should hold up to the heat put off by my fireplace….should. I guess I’ll find out next year!
So as I mention HERE, I found my inspiration, took measurements and made a tentative plan.
What is the old saying about “best laid plans?”
No matter how carefully we plan, not all will go right.
Case in point.
So I started by removing the old surround….
TIP! When you remove wood trim from a wall, first score the joint between the wood and the wall with a utility knife. It should have caulk between the wood and the wall and if you don’t score it, you may tear the paint finish. If there is still caulk on the wall, just take a chisel or putty knife and gently scrape it off. Also use a board behind the pry bar so you don’t bust through the sheetrock…I did it just for demonstration purposes…NOT!
When I removed the old surround, I discovered this….
I forgot this room originally had carpet. When they added the hardwood, they had to work around the existing fireplace surround which sat on the slab, so of course when I removed it there was a gaping hole in the hardwood flooring.
“Best laid plan” #1….
Not a big deal for me. First, I always keep “spare.” The problem was remembering where I put the spare pieces of hardwood. Once I dug it out from behind all the stored Christmas decorations I went to work patching these floors. Since much of it was going to be covered by the new surround, I didn’t worry about “lacing” it in like you would a prominent area. I glued and laid some 3/4” material as a subfloor, then cut a few pieces of the oak and glued them to the subfloor with construction adhesive, using wedges between the wood and the wall to fit them tight until the glue set up. I sanded and applied one coat of polycrylic before installing it. After installing it, I used wood filler to fill the gaps, gave it a light sanding, then applied another coat of polycrylic.
Hardly noticeable…or as my daddy use to say, “You’ll never notice it on a passing train!”
I decided to build the surround on the wall vs. building it as a unit and then attaching it to the wall. Just personal preference honestly.
I used a stud finder to find all the studs and marked them on the wall.
I put up 2 x 4 “bracing/supports” on the wall using THIS construction adhesive and deck screws. I was able to hit a few studs, but not as many as I would have liked…hence, the adhesive. I like this construction adhesive better than most because I have found it is tackier and less likely to “slide” before it dries.
Since these were the “supports” that all else would be attached to, I made sure they were perfectly straight and level.
I strongly suggest priming and sanding all your materials before installing it…this will save you from a serious dust storm IN the house! First course of business.
I began building the surround by attaching 1x material to the supports I had secured to the wall, using adhesive and nails. I used 1 x 8” poplar material on the outside and faced the edge with 1 x 2 poplar. I attached a 1 x 4 pine on the inside of the supports. Then I added spacers between the two to provide additional support and nailer for the trim.
(At this point the cove crown is just “propped up”…not attached.)
My “best laid plan” was to use crown between the outside board and the inside board….
Okay, here is the problem and where my “plan” completely fell apart.
I was THINKING I would just take plan ole’ crown and “cope” the inside corners. Works on a ceiling, right?
Right…but on the inside corners of a wall/ceiling, you have two pieces of crown joining in the corner, both laying “horizontal.” On the inside corner of this fireplace, you have one piece laying horizontal and one piece laying vertical.
Now, you might not think that is a big issue.
Well it evidently is. I googled, I cut, I made mock ups…I spent an entire day trying to make this work. Evidently this is not a “doable” thing…at least not what I could find.
This might explain why ALL my inspiration pictures were stone or masonry.
I think the reason it worked a bit with the cove crown ( I say a bit, because there were still gaps I had to sculpt with putty and caulk) was because it didn’t have the “fancy” profile of a crown. Smaller cove molding will cut on a 45 on inside corners without coping. The larger cove molding had minimal “gaping.”
If you know anything about cutting trim and coping you know exactly what I am talking about. If you do not, do a TON of research before attempting to trim inside corners…or you too will learn the hard way!
Soooooo….best laid plans.
I rarely just give up, but…..
Time to punt.
I found another “inspiration” that appeared to be “less decorative.” I decided to give this look a shot since it would entail using basic 1x material vs. crown.
Truth is, this is one of those “happy accidents.”
I like the look more than I did the original plan!!!!
I used a 1 x 4 material, then stacked on a 1 x 3 material, then a small cove molding…LOVE.
Moving forward….it was time to attach the large cove crown.
First issue. In all my inspiration photos, I really like the “one piece” look. Since again, they were all stone, the material adjacent to the fire box was the same as the surround. If I recreated that look I would have to use painted wood adjacent to the fire box, and I just didn’t feel comfortable with that. Not that this box gets terribly hot, but it does get a tad warm.
Soooo….what to do. I really wasn’t loving the look of high contrast tile between the box and the surround.
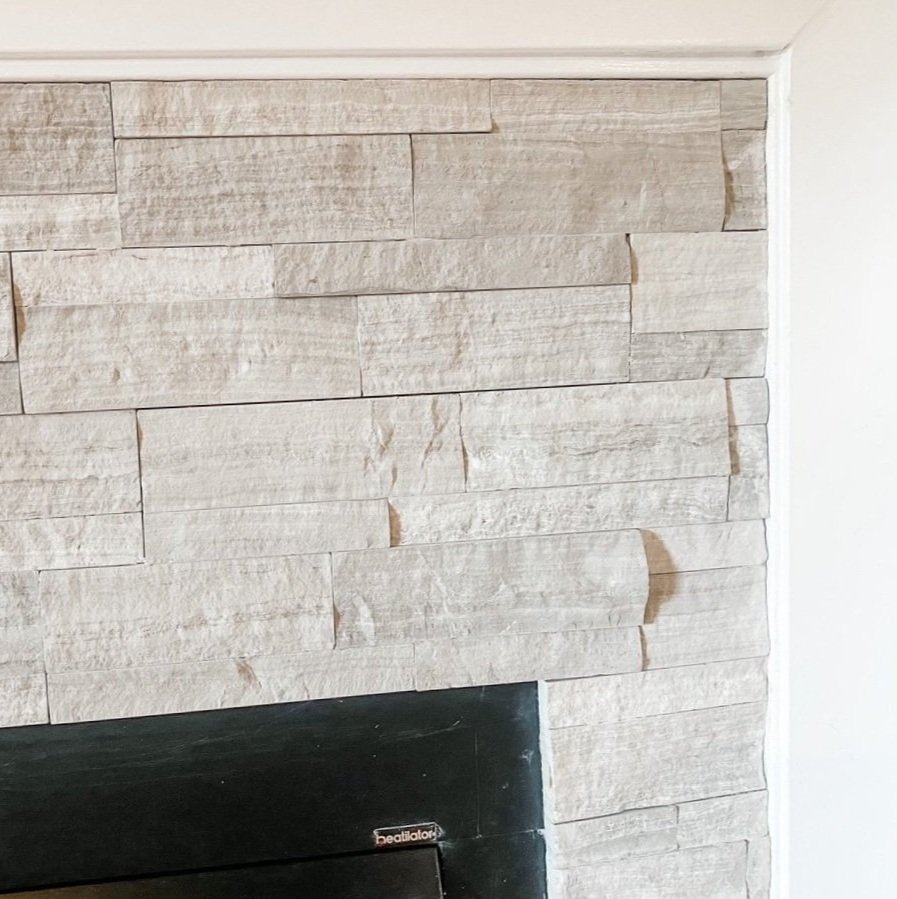
When I was looking at tile, I found a split face travertine tile I really liked.
If you remember the Lankford house den fireplace I installed split face travertine…and I LOVED it. I still do…so I went with it.
Now, travertine is not “all the rage.” So this is a prime example of doing something I LOVE vs. doing the in thing.
Since I decided to go with tile, I used a 1x material for the inside of the cove crown to sit on…just to give it some lift so that the tile wasn’t butting up against it’s 1/4” edge. I glued and nailed 1 x 4s on the wall, then installed the cove crown on top of that.
Second issue…since the cove crown is “polyurethane” and not wood, I couldn’t attach it using a trim nailer. Trust me, I tried. I had to use construction adhesive, then tape it and constantly “press” it until the mastic finally set up. Pain.
Once all that was done, I caulked all the joints, puttied holes, gave it a little sand and then painted it BEFORE I installed the tile surround.
I used a latex paint because my research said that latex is a better product to use in areas where “heat” might be a factor…I guess it has a tad more flexibility. Makes sense.
Don’t forget the Floetrol…makes a world of difference in your paint finish.
After the paint had cured, I installed the tile. Again, there are amazing tutorials out there for installing tile…find one that makes sense to you! Installing tile around a fire box is NOT a difficult DIY project. But you want to make sure you have the right tools (wet saw, properly sized trowel, etc) and that you use a thin set or mastic that works with the type of tile you are using and is heat resistant. RESEARCH!!!!!!
There were a couple of scuffs and marks on the black fire box from scraping the old mastic off. I used a black Sharpie to cover those…works like a charm.
And presto, bingo….a new fireplace surround.
I like it much better than the old one. Bigger but simpler. Not quite so “traditional” looking. Again, I like it much better with the “stacked edge” than I would have with the crown. See, no mistakes, just learning as I go. A lifetime of doing this stuff and I am still learning!
I am EXHAUSTED (just look back at all the projects in the last few months) so I doubt I will be starting any new major projects anytime soon. Course I say that and I am already eyeballing and sketching a few things I have been thinking about starting. Hum….
So until next time…


