Coffee Bar...

When I looked to Pinterest for inspiration for a coffee bar I realized that there are some super serious coffee connoisseurs out there. I just wanted a nice organized place for a few coffee necessities.
My stove top area in the kitchen is a bit tight for a “coffee station”…
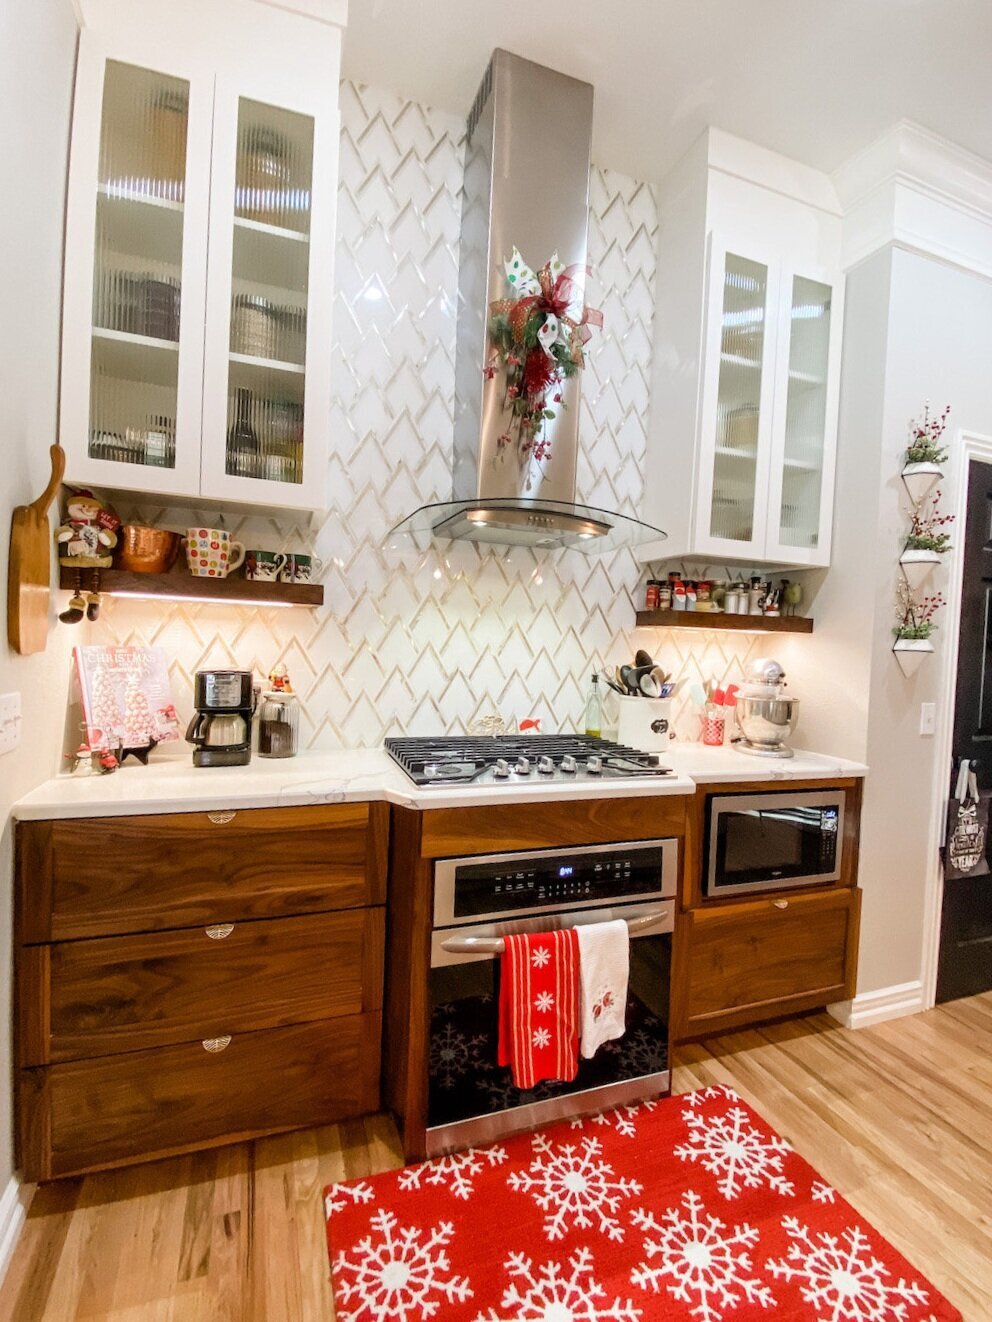
…but we managed because I have TONS of prep space on my island. Regardless, I wasn’t happy with having my coffee maker in this area….and I didn’t want to have a full sized coffee pot taking up even more space so we would have to remake coffee all morning in our little 4 cup maker.
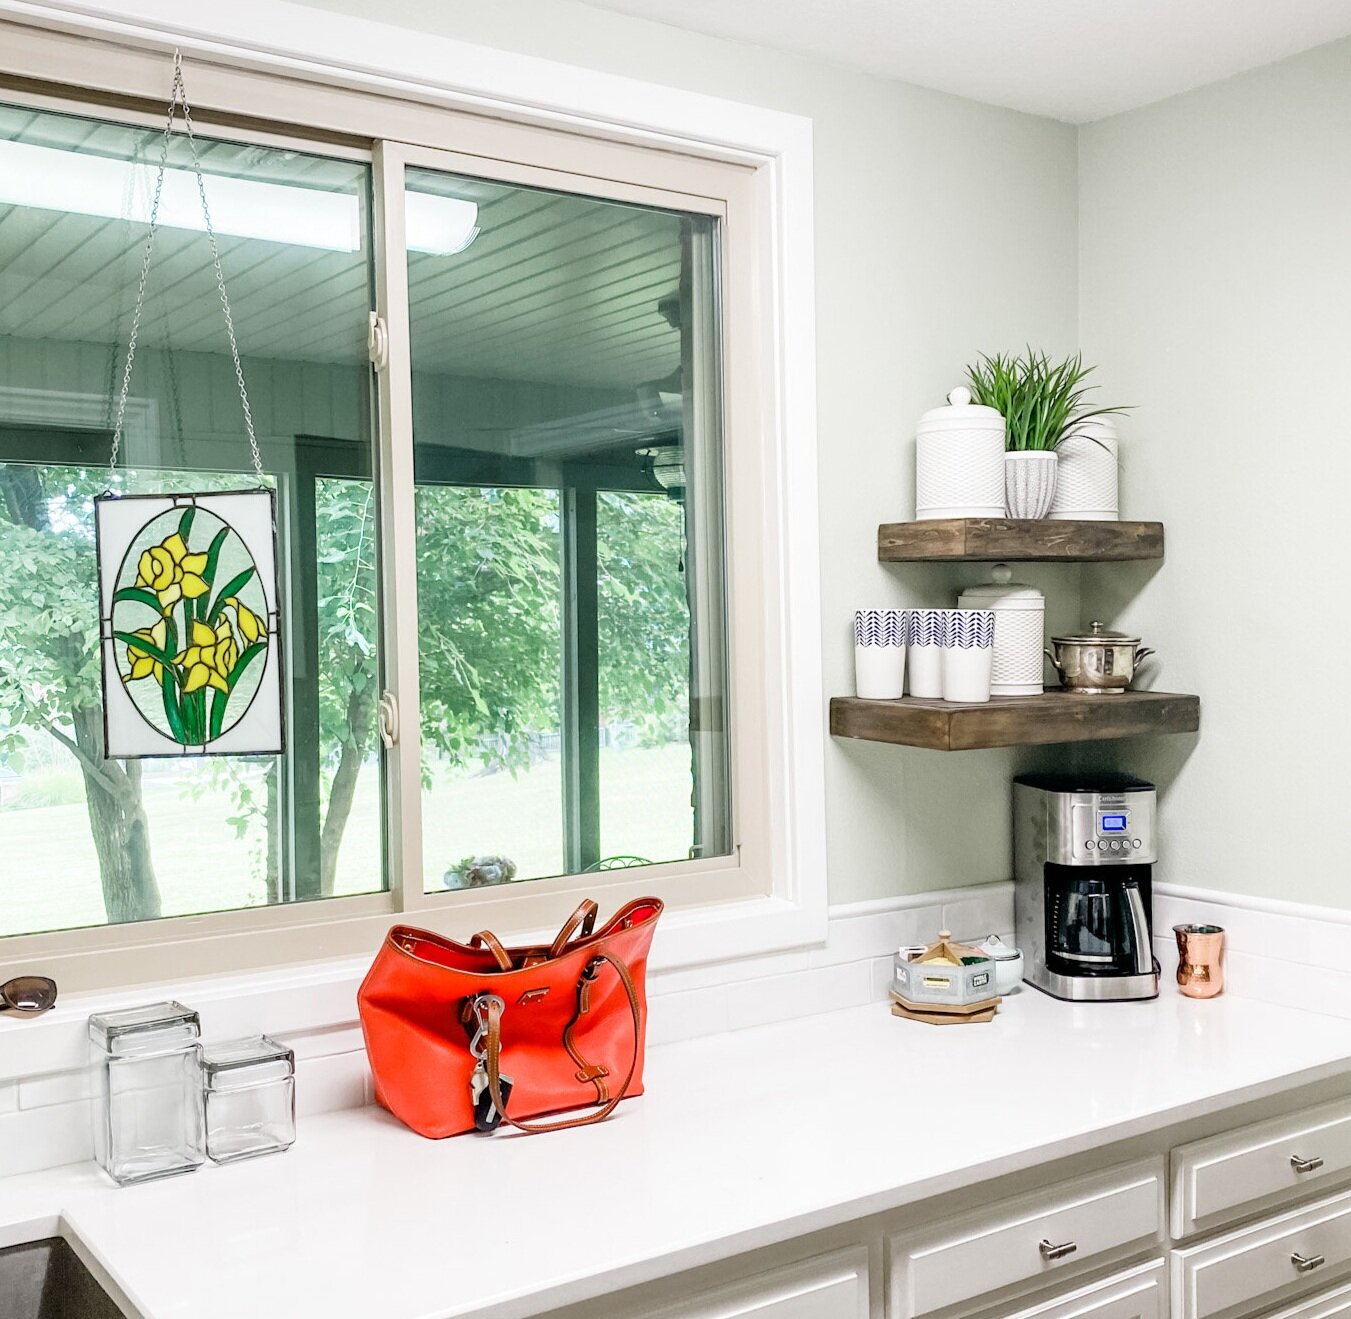
I decided to utilize a corner of the counter top in the laundry room for a “coffee station.”
Even though we make coffee every morning, the distance from the kitchen trash can and water source was almost equal so it really was no biggy to put it in there vs. on the kitchen counter.
Right now I am on a quest to use up some of the wood and materials I have accumulated over the years. It would have been real easy to go out and buy new materials to make shelves but I decided to get resourceful.
When I remodeled Katie’s room eons ago I removed the black floating shelves she used as her makeup station….
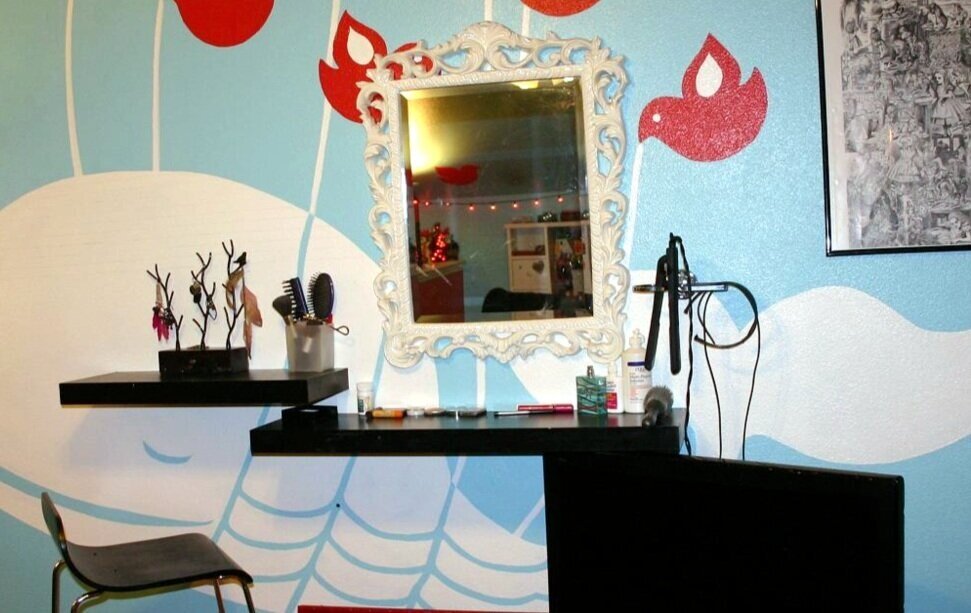
(Man my photo skills sucked!!!!)
I’ve kicked those things around for YEARS thinking I would eventually use them.
They weren’t the size I wanted for my “coffee station” and not even the style. But I decided I would try to make them work.
The first thing I did was cut them down. Not difficult since they are constructed out of fake wood and cardboard. I did have to take a metal grinder to one of the metal support brackets to make it shorter, but that was seriously no biggy.
I did add some wood support inside the corners of the cut down shelves because my next step was to clad them in wood.
I had some leftover “bead board planks” from another project…similar to this…
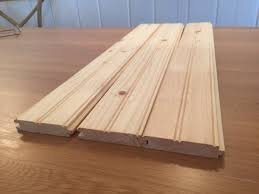
…so I used that to clad the tops and bottoms of the shelves (just glue and a few nails). Then I used some 1”x3” pine boards I had for the fronts and sides. A little stain…a little polycrylic to seal.


Repurposed floating shelves…they didn’t cost me a dime because I used scrap materials I had on hand.
My goal was “rustic” shelving…I think I accomplished that.
I did purchase a few new canisters…one for coffee, decaf, and cocoa.
The old silver tureen has held my filters for years…love it.

I found this cute little office supply thingy…originally labeled for paperclips, rubberbands, erasers, stamps etc.

I decided it would be perfect for all the different sweeteners my family insists on…God forbid they use the one I use. I relabeled each space for my purposes.
A fake plant. (BTW I keep reading fake plants are a decor faux pas…ask me if I care!)
We did purchase a larger coffee pot.
Again, this space is right off the kitchen so it really isn’t a bother. I like that it freed up a little bit of kitchen counter space.
I would like to add that 1) I now have a HUGE laundry room and 2) it is just Brian and me so rarely are there piles of laundry demanding my attention. I can see where some may not have the room or desire to use the laundry room for this purpose! But for us, it worked out perfectly.
I am a HUGE proponent of looking to Pinterest for inspiration…but sometimes we get a little intimidated by what we see online and forget we don’t NEED all that froo-froo or even have the space for it….


Don’t get me wrong…I think these spaces are amazing…but for YOU are they realistic? Hopefully my tiny little corner will inspire you to “think outside the box” if you need to create a space. Know that you don’t need a huge space for a basic coffee bar if you just need a place for a few basics.

