Making a table or bench top...

One tool I wanted for years was a “biscuit joiner.”

Screen Shot 2021-08-11 at 4.43.53 AM.png

One of the many things I love about my kids….when I ask for a specific tool for Chirstmas/birthday/Mom’s Day, they listen. So several years ago I got a biscuit joiner for Christmas!

This little tool has allowed me to make a few things I otherwise wouldn’t have been able to make. It allows me to join together several boards to make a larger board. A necessity if you want to make benches or table tops.

Let me give you a few examples….

The first was this bench….

I was able to join together the three 1”x6” boards and the ends to make a strong top.

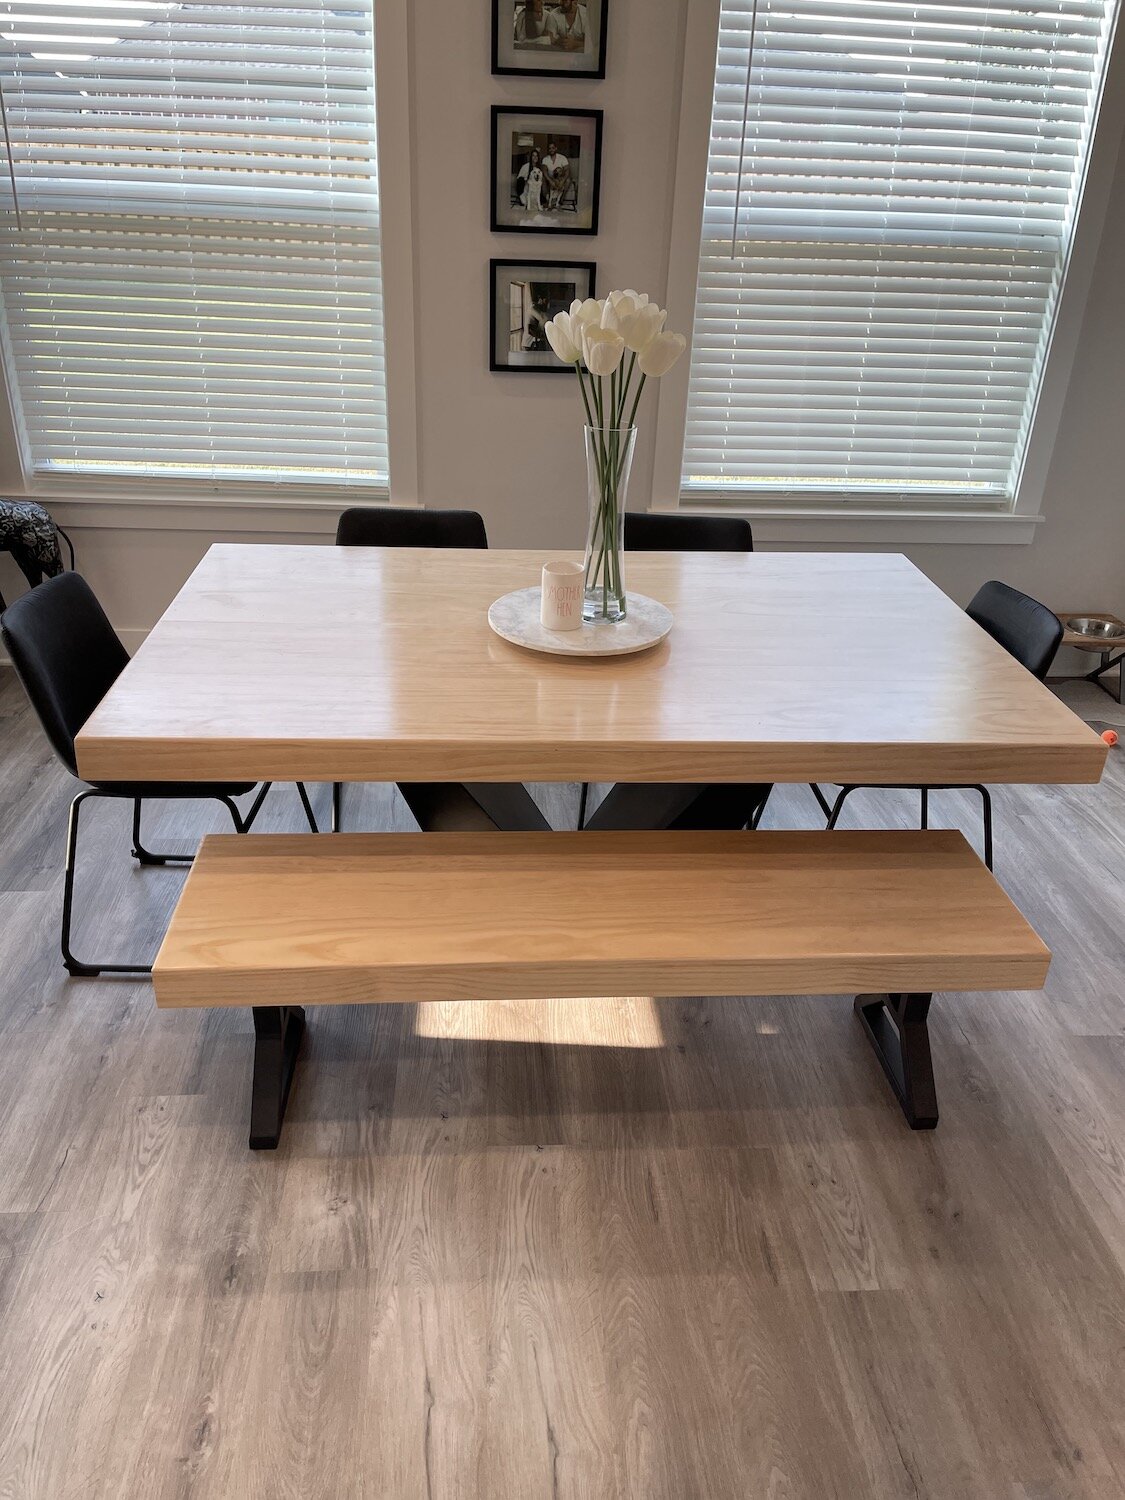
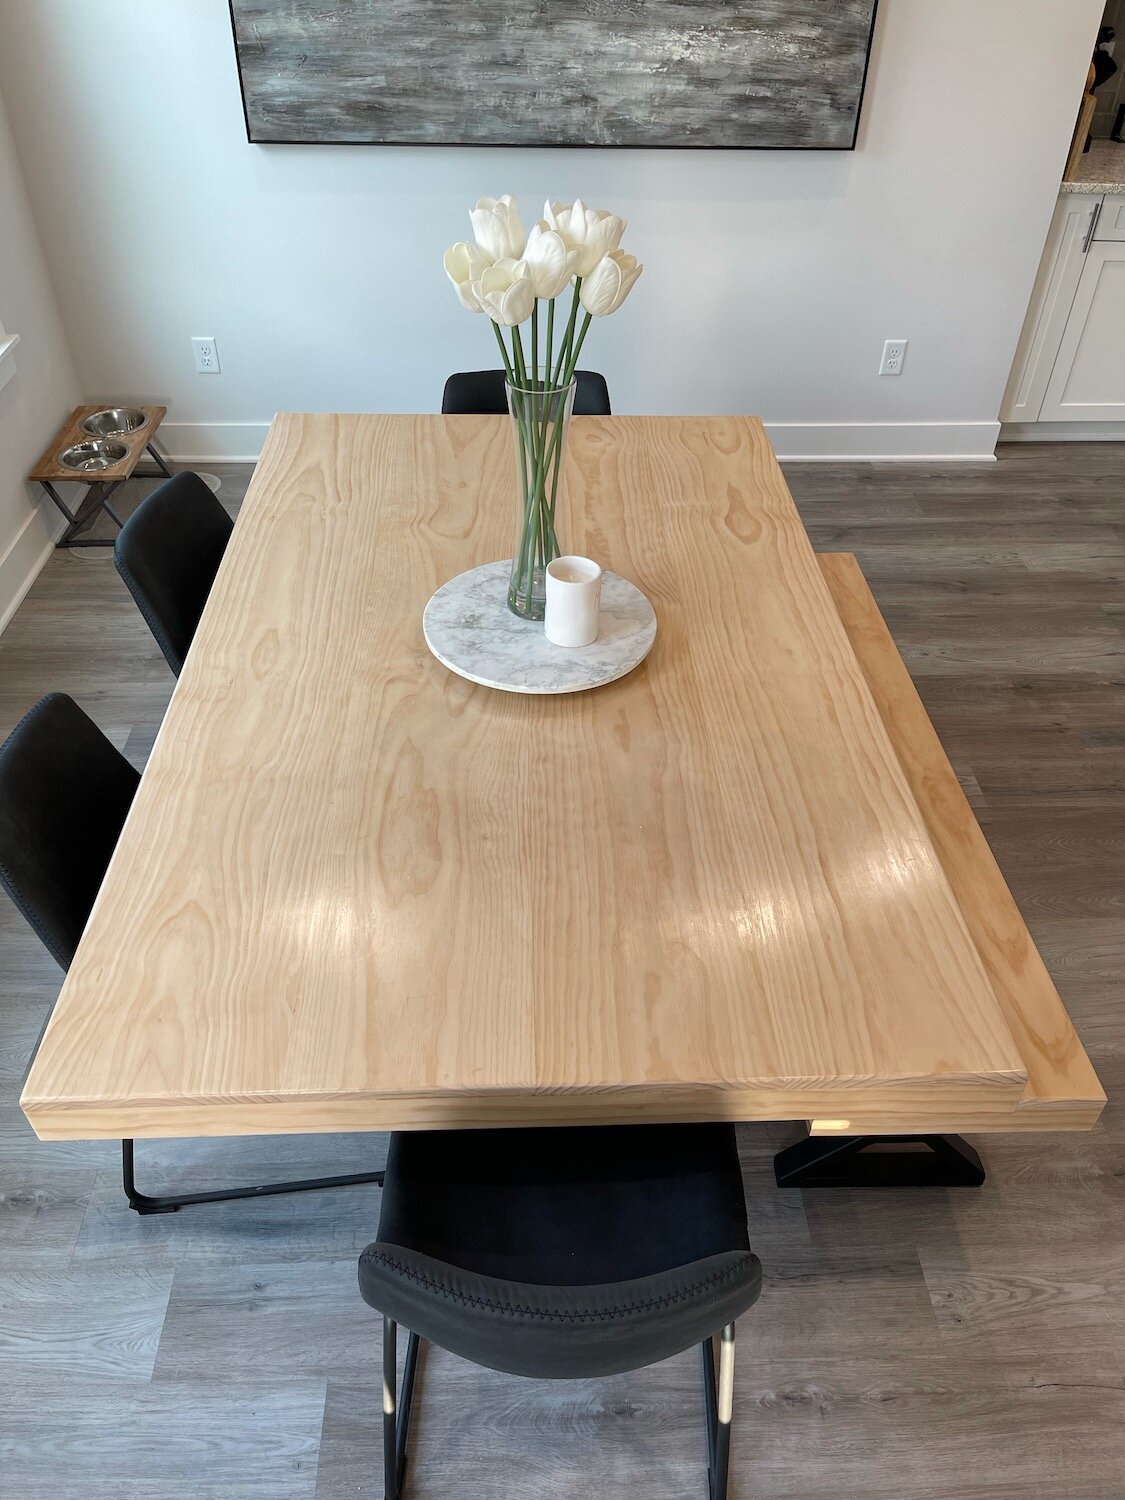
Brandon and Taylor wanted a plain pine table and bench for their new house. I guess they could have spent a fortune like we did for a custom made table but that isn’t really an option for a young couple.

So we went to Lowes, picked out some straight, nice boards with good grain and used the biscuit joiner, glue and clamps to create a table top and bench top.

IMG_1329.jpg

After some serious construction, a LOT of sanding, a polycrylic clear coat, and some nifty bases, they have an AMAZING table and bench!

IMG_1146.jpeg
IMG_1148.jpeg
IMG_1149.jpeg

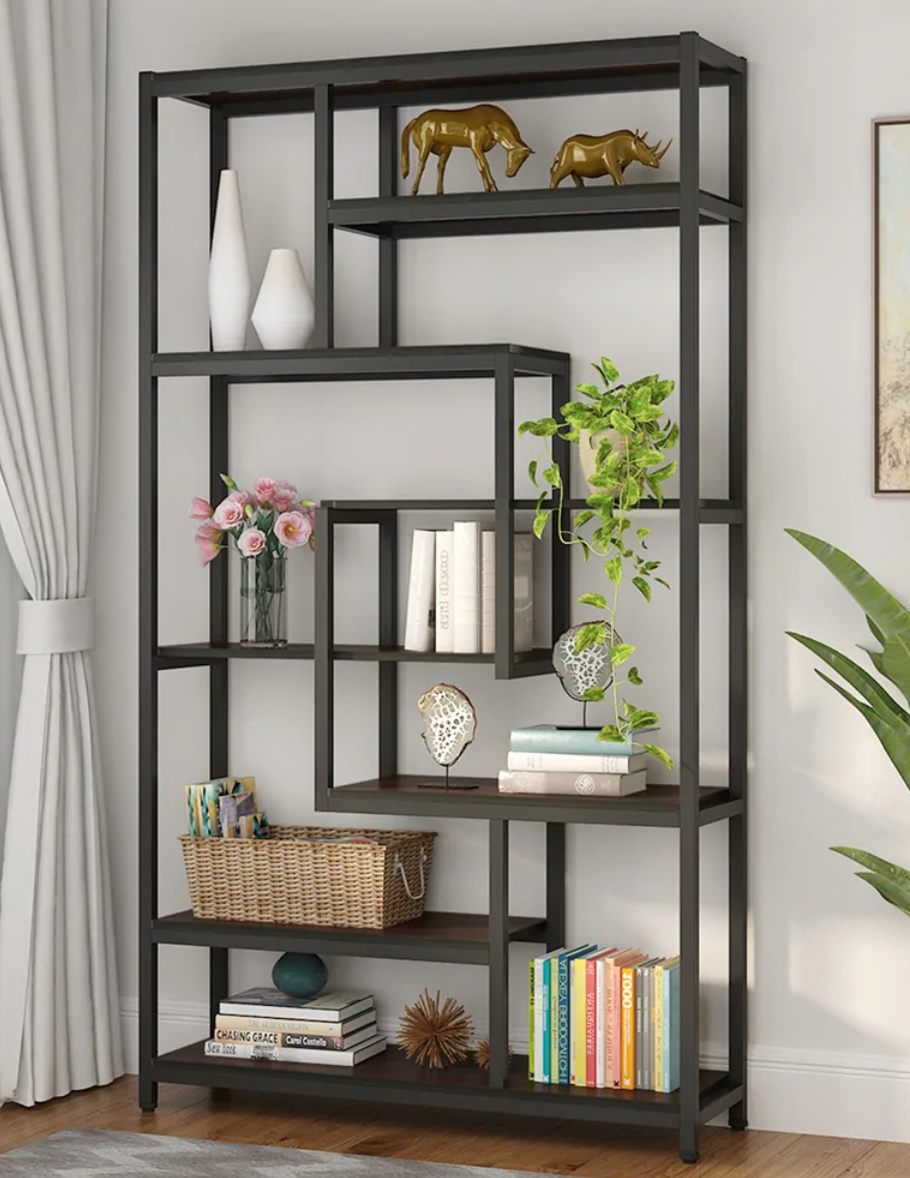
Last year I went looking for some shelving…I found one I absolutely LOVE. It was from the same company that built our dining table so I knew the quality would be amazing….but the price tag was just a tad too steep!

I love everything about this shelving unit….the look, the style, the quality.

So I went looking for a less expensive option. I found one I thought was okay on Overstock.

Waaaay less expensive…and for obvious reasons. The frame is metal vs welded steel and the shelving material is MDF vs. beefy solid wood.

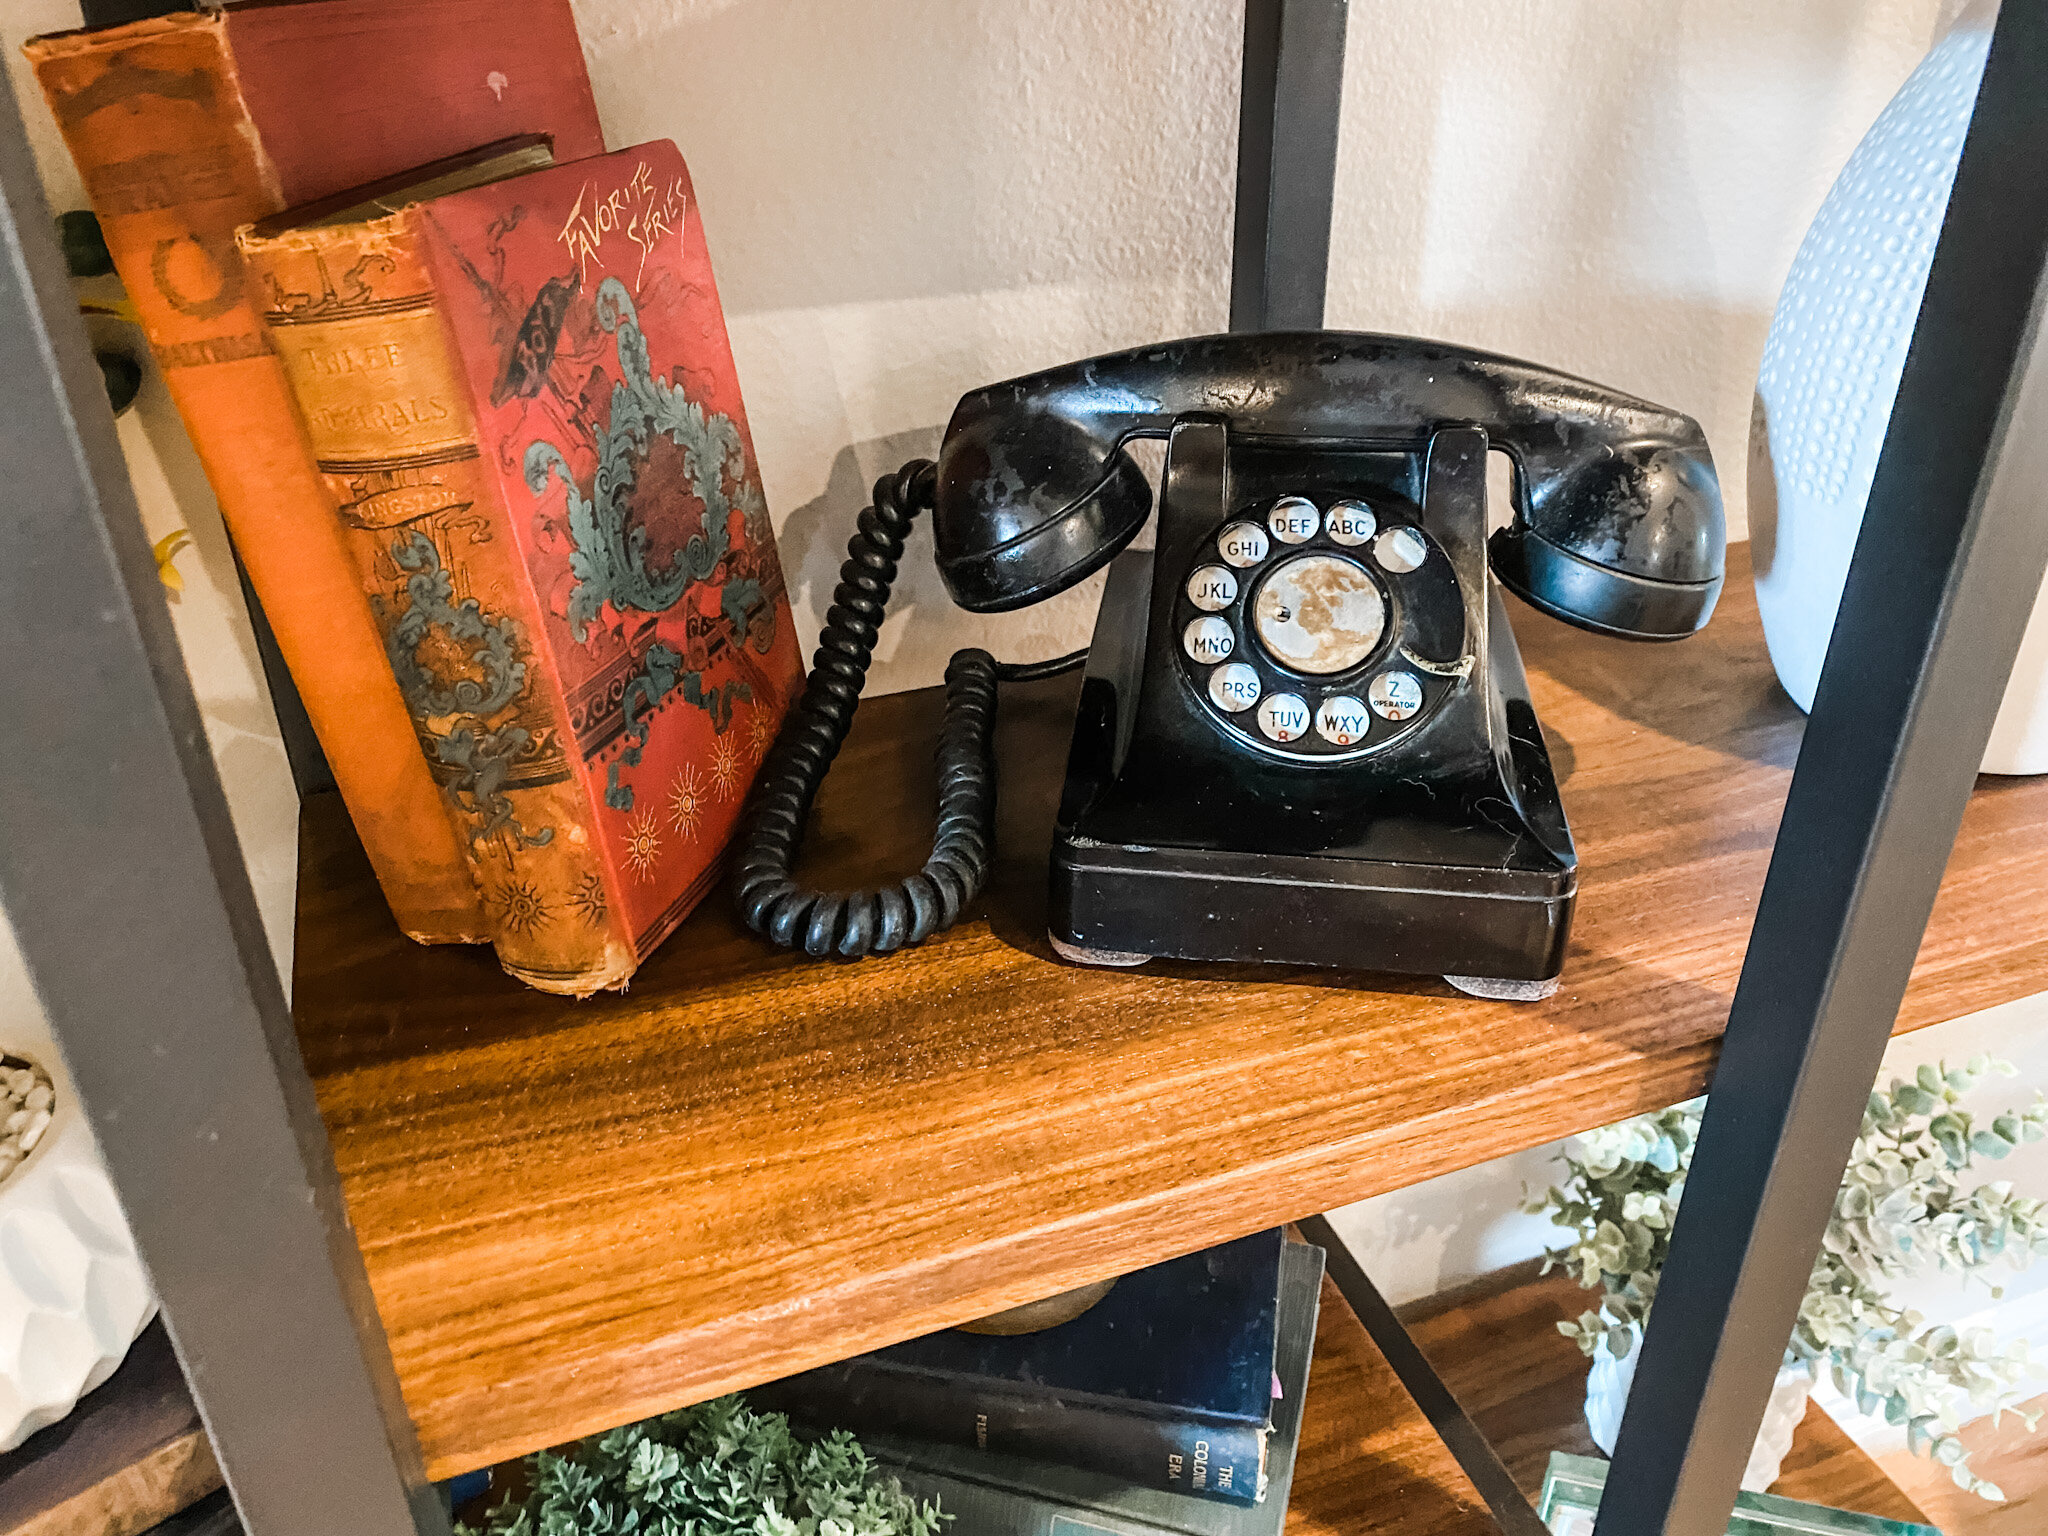
The look and style is very similar…almost identical sizing…but the MDF shelving HAD to go. I knew immediately I wanted to replace them with solid walnut.

It has only taken five months to get around to this project.

The biscuit joiner was a life saver.

Walnut is a pretty expensive wood…and finding pieces wide enough for the needed 12” shelving was pretty much impossible (without a serious outlay of cash.) What I did find were 7”ish board we ran through my son’s table saw and joined together….

IMG_1740.jpg

Using a biscuit joiner is NOT difficult…just take your time and follow the directions.

One little trick I did learn was how to mark the joints so they lined up perfectly. Just put your two boards together then run a mark across the joint….

IMG_1742.jpg

Then just line the joiner up with the mark and plunge away…the joints will line up perfectly!

Always dry fit everything to make sure it all lines up perfectly before you apply glue….

Apply glue and clamp….

IMG_1745.jpg

Joiners are NOT difficult to use. Just follow the directions and watch lots of YouTube tutorials.

I sanded each piece with 220 grit sand paper, tack cloth and sealer.

I used Waterlox as a sealer…no stain…same stuff I used on my kitchen cabinets and I have been extremely pleased with it!

BEFORE

BEFORE

AFTER

AFTER

BEFORE

BEFORE

AFTER

AFTER

BEFORE

BEFORE

AFTER

AFTER

I was able to take a shelving unit fit for a dorm room and turn it into a beautiful accent piece!

LOVE!

New vinyl windows and a little window seat makeover...

This is one of those “needs” with a little “want” thrown in.

Any time I think about buying something or doing something I ask myself “Is this a need or a want.” Wants are okay…as long as you don’t go into debt for them or harm another person in pursuit of your “want.”

The “need” was new living windows. The old arch window was cracked and had condensation between the panes.

I have managed to ignore it for some time because in the hot months I have a temporary shade in it and in the fall and Christmas seasons I have cute little vignettes that block it…but this time of year it just consumes this room and it is near impossible to ignore!

The lower window was the original aluminum window and that thing might as well have been wide open on a cold blustery day. It leaked cold air like crazy!

So…a need.

As you will notice I changed up the “configuration” of the window…I went with a fixed window in the middle with two crank-outs (technically called “casement” windows) on each side. I have a crank out in my bathroom and I LOVE it…super easy to open and close!

When I measured for the new window I measured the outside opening…that is because the new window was going to be installed from the outside and I had to make sure it would slip between the brick.

While it fit snug between the brick…

… it had 1/2 “gaps” on the inside…

Usually the new window would slip in right behind the sheetrock that butted up to the old window…not the case here. I suspect it is because whoever bricked this house did not brick over the old window properly.

No biggy…it gave me ample room to put in A LOT of insulation! Silicone caulk around the outside…a must for ANY window! There is NO air coming in around this puppy!

It did mean I had to trim out around the new window. Again, no biggy. I used 1x4 pre treated boards and flat molding…good as new!

One issue I had was the existing seat cushions…they were not going to work because of the window crank….

The cushions are really not an issue for several reasons

I only added the cushions to help block some of the air leaking in around the old window. Second, the fabric has faded over the years and I needed to recover them! And lastly, nobody but the cats sit in this space so comfort is really not an issue.

So the cushions can go…but then I am left with the stark white of the faux marble…ick. Again so 90s!

Sooooo….I decided to remove the faux marble and add stained wood “bench” type seating before I put up the new trim!

Course I wanted walnut…but finding walnut boards proved to be impossible. I ended up using oak boards…NOT my favorite wood, but it was either that or poplar (too “green”) or pine (too ick).

The marble was super easy to pop off….heavy as crud but simple to remove. It was just siliconed in.

I bought 1x6 and 1x4 oak boards. I like the “plank” look so I used the router to add a VERY small groove on the top edge of each board. On the board that would be on the outside edge , I used the router to round the edge.


Again, I did not take pictures of the “process” or make a tutorial…I am a HORRIBLE teacher/blogger! Just sharing what I did!

After cutting each board to the proper width and routing the edges, I stained them with brown mahogany stain and sealed them well with poly BEFORE installing them.

Once the finish was dry, I finally got to use the biscuit joiner Matt got me for Christmas two years ago! I love this little tool. Because of the layout of this bookshelves, I couldn’t make the entire seat in one piece. I had to lay in each board one at a time. The biscuit joints allowed me to get a tight, even fit without having to nail into the top of the seat! Love!!! I just glued the “biscuits” and edges, and slipped them together!

After the new wood seats were done, I trimmed around the new window.

I removed the blind from the side window…after 20 years of neglect that thing was pretty nasty.

I will eventually replace this window as well since it is one of the original aluminum windows.

I haven’t decided what to do about window dressings. I have lived without a blind in the big window for years…we live at the end of a cul-de-sac and I don’t roam around in this room “indecent” and this window faces south so it doesn’t get a ton of sun in the summer months. The side window faces the fence and there is little view to the inside of the house so for the time being, I think I’m fine without a window covering!

I love the new look…again, I think stained wood always adds a little warmth to an area and this big sucker could use some “warmth.” And the new windows are AMAZING!!!! We have winter weather this week and not a drop of cold air can be felt around the window…and I CAN NOT WAIT to crank these babies open on a warm day!!!!

This photo of the outside reminds me of how “blah” the house looks in the winter compared to a summer view…

This one reminds me that we desperately need to power wash the brick this spring!!!!


I haven’t painted the trim just yet…truthfully this entire built in needs to be painted. I haven’t painted it in 20 years and I know it was originally painted with alkyd (oil-based) paint.

When we painted Matt’s bedroom a few weeks ago, he found a new “hybrid” paint…an acrylic alkyd paint they SAY will go over oil based OR enamel paints. I know the paint went on like an alkyd…leveled beautifully….and cleaned up like an enamel (with soap and water!)

While the paint went on well and cured well, my biggest concern is durability. This area gets a lot of wear and tear and I don’t want a paint that dings easily. Oil based paints are outstanding for furniture and wood pieces…super durable!

So I am going to wait a bit and see how Matt’s holds up…in other words, let him be the test monkey…lol! If his trim holds up well, then I will use the hybrid paint. Or I might just bite the bullet and use an oil-based. I know me well enough to know that a bug can bite me at any moment!