Making a table or bench top...
One tool I wanted for years was a “biscuit joiner.”
One of the many things I love about my kids….when I ask for a specific tool for Chirstmas/birthday/Mom’s Day, they listen. So several years ago I got a biscuit joiner for Christmas!
This little tool has allowed me to make a few things I otherwise wouldn’t have been able to make. It allows me to join together several boards to make a larger board. A necessity if you want to make benches or table tops.
Let me give you a few examples….
The first was this bench….
I was able to join together the three 1”x6” boards and the ends to make a strong top.
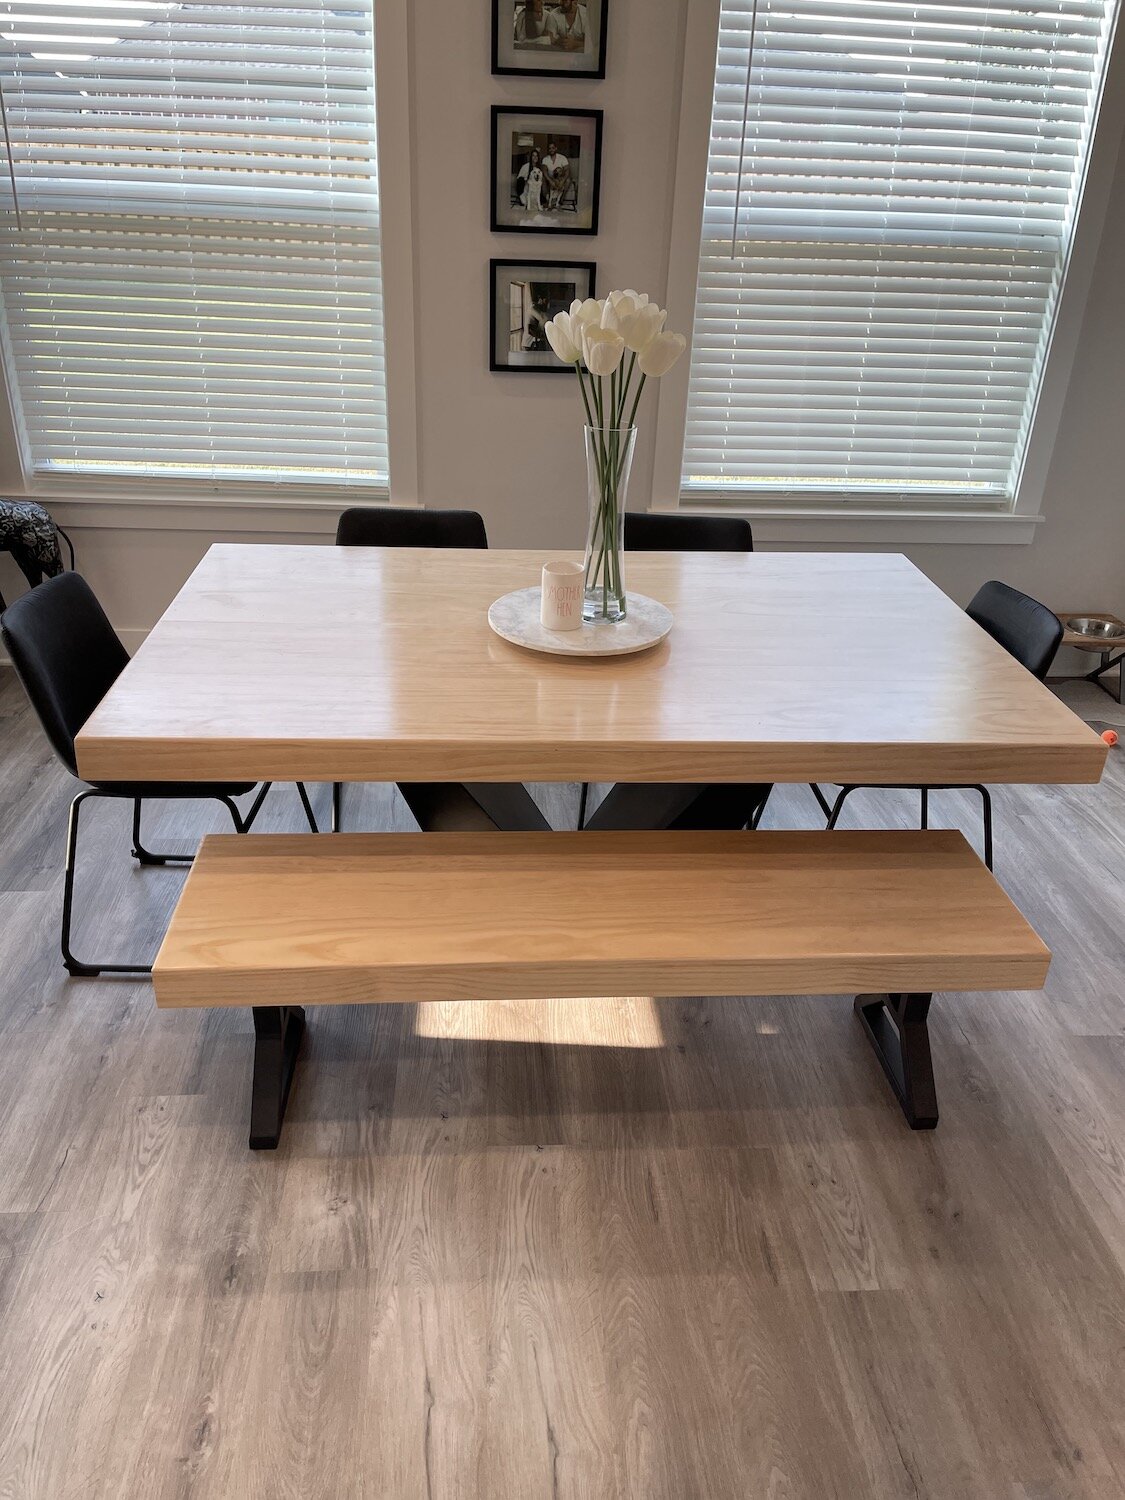
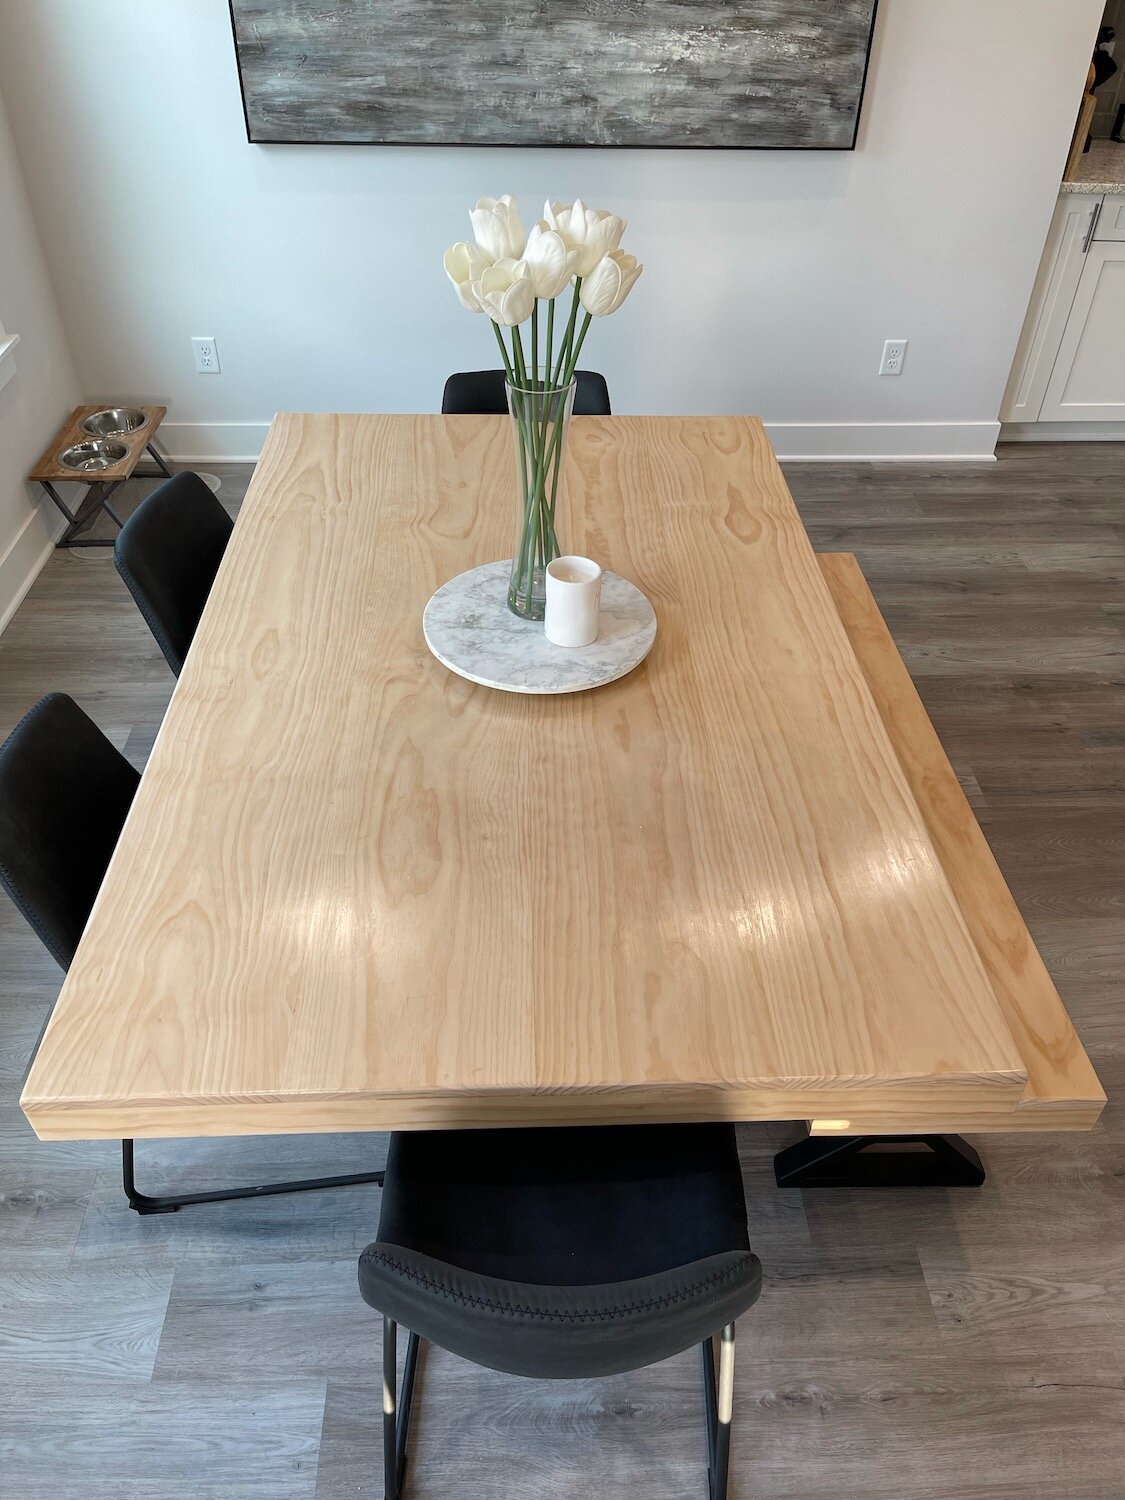
Brandon and Taylor wanted a plain pine table and bench for their new house. I guess they could have spent a fortune like we did for a custom made table but that isn’t really an option for a young couple.
So we went to Lowes, picked out some straight, nice boards with good grain and used the biscuit joiner, glue and clamps to create a table top and bench top.
After some serious construction, a LOT of sanding, a polycrylic clear coat, and some nifty bases, they have an AMAZING table and bench!
Last year I went looking for some shelving…I found one I absolutely LOVE. It was from the same company that built our dining table so I knew the quality would be amazing….but the price tag was just a tad too steep!
I love everything about this shelving unit….the look, the style, the quality.
So I went looking for a less expensive option. I found one I thought was okay on Overstock.
Waaaay less expensive…and for obvious reasons. The frame is metal vs welded steel and the shelving material is MDF vs. beefy solid wood.
The look and style is very similar…almost identical sizing…but the MDF shelving HAD to go. I knew immediately I wanted to replace them with solid walnut.
It has only taken five months to get around to this project.
The biscuit joiner was a life saver.
Walnut is a pretty expensive wood…and finding pieces wide enough for the needed 12” shelving was pretty much impossible (without a serious outlay of cash.) What I did find were 7”ish board we ran through my son’s table saw and joined together….
Using a biscuit joiner is NOT difficult…just take your time and follow the directions.
One little trick I did learn was how to mark the joints so they lined up perfectly. Just put your two boards together then run a mark across the joint….
Then just line the joiner up with the mark and plunge away…the joints will line up perfectly!
Always dry fit everything to make sure it all lines up perfectly before you apply glue….
Apply glue and clamp….
Joiners are NOT difficult to use. Just follow the directions and watch lots of YouTube tutorials.
I sanded each piece with 220 grit sand paper, tack cloth and sealer.
I used Waterlox as a sealer…no stain…same stuff I used on my kitchen cabinets and I have been extremely pleased with it!
BEFORE
AFTER
BEFORE
AFTER
BEFORE
AFTER
I was able to take a shelving unit fit for a dorm room and turn it into a beautiful accent piece!
LOVE!


