Piece by piece...
I had a friend on Facebook ask where she could find much of my decor because we share a style.
Funny…as I walk around this house I see so many pieces I have cobbled together over the years. Pieces I bought at auctions and refinished. Some at flea markets. Some I bought new and tired of over time so I gave them a little facelift. Pieces I inherited. ( I am actually kind of shocked at how many pieces there are and how little I paid for them originally!)
Every room in this house has pieces I have refinished, refurbished or rehabbed.
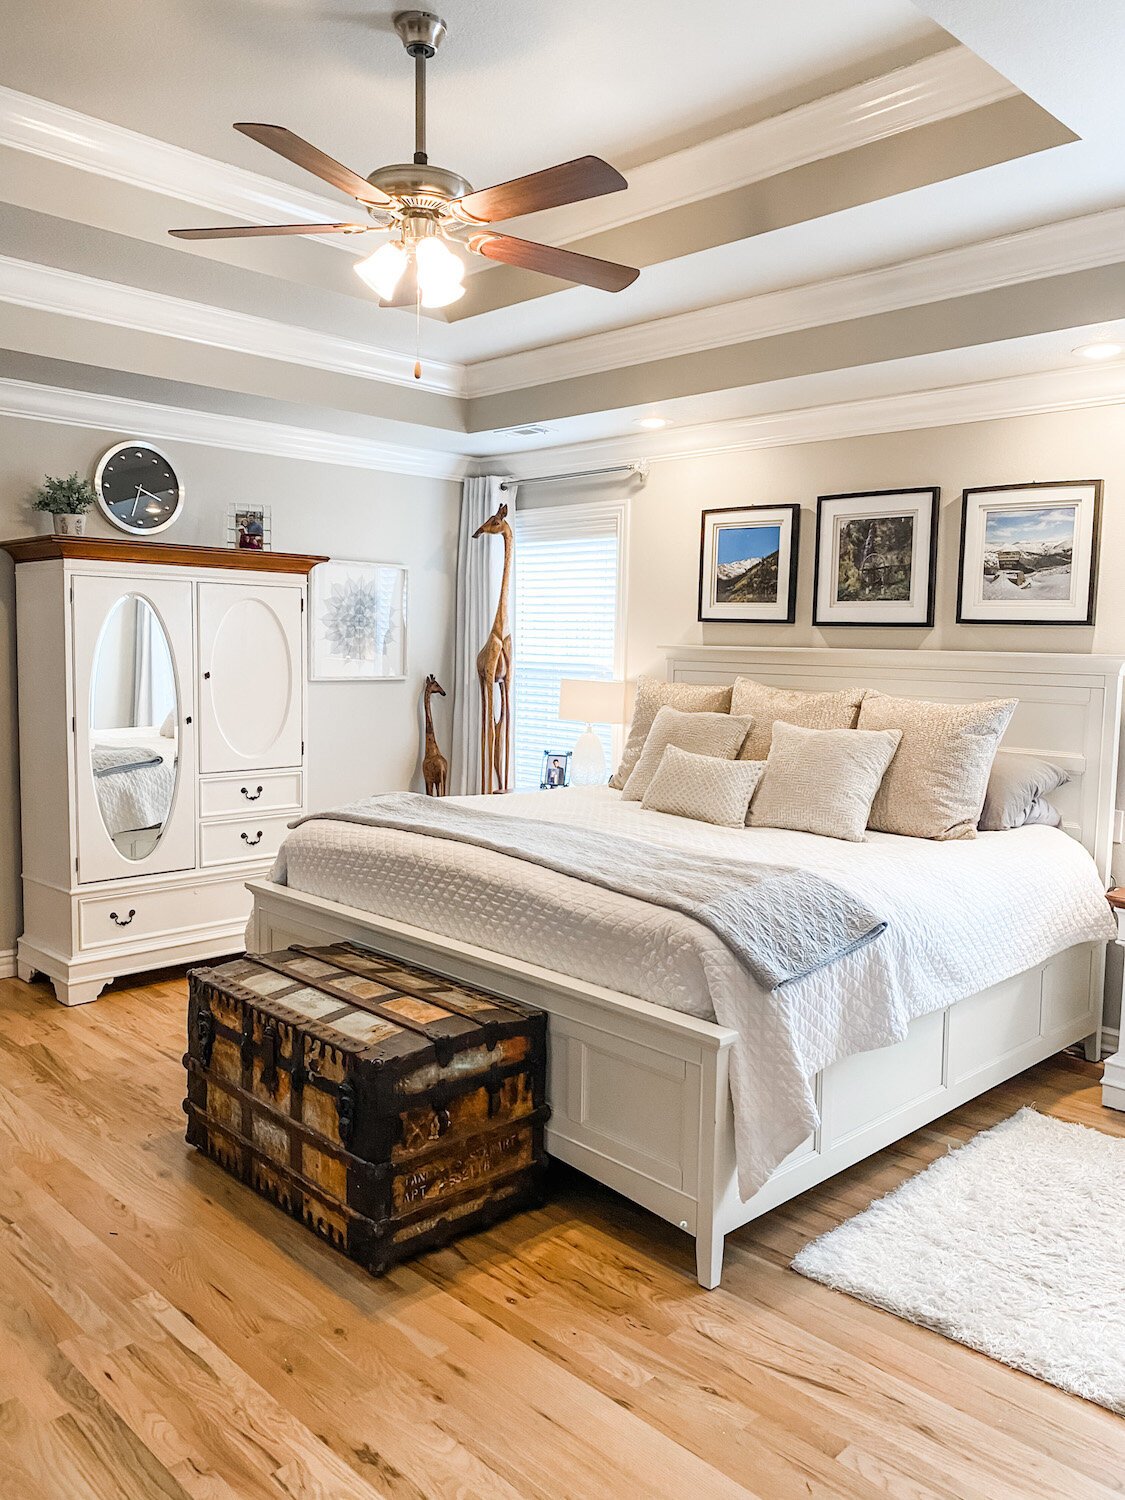
My bedroom….
Twenty years ago I bought an entire bedroom set…bed, dresser, highboy and two night stands. Paid a small fortune for the matchy-matchy set so I couldn’t bring myself to get rid of it. Over the years I finally gave up the bed and dresser and the highboy and nightstands have had little facelifts. The furniture and our master bedroom got a full makeover HERE.
Before….

After….

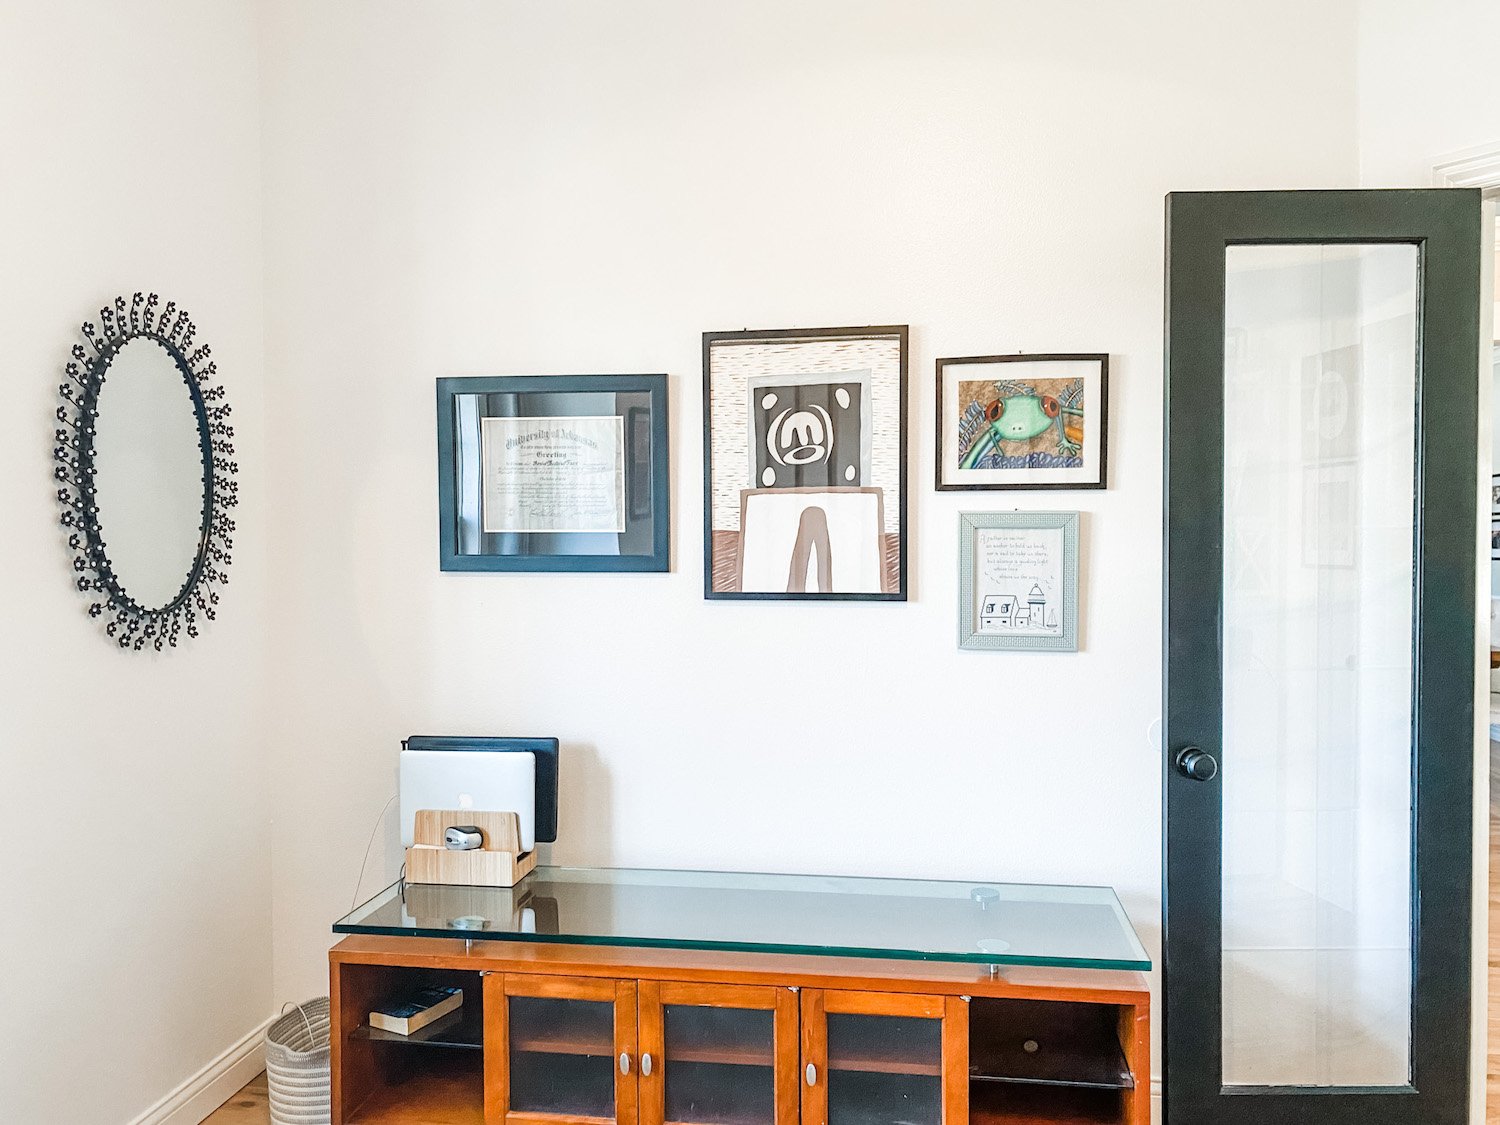
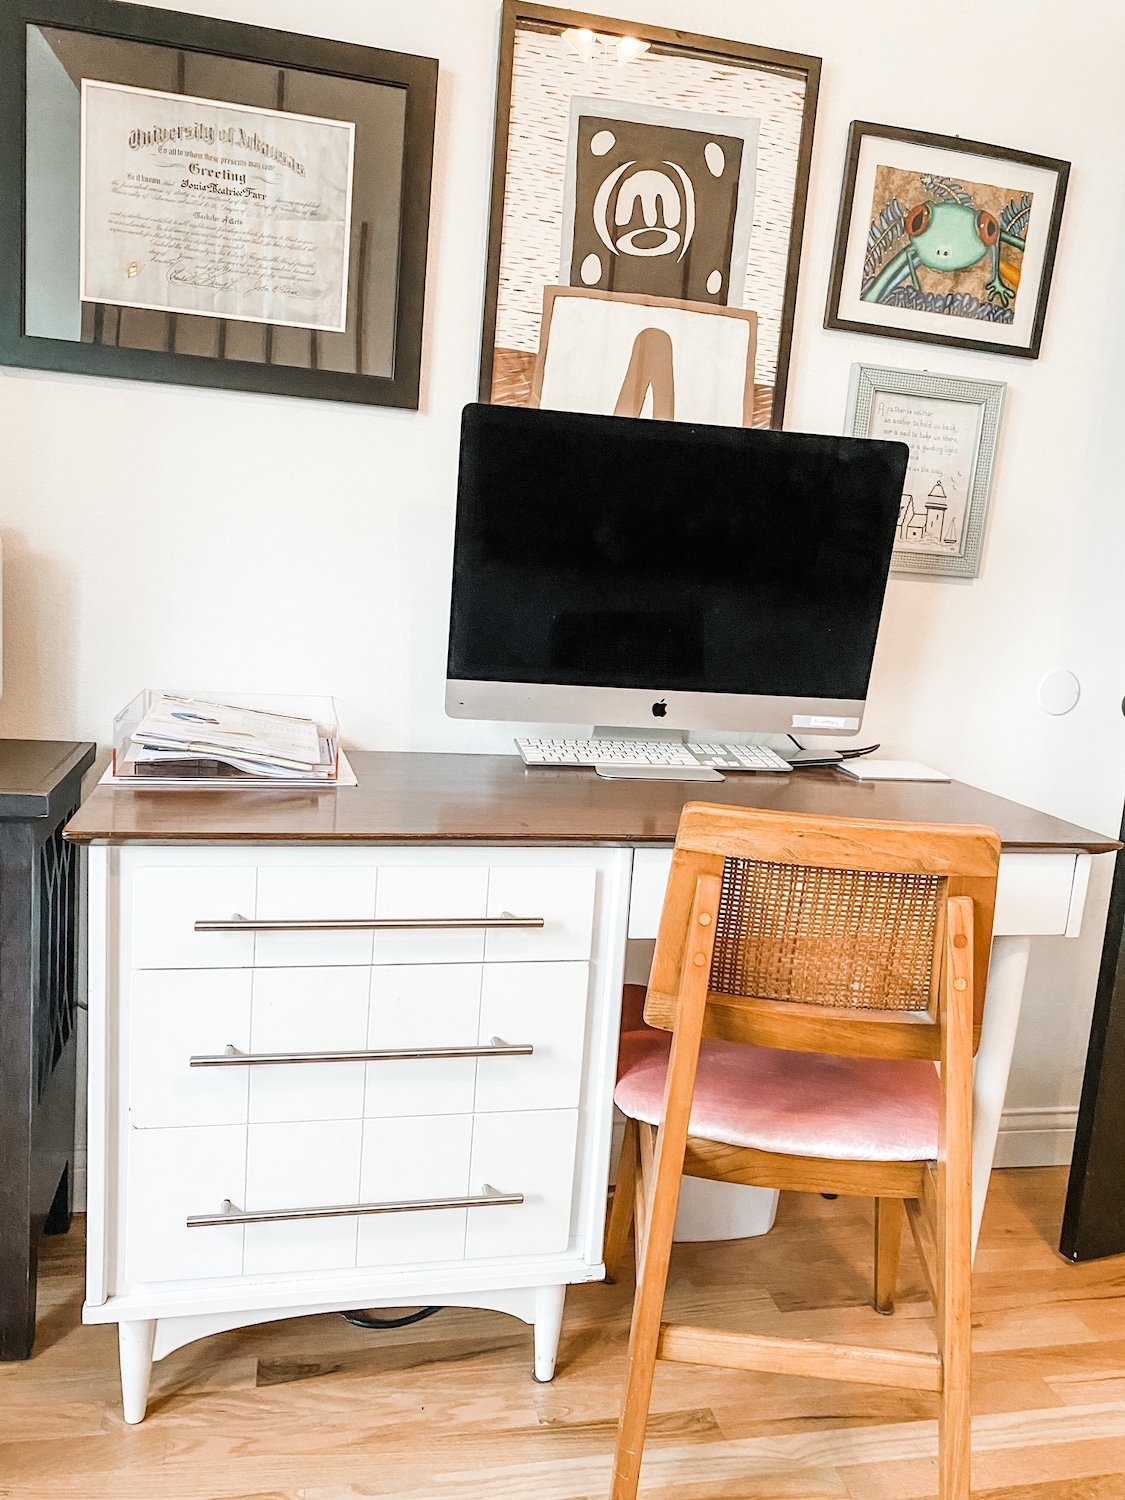
My office…
I bought this desk at a junk shop YEARS ago…I think I paid $25 for it.
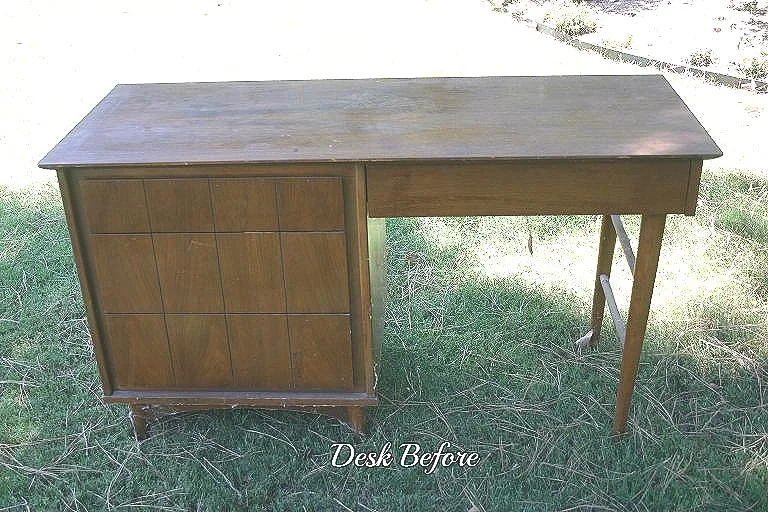
Still love it although it could use a little refresh!
The china display cabinet in the dining room. This is a prime example of a piece that is not my professed style but I absolutely love it all the same…LOVE!
I had a vision in my mind’s eye of what I wanted and I knew this piece could be exactly what I wanted with a little time and effort….
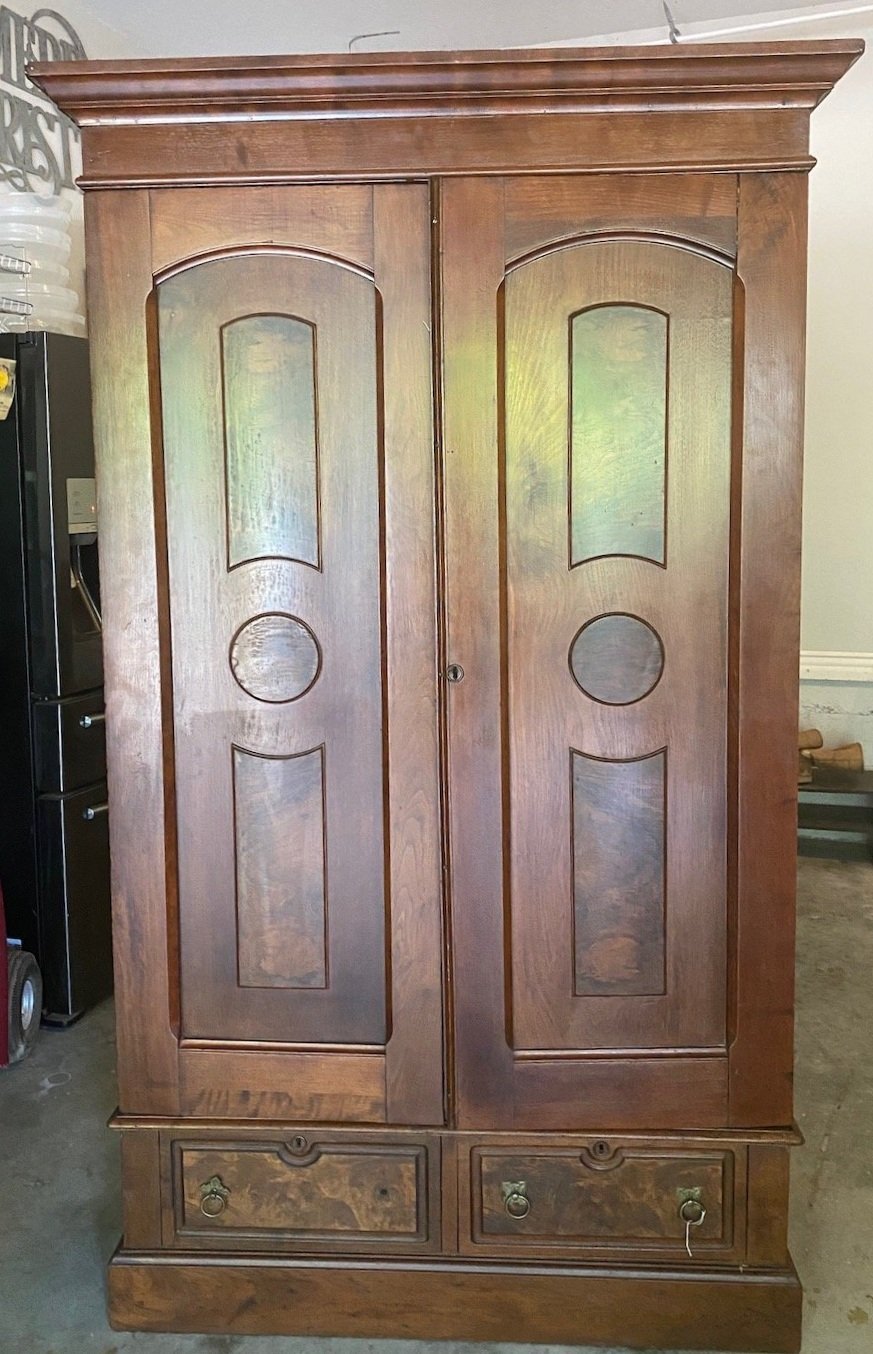
It took a bit more time and effort than I anticipated but it really is one of my favorite pieces.


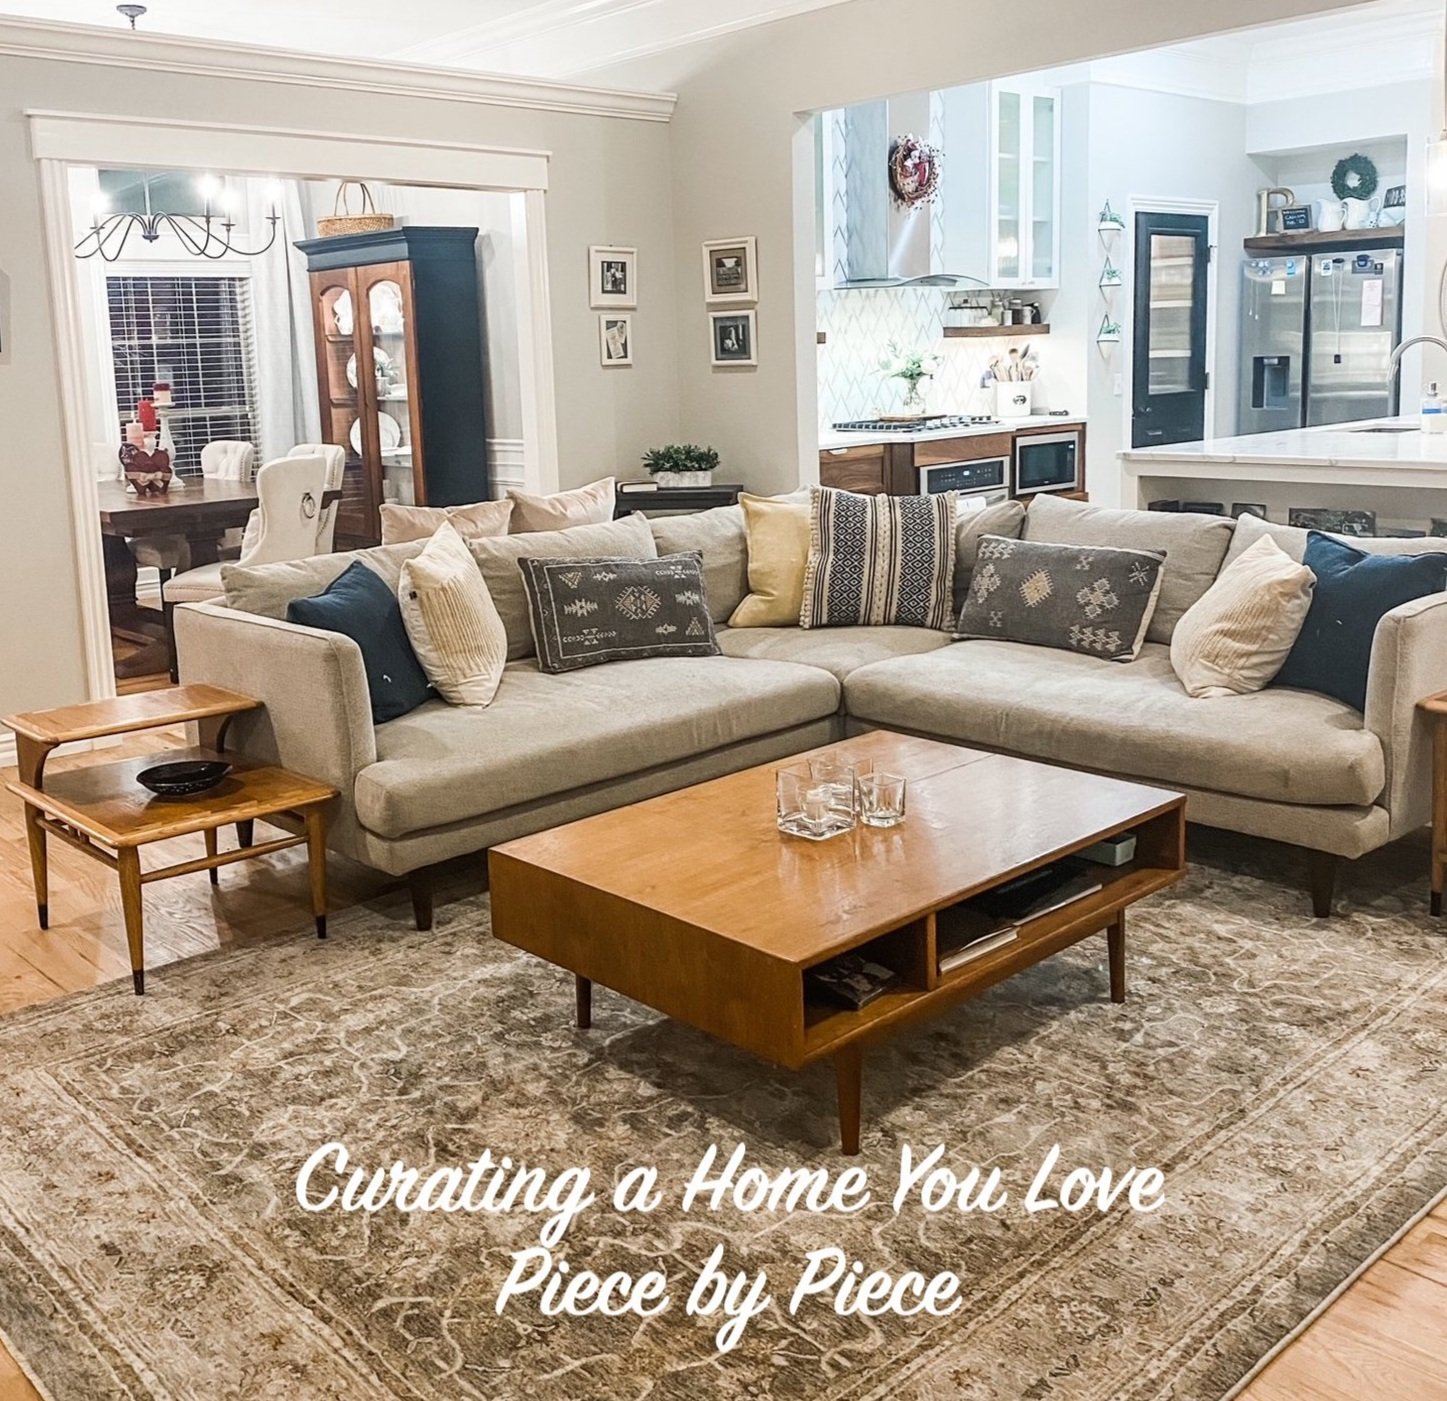
I have several pieces in the living room I have rehabbed over the years.
This AMAZING coffee table I picked up at an auction for $22!

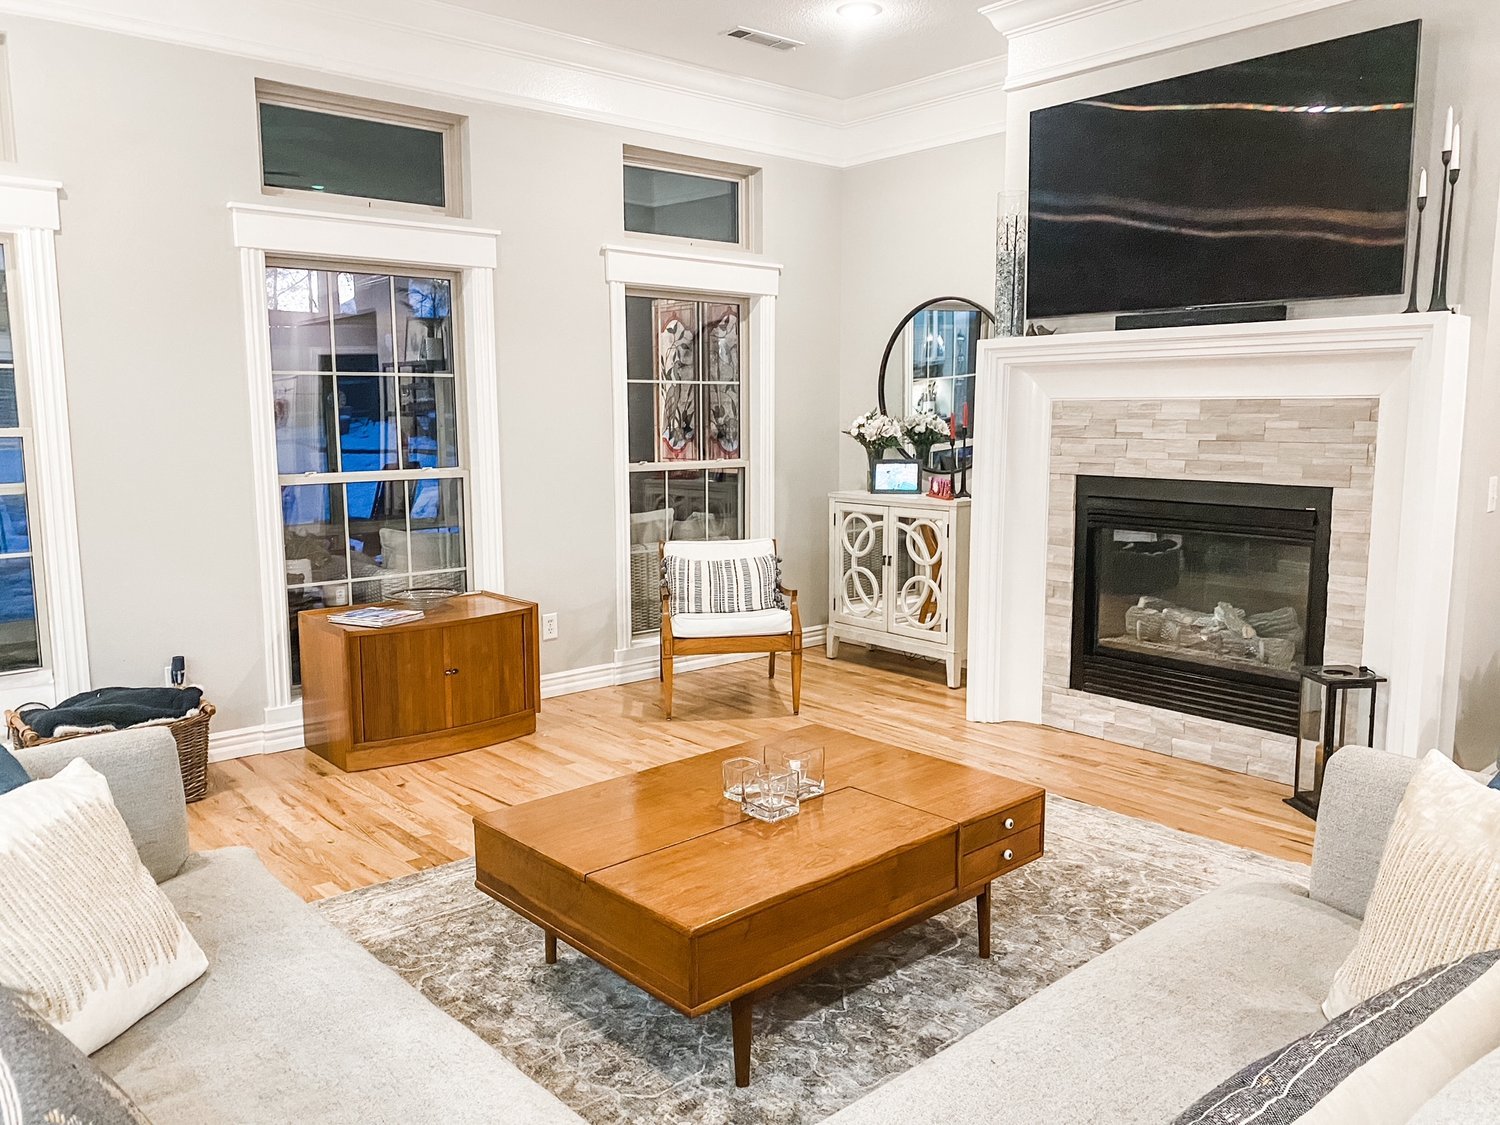
I sometimes wish I had a round coffee table but I love this piece so much I just can’t bring myself to part with it!
Several Lane Acclaim tables I have picked up here and there and refinished.

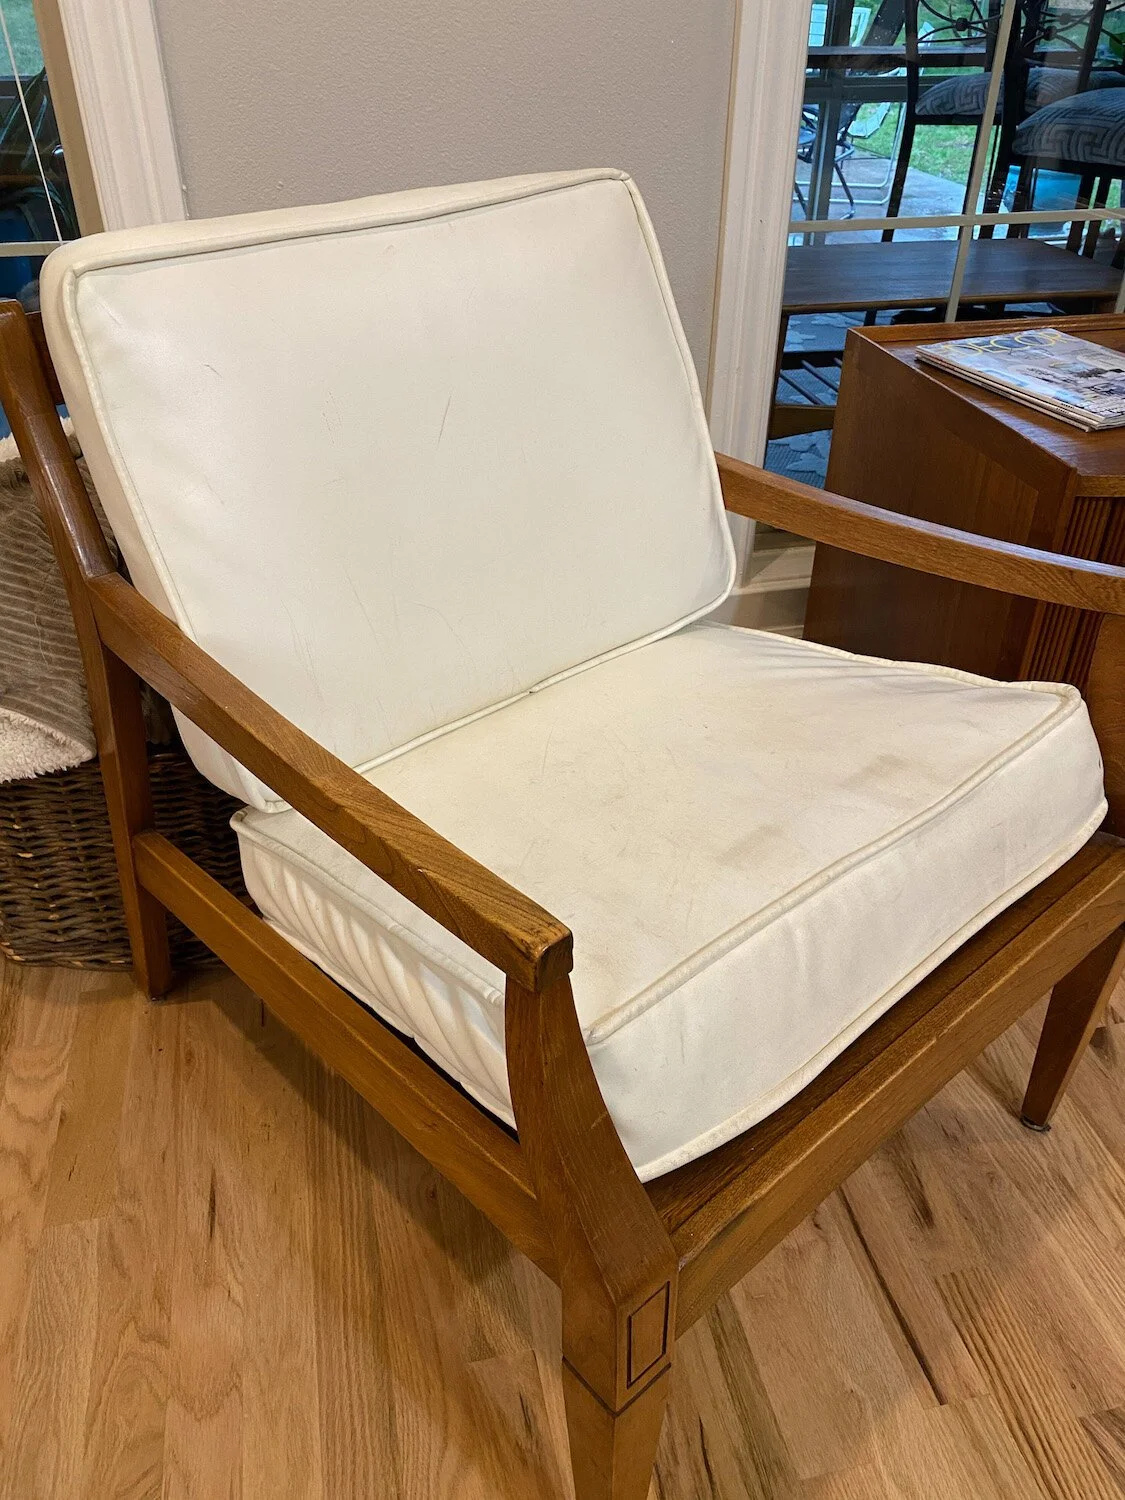
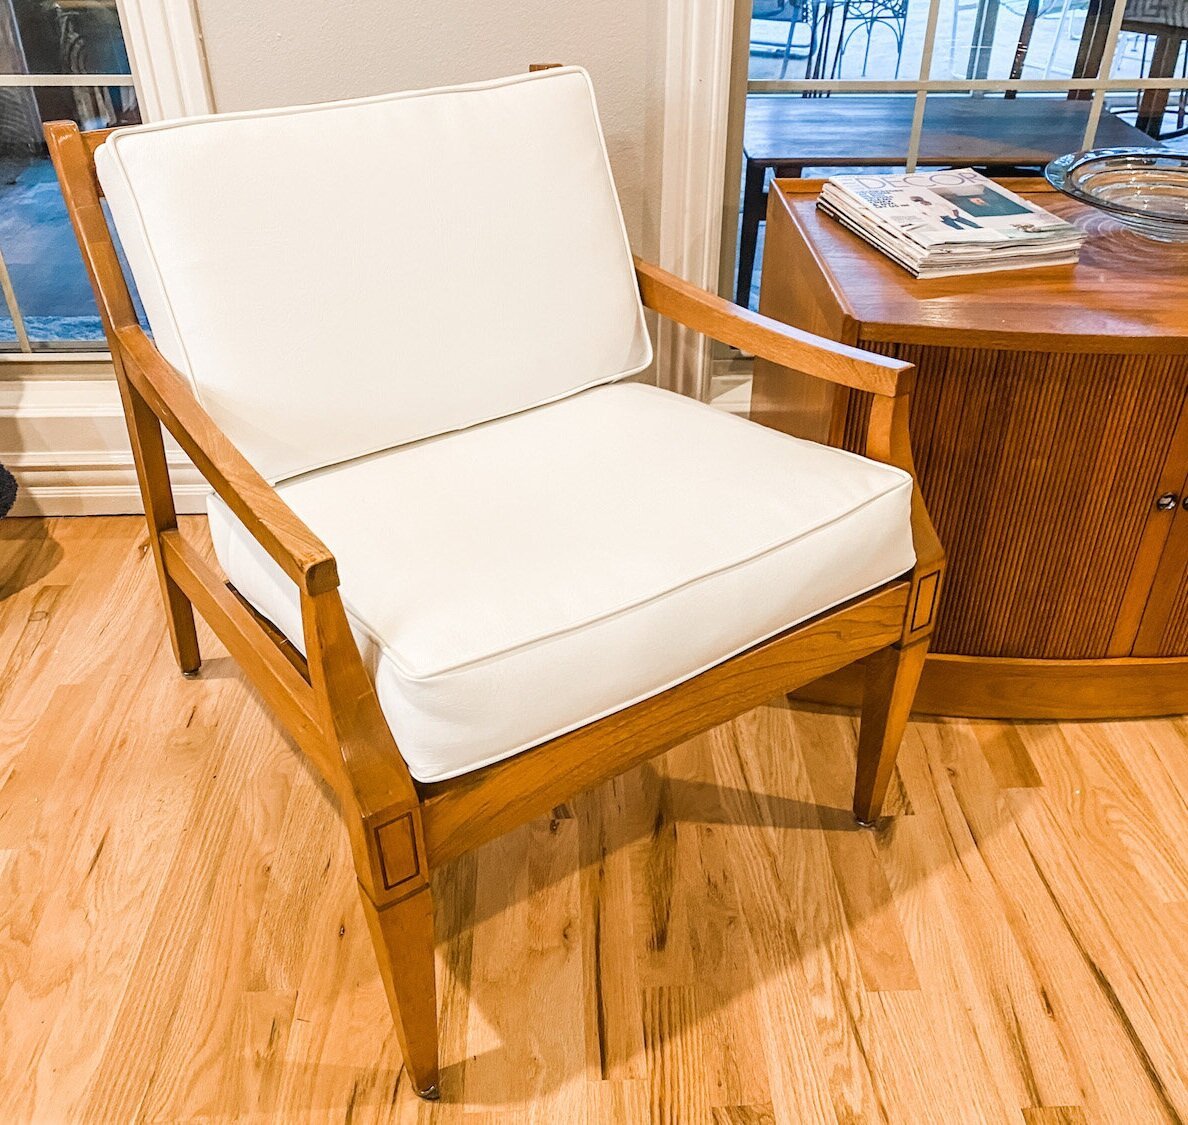
My grandmother’s little mid century chair has had two little makeovers. The teal chair is one I bought off Marketplace years ago and reupholstered….

My breakfast nook has several pieces as well.

The little china cabinet was a fun and relatively easy project….

They seem to work well together after their little facelifts….

There are so many more pieces I have curated and rehabbed over the years. Side tables, benches, chairs, dressers…every room has pieces I have refinished, painted or reupholstered.
It took years for me to collect all these pieces, bring them back to life and create a home I love with pieces that have purpose and meaning.
Most of the links are to the original rehabs where I share what I did…unfortunately I am NOT a good teacher so often I direct you to search the internet for good tutorials on how to repair, refinish and paint pieces. Find a tutorial that makes sense to you and begin curating your home one piece at a time.
It doesn’t happen over night! And it seems to be never ending…