A whole lot of shaking going on!

AGAIN, I have been MIA for weeks. Trust me, I would have loved to have a day to sit and muse.

As I shared here, Matt moved into a new home and Katie moved out of her college apartment.

I laugh at people who think their “parenting” somehow ends when their kid turns 18. Trust me, that is when the REAL work begins. In my case it means helping kids maneuver through life…i.e. move, sell. buy, marry, give birth…in other words, any time they need help, Mom is here to help. The years of “rearing them up” are over, but their lives get crazy and complicated and they still need guidance and a strong back!

Soooooo, what I have I been up to?

The house Matt bought was the home of his aunt’s sister…she passed away in March. So imagine you walk out of your home and die…and everything you own is in that house. Yep…and not only is it a big house, it was PACKED FULL! No one was able to really begin sorting and packing and moving her stuff out until after Matt closed so the week before Katie moved, I was at Matt’s new house sorting and packing!

After a few days of doing that, we loaded up a 16’ moving truck with all of Katie’s belongings and her cat, Simon, hooked her car up to the back, and drove 21 hours to her new home in Delaware.

I made an instagram post about this trip…one of the hashtags was #budgetrentalssmelllikeass…enough said about that issue.

The truck did not have cruise control. I never thought of that feature as being a “must have” on a vehicle. I was wrong.

I will NEVER complain about the condition of Arkansas highways again after driving through Missouri, Illinois, Ohio and Pennsylvania.

NEVER book a motel in a city if you have no idea where their “bad side of town” is….there is a good chance the hotel will be smack dab in the middle of it.

When driving a 16’ box truck towing a vehicle DO NOT get yourself in a tight spot…only get gas where 18 wheelers get gas!

All that being said, we were extremely fortunate to find parking right in front of her apartment. Fortunate as well that she has a friend who had moved to Wilmington the week prior and was available to help unload the truck. We were able to get everything moved into her little apartment the evening we pulled into town.

Then the REAL work began.

The apartment was advertised as 700 square feet…I can assure you it is not! “Tiny living” is a real challenge, even for a recent college graduate who has few possessions. Unfortunately, that is all that is really affordable if you are looking for a safe neighborhood close to downtown in an older Northeastern city.

You have to be very judicious about possessions, you learn to be very organized and you make the most of all the space available.

So for two days we unpacked, purged, built shelving, and arranged and rearranged furniture and “stuff.” It was a challenge but in the end she has a precious “home” that is perfect for her and Simon!

The kitchen was the biggest challenge. Katie loves to cook and she buys in bulk and stores everything in mason jars. Since the kitchen only had two upper cabinets, we spend the better part of one day just building shelves to hold her storage jars, dishes and spices. (All the photos are from my Iphone, and again, I am not a travel blogger!)

The living room wasn’t as big of a challenge since it wasn’t much smaller than her college apartment!

The pen and ink drawings are of the old train depot and old post office in Fayetteville…a little token of her college town.

She finally ordered pillow covers for her throw pillows. She learned from her mama…keep the big stuff neutral and infuse color in the decor…pillows, rugs, art, etc. The pillows she ordered are bright and fun and full of color!

Two days of driving, two days of moving/building/staging/purging and then the fun begins….

NEW YORK CITY BABY!!!!!

Yep, I finally got to take my baby to New York City! We took a train from Wilmington, Delaware to Penn Station in New York City, walked 10 blocks to our hotel and spent 3 1/2 glorious days in New York City!!!

Okay, glorious is a stretch….it rained the first day and they were experiencing their first big “heat wave” of the summer….weather-wise, not so glorious.

So what did we do in the rain and the heat? AS MUCH AS WE COULD!

We saw two Broadway plays….

It was the one thing I regretted not doing when Matt and I went to NYC.

We did the whole “Rockefeller Center” thing…bought a sweatshirt in the NBC shop, went to the Top of the Rock and had coffee in the plaza.

We ate a pastrami sandwich and a HUGE slice of cheesecake in a sweet little cafe off Time Square….

We rode bikes around Central Park….keep in mind it was pushing 100 degrees so we were pretty melted. That being said, when Matt and I road around Central Park two years ago, I had to walk 1/2 the way…I was just soooo out of shape! After losing 20+ pounds and biking for the last year, I was able to ride around the entire park without stopping at all! Yay, me!!!

We ate dinner in Bryant park, took the night bus tour across the Manhattan bridge to Brooklyn, walked across the Brooklyn bridge in the rain, visited the 9-11 memorial, took the ferry to the Statue of Liberty and Ellis Island. We took the extended tour of Ellis Island. We spent a morning in the Museum of Natural History (really should have spend ALL day there), took a bus tour of Harlem, saw Grant’s tomb, visited the Federal Hall where Washington was inaugurated and the little church across from the 9-11 memorial where he prayed after his inauguration. We took a water taxi up the west side of Manhattan. We visited the church were Alexander Hamilton is buried and of course, St. Peter’s Cathedral on 5th Avenue….

Which reminds me…how many Catholics does it take to change a light bulb….

Even in the most reverent places my mind goes places. But seriously, it is BEAUTIFUL cathedral!

I know we did much more…but basically we saw as much of NYC as we could in a few short days.

Then I flew home from Laguardia and Katie returned to her new little apartment in Wilmington.

My baby has officially “left the nest.”

And while I would love to sit and “muse” about this next chapter in my life, I really didn’t have much time to dwell. I had work to do at the apartments, a pile of projects in my garage, and a son who needed help with his yard and garage at his new house.

Man I need a vacation!

Maybe in the pile of projects in my garage I will have a makeover to share next week.

Until then….


Little Miss Muffet sat on a....

Tuffet?

At least that is what came to mind when I saw these little chairs at an auction. When I googled "tuffet" I found pictures of little ottoman kinda things...but the definition is "a footstool or low seat." So I am going with tuffet. 

As cute as they are (or probably were in 1978) I knew they would require my least favorite chore...upholstery...and sewing! 

So of course they sat in the garage for months.

But I could see them all dolled up in my mind's eye so this week I decided to tackle the project.

First I had to strip off all the old upholstery and remove all the nails and staples!

I found an upholstery material I really love but there wasn't enough to do the whole chair...so I found a solid that coordinates with the fabric...sometimes you have to improvise! 

Chalk painted and distressed the frame...

Rather than use upholstery nails I used gimp...

The cushion is attached to the seat with buttons so I covered buttons with the teal fabric.

Just too stinking cute!

Not sure if these are "technically" tuffets but they are child size and ready for another lifetime of curds and whey!

On a side note, I "googled" what exactly is "curds and whey"...turns out it is nothing more than "curdled milk." I raised two girls...neither included curds and whey in their tea party menu! 

Little Miss Muffet

Sat on her tuffet

Eating her sausage and egg biscuit

Along came a spider and sat down beside her

And Little Miss Muffet squished it. 

We should be empowering our girls...

"Blah" to "BAM" cheap furniture makeovers...YOU CAN DO IT!!!

This past week I have been working on my kitchen (I told you the "small" projects wouldn't squash the urge!) I still have a few little trim details to hunt down and then I will try to do a feature next week. I had to construct three different types of open shelving and I rewired an 80 year old Westinghouse fan...AND IT WORKS!!! I'll share all that as well!

This week I want to share a few little projects that YOU can do! Do you have a piece of furniture (or two or ten) that is just "blah?" A cheap little shelving unit you picked up at the big box store and put together with the little allen wrench that came with the screws. Maybe a few ancient bedside tables you inherited from your mom. A particle board table that has seen it's better days.

I know I have harped on this before, but seriously it bares repeating! If you are just starting out, are on a tight budget, feel the need to keep furniture given to you by family, or just want to change things up a bit, you NEED to be able to do simple makeovers!

Before you toss a piece of furniture to the curb, think about "updating" it a tad. Even the cheapest, most basic piece can be saved with just a tiny bit of time and effort! As I have said time and again, the worst that can happen is you still hate it and it still only brings $1 at your next garage sale. 

I find pieces like this all the time at my apartments. I drag them home, clean them up with ammonia (stinky but gets the old gunk off!) and then give them a little facelift!

This was one haul out of one unit....

The little bedside tables are the old orange maple...ugly as sin but super sturdy and solid wood! The little coffee table is one of those inexpensive "fake" wood things that comes with the little allen wrench tool for the bolts! And the spindle shelf had particle board shelving. All in all, pretty dated stuff!

This little shelf came out of another unit...

It was missing a drawer and it had a few loose bolts, but whatever...still salvageable!

I find these things in my apartments, but you can find them at thrift stores and garage sales for next to nothing! 

All I did to the little shelf with reeded drawers was give it a little KSTP treatment (Kilz, sand, tack cloth and paint!

Perfect for added storage in a bathroom, kitchen or kid's room!

I decided to do something a little fancier on the coffee table and bedside tables. I striped the tops with the acetone/lacquer thinner mixture, added a little java gel stain, then sealed them with spray on poly (if stripping and staining is beyond your skill level, just paint the tops!)

The bases are simple KSTP treatment. New hardware on the bedside tables and these pieces are perfect for updating any space! 

The spindle corner shelf got a simple KSTP treatment! 

I don't have a "before" picture of the little chalkboard shelf. Basically it was a stained wood frame with an ugly picture of a teddy bear! Ewwwww. Gave the frame a chalkpaint and distress treatment (spray paint would work too!) and I painted the board backing with chalkboard paint. Super simple "upcycle!"

Years ago I scrapbooked all the boys athletic pictures. A chore considering they both played football and baseball their entire childhood! (I strongly suggest you do this every year rather than try to find time to do all 15 years at once!)

The square frames were a perfect fit for a 12x12 piece of scrapbook paper and would be perfect for someone who wanted an easy way to display their kid's sports pictures. I applied the scrapbook paper onto the foam backing with a spritz of spray adhesive, used a glue stick to attach pictures and KSTP the frames. This would be the perfect way to "scrapbook" photos...then you can take them out of the frame and just slip them into an album when it is time to change out the pictures next year!

Before you paint a piece, make sure all the "bolts and joints" are tight and the piece is sturdy. If tightening a screw or bolt doesn't solve the wobbles, take time to GLUE AND CLAMP whatever ails the piece. No sense in making it pretty if it is going to collapse the first time one of the kids leans on it! 

All these projects have one thing in common. Spray paint. Seriously...a little primer, a little sanding and a little spray paint...and you have changed the entire look! 

I have shared many of these simple little makeovers in the past! A few dressers here, here here and here. Several coffee tables here, here and here and Lord knows how many frame makeovers (herehere, and here!)

Challenge yourself. Pick out ONE piece of furniture or a frame in your house you really don't like. Go to Lowes and pick up a can of Kilz, a little sandpaper, a package of tack cloth and a can of your favorite color spray paint (total under $15) and give it a go! YOU CAN DO IT! 

I promise!

HAPPY BIRTHDAY KATIE!!!! Tales of a teenagers room...

First, I want to say happy birthday to my baby girl! Seventeen...wow! I can't believe you are 17! 

In honor of her birthday, I am going to share her room. She is a teenager so it is rarely this organized and clean! But it is her creation and she loves her "stuff" and her space.

I featured the mural on Katie's wall here....and her "unstuffy" wing back chair here. Since we remodeled her room, she has added a lot of her own touches that make the space her own.

As with most teens, her room in a constant state of OH MY GOSH...CLEAN YOUR ROOM!!!! Dirty dishes, dirty clothes in the clean clothes basket (with the clean clothes still in it!), make-up and hair covering  the floor and trim, dust bunnies EVERYWHERE! Just a mess.

She is a busy girl. She is an outstanding student (4.2 this last semester...she rocks), she works part-time and she was the lead in the spring musical. (Seriously, the girl has some crazy chops!) 

So in spite of all my pleading, begging and bribing, her room stays in a constant state of "mess." Usually the result of just too much "stuff." So a few weeks ago, I decided to take action and tackle the mess.

Since it was in a half-way decent state, I decided it would be a good time to share pictures of ONE of the rooms upstairs! 

I also came up with an idea that MIGHT give her incentive to get rid of "stuff." Keep in mind, kids lack the ability to organize and like most of us, they hang on to stuff that they really don't need or want any longer. It is important to "purge" on a regular basis!

I left this bag on her trunk. I told her I would pay her $20 for every large trash bag she fills with clothes, shoes, books....stuff! What many don't know is you can donate "stuff" to your local non-profit thrift store (Salvation Army, church organizations, etc) and get a receipt for a nice tax deduction. So $20 for a bag of things they no longer want or need benefits both you AND your teen...you get a nice little tax deduction and they get pocket change (or gas money!)

Younger kids can be enticed into "giving" their unwanted toys to kids who NEED them. Start them young! 

I have learned that teenagers tend to be a bit more myopic and aren't as eager to clean out closets and drawers for the benefit of those in need...sad, but true! They want hard, cold cash!

So far I haven't seen the bag...we'll see. This is why I don't give parenting advise. 


Updated "antique" school desk and school chair...

Several months ago I went to an auction at a pretty nasty place.  Most of the pieces I brought home had to be scrubbed with ammonia.

I bought a little school chair and an old school desk.  Did I bother to take a picture before I started working on them? Um, no!!!  You would think after all these months I would learn.  But often times I bring stuff home, store it and then the first time the temperature spikes above 60, I start tearing into it!  And this time of the year, those days are rare! 

I did find a picture of the little chair...but the desk was used to prop up the large wood windows I bought so it didn't get in the family photo!!!

So again, it is time to close your eyes and "imagine."  For anyone over the age of 40, it's not going to be hard. More than likely, it was the kind of desk you had during your elementary years.  Beige formica top, grey metal base and an open shelf for a little plastic pencil box and books. 

After both got a good scrubbing, I used "automotive primer" on all the metal.  Kilz works well too, but I usually use "automotive" primer on metal.  I find it just "bonds" better.  I didn't prime the plastic on the seat or the top of the desk.

For the desk top, I used chalkboard paint.  Then I sprayed the base with an awesome "teal" color.

For the chair I used a red "plastic" spray paint on the seat.  You can buy it at Lowe's and it is specifically formulated for painting plastic.  I think any spray paint would probably work but since I needed to buy paint for this project, I went with a paint specifically for plastic. I sprayed the legs with a bright white.

Cute!  Perfect for a child's room!  

Both of these will be in my booth! (The desk sold in ONE day!)  Sometimes I wish I still had young kids so I could do cute little projects like this specific to their decor!  

Then I remember that when I had young kids I didn't have time for cute little projects like this!  

Not your plain ole' high chair!!!

This is one of my favorite projects for so many reason.  

First, I love doing "kid's" stuff...chairs, desks, dressers...anything kids would love!  

Second, it was free.  Well, the CHAIR was free...the materials and time were a little excessive!  But I love the way it turned out so it was worth it! Truthfully, if I paid myself by the hour on the items I repurpose/reupholster/refinish and then sell, I would make about $1.32 an hour...not sure I would even clear that on this chair!

This was another "abandoned" piece I found at my apartments. 

And it was N.A.S.T.Y!

IMG_1179.JPG

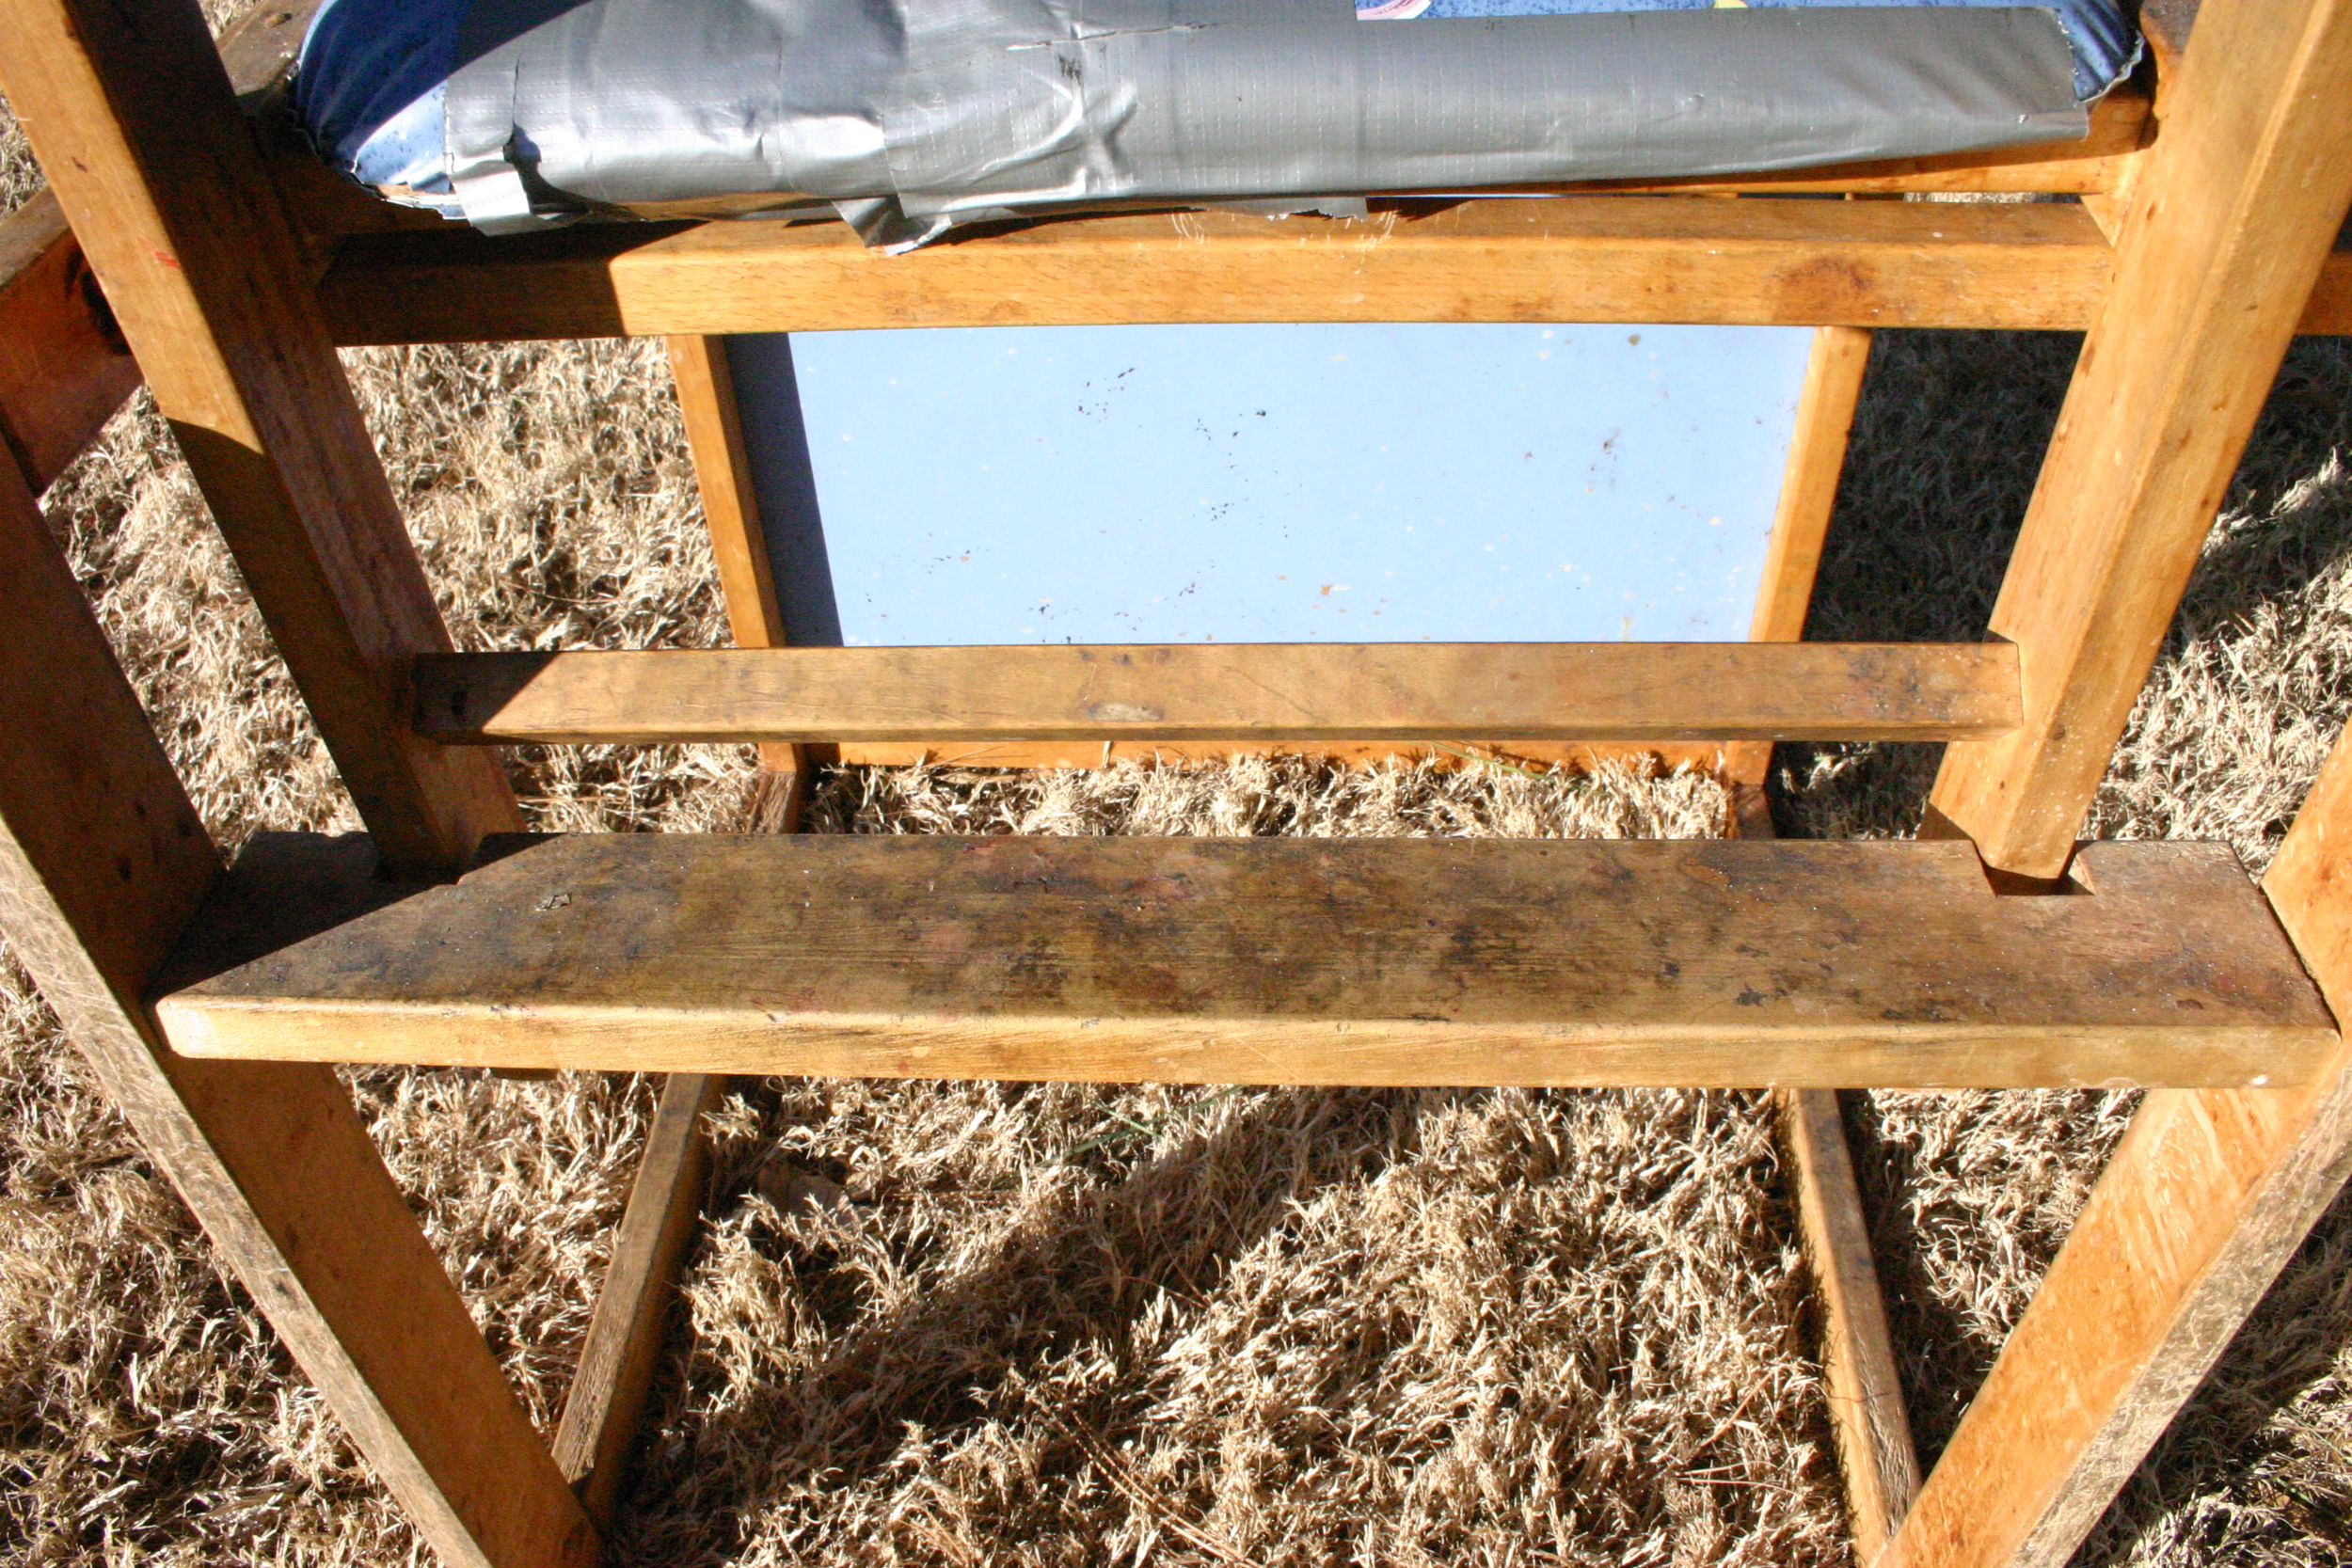
Every square inch was covered in nasty gunk!!!  But other than the tear in the seat (Duck tape? Seriously?) it was structurally sound. And super neat.... the top of the chair lifts off the base...and the base can be flipped over and used as a desk with a dry-erase top...nifty little thing.

Since the tray was missing and it probably is no longer considered "high chair safe" I decided to spruce it up and make it into a little child's booster chair!  Definitely not something you would want to put your toddler in and leave unattended, but sturdy enough for a young child! 

First I removed the seat and back and the old tray brackets. 

Then I had to clean it!  I put it in the tub and saturated it with straight ammonia....

The nastiness just melted off.  I can not tell you how disgustingly filthy this thing was and I am sick that someone would put their child in it...just gross.

After scrubbing it with ammonia and steal wool, I let it dry thoroughly and then gave it the ole' KSTP treatment...Kilz, sand, tack cloth and paint.  

I decided to spice the frame up a bit with bright red paint. I used a black and white damask with red piping on the cushions. The seat was pretty thin so I added a little foam padding before recovering it. 

I painted the dry erase board on the base with chalkboard paint! I'm kind of addicted to that stuff!

Just darling.  I just love anything that is "unique."

And while it really isn't safe to use as a high chair, it would make a perfect "kitchen helper."

Wall murals....

Decorating with wall murals is not that difficult....and it is an awesome way to instantly add a big impact to any room, especial a play room or kid's room!​

A few years ago I decided to surprise my youngest daughter with a full room makeover while she was at choir camp.  Paint, new side table, lamp, desk chair makeover, bedding, rug...everything.  She was all into Betsy Johnson at the time so I used her design as a touch of "inspiration."  Katie's first words when she walked in...."I hate it."​

I wish I had all the "before the before" pictures handy.  When I first bought this house she was only 3 so decorating with the pastel pinks and blues was easy (imagine castle walls with trellises of ivy!) ....so precious.  Then she went through the teal/purple/lime green stage.  That was really awesome and it last a few years.

But as she entered her teens she wanted something a little more "mature."  Unfortunately, I learned the hard way that one should not assume what ones teenager will like. Better to let them have a hand in any design decisions, especially as she reminded me, it is  "MY personal space."​

Unfortunately, I knew our "design tastes" were on total opposites of the spectrum when she told me she wanted "dark grey," specifically chalkboard grey.  No way in this world was I painting a room "dark grey." ​ The last thing I wanted was my spunky, cheerful daughter getting swallowed up in the dark dank world of goth doom and gloom which I was certain would happen if we painted her room such a depressing color.

But then she told me she wanted a "fail whale" mural.  Huh?  What the heck?  So she googled it....I thought it was pretty neato!  She picked out the red and blue accent colors.  And as her "vision" became a little clearer, I realized she had a pretty awesome plan in her mind.

We painted the "fail whale" mural on one wall and painted her study cubby with the brighter blue and red.  (Originally the study cubby had a built in twin bed with a trundle...it is an addition I built years ago...rather cute but I took her bed out of it when I did the Betsy Johnson inspired room...it was the only thing she liked!)​

I had a hand in the basic paint design (okay, so I was a common laborer) but I let her add her own little design elements...posters as a headboard and art, Christmas lights, ​knick-knacks....after all it is indeed her "personal space."   And I want her to love her space as much as I want others to love theirs!

We agreed on a nice grey for three walls....we used Valspar flat paint.  It works beautifully as a "chalkboard!"  She loves it and she writes her inspiration quotes on it!  ​

Okay, the mural....there are a several ways to get a mural on a wall.  

If your design element is small enough, you can actually trace it onto the wall by taping sheets of sewing trace paper together.  I like the sewing trace paper because it isn't "messy" and it wipes off easily!​

You can free-hand the piece...which I did here....​

This is a mural of Mitchell's high school mascot...it is on the garage wall.  There use to be one on his bedroom wall, but I painted over it when I remodeled his room after he went off to collage. (Be prepared to paint several coats of primer over these things when the time comes to paint over them!)  ​

Or you can use a large "stencil" like Sarah did in my grandson's "Monster" themed game room.  She has a friend who is a graphic designer and they have the machines to print off and cut out large murals...might be worth the money it would cost! 

Or you can use a projector like we did in Katie's room.  In all honesty, the "fail whale" was a tad too big for the size we wanted on the wall, so I projected his head onto the wall to get the scale and then I free-handed the rest.  I made a little cardboard template for the birds and traced them.​

Regardless of the method you use to get your design on the wall (templates, tracing paper, projector, free-hand) first paint your base color and allow it to dry well.  Then use a sewing pencil to lightly mark your design and then use latex paint and small brushes to paint the details.  The little "sample pots" of latex paint at Lowes are the PERFECT size for these projects and VERY affordable (around $3 each) when you need several colors!  ​You can have ANY color mixed in the sample sizes so don't limit yourself to the premix colors! 

Again, murals are a GREAT way to add a huge impact in any room!  You are only limited by your own imagination.   Anything you can think of that you LOVE can be painted on a wall.  

And remember too, there are a LOT of wall mural inspirations on line...Google it! ​

And the great thing about paint...if you don't like it, paint over it!!!  ​

Before and After dresser....

Yesterday Brian and I took off and went trout fishing for the day!  OH MY!  I am sore and sunburned...and I loved every minute of it!  Sometimes you just have to say to heck with the yard work and go have a little fun! Awesome day with my best friend!​

But Saturday was a busy day.  My neighbors came over to show off their new grandson and I found a perfect home for a precious little dresser I have been working on!  Just so happens they NEED a dresser and I NEED to find it a good home.  Done!​

As you can see, it was missing a drawer so I added a shelf...perfect spot for little storage baskets.  I painted the "box" white, the drawers a pretty green and stained the top with my favorite java gel stain.  I originally put little crystal knobs on the drawers, certain it would go to a little girl, but when I found out it was going into a boy's room I changed the knobs to brush nickle...just thought it was more appropriate for a little boy!  And I am going to throw in a cute little cork board I made up and featured earlier!  ​

IMG_8900.JPG

The great thing about these little dressers is the fact that as the little boys grows, the drawers will be easy to paint to match any decor!  ​

Another "trash to treasure"...a piece of furniture destined for the dumpster but given new life and new home with just a little time and attention!  ​

Wicker chair fit for a little ballerina...

It is so hard to take a picture of a piece of furniture that was white but is now a PALE mist green...but I tried! 

IMG_8798.JPG
IMG_8808.JPG

It may not appear in the picture to be a huge difference, but it really is!  And it is perfect for a little girl's room!  Now if I only had a "little" girl....

What is truly amazing about the color I painted the little chair (Valspar,  Mellow Spring) is it matches the color of my 60+ year old Universal Ballerina Mist stoneware to a T! 

My paternal grandmother wasn't a "china" kind of lady...so this was really all she had.  My mom bought the gravy bowl and plate, the serving platter and the tea pitcher at the estate auction after Grandma passed....while she was carrying it back to her car she dropped the pitcher!!  So when mom gave me what she had, the pitcher was beyond repair.  So I did what I always do...I Googled the pattern!   

Turns out it isn't a real expensive stoneware pattern...but the color and style is really beautiful and very "mid-century" since it was probably made and acquired in the 50s.  It is a "mist green" with a platinum band...just awesome.  So when I found more pieces out there, I bought another tea pitcher, the milk pitcher, salt and pepper shakers, a serving bowl and the sugar and creamer set.   

IMG_8814.JPG

Being the "family historian" and "archive fanatic" that I am, I carefully wrapped the broken pitcher, put it in a box, and wrote the story of why there was a broken tea pitcher in it and how I acquired a replacement.... with a Sharpie...on the box!  Hopefully my family won't think their mom was crazy for keeping a broken tea pitcher in the attic (trust me, they have enough reasons!)   

This week while I was sniffing around a new antique shop in town, I found another set of salt and pepper shakers! 

IMG_8815.JPG

Now that I have two sets, I don't mind using one...at least I know I have a replacement if they get broken!