Eastlake chair makeover....

A few weeks ago I questioned the need to paint an antique....seriously, is it a cardinal sin?

Most "purists" would never take a paint brush to a walnut chair or mahogany dresser...I get it...I was one of them. 

But sometimes I have to bite the bullet and go with the flow! 

I bought two Eastlake chairs at an auction a few months ago. Naturally, I neglected to take good "before" pictures because, again, I am a bad blogger.

One had arms, usually referred to as the "caption's chair"...you can get a peek of it next to the old couch (finished the couch last week...hope to share soon!) 

The other does not have arms. It has been at 410 Vintage since I bought them. 

I decided to give the caption's chair a little makeover, knowing that a true "antique purist" would stroke. But my general rule is...if changes will enhance the piece and give it another life, go for it! Keep in mind, I always do as much research as I can to make sure I am not slathering paint on a valuable piece. Eastlake pieces have some value, but right now the market in their original condition are pretty slim in our area. (Now MCM pieces...that's another story!) 

These two old chairs didn't have much of a life as they were, so...

I chalkpainted the frame....

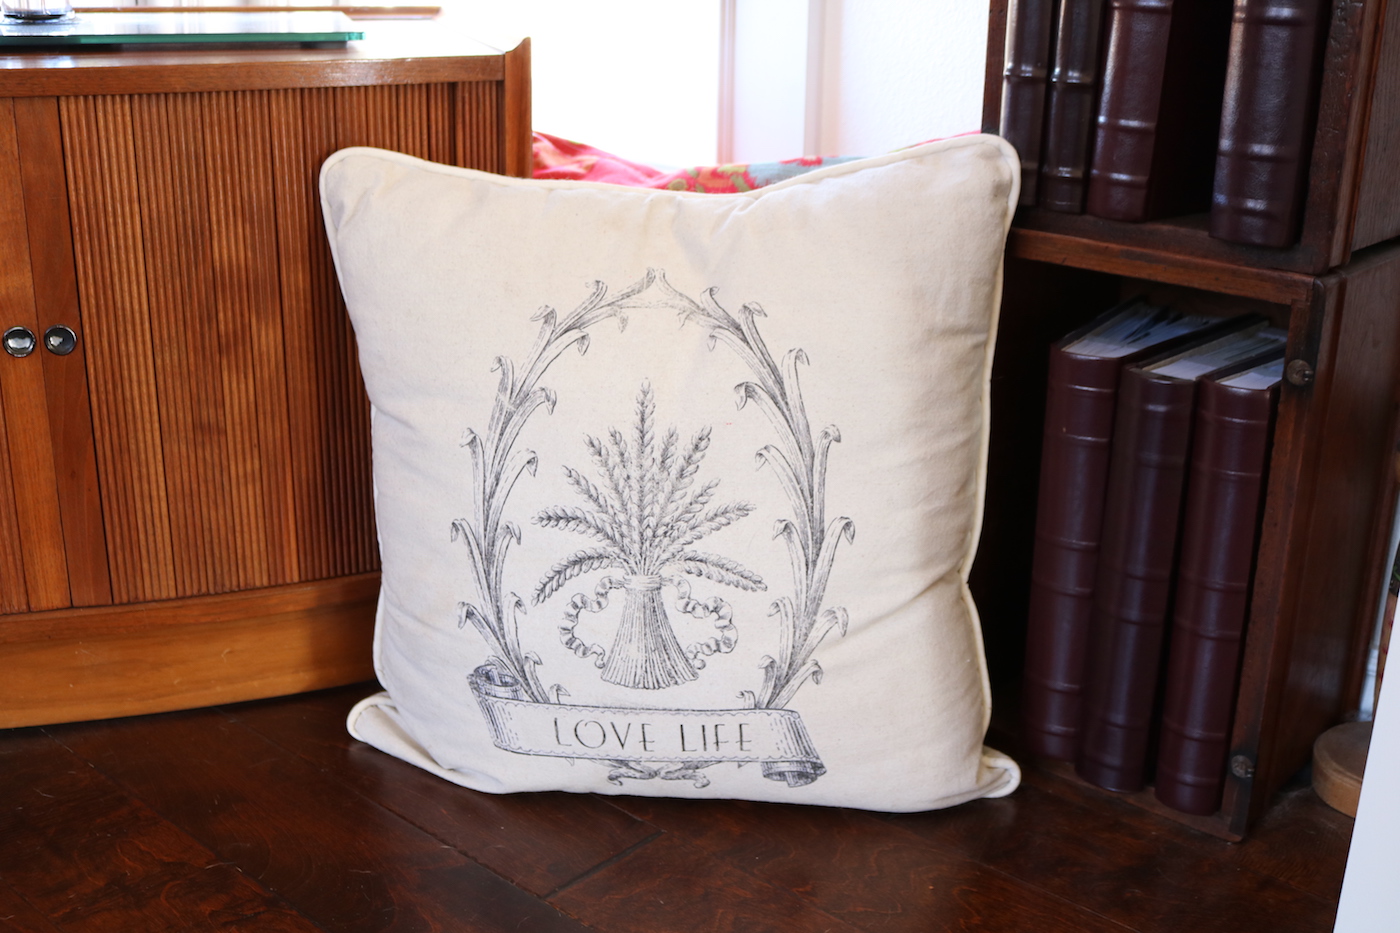
....distressed it a tad to highlight the Eastlake detailing, applied a clear coat, reupholstered the seat and back with drop cloth and added a little graphic from The Graphic's Fairy for a touch of whimsey!

The seat of the chair was in pretty good shape, but the back needed new upholstery weaving and padding. And as with most old chairs the arms needed to be glued and clamped. No biggy, but again, ALWAYS make needed repairs before investing your time and money on paint and upholstery!

It sold the day I took it in.

I've decided to give the other chair a makeover as well....fortunately warmer weather is just around the corner!


Fabric transfers...

I have shared several transfer and pillow creations...here, here and here

A few years ago I made this floor pillow out of drop cloth fabric and added a transfer graphic.

This weekend we went to an auction. At one point they had another one of those "nobody wants it" items so they add a few things...I ended up buying a pile of "stuff" just because I wanted a little stuffed opossum they threw in the pile. Seriously, a stuffed critter.

Turned out to be a pretty great pile for $1...some batting for upholstery projects, a few ticking cloth down pillows and of course, my critter.

Wasn't sure what to do with the pillows...cute but kind of plain! But they have that "farmhouse vibe" that is all the rage! I washed and dried them because, well, they are "used." 

Then I remembered my transfer paper.

I LOVE this stuff! I used it on the floor pillow and have used it on several other projects...never fails!

I buy it here, on Amazon. It's not the cheapest transfer paper you can buy but in my opinion it is the best!

For graphics, hands down, The Graphics Fairy! They have thousands of graphics for the taking. And they even have great tutorials for transferring to any project....fabric, furniture, signs, etc!

I choose this graphic for the pillows....

I decided to try to iron the transfer onto the pillows without deconstructing them. Probably not something I would have done had they been super stuffed, but they weren't and they turned out pretty good!

Print the graphic (mirror image) onto the transfer paper with any ink jet printer. I always trim the paper close to the graphic so there is no excess transfer paper.


Make sure the fabric you are transferring to has been washed and dried. Set your iron super hot, no steam, and iron away. I usually go over it until it is super hot, then CAREFULLY lift one corner to make sure the transfer is happening. If not, just keep ironing!

Cute as a bugs ear!

Next week is Thanksgiving and I had to build another little bench for my dining table. I'll share that early next week. 

Lot of other projects going on around here...the biggest is the new privacy fence! Cleo has a habit of "wandering" so after 17 years I finally had to break down and put up a fence. I hired someone to install the fence but I had to rebuilt the swing harbor that was actually on the neighbor's property and God forbid I put in a plain ole' gate. So I did spend several days "constructing." I hate sharing anything in my yard this time of the year, but hopefully I will get around to it in the next few weeks! 

Until then....