A CUTE GARDEN BENCH...

I saw a precious little “mud bench” on Instagram….

Cute as a bug’s ear. Only one problem…I don’t have any grandgirls…just boys. Two are too old to appreciate something like this and one isn’t old enough to sit up by himself sooooo……

What to do?

As I mentioned before there is a precious little girl next door….I borrowed her to bake Christmas cookies!

She will be 8 this summer. She LOVES to make mud pies and has a raised vegetable garden. She had a little make shift “mud table” in her back yard so I knew she would love something like this!

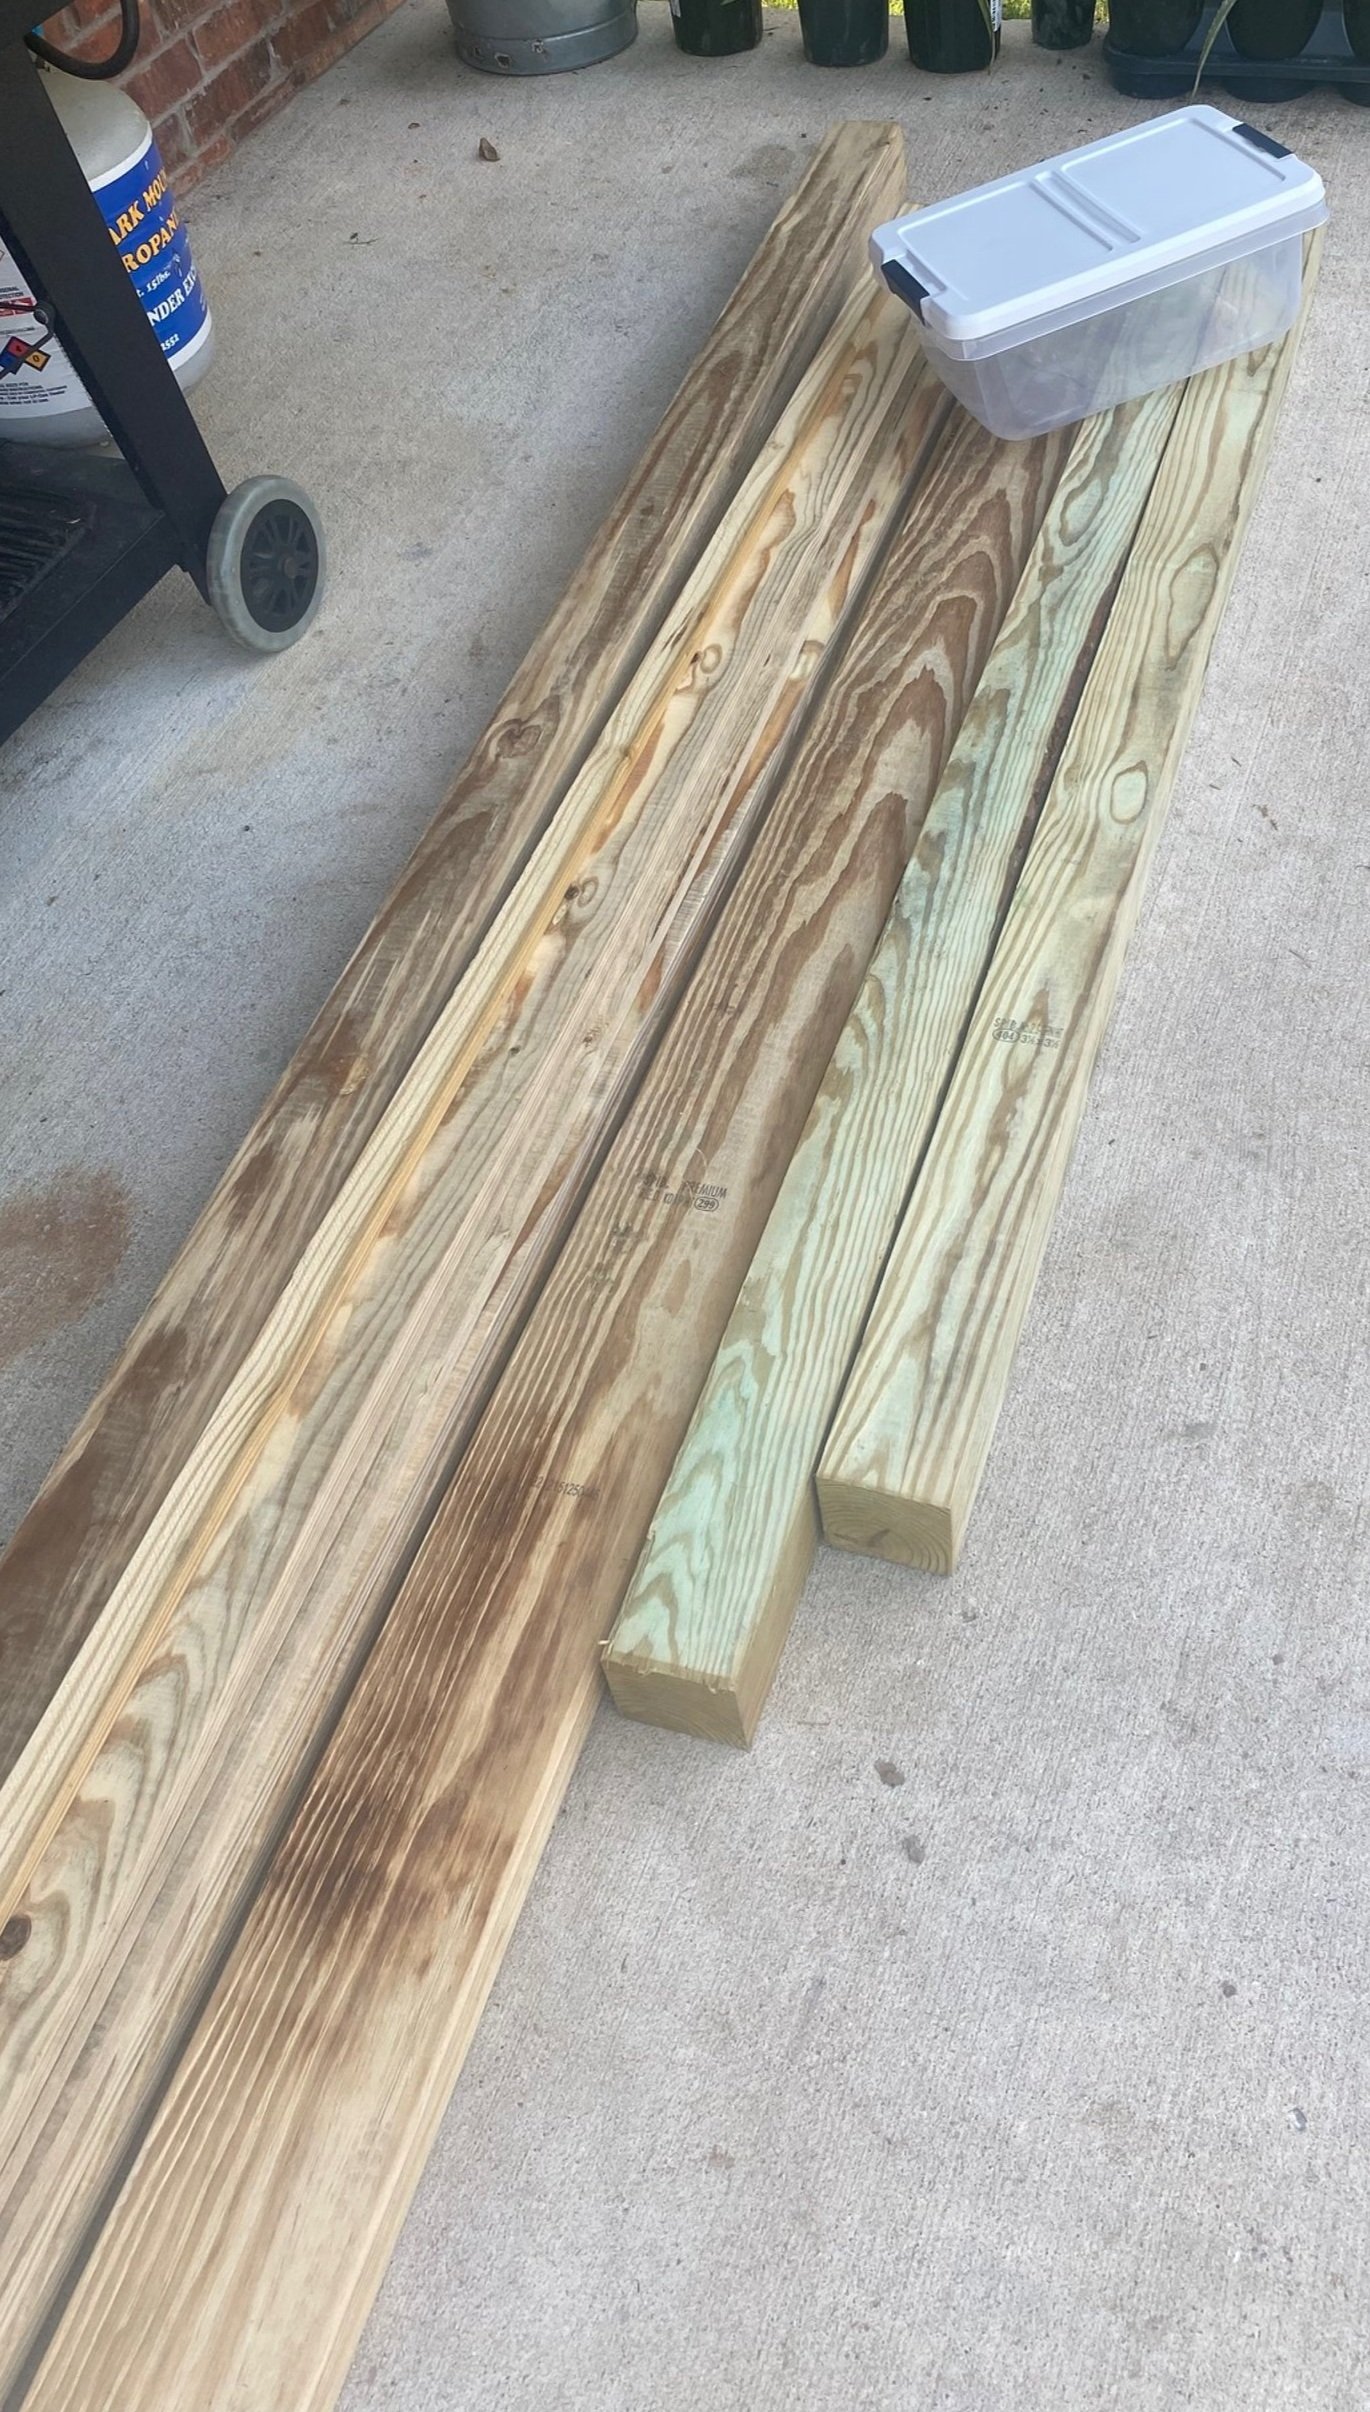
They were on vacation a few weeks ago so it was the perfect time to build and stage a little surprise…so off to Lowe’s to TRY to find some decent wood. Not an easy task these days!

The inspiration bench looks like it is made out of regular wood and painted. I built mine out of treated wood so it would weather well. Unfortunately that means I have to wait a few months to paint it or stain it…no biggy.

For this bench I needed the following lumber (all treated):

2-4x4x6

5-2x4x6

5-1x4x10

2-8’ deck boards (they are around 3/4” x 5 1/2”)

1-1x2x8

1 plastic storage bin with a lid

I used a skill saw, chop saw, a kreg jig and my screw driver.

Remember, 2x4s are actually 1 1/2 x 3 1/2”….and 1” thick boards are actually only 3/4” thick…it’s a racket! The lengths are what they say they are….

I had all the screws and hardware so no need to buy any but you will want 2 1/2” Kreg jig screws and 1 1/2” and 2” deck screws…and some random hooks!

I decided to make the entire bench about 29-30” tall, 4’ wide and about 2’ deep. I think it may be a tad tall for a little one so I built a little “walk bench” for the front of it until she grows a tad.

I can pretty much construct something like this in my head, but if you are a novice, make sure you draw everything out on paper using the actual measurements of the lumber. Or better yet find a plan online THAT MAKES SENSE TO YOU!

The first thing I did was cut the 4x4x6s down to 4-29” pieces for the legs (remember the top will be about 3/4” thick). I used a skill saw to cut them down.

I used the 2x4x6 for the front/back frames and the side frames. The width will be 48” wide so the front frame is 48”, less 1” so the top can hang over by about 1/2” on each side, less 7”(two side posts/legs…remember they are actually 3 1/2” wide) …so the front and back frame pieces are 40”. For the sides…24” less 1” (for the overhang) less 7” (for the posts)…those are 16”. You will cut 4 of each length…2 for the top frame and 2 for the bottom.

To attach the front and side frames to the posts/legs I used my Kreg jig…love that thing. A little glue and then two screws on each end.

Just a reminder…ALWAYS attach boards with the “cup side” down…this applies to any project. To find the “cup” look at the grain at the end of the board. In other words you want the “hump” of the grain to face out. This is important to pay attention to when selecting wood…if the side that will face out is all scarred or knotted you will want to pass.

I put a frame at the top and also 2” from the bottom of the posts/legs so I could add a bottom shelf.

After I got the frame constructed using glue and the Kreg screws, I attached 47 1/2” 2x4 boards cut in 1/2, 3/4” from the top of the bottom front and back frames, on the inside…I did that so I could use 1”x4” boards as the shelving for the bottom. I just laid the 1x4s on the cut down boards then attached them with screws.

I made the top back by attaching two 2x4 boards vertically to the back frame, then attached 3 1x4x48” boards across them with screws. I laid a 1x4x48” board on top for a little shelf and trimmed it with a 1x2. Not on the inspiration bench but something that was simple to add and gave me a space for plants and such.

For the top I used deck boards. I used my jig saw to cut out a hole for the storage bin with a lid so she would have a little “sink” to mix her mud pies!

I made sure to leave gaps between the boards like you would for decking so water could run off.

As I said, we can’t paint or stain it just yet since it is all treated wood but it was super fun to stage…some cute little containers for little plants, some plastic bins for her pots and pans (all from the Dollar Store!)…a few hooks for more pots and spoons. Even a hook on the side for a little watering can.

My neighbor has a Cricket so she made a little sign so everyone will know it is her bench!

CUTE AS A BUG’S EAR!!!

I love it, she LOVES it, and the entire neighborhood loves it and now all want their own garden bench.

Super simple to make and it will not be hard to customize it if someone wants one bigger or even smaller!

I’ll let you know how the mud pies turn out!


Lessons in DIY....

One of the things I love about this house is the irrigation system…no more dragging hoses and sprinklers around the yard all summer.

In theory.

The system has been severely neglect for years so it has been a total rework. We finally got the two zones (there are four) working for the bulk of the front and back yard.

As usual, I did what I always do when I want to learn something new. I hover. Followed the irrigation guy around watching every move he made (for a $100 an hour I figure I should get a lesson).

I googled how irrigation systems work and how to repair and replace malfunctioning and broken heads.

I installed the Zone 3 drip system for the flower beds. Yay me!

Now I think I am an expert and thought I could tackle Zone 2 which wasn’t working at all.

Zone 2, the zone on the north side of the yard, has been a total bust. I knew there HAD to be a break in the main water line some where, I just couldn’t find it.

I am tenacious…the darn thing was broken and come hell or high water I was going to fix it.

After WEEKS of digging around and tracing lines, I found not ONE, not TWO, but THREE breaks in the water lines…..curses!

Needless to say my newly sodded yard looks like it has been hit with mortar shells.

IMG_1689.jpg

The first two breaks were relatively easy fixes….the third has been a total booger. It took three full days and at least 6 or 7 trips to Lowe’s…I repaired the same spot SIX times before I finally got it right…I think…I hope…unless one of the connections broke loose again when I covered it with dirt.

Today’s lesson on DIY. As I have said before, my daddy didn’t have time to teach me EVERYTHING I need to know about DIY. But what he did teach me was a valuable lesson. If you want something fixed, repaired, built, or changed, be willing to do the research and put in the time and muscle to do what needs to be done.

I didn’t have a clue about irrigation systems. Zip, zero, zilch. But I am not about to pay someone $100 an hour to do something as simple as change out busted heads. So I learned…and am still learning

The water line repairs….that’s another story. This was one of those times when after 3 days of crawling around in the mud and AT LEAST six trips to Lowe’s, I began to wonder if it was time to call in a professional.

I suspect it would take them all of about an hour to do what took me three days!

DIY lesson number two….know your limitations.

That’s a tough one for me.

I do get to share one little project I managed to complete while I was waiting on water line repairs to dry.

Years ago I bought these old metal wheels at an auction. Thought I might sell them but never have so they just sat in the yard with no real purpose.

This is the picture I took to post on Facebook Marketplace eons ago….

28336456_10213705878788595_1856686047250220767_o.jpg

I’m not really a “yard ornament” kinda person so the fact that I had these big ole metal wheels just sitting in my yard was, well, just not my jamb.

I moved them to the new house and set them in the back corner of the yard and thought MAYBE I could find something to do with them…..eventually.

Now I do like “sitting” areas….and the more I looked at these wheels, the more I thought, “Hum, just MAYBE I can figure out a way to turn this into some kind of bench or something.”

So last week Brian and I went out to this ratty little old “hobby mill” and picked up a live edge board, brought it home, power washed it and made a bench…I really like how it looks tucked away in the back corner of the flower garden.

IMG_1691.jpg

(The concrete “bench” in the forefront of the photo was there when we bought the house…we were told it was part of the old farmhouse that sat here originally…that sucker isn’t going anywhere! Makes a great place for squirrel food in the winter!)

IMG_1693.jpg
IMG_1694.jpg

Presto, bingo! Now instead of having some big ole’ honkin’ metal wheels in my yard that cause me confusion and grief, I have this nifty one of a kind bench in my back flower garden.

I haven’t decided whether to seal it or leave it natural.

LOVE!

We picked up another piece of milled wood just in case we needed another piece…I decided to use it to make a another bench. The concrete bases were from a bench in my Mother’s yard. It use to have a concrete top but someone (who I shall not name since it might embarrass my oldest daughter) sat on it and busted it. So these bases have just been sitting around waiting for inspiration.

I think I will seal these boards. I love how you can see the mill marks and a sealant will really make those “pop” like it did on this old wood I used to make a table.

IMG_1696.jpg
IMG_1697.jpg

Irrigation system is (fingers crossed) fixed and I managed to get a few little projects complete.

Makes for a good week!

static1.squarespace.png

Flagstone....check!

That is one project I can check off my "to do" list! It is done...the project I started here. It took three trips to the "rock store" and two trips to Meek's for sand...and two trips to Lowe's for topsoil. But whatever...it is DONE!!! 

Well, until it "settles." Seems no matter how well you pack the sand base, a few rocks always "sink" after a little rain and wear. No biggy...just pull it up, put a little sand under it and then reset it. 

We had a 90% chance of rain Thursday (didn't happen!) so I wanted to get this project finished so the sand wouldn't wash away and the rock could begin "settling." 

I had a bench sitting in one of my flower beds in the side yard...thought it would look great in the corner. The terracotta pot is one I bought at an auction last year and was just sitting around. I decided it would look better with a few plants! 

This is another area that still needs a little "something." In time...for now, I LOVE, LOVE, LOVE IT!!

Get ready for a BUNCH of pictures!!!

IMG_1765.JPG

Again, there are hundreds of tutorials online for laying flagstone...it may seem laborious, but it really isn't that difficult and you won't regret it! 

I will offer a few little "tips" for laying flagstone. Make sure you have a good sand base, well packed. After your rock is down, water the sand and rock well so the sand will wash down under the rock. After that, dump a mix of top soil and sand on top of the rock and sweep it into the joints. Then lightly water it again. Rain may wash it away a tad the first few times, so you may have to add a little more sand and soil over time....just dump the soil and sand on the rocks and sweep...eventually it will pack and stay put.

If a rock "sinks," lift it up (just pry it up with hammer), toss a little more sand under the rock to build it up and level it out, reset the rock and then fill the joint with the sand and soil mixture. 

I have a tiny front porch and I love how this has opened up the front of the house a bit! It's still not that wrap around front porch I want, but it is a lot better than it was before! It eliminates an eye sore AND the need to crawl around every year filling it with plants! I just plant the pots and I'm done! Super simple to maintain! 

I use to decorate the front of the house in the fall with hay bales, corn stalks, pumpkins and scarecrows. I quit doing it because I had to deal with mildewy hay bales after Thanksgiving...but I may have to start it again this year...this area would just be too cute with all the "harvest" decor! 

Hum...guess we will see...fall will be here before you know it!