The fireplace makeover...Part 2...Airstone Faux rock.
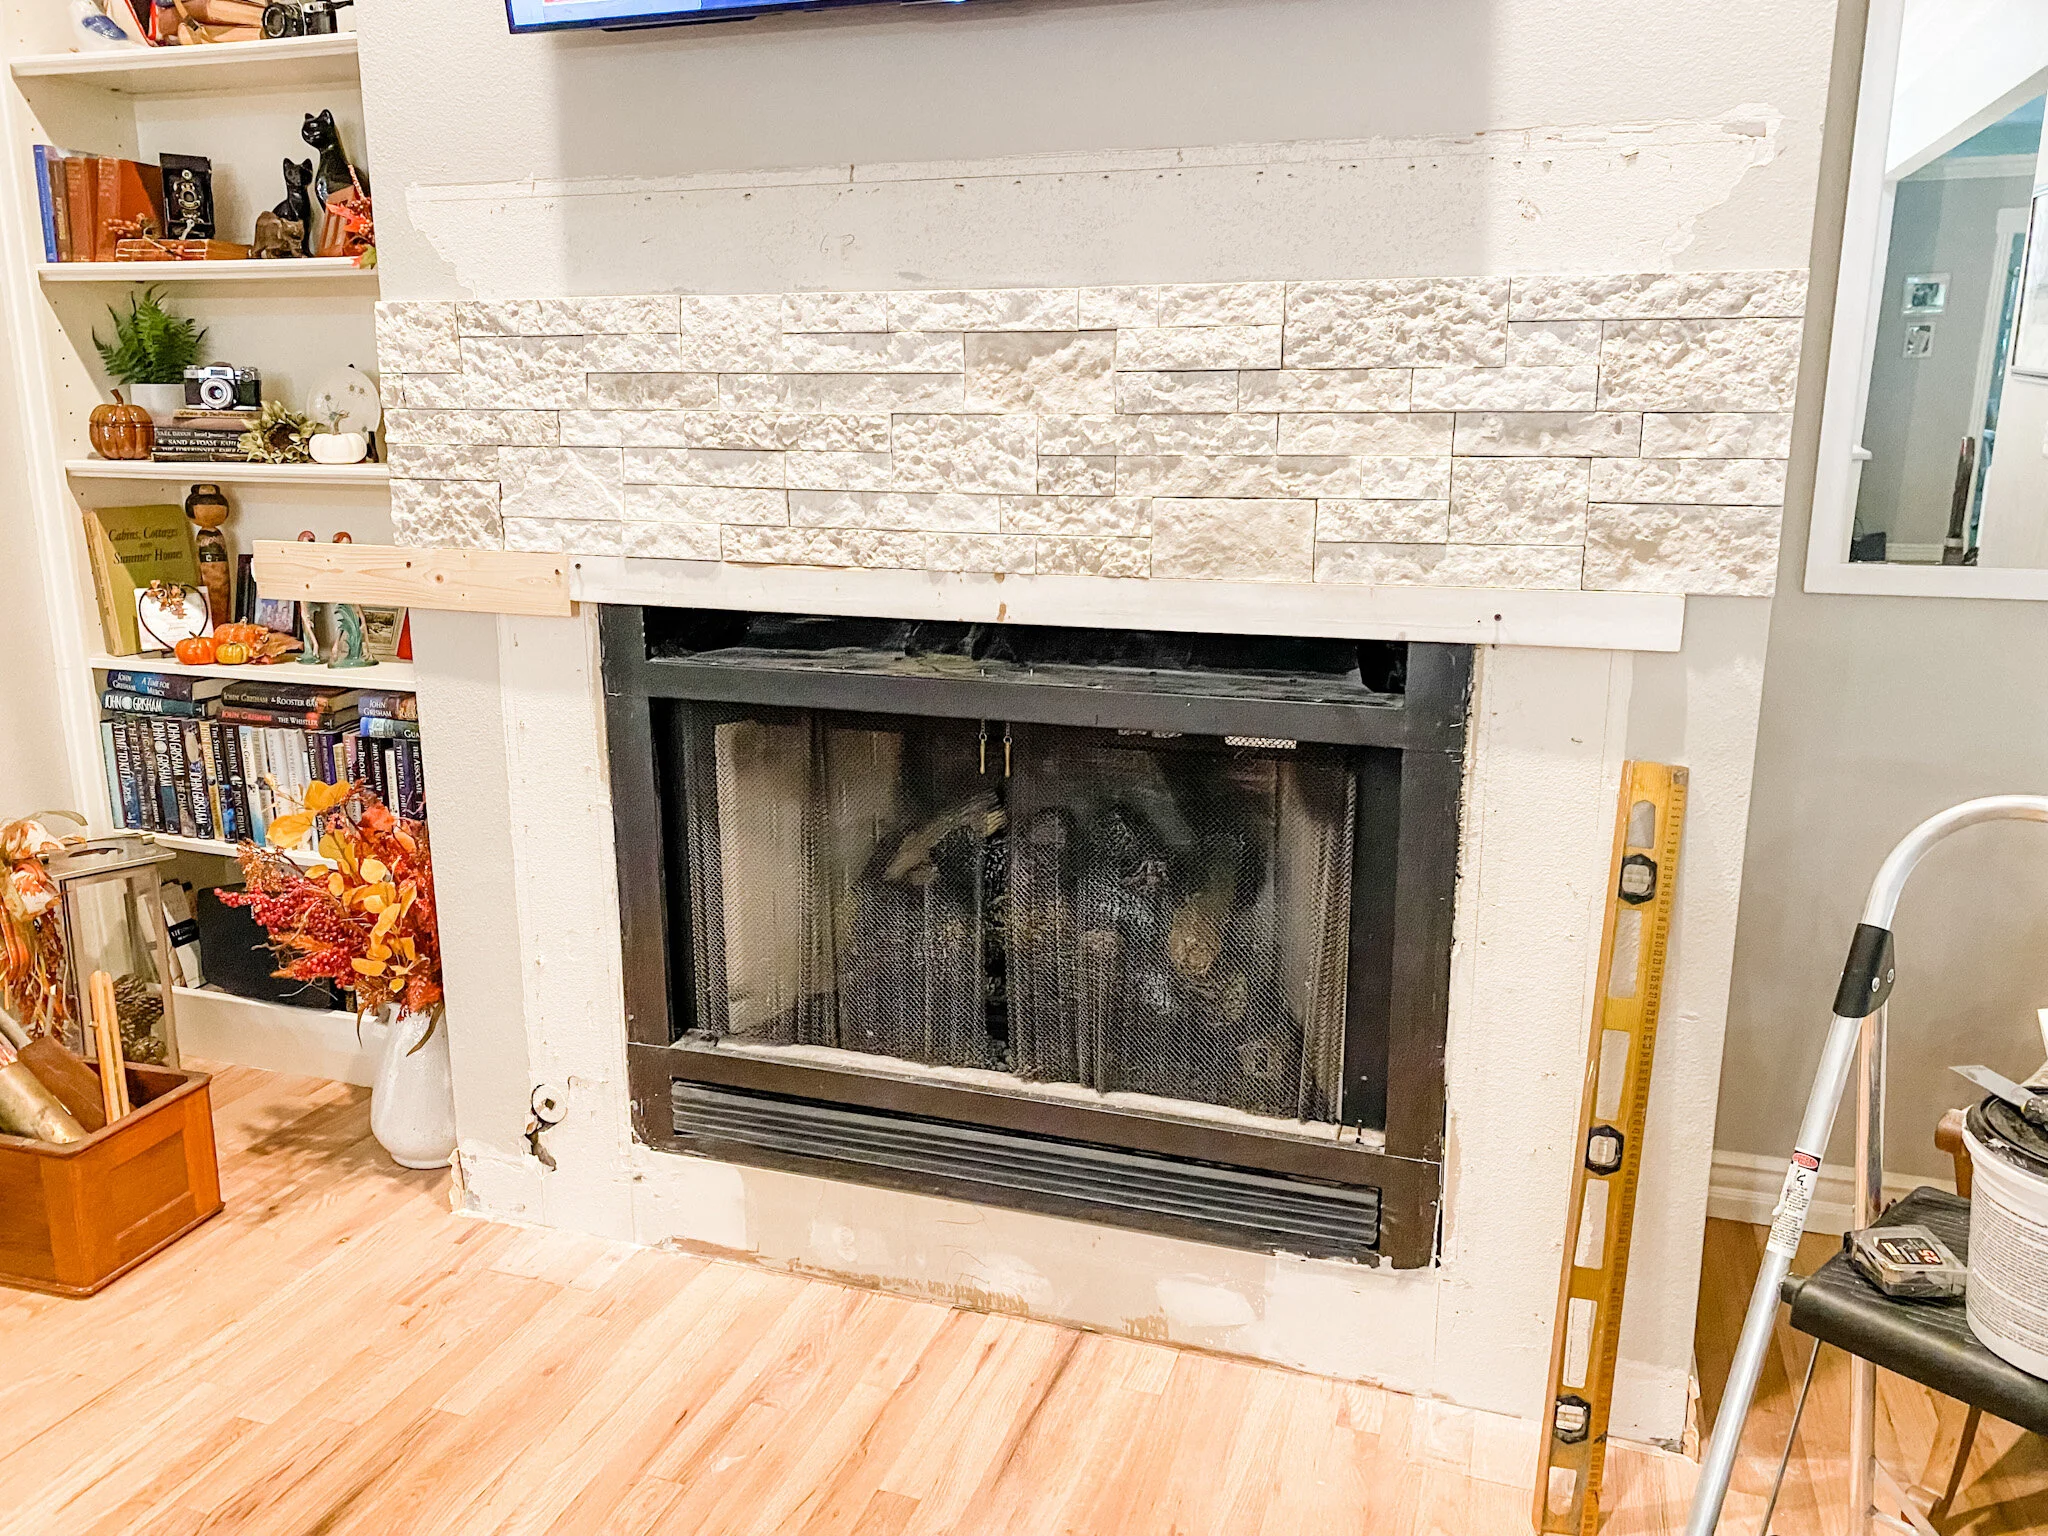
The stone work is done….
…and I love it.
I highly recommend the Airstone product. At least as far as installation. It is a relatively easy product to install. Lightweight and exceptionally natural looking.
When we fire up the fireplace in a few months I will let you know how it holds up to heat.
This stone product would work well for a kitchen backsplash, fireplace face or a covered porch area. It SAYS you can use it for exterior application…I can’t attest to that since I did not use it outside.
I think this is a relatively easy DIY project.If you choose to install this product find a tutorial that works for you. More importantly though, FOLLOW THE DIRECTIONS!!!!
I do have a few tips.
Start at the top. Then the sides…them the bottom. That may seem backwards, but it is the way to do it. Start at the top by adding a temporary level brace….I just used some scrap 1x4. I let that dry over night, then did the same on each side, then the bottom. The Airstone mastic sets up fairly quickly.
I used pennies as spacers between the floor and the stone. I do this because wood swells and moves and you don’t want the rock sitting on something that has movement. Same would apply if you were using it as a backsplash…don’t set any wall product (faux rock, tile, marble, etc) directly on a top or floor.
Use a tile saw to cut it. I have a wet saw so if you do not, rent one. Makes easy, precise work of tricky cuts.
Pay attention to how to apply the mastic…it’s like frosting a cupcake, not buttering toast.
The tub of mastic specific for the faux stone SAYS it does 30 s.f….it does not. Maybe I “iced” to thickly but I would suggest buying more than you think you will need…you can always return it.
Layout the rock on a template or floor before applying it on the wall and number each piece so you know how to property transfer it to the wall. Also, make sure you pull from different boxes…mix it up. Each box has several different “colors” and “textures”and each box may come from a different run…so you want to make sure you mix it up!
I used the “edge” pieces around the face of the fire box…I think it looks neat.


I should have wrapped it around the entire bump out. I would have loved to take it to the ceiling. I am still debating on adding a hearth.
But the “coulda, shoulda, woulda” is always a brain worm until the project is finished.
I didn’t want to take it to the ceiling because I don’t want to remove the crown then have to paint the entire ceiling. I don’t think I want to add a hearth because this is a small space and I don’t want to crowd the space. I didn’t wrap it around the entire wall because, well, I just didn’t.
Hopefully when I get the mantle on, it will all come together.
So the mantel. I think I thought I knew what I wanted but now I not so sure.
My plan is to make a beautiful walnut mantel…smooth…perfect grain…low sheen. Now I am debating on a more “rustic” look with a lighter finish.
What to do, what to do.
As usual, I have searched Pinterest and found dozens of looks…I like them all!
This house style really does not lend itself to that “farmhouse/rustic” look so I think I am going to go with a more smooth, low sheen look. Sometimes you have to “read the room” when making decor decisions.
I bought some walnut boards (dang that stuff is expensive!) and specifically picked pieces with lots of grain and a few shallow knots. Just a smidge rustic but still the beauty of walnut. I know if I apply Waterlox (like I did here with my kitchen cabinets) it will have a dark finish. And I think I am okay with that. The stone is light and I think the dark walnut will be a nice contrast.

Now I am just waiting on my son to have a day we can work on his table saw. I shared HERE about my phobia of table saws. I bought him one for Christmas last year so I have one available and have a “saw buddy.”
Hopefully next week I will have a beautiful new fireplace to share!

