A little stool project and a time to be thankful!
I spend several days preparing for our family holiday dinner...shopping, baking, cleaning...the usual.
This year I added another little project to my long list of "to dos!"
A cute little bench to add additional seating to my Thanksgiving table.
Since we have the bar and rarely use the table, it usually sits against the wall in the dining room with only two chairs. For the holiday dinner, I pull it out and add the leaves. This year I have several sets of chairs in the garage waiting to go to the booth, so I pulled one set in. I like the red, but I didn't like all four of them....
...just "too much" for a smallish table.
I decided I wanted a bench. I searched around a few flea markets, but could never find anything that was just right.
Even though they weren't the perfect size, I took note of how each was constructed and decided to build what I wanted so I would have the perfect width and height!
Just one of the MANY things I am thankful for, year round. The ability to make what I need...
I wanted a bench that would fit under the table when not in use so I went with 36" wide. I wanted the same height as a normal dining room chair so I went with 18" tall. The depth of the bench was determined by the material I had for the top...solid oak planking I used on these tables here and here! Although I am not a huge fan of oak, I had a few pieces and it is solid and sturdy and perfect for a bench. Since I plan on selling these little benches after the holiday, it was perfect!
I used stock pine boards for the base since I knew I would be painting it!
The first thing I did was draw out the bench so I knew exactly what materials I would need, how I would construct it and what my cuts had to be. Again, nothing fancy...just paper and pencil!
(Two buttons looked like a "sad face" so I ended up only adding one...lol!)
Keep in mind that most stock material will actually be LESS than the stated board size...for example a 1 x 4" will actually be 3/4" x 3 1/2". Make sure you take that into consideration when drawing out your "plan."
The width of the material I used for the legs was a true 12" since I originally planned to use "craft board" as the top. Since I was using the oak planking I had on hand, three pieces of planked together ended up being 15" wide...perfect! So I used the 1 x 12 for the legs!
I ended up with enough "scrap" material to build a smaller bench as well! No need to waste good wood!
I used my chop saw to cut the lengths I needed and a skill saw to cut out the detail on the legs...nothing fancy!
After cutting and assembling all the pieces, I stained the top and base. Even though I was going to paint the base, I knew I would be doing a "distress" treatment on it and wanted the wood that showed through to be darker than natural pine. I did not sand the boards or fill the knots before I painted them so the grain really came out when I "distressed" the painted wood!
I used glue and my trim nailer to assemble everything. I ended up adding little wood "buttons" on the joints. Super easy. Measure and mark were you want the buttons, drill a hole with a tiny drill bit, then use a 1/2" paddle bit to make a 1/8" deep hole on top of the tiny hole. Put a sheetrock screw into the tiny hole, put a dab of glue on top of that, then insert the "button." Since I already secured the joints with glue and trim nails, the screws just add a little bit of stability and the buttons are purely decorative! Not a "have to" but they give the joints a little extra "pop."
I didn't attach the tops until after I chalk painted and distressed the bases.
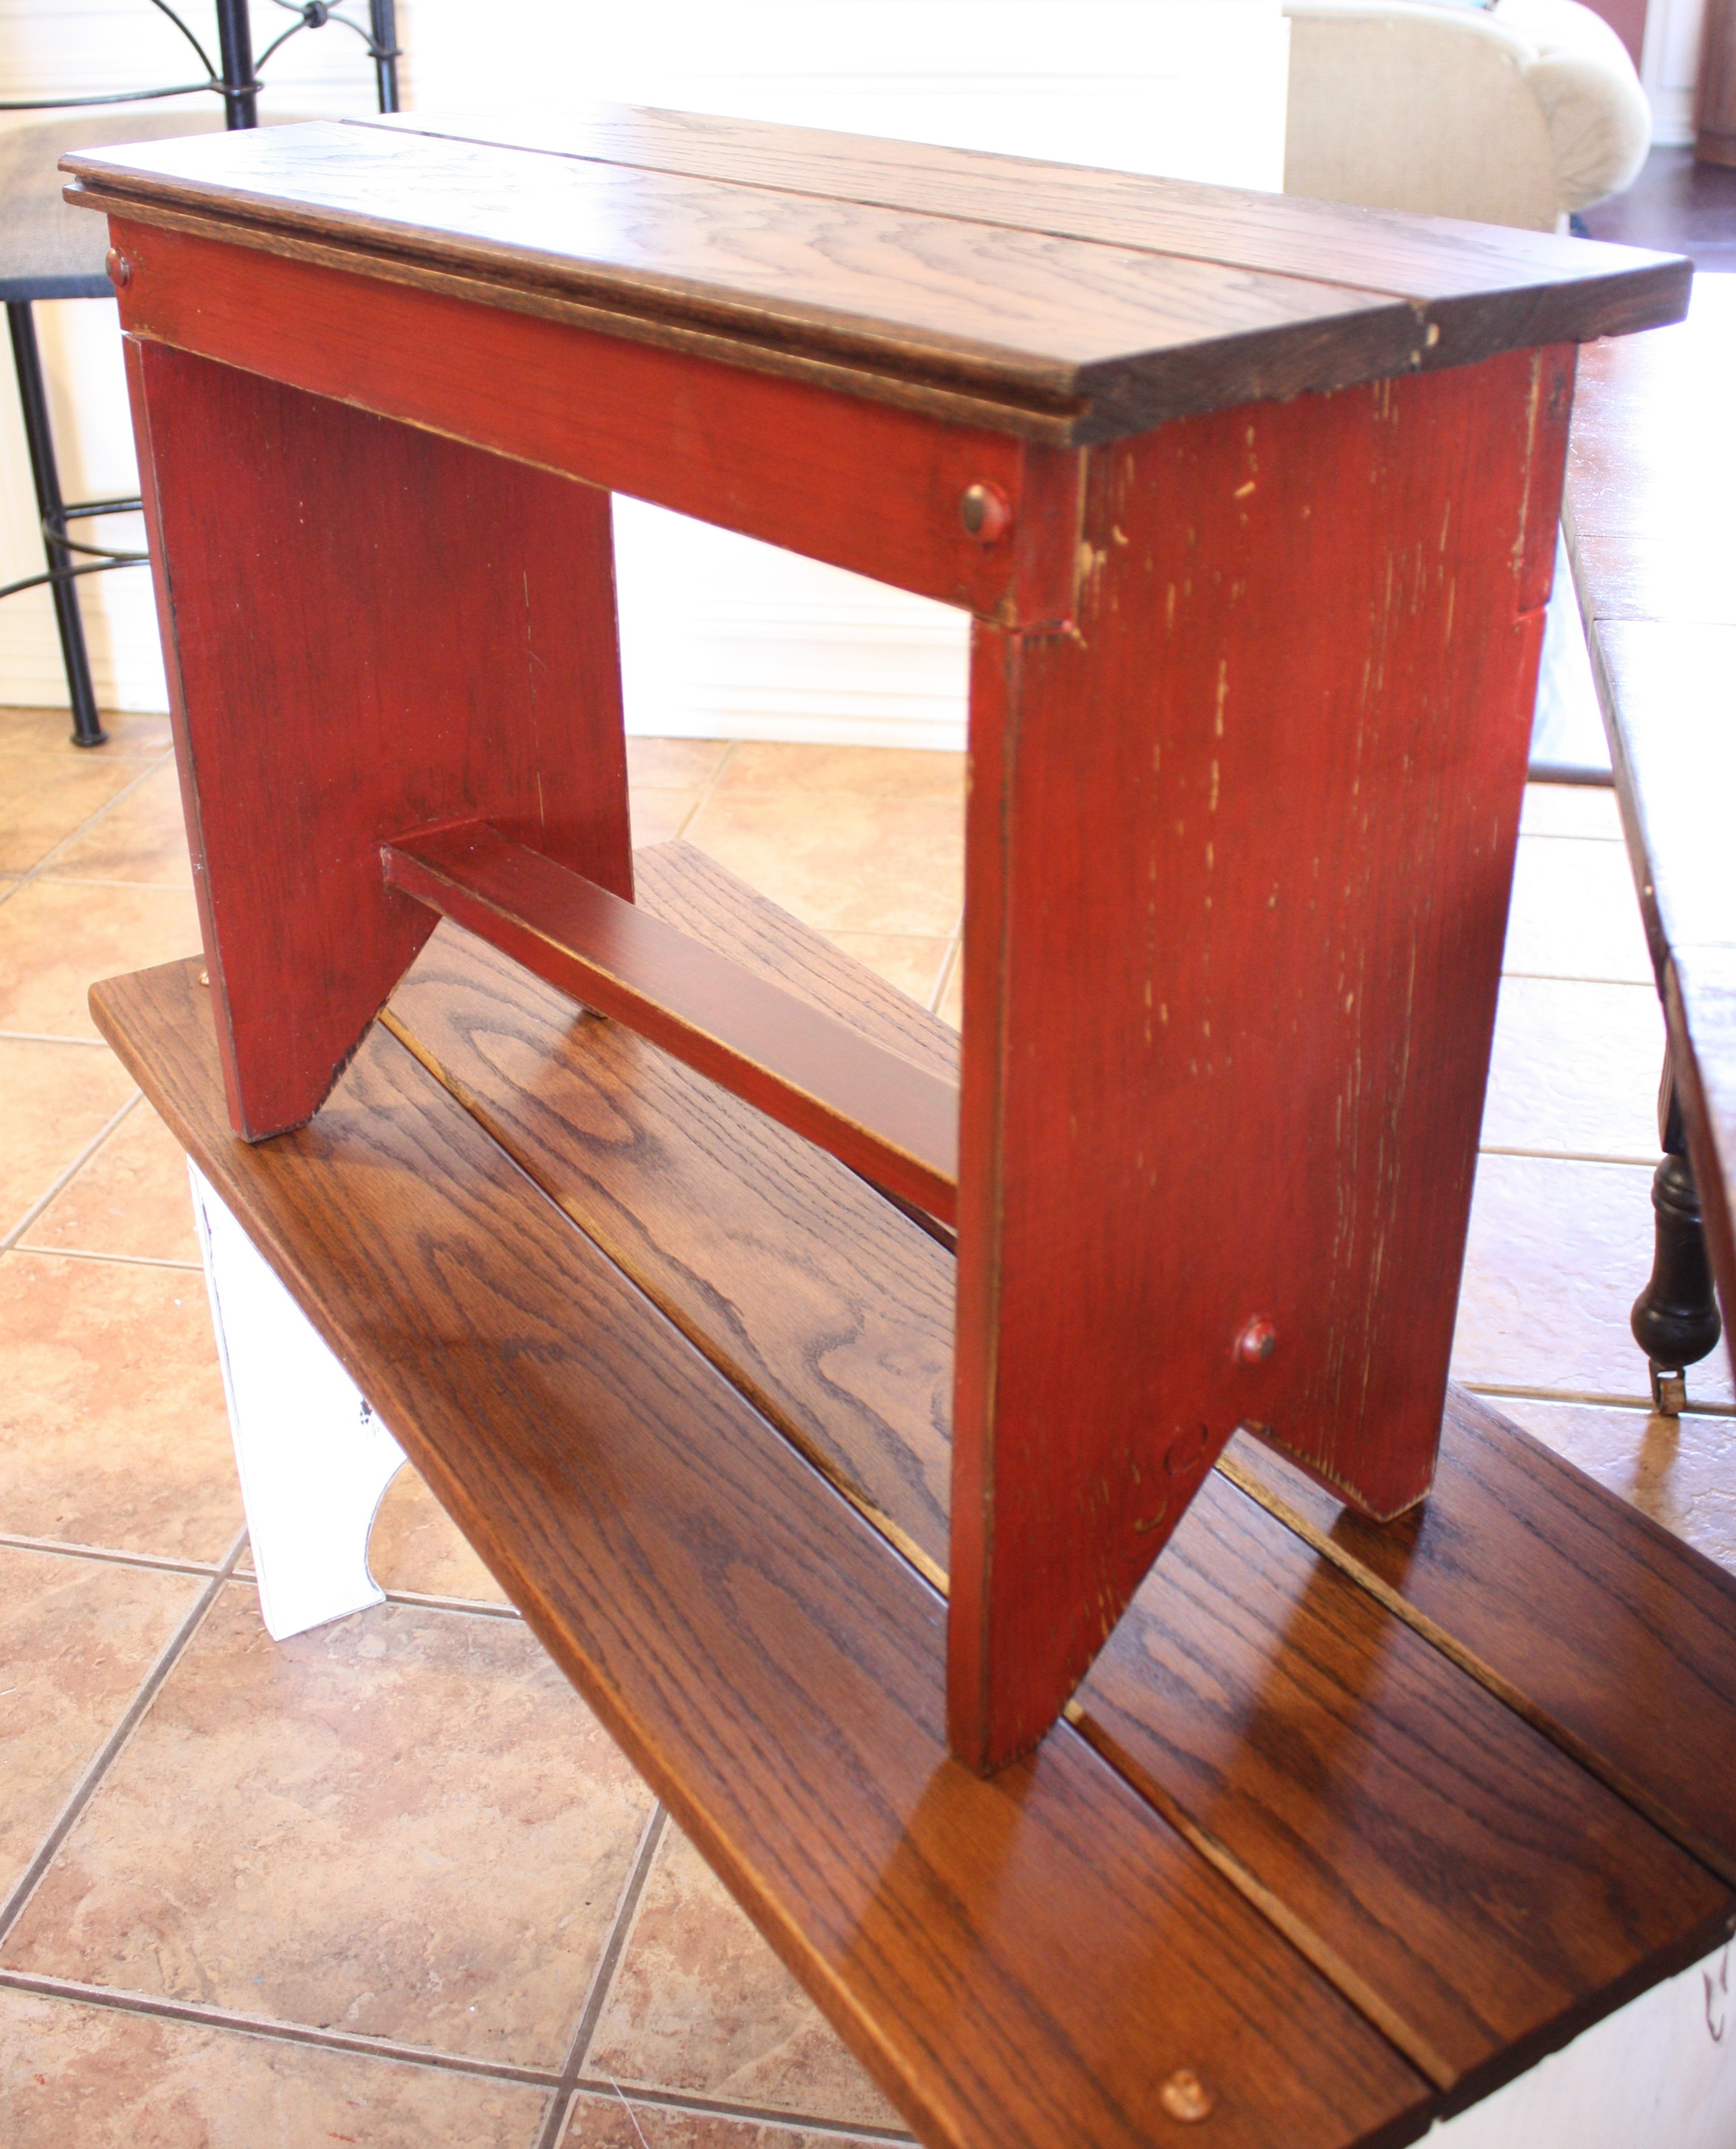
I painted the larger bench I will be using at the table my got-to "off white" and I painted the smaller bench red. After I painted and distressed them both, I wiped the red one down with walnut stain...it deepened the color of the wood showing through the "distressing" and darkened the red a bit.
After the bases were painted and distressed, I attached the tops, again using glue and trim nails. I added a couple of oak buttons to the top of the larger bench just to give it a tiny bit more flare. After they were all assembled, I sprayed them both with poly. Again, I don't wax chalk paint...I like the durability of the clear coat!

Perfect.....
I planned to make a really cute little center piece for the table this year. I even went out and knocked pine cones out of my pine trees...goodness knows I have plenty!
I wanted a few additional "fallish" things to add to my pine cones....maybe some reddish berry garland or rusty red flowers to tie the red in. But when I went to the craft store Tuesday, the only "fall" things left were a few ratty scarecrow. Curses! Made me want to drop kick a Christmas ornament across the store. Seriously people, can we not get through Thanksgiving before we drown ourselves in Christmas stuff!
Whatever. I am thankful I have the centerpiece I have!
For me, being "thankful" is not just a one day deal. It is something I TRY to do every day...it is what gets me through the tough days and what I have found makes my life so much happier!
If we would focus on what we are thankful for EVERY day, our lives would be so much easier. I tell my kids often...some days you just have to get up and put one foot in front of the other and force yourself to really focus on what you are thankful for! A beautiful blue sky. The blazing reds of the fall maples. The smell of a neighbors fireplace. Your home. Your family. Your God.
When we focus on the positives, even if we have to force ourselves, there is no room in our brains for negatives. Have you noticed that dwelling on the negatives seem to wear you out whereas focusing on the positives in your life lift you up and give you energy. Yep...that's the power of positive thinking!
This week is the week we share one day of "thanks" with our friends and family!
This week, really focus on what you are thankful for...and then try to keep those positive thoughts in your head every day, all year!
When you find yourself immersed in your own private pity party, force yourself to focus on the positive.
Being happy, being thankful, loving the life you have...it is a choice. No matter what your circumstances are in life, there is ALWAYS something to be thankful for...find it, embrace it, dwell on it.
