Finding inspiration...Transforming a grandfather clock...
I spent my 50th birthday at an auction. It is what I love to do and so that is what I did.
Well that and I saw this picture on the auctioneer's website and just HAD to have it!
(If you click on the picture, it will take you to the source website!)
Now most people would think "What the heck are you going to do with THAT?!" Well let me tell you. I am going to do an old fashioned "repurpose" on it! I am going to add shelves and repair the crown and then paint it!
I could rebuild and restore it. It came with all the clock workings...pendulum, clock, weights, etc. But I have been looking for something old and nifty like this to turn into a bookcase/display shelf. Truthfully, I could buy the trim and materials and make something somewhat similar. But I really wanted an old and original piece that could be transformed. So when I saw this picture on Larry William's auction website, I knew I had found the perfect piece!
Truthfully, when was the last time you saw a restored and functioning grandfather clock and thought "Wow, I really want one of those!" ?
Probably not....and most people under the age of 40 (what I refer to as the "target" market) really don't have the desire or room for a grandfather clock. But they do love unique and repurposed display shelves!
So today I want to show you how you can think outside the box and create something beautiful and useful out of something that otherwise is a bit "outdated."
Here are the "before" pictures after I brought it home....
As you can see, it has AMAZING trim detail. Some of the crown on the top has been broken and is missing but that will be a relatively easy fix. I will just remove the existing crown and replace it with a new piece!
The only other "flaw" is a tiny bit of bubbling in the veneer on one side, but I am not even going to bother with it...it is an old piece and it will have it's flaws...or rather "character." Structurally it is very sound and solid!
Finding inspiration for a piece like this is not difficult. Even if you don't have a "creative" mind, you can always "google!" I Googled "repurposing grandfather clock" and found all kinds of creative inspiration! Some transformed into shelving, some with chalkboard additions and all kinds of different paint techniques! Again, you are only limited by your ability to "copy" what others have done. Most academic types frown on what they call "plagiarism," but we "crafty" people look at is as a total compliment when someone loves what we do and attempts to "copy" our handy work. Let's face it...that's what the DIY blogs and Pinterest are all about...look what I did and look what YOU can do!
Today I am going to share what I did to "modify" this cabinet to ready it for paint.
The first thing I had to deal with was the round opening. Unfortunately, one piece missing is the round trim that would have trimmed out the opening. It is in a little door that opens to reveal the top shelf...it originally housed the clock.

Since I am going to rebuild this to be a display cabinet, I decided to cut a square opening and trim it out with new trim. First, I marked it, then cut it out with a jig saw....


Then I trimmed it out with 3/4" flat molding on the inside edge and 3/4" fluted molding....


The next thing I had to deal with were the openings in the base and the top originally for the clock mechanisms.
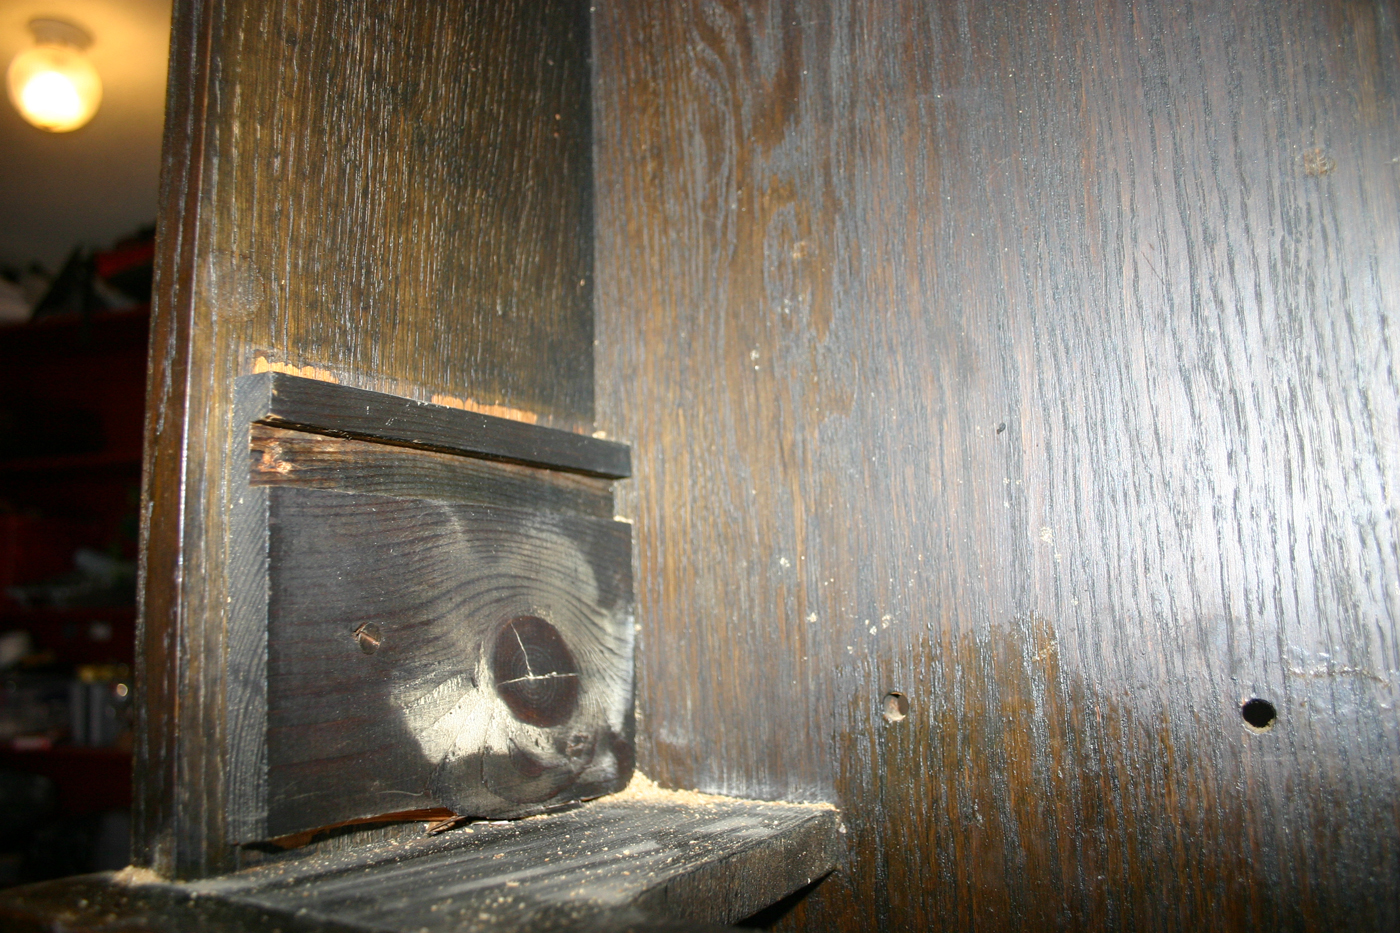
I added a piece of 3/4" board to the base to fill in the hole and on the top I removed the original bracing and covered the existing cutout with a board.

If I intend to paint a piece, I usually use poplar. It is a clean wood, relatively straight and paints nicely! And it is cheaper than oak!
I added two shelves. Simple.
My plan is to paint the inside back panel a pretty blue or green and the outside a soft off white. I plan on "distressing" the outside trim and using a dark wax to make the trim detail "pop." I Kilzed the inside since I don't plan on distressing it but left the outside stained. That way when I lightly "distress" it, the stain color will show through.
I still have to find a nice "crown" trim to replace the original busted crown. I will stain that and the fluted trim so the stain color will show when I distress it.
Cold weather is moving in and I wanted to get the modifications and Kilz done so I can move it inside to paint! After rolling and brushing on the plaster paint, I will still have to move it outside to "distress" it, but the temperatures won't matter much. And then I can move it back inside to apply the dark wax!
Dang this weather is killing me!
