Another man's trash....

The other day I posted this picture of an old nasty dresser and three legged table I salvaged at the apartments.  People move and just leave their "stuff."  Most of the stuff is garbage and goes straight to the dumpster or trailer.  But eeeeevery once in awhile I will find something that is salvageable.


My new onsite manager and her husband are in need of furniture so when we ran across this rather nasty, yet very sturdy, oak dresser I promised her I could make it something she would love.  I asked her what "style" she wanted....she told me it would be going into her spare room which is also her husband's "Nascar" room...could I do something in black and white checkers?  Ummmmmmm....no.   That's okay, she has ​"checkered flag" knobs she can put on it.  (I guess my football and baseball decor is odd to some...but come on, those are REAL sports....lol!)

I will say, this piece was a challenge!  Some serious damage to the exterior as well as missing backs on two of the drawers....it took some serious "reconstruction" but that gives me an opportunity to share with you how easy this can be.​

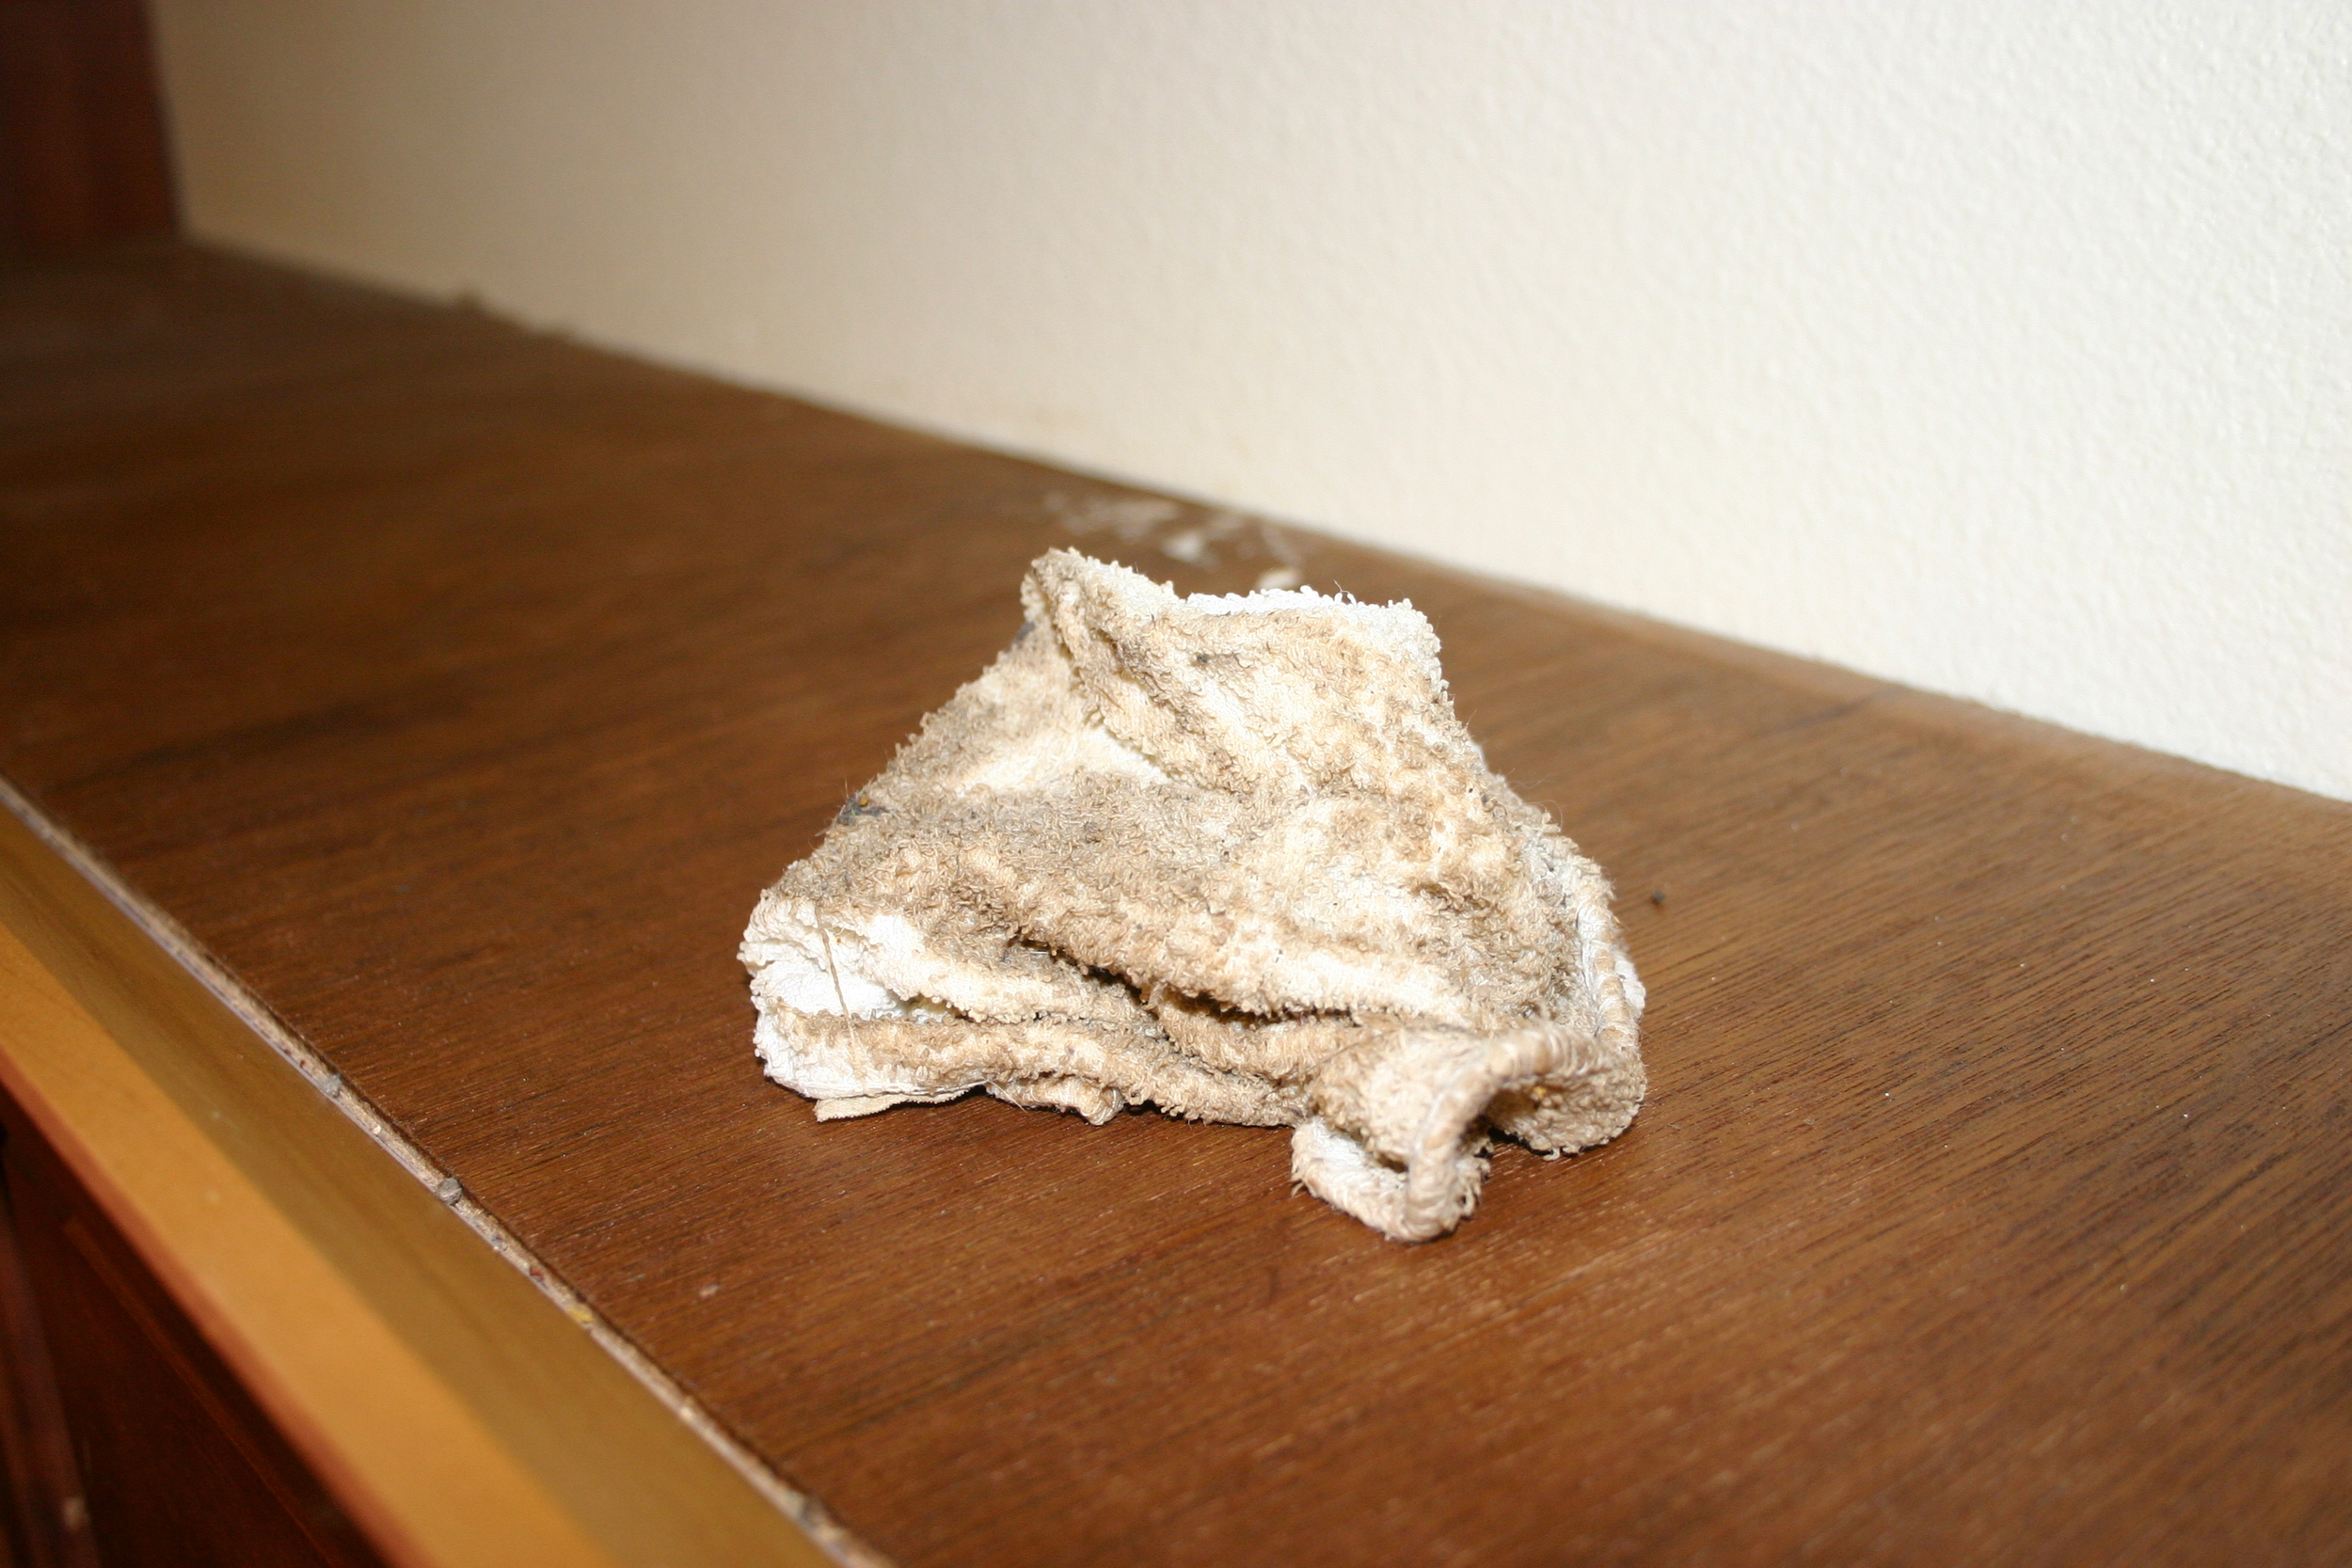
Before beginning ANY rehab on old pieces, make sure you wipe them down with some type of disinfectant wipe.  Sometimes that means a little bit of scrubbing...but decades of grunge, oils and smoke can create problems down the road...not to mention, it's nasty!!!​

Glue, clamps and a nail gun are a must when repairing old furniture.  First and foremost you want your furniture to be sturdy and usable if you are going to invest time and money making it wonderful again!​​

First, you need to pry apart any "loose" joints, remove any old glue and fasteners and reglue and clamp.  Two drawers were missing the backs...so I took out the bottom, cleaned out the channel where the drawer bottom fit, reglued, cut a new back out of 1/2" plywood....​

and clamped and tacked it with some little nails.  Keep in mind, nails are not what holds a piece of furniture together....it's the glue.  The little nails just help secure it until the glue sets up!!  Glue well and clamp!  (Occasionally you will get a nail that does the above...pull it out from the back with needle nose pliers....and remember, nails WILL penetrate flesh (again, lesson learned the hard way) so keep your fingers out of the way!)

Also, many drawers on older pieces have dovetail joints....and in a perfect world we would all be able to dovetail new pieces to fit right back in with the old...but that is most often not the case.  If the "old" backs had been there, that is what I would have done....cleaned them up, reglued, fit them back together and clamped.  But since they weren't, I used my skill saw to cut off the dovetails from the sides and then just added a new back without dovetails.  If you don't know what a dovetail is (no, it is not the tail of a dove) Google it...​

This is also the time to repair any damage to the veneers and corners.  As you can see on this piece, a dog had used the corners as a chew bone and the veneer on the base was chipped badly.  Wood filler, a little sculpting and sanding do the trick.  This takes patience and may even take 2-3 attempts to "get it right."  Let the filler dry completely before attempting to sand. But in the end it is worth the effort....just sanding and painting damaged wood is NOT good.​

After all your repairs are made and everything feels sturdy, sand the entire piece with 120-220 sand paper, tack and get ready to prime.  I have posted a complete tutorial here on painting furniture that will help you through this process.  But I can not stress enough the importance of wiping down the entire piece with tack cloth before you spraying ANYTHING on it!  ​

If this piece were going in a more "formal" bedroom, I would glaze the carvings.  But they want a more "informal" piece...with checkered flag knobs...to each his own...lol!​

Regardless, it is a nice piece of furniture that was destined for the dumpster...instead it has been given new life and a new purpose....and will be much loved and appreciated for many more years!​

Please sir, may I have some more pillows....

I'm telling you, even when I try to be clever with my post titles, all I do is show my age...grrr.

Pillows....LOTS of pillows. And for a reason, not just because I LIKE to sew...because honestly, I REALLY dislike sewing.  I can do it...and IMO everyone should know how to do the simplest things on a sewing machine. Sew a hem, make a decorative pillow, make curtains.  Simple stuff...not necessarily make a tailored jacket or Easter dress, but simple stuff.  My mom had me take sewing lessons when I was a teenager.  Didn't necessarily like them, but I am grateful I can use a sewing machine now.  If you can't, sign up for a class at your local craft or fabric store and learn.  Buy the cheapest, simplest sewing machine and learn how to use it. My machine basically sews straight stitch and zig-zag.  I think it does button holes too, but I don't...

So back to WHY I had to make a bunch of pillows. First, last year I decided I didn't like the big fluffy cushions on my couch.  Haven't really liked them since I bought the couch.  But they were expensive and filled with down fill.  If you have ever bought stuffing for pillows, you know it is expensive....not something to waste.  So I bought some inexpensive white cotton material, measured out 19 x 19 and 13 x 21 squares for pillow forms ( allowing for a 1/2" seam all around), sewed them together and stuffed them with the down stuffing from the too fluffy cushions.  I think they call that upcycling now....much better adjective than cheapo. I ended up with 5 oblong and 5 square ones....wow!  he reason I made and stuffed forms, is because as you may know, some down feathers are "pokey."  Having the form in the pillow helps protect your guests from being speared by a feather.  If you are just using plain old "fill" (without feathers) no need for the forms. Just make the pillows and stuff them!

Once I had all these pillow forms, I started digging through my leftover material from past projects.  Mostly upholstery projects.  I found enough to make these pillows....

IMG_8672.JPG

I had material from the dining room chair recover, the peacock chair, my wingback chair and my daughter's houndstooth chair.  The white cable knit is actually a sweater I bought at Goodwill for $2, and used to make a pillow!  ​

Depending on the amount of material I had, I cut some 19 x 19 and some 13 x 21.  Two for each pillow.  ​

I trimmed all of them (except the cable knit) with piping.  YOU DO NOT HAVE TO DO THIS!  I just like the way it looks...start simple and forget the piping if this is your first attempt!

Now piping CAN be tricky.  You can buy it already made and ready to sew into your pillow....but that is a tad expensive....they have some inexpensive premade but they also have some really nifty ones with beads and all kinds of stuff!  If you have enough material, you can actually make your own piping.  But most people don't understand that piping material MUST be cut on the bias....which means it has to be cut at a 45 degree angle across the material or it puckers reeeeal bad...which means you have to have A LOT of material to make the bias for your piping.  Confusing, I know. 

Easiest, and by far the cheapest, is buy "premade" bias tape and cover piping with it.  It comes in all colors and you are sure to find one to accent any pillow you are making!

Just iron the bias tape flat, fold in 1/2 and sew in the piping with your zipper foot (seriously, learn to sew a straight line!) and then sew it onto one side of your pillow....then pin the other side of the pillow, face down, and sew again...leaving an opening to stuff the pillow form or batting.  Then just "whip stitch" the opening. Seriously, NO biggy if you can do the basic stuff on a machine!  ​(Seriously, take a lesson or have a friend teach you!)

God knew what he was doing when he decided I would not have a lot of money.  He knows I am a creative person and would miss out on the joy of learning to do things like refinish furniture, painting a room, and designing and building if I had money to PAY someone to do it.  And honestly, if I won the lottery tomorrow, I would still do those things because I enjoy them.​

But I probably would never sew again....I just really don't enjoy it.  But I do enjoy having nice thing...little treasures throughout the house...and decorative pillows are little treasures. ​

So I sew......​

Black doors...

todolist.jpg

​As you see from my "to do" list, I have a few things I need to get done around here.  Today I am finishing up the nasty dresser I brought home last week (not even on my list) and I am finally making the pillows that have been piled on my dining room table for a week.  So later, maybe tomorrow, I will post about those two projects...for today I thought I would post the project I STARTED last fall...by that, I mean I still have the entire upstairs to do, but ohhhh what a difference it made downstairs.

Just Google "interior black doors"!  Oh. My Goodness.  Beautiful!​

hall before.jpg
after.jpg

Last fall I saw a thing on Pinterest about painting door knobs.  Thirteen years ago, brass was fab...not so much now and at $20 a pop, I wasn't about to change out all my interior door knobs.  So I took them all off, primed and painted them black with spray paint.  Looked pretty cool...

....until I saw some pictures of ALL black interior doors.  Now THAT is cool!​

entry before.jpg
office before.jpg
entry after.jpg
office after.jpg

Painting ALL your doors may seem like a daunting task.  So start out slow...do one room at a time.​

All my doors were already painted with a good quality oil based trim paint (AKA alkyd paint)....so I choose to use oil base when I painted them black. If your doors are already painted with latex, use latex. Again, latex paints are MUCH better than years past!  (Word of advice, if you are every changing the "type" of paint, make sure you prime FIRST! You can "tint" your primer so you only have to do one coat of the actual paint) Black is a VERY difficult color to mix, so I bought a premixed black in SATIN finish at Sherwin Williams.  I used a foam roller and high quality paint brush.  I made sure to tape off all the hinges and knobs.  ​ Also, trust me...the first coat will look beyond AWFUL!  Patience...paint a second coat before passing judgment...one coat of black on white WILL NOT cut it.  

Regardless of what kind of paint you use, always put paper (newspaper works great!) or a drop cloth under the door....trust me, black oil based paint is TOUGH to get off any type of floor (which is why I have black speckles under my doors....grrrr)​

Both the boys (yes my adult boys still "claim" their rooms!) want their closet doors red....I think it will look awesome, so I will do all the upstairs bedroom doors in black and their closet doors in red...someday...maybe.  I am kind of hoping this fad passes before I actually get to it.  After all, the only people who go up there are the kids....I only go up to retrieve dishes and dirty clothes...and that's only because I run out of dishes and don't want to get hit with 10 loads of laundry all at once!​

Off to finish pillows and the dresser....busy day!  ​

This is the first time in three months I haven't been busting it every day at the apartments....nice to finally have a little time at home to get some things done!!!  ​

Type A personalities should not blog......

It's not that I haven't been doing DIY projects for decades, it's that I have SOOOOO many I want to do and share NOW.  So I am going in 50 different directions trying to get a dozen little projects done so I can post them.​  A dresser, an ottoman, an old office chair, pillows, the 3 legged table, ANOTHER table I picked up at Goodwill today (it has all it's legs intact), cork boards...you name it, I've got it going on here.  It's madness and my house is a disaster....NOT a good thing!

Seriously, I think I have a few years left in me....I mean honestly, eventually I'll run out of things to post if I try to do it all right this minute....typical "type-A" personality.  ​

IMG_8544.JPG
red before.JPG
IMG_8649.JPG

But I did get one project finished today....thank goodness.​

About a month ago my son asked me to spend a Saturday at an auction with him....I LOVE auctions but more than anything I love spending time with the kids when they actually WANT to spend time with me! And it was a cabinet shop going out of business...fun fun!!  Ask me how much of the stuff I bought I REALLY needed....ummm...probably NONE of it.  But I picked up a huge stack of cork board....and of course that stuff is not cheap and who doesn't need a cork board?​

So I set out searching for old frames...any interesting frame I could find.  Found most of them at Goodwill for next to nothing!

Pop the picture and glass out, cover the backing with cork board and paint the frame....PRESTO!!! Nifty cork board!

The large one is for Matt's girlfriend, Kaitlyn.  She is the mother of my grandpuppy, Beau.  Did you ever read "Marley and Me" or see the movie (OMG, if you want a good cry....)  That is Beau....silliest dog in the world but I just adore him.​

Anyway, when I went back to Hancock Fabrics today to buy the other THIRTY BOXES of pearl and bead strands (seriously, who could pass them up at 90% off....I just didn't realize they had soooo many left!) I found these nifty little 2 1/2 x 3 1/2 magnetic picture frames on clearance for .40....paint them up and they are cute as a bug on the cork board.  ​

IMG_8650.JPG

Now, here is where I ran into a "design" problem.  When you run into a design issue, or your "best laid plans" aren't panning out, do what I do....wing it.   My PLAN was to put a strip of magnetic tape across the board, cover with the cute houndstooth ribbon and then stick the magnet photo frames on it.  No dice.  The magnetic tape was crap and NOTHING would stick to it and the magnets on the frames weren't any better.  To top it off, I soon found out that hot glue is NOT a good medium for cork board.  ​

So, I used regular glue to attach the ribbon onto the board, glued 3 super powerful magnetic "dots" on the ribbon, hot glued magnetic dots to the back of the frames, and PRESTO....we have take off!!!  Or at least we have some cute little frames that can easily be changed out from time to time!​

There are soooo many things you could do to spruce up a cork board.  Cover the cork in fabric, attach vinyl lettering or even paint on the cork, cover with ribbons and bow....just so many ideas...Google cork board imagines and you will be surprised at the ideas that are out there. ​

I have some old window panes I took out of an old house...they have three divides in them and I am going to put cork in one, metal for magnets in one and chalk board in the one....I'll post that if I ever get to it....but before I do that project, I am bound and determined to get some of the others completed!​

Little Ms. Tammy's tuffet....

My friend Tammy is always in awe of all my little projects.  And I tell her the same thing I tell everyone.  YOU CAN DO IT TOO!!  But she always says she can't....​

So I was a bit surprised when she sent me a text last night with a picture of an ottoman she paid $10 for and a note saying she was going to recover it.  Honestly, I assumed she was fishing for help, so I was quick to reply that JR's funeral was last night....to which she replied "Who's jr?"​

SERIOUSLY!  I know she is not THAT much younger than me.  We are both "girls of the 80s."  Who's "jr"?  What, were you raised in the rain forest girl?​

Imagine my surprise when she sent me a picture of her completed project 3 hours later.​

YOU GO GIRL!!!  I am sooooo proud of her....she proved my point....YOU CAN DO IT!  ​​

IMG_1205.JPG
IMG_1206.JPG

Beautiful job Tammy!

Ode to Joel....

I try to come up with clever post titles....Lindsey at Betterafter.net ​always has the most clever titles for her blog posts.  Just too much brain effort on my part.  Sometimes I am funny, but it is just because I say and do stupid things...not because I am necessarily "witty."   Besides, if you aren't over the age of 45, you wouldn't get the title of this post.  (Ode to Billy Joe....not so great song...even worse movie)

Anywho, it was one of those days I had a million errands to run, one of which was to Hancock Fabrics to pick up some piping for the pillows I am making (another post for another day...if I ever get around to it!) Always on a hunt for a bargain, (i.e. digging around on the back shelves)​ I found some 90% Christmas clearance.  CHRISTMAS IN MARCH!!! LOVE!!!   I love Christmas...I love decorating for Christmas.  And every single year I proclaim "THIS IS IT!!!  Not another thing!"  But then I find the bargains....

IMG_8640.JPG

Seriously, who wouldn't love boxes of ornaments and gingerbread cookie cutters for .59 and strings of silver beads and pearls for 1.49 a strand!!!  And those cute little metal trees for 1.69!  Seriously, who wouldn't love finding this stuff in MARCH!!??? If I didn't love spring and fall so much I would be antsy for the Christmas holiday!!!

Anywho, taking this picture reminded me of how much I LOVE MY UNDER COUNTER LIGHTING....which brings me to my "Ode to Joel."  My FAVORITE son in law in the whole wide world.  Now, he will be quick to remind me that he is my ONLY son in law, but honestly, that is not the point.  He is my favorite.​

And not just because he is an electrician who is gracious enough to work during his visits.  See, I always have some electrical issue that is just a tad over my head...or rather one that I know would take him 4 hours to complete when it would take me 2 DAYS!  And who has time for that during the holidays...seriously! ​

So for YEARS I have wanted to put can lights in my kitchen.  I just thought they were so cool looking AND my kitchen felt a bit "dark" and "smallish" because of the lack of decent lighting.  But the "in" can lights right now are a little pricey and I knew I wouldn't be happy with the ones like I  have in my den...because, after all, those are not the "in" lights right now.  The "in" can lights are like the ones Joel installed in ​my bathroom last summer...that I love...but rarely turn on because you could land a jet in there now when both the vanity and can lights are on!

So last fall,  I went to Lowes (again, my fav) and started looking at lighting options.  I have never been a fan of the little "pot" lights that go under cabinets...kind of thought they were silly looking...but I did like the LED strip lighting they had...and while an 18" strip was around $60, I only needed three!  ​And they last "a lifetime" and you never have to change the bulbs.  Hum....that is right up my alley. 

So that is what we bought.  Long story short, we created a new switch next to the disposal switch (that required adding a larger box and second switch and some unanticipated tile repair....good thing I keep spare everything!) The lighting was hardwired to the switch and Joel was able to run the wires behind the microwave and refrigerator so the wiring wouldn't show.  ​

Oh, My. Goodness!  I swear my kitchen doubled in size!!!​

IMG_5011.JPG
IMG_5009.JPG

It is just sooo difficult to appreciate what a difference this makes with pictures.  Joel installed them the day before Thanksgiving last year, and I swear my kitchen prep space doubled in size!  It made a huge difference in my usable space because the two corners were just always so dark and impossible to use as prep space. ​

Again, he only installed three...one over the coffee pot (far left), then ran the wiring behind the microwave to the left corner cabinets and installed one there, then ran the wiring behind the refrigerator to the corner in the right.  AMAZING!!  ​

I installed new granite counter tops two years ago (talk about the steal of a lifetime...for another time!) and these new lights just made them POP!!!  Seriously, it has "sparklies" in it I didn't even know were there.  Like little pieces of quartz all through it...I knew it was beautiful granite...but with the added lights, it is breathtaking...seriously! 

But the biggest difference, again, was the amount of usable counter space, which in a small kitchen is a huge plus!!!!​

So....Ode to my SIL Joel...not only is he a wonderful husband and father...but he is a pretty handy dude to have around when there is some serious electrical work to be done!  Is this a "DIY" project?  Yes...it very easily could be and I have no doubt I could have done it myself.  But honestly, he did it in a quarter of the time it would have taken me to do it, at a time when I was a bit busy making pies and stuffing.​

So in my book, that makes him the BEST SON IN LAW IN THE WHOLE WIDE WORLD!!!​

IMG_1204.JPG

Little house projects...

When you get your miter saws this year, let me know and we will start on the bookcases and fireplace surrounds.  I built all these over the years and have NO doubt you can whip one up in a matter of days....lol!  Just kidding...I would never expect the average person to tackle this size of a project...but my point is, if I can do THIS, you CAN do the smaller, simpler projects! 

And I will let you in on a little secret...when I had to do the "inside corners" of the large crown molding on the den fireplace, I went over to a house being built down the street and paid the trim guy to do it.  I know there is a trick to cutting inside corners on crown molding...something about backwards, upside down, stand on you head...but I haven't ever gotten the hang of it.  Outside miter cuts on crown...no problem.  So when I do the tutorial on building up your door trim, not a problem.  But maybe we can get a "guest"  to help us learn the art of cutting inside corners on crown molding!  Or better yet, I'll just teach you how to build those cool little corner doodads that look so classy!

In the next few days, I will post some pictures of my staircase...stripped the carpet and put in new treads and risers...seriously, it isn't THAT hard.  And when you get your new tools, you CAN do it.  I will also posts pictures of my master bath...with just a teeny effort, you can completely change the look of your bathroom.   And I promise to show you before and afters on my kitchen under counter lighting...seriously, you can't imagine the difference it makes in your kitchen!  

Until then....

My den...I painted this wall 12 years ago when I built this room...perfect example of "paint it a color you love and you will always love it!"  It is true!  I've never had any desire to change this color!   Now the TV stand...that's another story and a project I look forward to doing in the VERY near future...just have to find a piece that speaks to me...


IMG_5015.JPG

I built these built-in bookcases in my living room when the house was under construction.  Originally, there were just two walls with weird windows.  Had NO idea how to place furniture or decorate around them so I did the next best thing...just built some bookcases around them! Perfect spot for the Christmas tree, and I love decorating the arch window in the fall and at Christmas!

IMG_5021.JPG

Can you tell I read...A LOT...these are just a few!     

IMG_5025.JPG

Someday I MIGHT get around to putting up curtains...they are all the decorating rage. For now, I just enjoy waking up to the view...and the sun, if it is up before me...rare! 

My nasty little secret....

I have a nasty, dirty little secret...my friends and family know nothing about this and I never share.  It is embarrassing and something I try to ignore...once a year, I try to deal with it. Just minimally...but honestly, nothing has solved my problem. 

For a person with a touch of cleaning OCD, this is a distressing thing to have to admit.​

The tops of my kitchen cabinets are NASTY.  I don't mean "a little dirty"...I mean greasy, dirty, nasty.  And honestly, usually around the holidays I make an effort to take all the stuff down, clean it or run it through the dishwasher, and wipe down the tops.  But the gunk and grime is so bad I usually just say forget it and put the clean stuff back up on the nastiness.  Gross, I know.  Now keep in mind, I am the kind of person who pulls my stove, fridge and dryer out every so often and sweep and scrub beneath!  Seriously!  (The washing machine is a front loader...that sucker doesn't budge...God knows what is under there!) But the tops of my cabinets...well, lets just say...oh, what can I say to defend myself....nothing really.

​So when I saw a nifty little tip on Pinterest, I said to myself (and my cats) "Hey, I can do THAT!"  Clean and put down WAX PAPER!  And every so often, just change out the wax paper and the grime is gone!  SWEET!

The PROBLEM was getting the serious coating of grime OFF the cabinet tops before I put down the wax paper.  That took rubber gloves, straight ammonia, a mask, several rags and some serious elbow grease.  But I'm pretty sure I got 99% of the grime (and scorched my lungs) before I put down the wax paper.  ​

(BTW, being a "couponer," I bought several jugs of ammonia at Target for .12 each...yep, you read right... TWELVE CENTS.  Target's website has Target coupons...right now you can print a $2 off 2 Up and Up cleaning supplies.  Print one, make 4 copies and take it to Target.  Their jugs of ammonia are only $1.12.  So you can buy 8 jugs with your 4 coupons for .96!  Sweet deal...especially considering it took well over a jug just to clean my cabinets!! I don't use ammonia a lot, but when I need something to cut some serious grime, it's my go to..... ​)

Anywho, here are a few pictures.  Honestly, it took me less than an hour....and I know it will save me some embarrassment in the future. (I have this fear that my family will find this stuff when I die and think poorly of me...it is one reason I make my bed EVERY day...God forbid I have an accident and my house is a mess when the family comes in...forget clean undies...seriously, who's really going to notice that! But a dirty house...oh my!)

IMG_8635.JPG
IMG_8636.JPG
IMG_8638.JPG

Seriously, the camera flash does not do justice by the dirt on the rags...it was seriously nasty!​

IMG_8639.JPG

How pretty is that!  And when the holidays roll around and I climb up on the counters to get my turkey platter (ohhhh, I forgot to put that in "my favorite things"...it was my great grandmother's and we use it every year!) or the crystal tea pitcher, I will just take up the dirty wax paper, put down some clean and PRESTO...I am good to go!  ​

Come to think of it, I might even have one of my kids climb up there to get the stuff...just so they can see what a clean person Mom is  ;)​

It's a Pooh Bear day....

When it is a warm, windy day it reminds me of the Winnie the Pooh movie...it's "blustery" out!  It is also a reminder that spring IS right around the corner.​ And the storms blowing through tonight are definitely "spring showers."

Unfortunately some sick individual decided it was a good idea to move Day Light Savings up a few weeks.  Wears me out...I am a "dusk to dawn" kinda person which means I think I ought to be out "working" as long as it is daylight out.  Kind of liked shutting it down around 5.​  The next week of adjustment is going to be killer....

But today it was warm and I was able to start working on the nasty dresser and 3 legged table I brought home.  I sold a DIY project that has been in my garage for months...untouched...a Zenith console stereo.  I had big plans for it but I just have too much to do that NEEDS to be done.  The dresser is going to someone who needs it...not sure what will become of the 3 legged table but it will speak to me eventually.​

Funny thing...furniture speaks to me (so do my cats, but that's another story).  When I first brought my desk home, I had no doubt I would be painting the entire thing white.  But when I began to strip all the nastiness and abuse away, and discovered the beautiful mahogany lurking beneath, it was clear it did not want to be painted....same with the nasty little desk chair I pulled out of the attic. I had NO doubt I was going to sand and paint the entire thing...but when I stripped the nastiness away, again, it was clear it did NOT want to be painted.​

So when I saw this little table at the thrift store, I knew it was a nice little table.  Laminate top definitely could stand painting, but the legs and frames where beautiful and sturdy.​ Who doesn't need a nice little table!

IMG_8282.JPG

​But it spoke to me...."I want to be a beautiful bench now."  

And that is exactly what it is....

IMG_8302.JPG