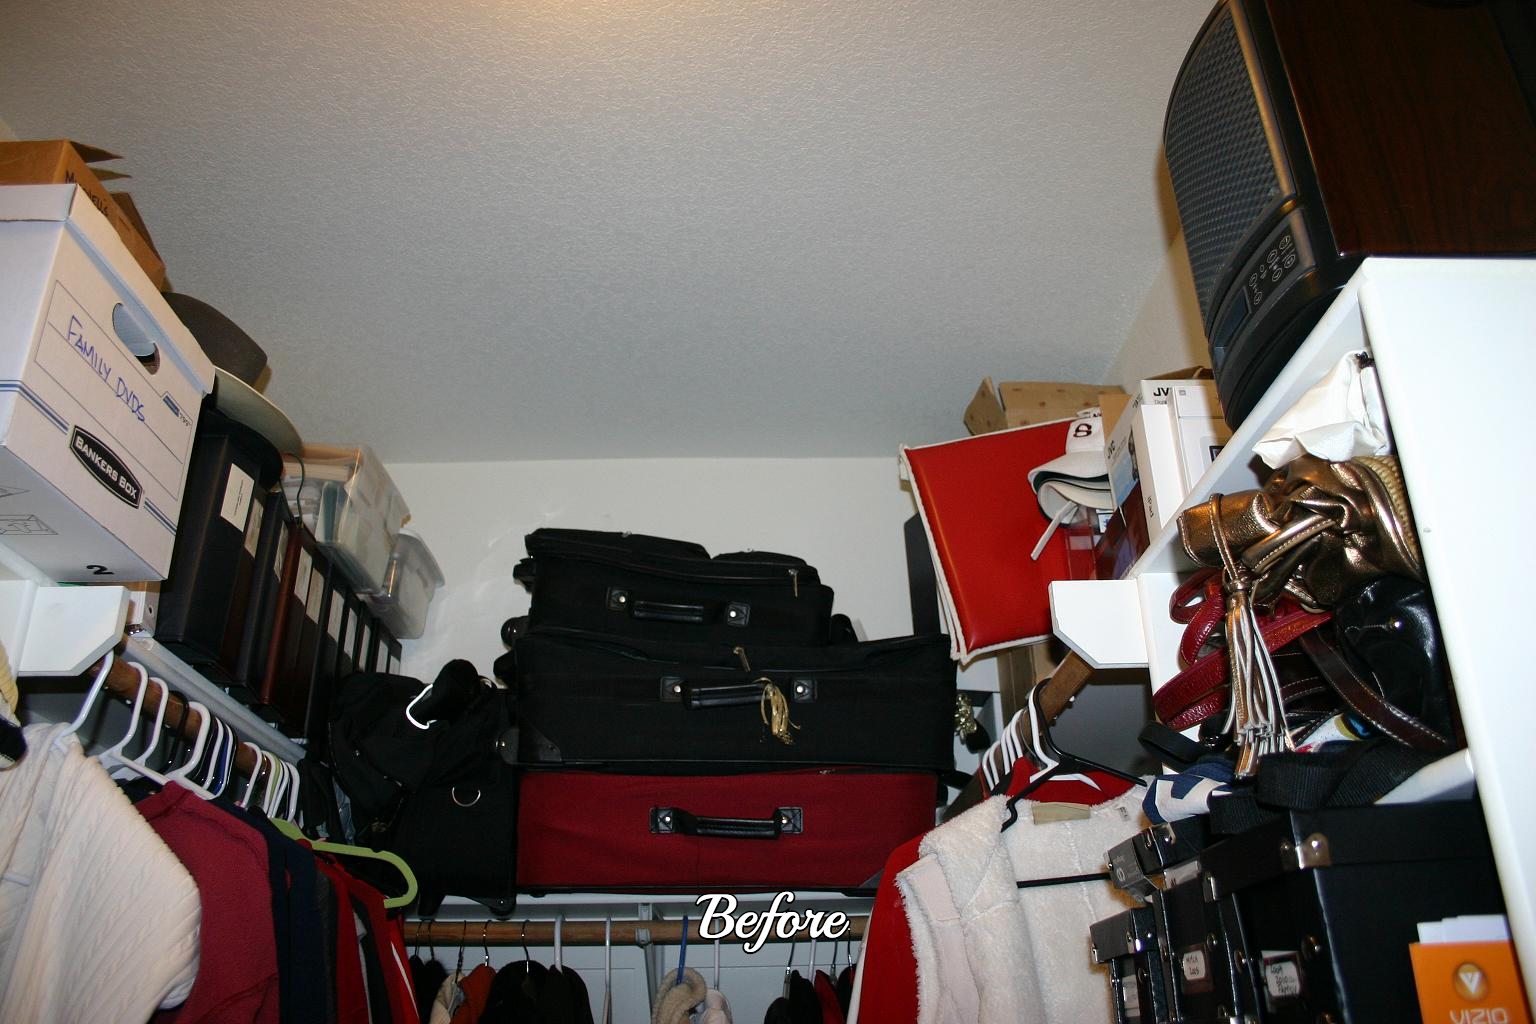
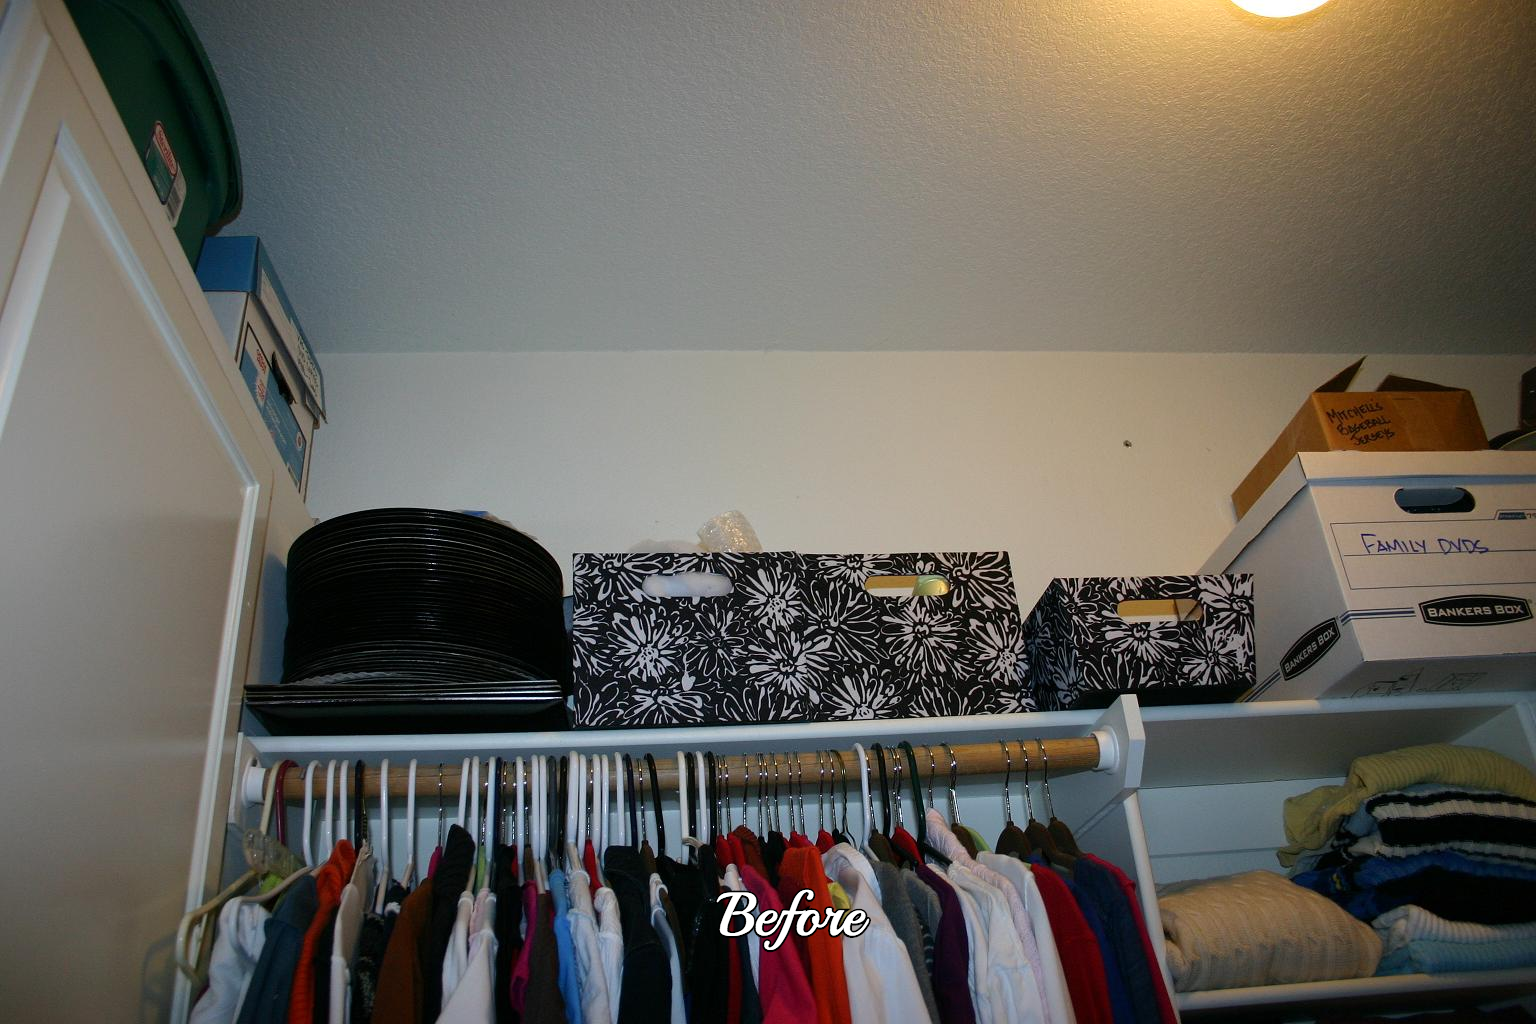
Closet makeover....
No matter how big or small the closet, you need to completely empty it to organize and/or paint it...EVERYTHING has to come out. And while everything is out, it is a great time to purge the items you don't need. If you want to keep it for keepsakes sake, box it up, label it and move it to the attic. But the best rule of thumb...if you haven't missed it while it was buried in your closet, you probably don't need it!
I have more than just clothes and shoes in my closet...it also doubles as storage for my business and personal financial files, my coupon stash and my family archives. But for now I will just concentrate on showing you what I did to give my closet a functional makeover. Later I will give you some tips on organizing all those pesky things like photos, financial records and tax stuff!


As with all major projects, I first define my "goals"...what exactly do I want to accomplish in this space! I even write it down! (And honestly, this list may stay in my purse or on my refrigerator for months before I actually get to a project)
My goals for my closet....add more shelving, paint, new flooring, new light, and rearrange hanging space.
Then I took measurements and drew it out on a piece of paper.
Even if you are not a good draftsman, it always helps to draw your space and show all the measurements. I just take it for granted that everyone knows how to figure square footage for flooring or linear feet for shelving or how much paint to buy...but that is NOT the case. But your friendly people at your local home improvement store (mine of course is LOWES) will always help you figure out exactly what you need...whether it is flooring, paint or shelving. So draw it up, take measurements, and carry that with you when you go shopping.
Once you have your goals, layout and measurements, the next thing to do is list the supplies you will need. I knew I needed paint, flooring, shelving, hanging rods and hardware, and a new light. I also wanted to add a few hook thingies for purses. You might think this is a good time to buy boxes and storage stuff. IT IS NOT! Just follow me here!
Time to take out the old.... (again, take EVERYTHING out of your closet!)
In my case I knew I was replacing flooring and rearranging the shelving and rods...so I took up the carpet and trim and took out the rods and shelving I did not want.
If you are putting down tile or wood or laminate, you will need to remove the base trim. If you will remove it carefully and pull all the nails, you can easily reuse it. Painted trim will have a bead of caulk along the top, between the trim and the wall. DO NOT try to remove the trim without first scoring that joint with a sharp blade. Trust me! If the house is not that old, the trim carpenter probably used a trim nailer...those little nails are easy to pry loose. If the house is older and they used good ole' trim nails and a hammer...your job just got a tad tougher. I would suggest locating the studs in the wall (this is where your stud finder comes in handy) and ONLY use your pry bar where there is a stud! If you don't, there is a good chance you will bust right through the sheetrock or plaster! Take your time and don't get impatient! Once the trim is removed, use needle nose pliers to remove the trim nails FROM THE BACK OF THE TRIM! If there are nails in the wall, use a hammer to remove them or just hammer them into the wall!
Most carpet has foam padding under it that has a little bit of glue holding it to the floor...just tear it all up and scrape as much of the glue off as you can.
TIP...use your box knife to cut up the carpet into manageable pieces...don't try to carry a big ole' roll of carpet out of the house....just cut it into 3-4' pieces, roll that up and take it out piece by piece...so much easier. Most carpet is put down with tack strips along the base. Just use your pry bar and hammer and "pop" it up. CAREFUL, it will bite you! There is a chance you will pry up chunks of your concrete slab...no biggy! It happens! If you are going to have carpet put back in and the tack strip looks in good shape, just leave it!
I was adding new shelving, so I decided to use what was there...MDF. You may have wire shelving or some type of shelf system. Your best bet is to stick with what you have! Again, just take your measurements and drawing to your home improvement store, show them what you have and show them what you want. They will fix you right up!
Since I was using MDF shelving, I pre-primed everything before I cut it...just easier that way. Then, after it was installed, I caulked it and painted it the color of the existing shelving. Then I painted my walls. If you are installing wire shelving, you may want to paint the walls first, then install your system.
Either way, you want to get the majority of the painting done BEFORE you install the flooring! And don't forget your ceilings!
In my case I had tons of leftover paint from different projects. I thought I would mix a little brown in some biege to get a nice taupe. NOT! I ended up with PURPLE...what the heck!? Mixing paints has to be some kind of learned skill...and I definitely do not have that skill! So I found some leftover white and ended up adding a tad of the mixed purple to it and got a nice soft pink. Pink is not great, but I can live with it! Just remember, closets are small and when everything is back in it, you won't see much of the wall color. It's a good place to use leftover paint! My closet is about 10 x 6 and I used less than a gallon!
TIP: Keep an eye out for "mismixed" paints at the home improvement and paint stores. Lowes will mark their gallons of mismixes for $5 - $10....serious bargain. And again, you aren't really going to see much of the paint color when it is all said and done...so why spend $40 on paint! And most of the stores will even add color to a paint if you want to tweek it a bit.
To install just about any shelving system, whether it is wood or a wire system, your best bet is to locate and mark your wall studs! This is where your "stud finder" will come in handy....

Just run it along the wall...the little light will flash and it will beep when you hit a stud...mark the outside of each stud and then put a little x in the middle.
Once I got my shelving in place and everything painted, it was time to install the laminate. Again, I didn't need a lot so I was able to find some good quality laminate discounted at Lumber Liquidators that was perfect for around $1.60 a square foot. If you know you are going to be doing a small project like this, keep an eye out for discounted or closeout flooring! My closet is only 6 x 10 and if I wanted to go with carpet, I could have probably found a remnant that would have worked as well.
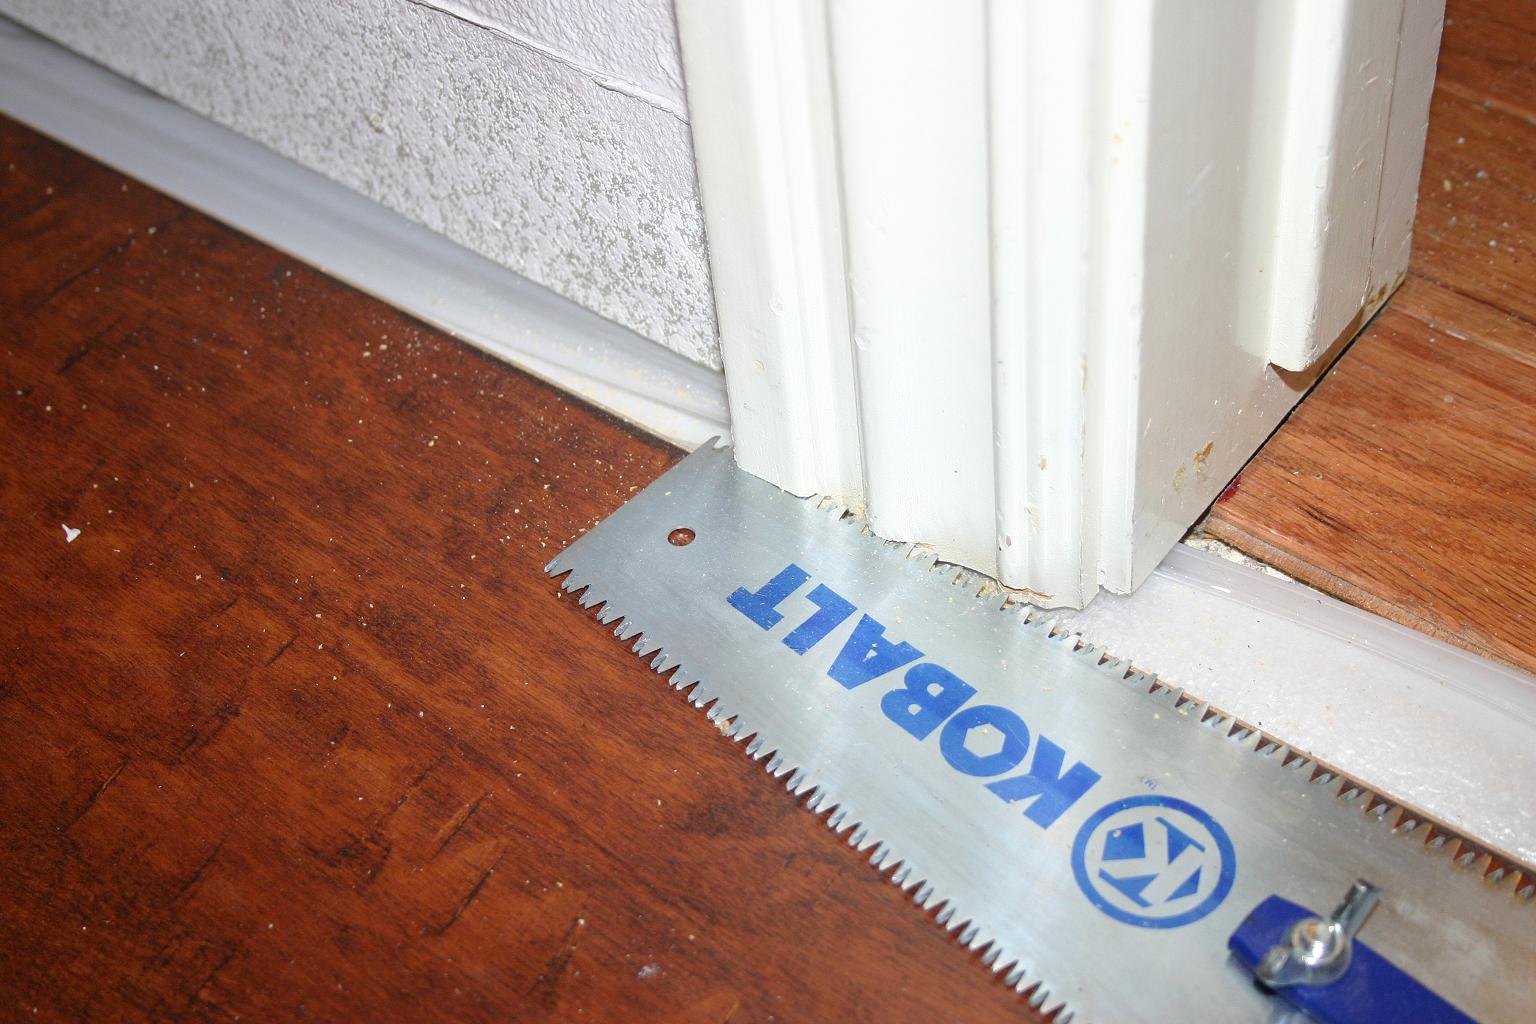
Whether you are installing laminate or tile, there is a good chance you are going to have to cut your door trim. For years I struggled with this and there were times I even removed the trim and cut it down! If ONLY I had known about this little trim saw! Awesome little gadget and worth the few bucks it cost! Just lay your flooring down nest to the door trim (tile or laminate or wood) and then just saw through the door trim. Awesome! Your flooring will slip right under the trim and it will look like it was cut specifically for that flooring.
There are a million tutorials on the world wide web that tell you how to do everything you could possibly want to do. If you are laying laminate or tile for the first time, just google it. Look at several sites...and find one that makes sense to YOU!
If you have installed new tile or laminate, you can reset the baseboards...just put them back where they were, shoot them with a nail gun, recaulk and paint! Simple! By reusing the old trim and setting it on top of your new flooring, you eliminate the need for baseshoe (whole nuther song and dance...just again, trust me!)
After my shelves and rods were installed, paint was done and flooring was down, I replaced the light fixture. I waited until last because I know me...one good swing of a shelf or piece of laminate and bye-bye fixture...so I did it last! Just in case....
I also built a little shoe shelf out of some leftover MDF shelving! Not difficult for me, but if you aren't comfortable with your chop saw or nail gun just yet, just buy some little shoe shelves if you need them!
Now here is the REALLY tricky part....putting it all back. The trick to it, is NOT to put it all back! And again, there are a million sites that tell you how to "organize" your closets. My suggestion...do what works best for YOU! Find a system that works with your mindset and life style. But one hard truth always prevails...don't keep what you don't REALLY need! Most people don't know this but you can get a really great donation deduction every time you donate to a non-profit. So all those clothes and shoes you really don't NEED can score a really significant tax deduction!
After you hang up your clothes and organized your shoes, THIS is when you want to look at what is left and figure out what boxes you will need. If you try to buy BEFORE, you will end up with boxes that don't work for what you have. So take inventory and take measurements. Make sure you have the measurements for the self space you have so you don't end up buying boxes that are too big or even boxes that are too small. Boxes that are too small can waste precious space!!! And as I have mentioned before, while I think all those decorative boxes are pretty, plastic storage bins are always better in my opinion. But again, do what works for YOU!
Over a year ago my mom was out of town for a few weeks. I took the opportunity to sneak in her house and completely gut her bedroom and bathroom...and when I say gut, I mean I took it down to bare bones. I spent three days just stripping wallpaper and then I had to retexture the walls!
She lives in a tiny little house and her bedroom has two tiny little closets. Why my dad never remodeled their closets is beyond me...for over 40 years she lived with just a single rod with a shelf in both...and while they were tiny little closets, there was soooo much that could be done to maximize the space she had...so I did it!
Just a few little changes basically doubled her usable space and gave her some much needed shelving!
Even if you don't have huge walkin closets, you can still maximize the space by adding well designed shelving. And if you just don't know WHAT you need to maximize the space, ask the experts...most home improvement stores will be happy to help you design a space! (Heck, email me...I love telling people what to do...lol!)
But remember, you can't do this if you aren't willing to dig in there and drag it ALL out...and then get rid of the things you DON'T NEED!!!
YOU CAN DO IT!!!