Mirror, mirror, on the wall....

I gave up trying to come up with clever blog titles a loooong time ago, but I just couldn't resist!

Mirrors are the simplest way to add wall decor, light and depth to a room. In other words, if you have a small dark room, hang a mirror!

My master bedroom is a pretty large room and it gets tons of natural light but I am in the process of making a few changes. I have a really awesome antique mirror hanging out in my garage that may fit into the plan.

I use mirrors in just about every room of my house....

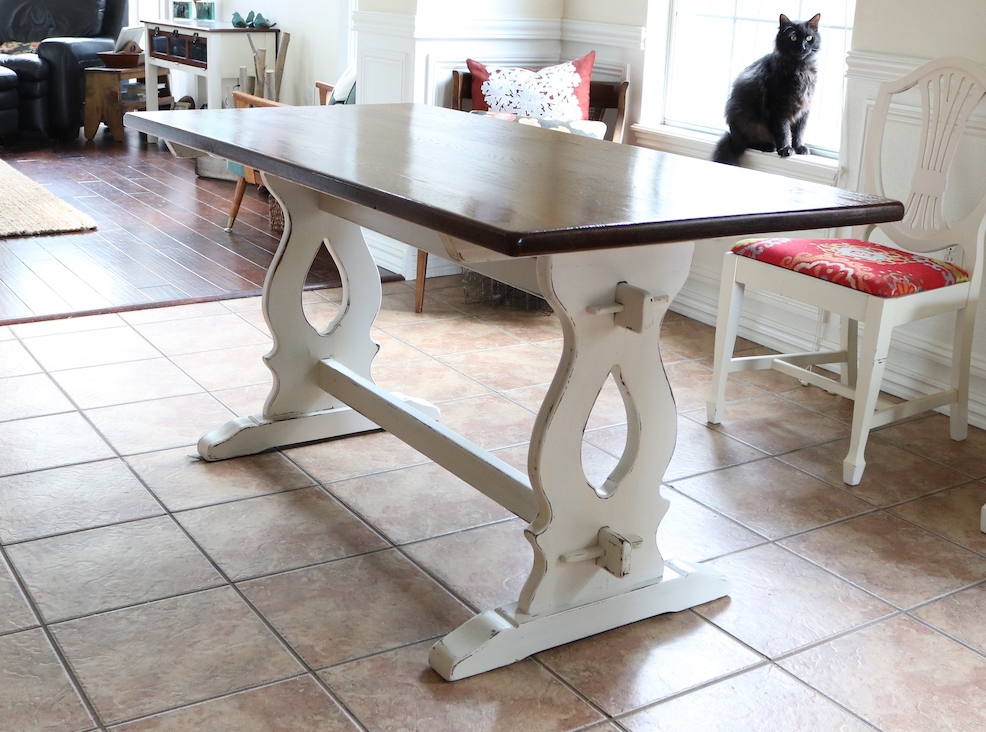
The living room (featured here)....

The den...

My home office....

And this fun little mirror hanging in a small corner of my room...

The change? Well, I am finally getting around to buying new chairs for my master bedroom. I originally intended to reupholster the chairs I have...

But as you can see, they are very large...and they are "matchy-matchy" which is something I am moving away from. Truth be told, I just don't like them any more!

While I was hunting for a new couch for the living room, I looked at a few chairs that might work in this space.

First, let me explain "this space." When the kids were younger, I added the den so we would have two living spaces. When they got a bit older (and louder), I added a large master suite with this awesome sitting area so we would have someplace to escape to.

Of course, now the kids are gone and we have this amazing sitting area in our bedroom and two living spaces. Um, no, we don't need all this space. Truthfully, we rarely use the sitting area in the master bedroom these days...but my oldest daughter really wants these two large club chairs...and well, it's just time to make a change!

So the hunt for the perfect chairs commenced.....

Two caught my eye, so this week I went back to the store and ordered them both....

This one is a leather recliner. A little bit of information about myself...I DO NOT do recliners. First, they are usually very bulky and unsightly. Second, I have an unfortunate history with recliners...hence, they seem to set off a form of PTSD. I don't really want to share, but suffice it to say, I swore there would never be a recliner in my home.

But I kind of like this one...it is very different from your typical barcalounger recliner and I really didn't find it the least bit offensive. It has a USB port and Brian thinks it is super comfy, so this will be "his" chair.

My chair is actually a "feed me a grape" kinda thing....

Perfect for those nights when my back won't let me lay in bed any longer or cold winter afternoons when I just want to curl up with a blanket and a good book!

I really didn't need an ottoman since Brian will have the recliner but I wanted to be able to stretch out.  This one fits the bill...and it is super comfy!

Which brings me to the mirror in the garage (see, I eventually get around to my point!) 

Months ago I bought a MCM dresser with a mirror. It had obviously been exposed to heat from a fire because the finish had a little bit of "bubbling" and it was covered in soot. I took off the mirror, cleaned up the dresser and sold it. 

These days dressers WITH mirrors just aren't the "in thing" so I kept the mirror and gave it a little makeover with the intent to sell it. The finish was damaged...and of course it was pretty "dark and dank."

I chalk painted it with an off-white paint and distressed it a bit. But I really didn't like the look of it...it just seemed too "white."

So I decided to give it a little "glaze" treatment with some stain. I wiped on pecan stain and then wiped it off. It gave the finish a nice "aged" look. After glazing the entire frame of the mirror, I sealed it with polycrylic and reattached the little medallions.

The mirror is "not my style" (again, whatever the heck that is! Eclectic?) and of course I will have to hang it higher...right now I just stuck it up where the old picture was to see if I MIGHT like it there...don't know. Truth is, I will have to wait until the new chairs are in place.

But my whole rambling point is this...you don't have to live with "dark and dank." Mirror frames can easily be painted. Even if the frame isn't quite "your style" a little paint can go a long way to making a simple cast off mirror a nice statement piece for your room! And trust me, if you have priced mirrors lately, you might want to rethink that thrift store gold framed mirror or that old dresser mirror!

Whether you paint it a bright, solid color or give it a little "aged look" treatment, mirrors are easy to change to fit any decor!

The hardware sets the tone...dresser makeovers!

We have been pretty busy this past month so I haven't been able to go to too many auctions. I was forced to scrounge around on Craigslist and online garage sale sites to find a few pieces to work on..

They did not disappoint!

As usual, I am drawn to the "nobody wants me because I am totally ugly" pieces of furniture.

I like different and unusual.

This chest and side table checked off all the boxes...kinda ugly and unusual.

The ugly part is pretty obvious but they do have nice "bones." Solid and sturdy!

The unusual part was the hardware. I love unusual hardware. Sometimes the hardware dictates what direction I go with a piece.

In this case the heavy black handles pushed me towards blue/gray. A friend asked me what paint color I used. Well, let's see...I had some blue, I threw in some black...too dark, so I added some white. 

So I have no idea what color it is....blue/gray!

They had some detailing so I decided to do a chalk paint and distress treatment. I usually save that for pieces that have good detailing that will "pop" when I distress it. 

Two coats of chalk paint, a little distressing and sealed with poly. The hardware just needed a little cleaning and it was good to go!!!

Hardware can be a booger when it is missing. I picked up a campaign dresser last week and the brass hardware was amazing. The only problem was it was missing one handle and they are next to impossible to replace.

I really wanted to stay "true" to the style of this dresser...a mid century campaign. But the old finish was pretty dark and dated. (did I take a before picture like a good blogger...um...no!) 

Very similar to this little side table I recently refinished. 

I decide to shine up the brass hardware and give the piece a sleek new look with gloss white paint.

The missing handle, however, posed a real challenge!

I knew I was going to have to scale back to one handle on each of the top drawers but I couldn't just patch little screw holes because the handles actually "inset" into the face of the drawer. 

The thickness of the hardware was 1/4"...so I bought 1/4" pieces of craft board....

....cut out a hole big enough for the hardware to sit in and then attached the boards to the face of the drawers with wood glue to cover the existing cut outs! 

KSTP (Kilz, sand, tack and paint!) treatment, reinstalled the spiffed up hardware and.....

Perfect! Obviously someone else thought it was perfect because it sold the day I took it in!

Until next week....

Oak trestle table makeover...

I bought a table at an auction this past weekend that may be difficult for me to sell...

Hang with me...I know it didn't look like a winner when I brought it home, but the vision was there.

The reason it may be difficult to turn loose of is because I have been contemplating giving my dining room a little "farmhouse" flare.

Again, that is not "my style." But if I can infuse a little bit of the current craze into my decor without a lot of expense and time (like I did here with my bed), I am willing to give it a shot.

For 17 years, my dining room has basically been a "walk through"...from the living area, to the kitchen, to the den....we always use the bar for meals. The table (that got a makeover here) is pushed against the wall for 364 days out of the year and only comes out for Thanksgiving dinner. With the inserts added it easily seats 6-8 with the addition of a few chairs and a bench

But the antique trestle table fits right into my "I think I might" plan. It is the perfect size and style, just needs a little face lift.

The first draw back is it is oak. Again, NOT my favorite wood, but honestly oak is a great "farmhouse" wood to work with.

Second, I like my toes...they aren't the greatest toes, but they always seem to find anything that is out of place...vacuum cleaners, chairs, tables, an animal...whatever is NOT suppose to be there, the toes will find it. One of the reasons I am super careful moving furniture around.

The fact that there has not been a table in the middle of this room for 17 years may pose a problem for my toes.

To complete my vision, I would need the perfect chairs...not a huge deal because I see awesome chairs all the time at auctions. I may have to find a buffet for the wall...had one a few years ago and I kind of liked having a place for a little "fluff." And then there is the whole window, wall, rug, trim detail thing...hum. 

Regardless of what I do in my own home, I know the table needs a little love and attention. So that was the project this week...give this little table a makeover as if it were going into my own home. Then if I decide to actually move forward with my vision for the dining room, I have the table...if not, someone else will get a beautiful antique dining table!

I easily stripped the top using this process...not a lot of finish left on this old beauty but it did have dark "water rings." 

Several months ago a very wise reader commented on another table project and suggested using oxalic acid on water rings. I have never tried it and always just "embraced" the imperfections on antique pieces since nothing I tried worked well. But I did order the acid and had it on hand.

WOW!!!! Just wow. Worked like a charm. I made a paste with the acid crystals and water, dabbed it on the ring, and within 30 minutes, gone! I was a little miffed at first because it "bleached" the wood, but I scrubbed it with my 1/2 and 1/2 mixture and that disappeared as well!

I stained the top and applied three coats of tung oil finish...my favorite! I painted the base with homemade chalk paint, distressed a bit and sealed with polycrylic.

Just beautiful....for now I am going to take my daughter's advise...set it in place and mull it over. Maybe see how many times my toes find it!!!! No harm in letting it hang out for the time being (except for maybe a few toes!)

Right now my den is in disarray and I am trying to decide what I want to do. I gave my couch to my daughter so now I have no choice but to buy a new couch...part of the "den makeover" plan that started several years ago (remember, if you can't "see" it, get rid of what is there and live with a blank slate for a time) Since the reveal, the club chair has been reupholstered and moved to the living room to make room for Brian's big leather chair. The coffee table is laying on Mitchell's bed because we needed more room for Cleo and our grandpuppy, Zoey, to wrestle! There is a new rug...

The jury is still out on it...doesn't seem to be wearing well and not real comfy...hum. I like the look, just not sure I like THIS rug!

So taking on a dining room makeover just isn't on my priority list right now. I know if I am ever going to do it, I should probably hang onto this table since they cost a pretty penny new. But I also know that if I take the plunge I will have a sizable project on my hands...and my hands are pretty full right now.

Maybe it can just hang out for the time being! Never know when a bug attack!

Until next week....

Bee Box Shelf....

Sometimes things get "stored" in my garage and I spend a few years kicking them around. 

My daughter started raising bees several years ago. She would occasionally bring home old "bee boxes" to paint. 

One has been hanging out in my garage for...oh, I would say at LEAST two years. Waiting to be painted. Never happened.

In my quest to "organize" my mess of a garage I decided to purge a few things...but it is always hard for me to toss anything wood. One of my few "hoarding" tendencies.

An old bee box...scrap pieces of bead board from another project...old dresser drawer pieces...hum....what to do, what to do!?

Yep...a "bee box" shelf.

I used one side of an antique dresser drawer as the shelf and the scrap bead board for the back. A little glue...a few nails. I sanded the box and the shelf to clean them up a bit. (I could actually smell the honey!)After sanding and assembling I sprayed the entire piece with a clear coat just to seal the "chippy" paint.

Easy, peasy. 

Not my style so of course it will be sold, but just a quick reminder that you can turn any old "scraps" into something pretty and functional with just a little imagination...this didn't take too much time or any expensive tools...just a saw to cut the shelf, a hammer and a little sand paper. 

Next week I'll share the project that produced all the scrap bead board...another "repurposing" project! 

Until then....